To create beautiful sand art bottles using the beach sand you’ve collected, here’s a step-by-step guide based on the materials you've listed:
Materials:
- Sand (from Frankston Beach, or any beach of your choice)
- Liquid watercolor or food coloring
- Ziploc gallon baggies
- Trays for drying
- Tupperware for storing dried sand
- Recycled bottles or jars (clear glass or plastic works best)
- Funnels (for filling bottles without spilling)
- Large spoons
- Shells (optional, for decoration)
- Hot glue gun (optional, for sealing or adding decorative elements)
- Gold spray paint (optional, for decorating the bottles)
Steps to Dye and Prepare Sand:
Collect the Sand:
- Head to Frankston Beach (or any other beach you choose) to collect your sand. Bring along a container to store the sand in.
Dye the Sand:
- In a Ziploc bag, pour a few drops of liquid watercolor or food coloring. The amount depends on how vibrant you want the sand to be. If needed, dilute the coloring with a small amount of water to make it easier to mix.
- Add a handful of sand into the bag. Seal the bag tightly and mix the sand and color by gently massaging the bag. Make sure all the sand is evenly coated with the dye. You can repeat this step for multiple colors if you're creating a multicolored design.
Dry the Sand:
- Pour the dyed sand onto a tray to dry. Place the tray in the sun and leave it there for the day. Be sure to mix the sand around occasionally to prevent clumping and ensure it dries evenly. If you're in a cloudy or rainy area, you can dry it indoors, but it will take a bit longer.
Store the Sand:
- Once the sand is fully dry, transfer it into Tupperware containers for easy storage until you're ready to use it in your sand art project.
Steps to Create the Sand Art Bottles:
Prepare the Bottle or Jar:
- Choose a recycled bottle or jar that’s clear so the sand layers will be visible. You can use glass or plastic, depending on your preference.
Layer the Sand:
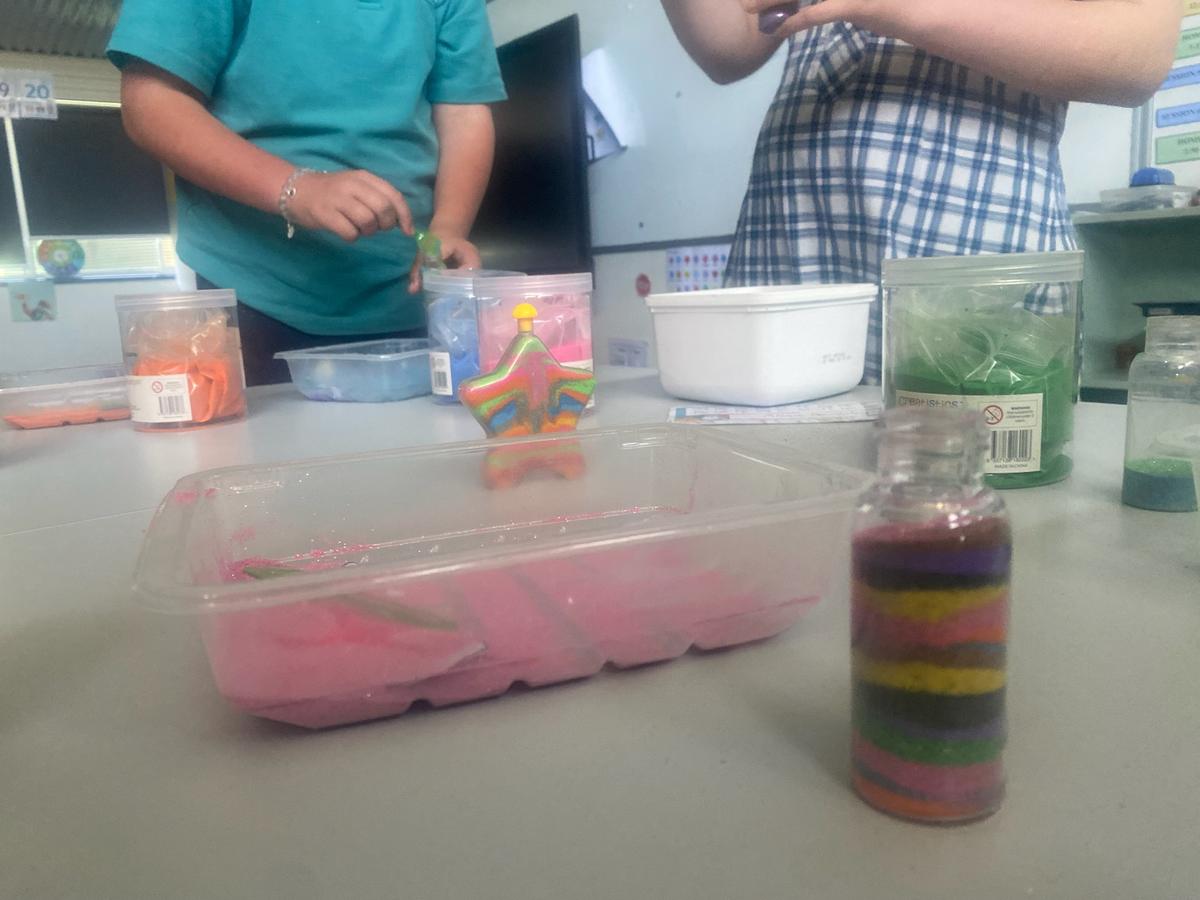
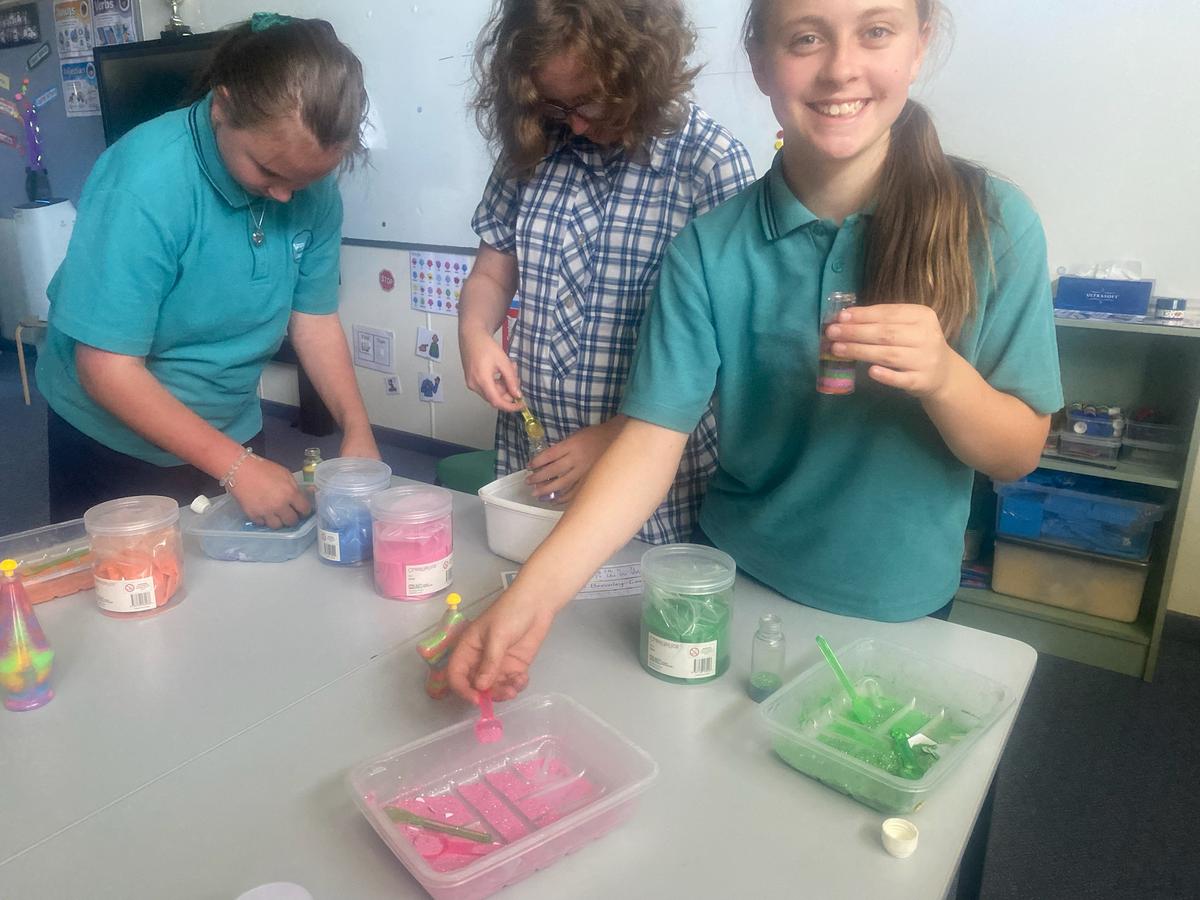
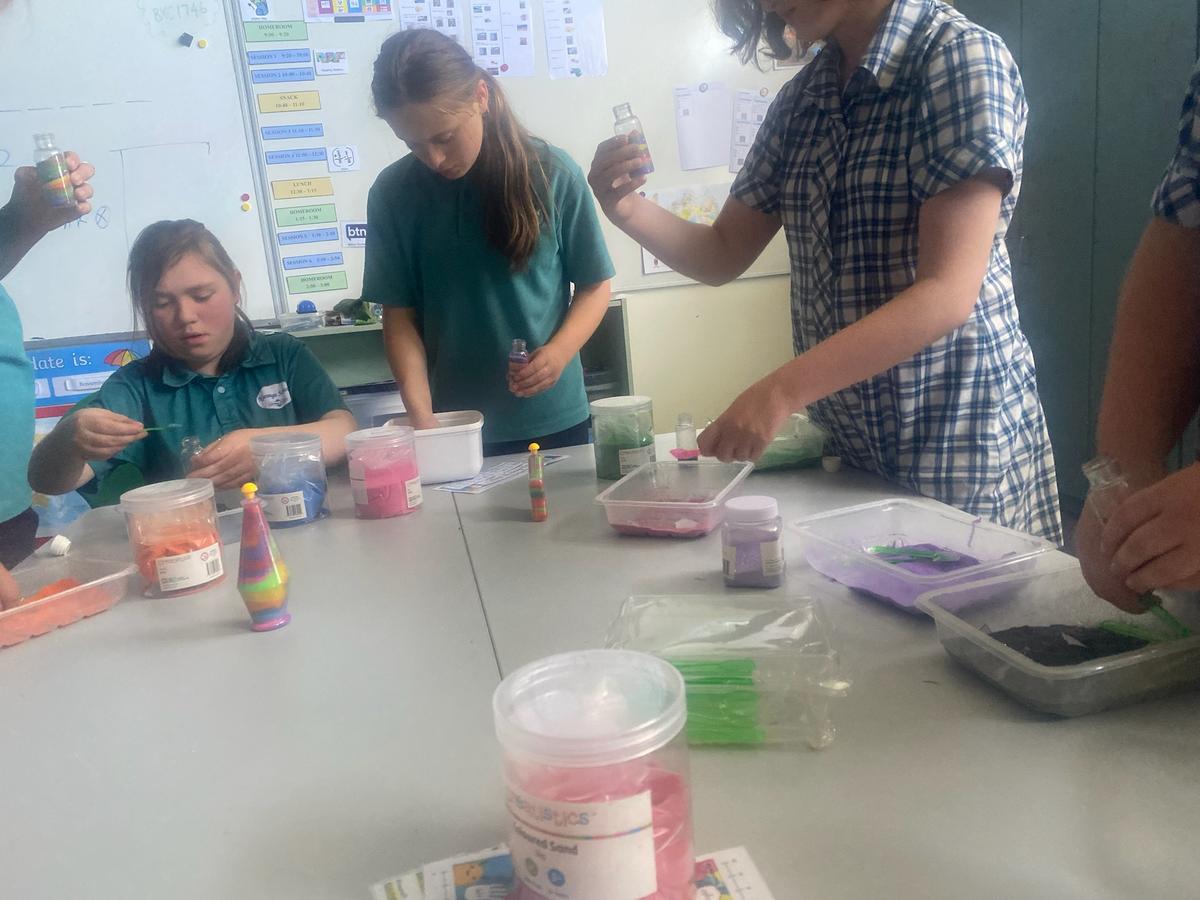
- Using a funnel, pour the dried dyed sand into the bottle, one color at a time, creating layers. You can use large spoons to help fill the funnel and make sure the sand falls smoothly into the bottle.
- You can make different designs, such as stripes, swirls, or random patterns, by alternating colors and gently tapping the bottle to settle the sand.
Add Decorative Elements (Optional):
- Once your sand is layered, you can decorate the top of the bottle with shells or other small items.
- If you'd like to seal the bottle or add a unique touch, use a hot glue gun to attach a decorative top or secure any shells in place.
Finish the Bottle (Optional):
- For a more polished look, you can spray the bottle lid or parts of the bottle with gold spray paint for a touch of glamour. This can also help make the bottle stand out as a decorative item.
Now you have your own beautiful sand art bottles made with beach sand, vibrant colors, and creativity!


