Art News
Year 8 Art
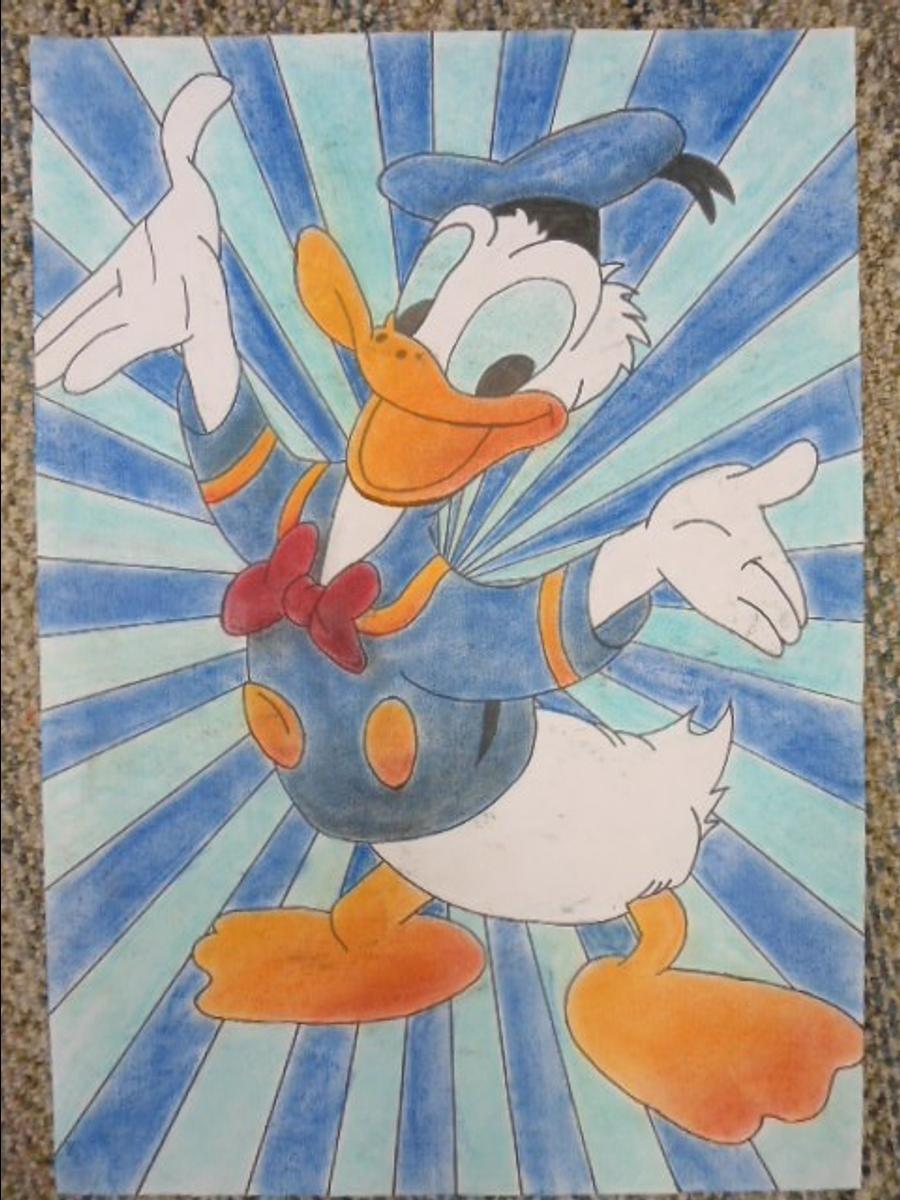
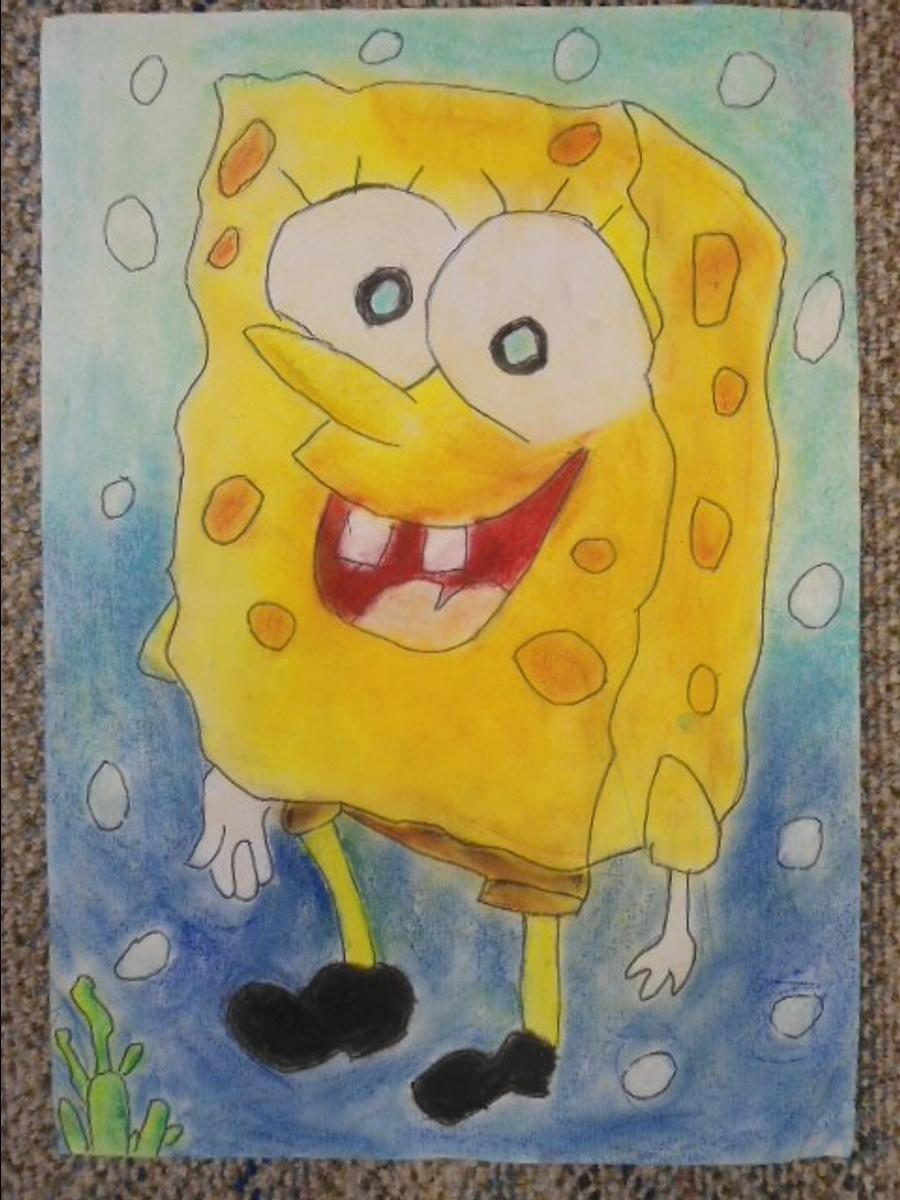
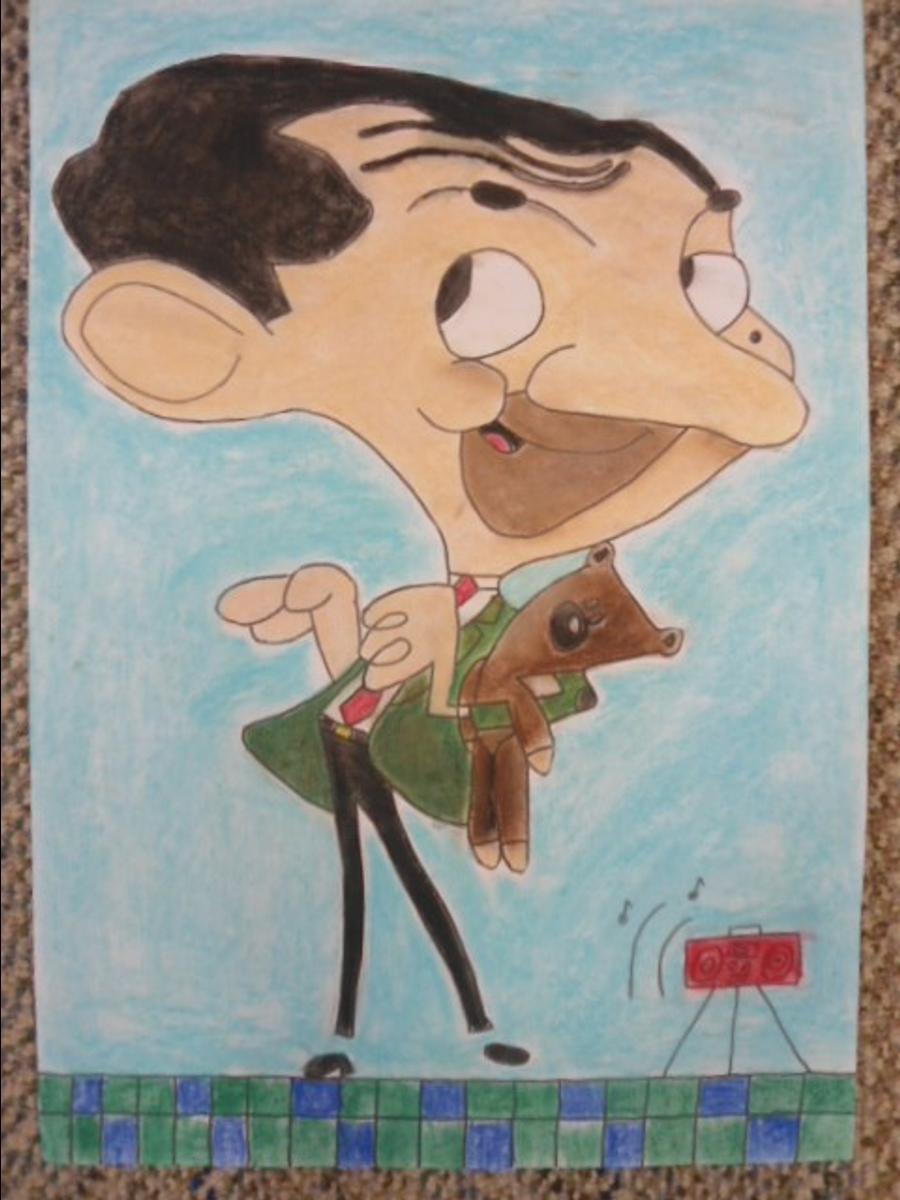
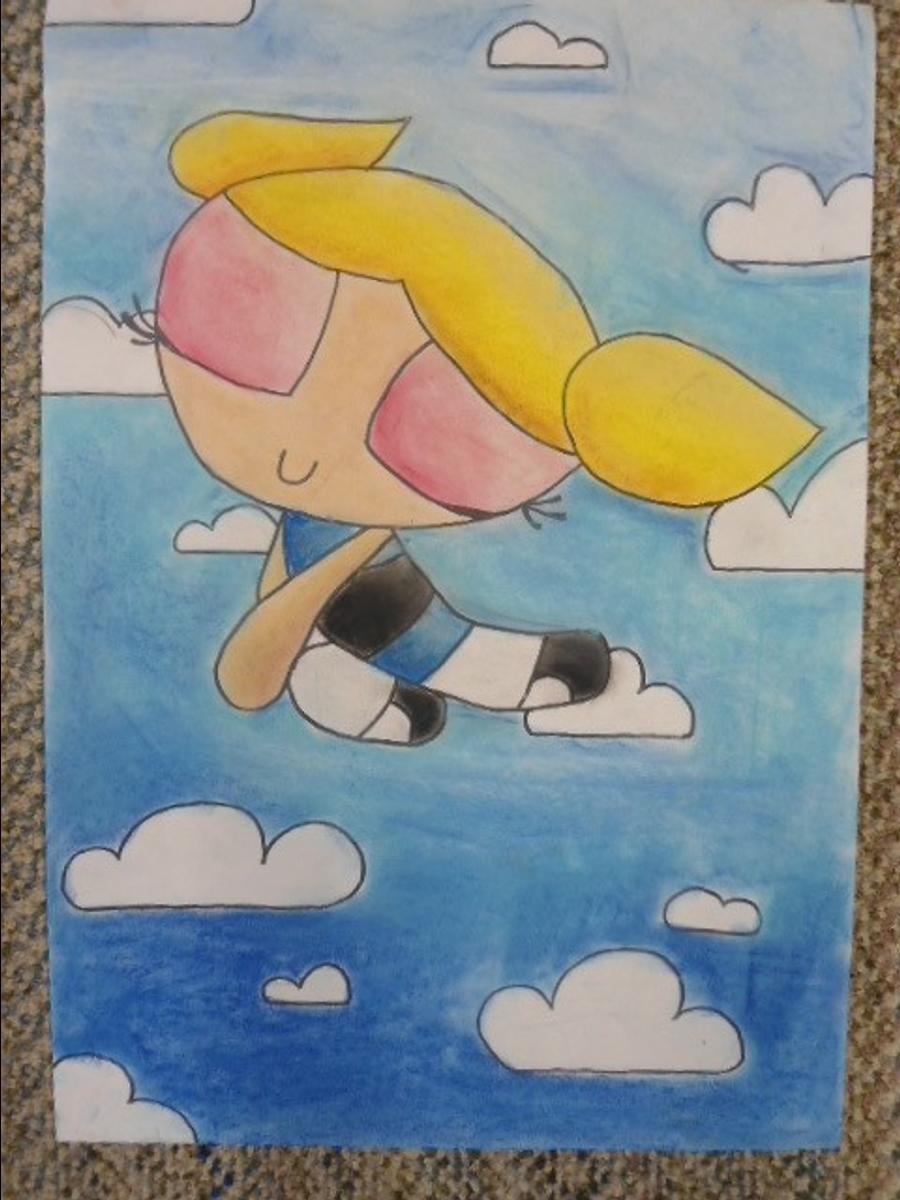
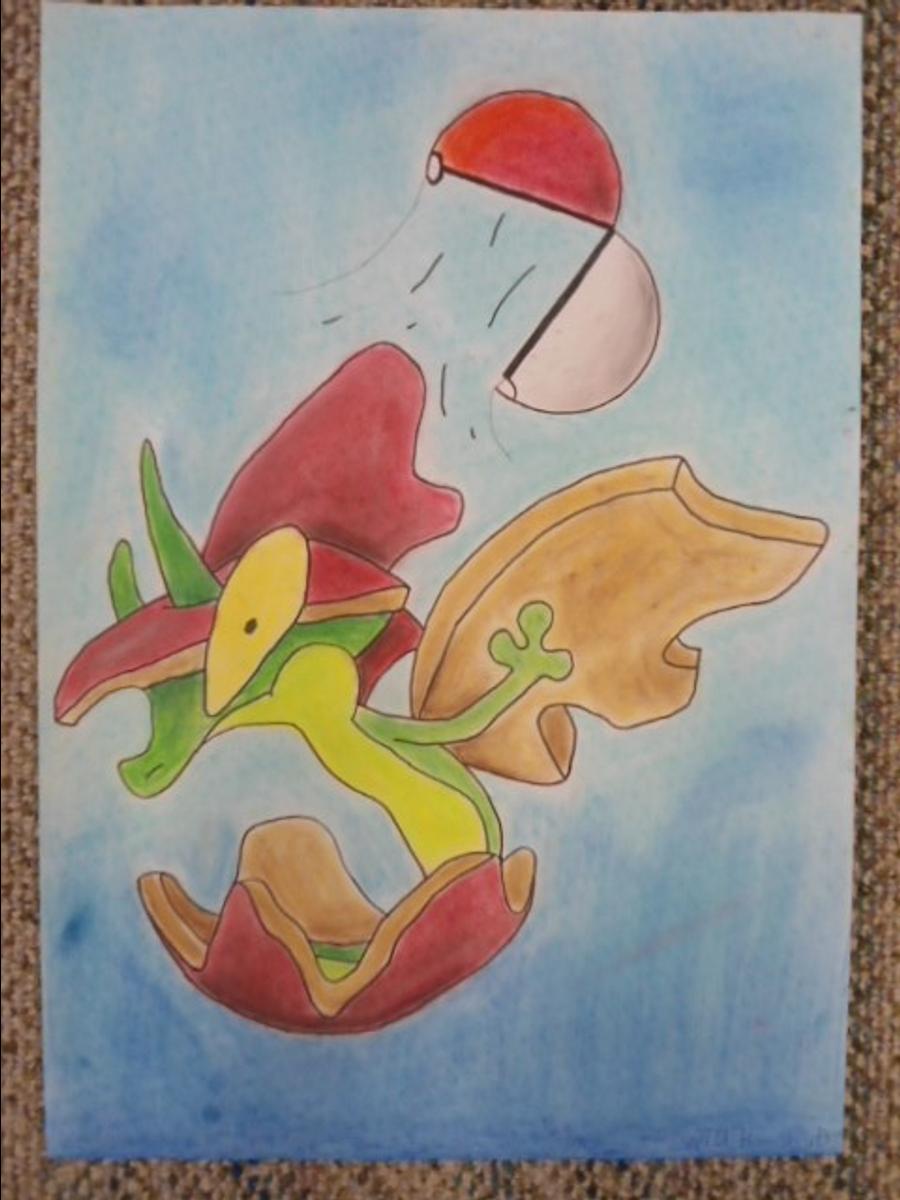
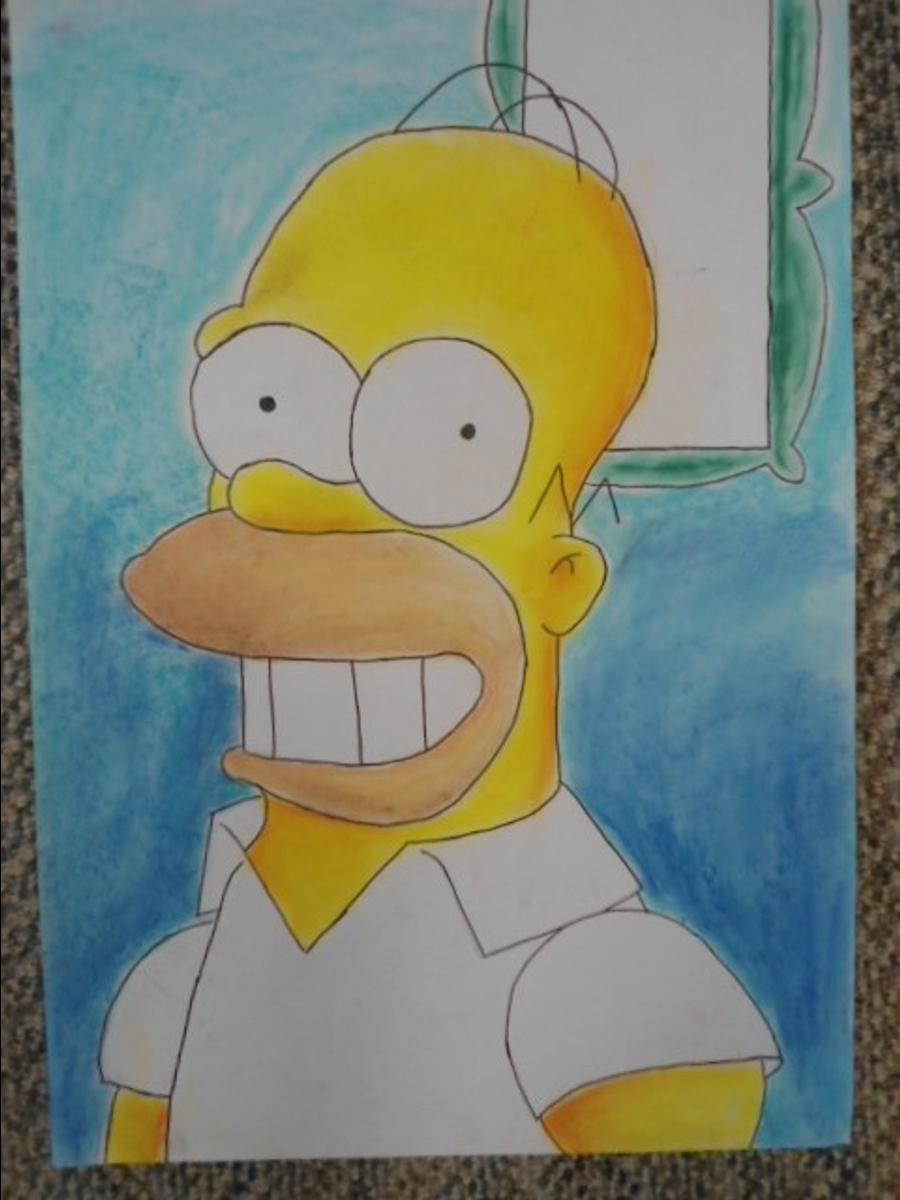
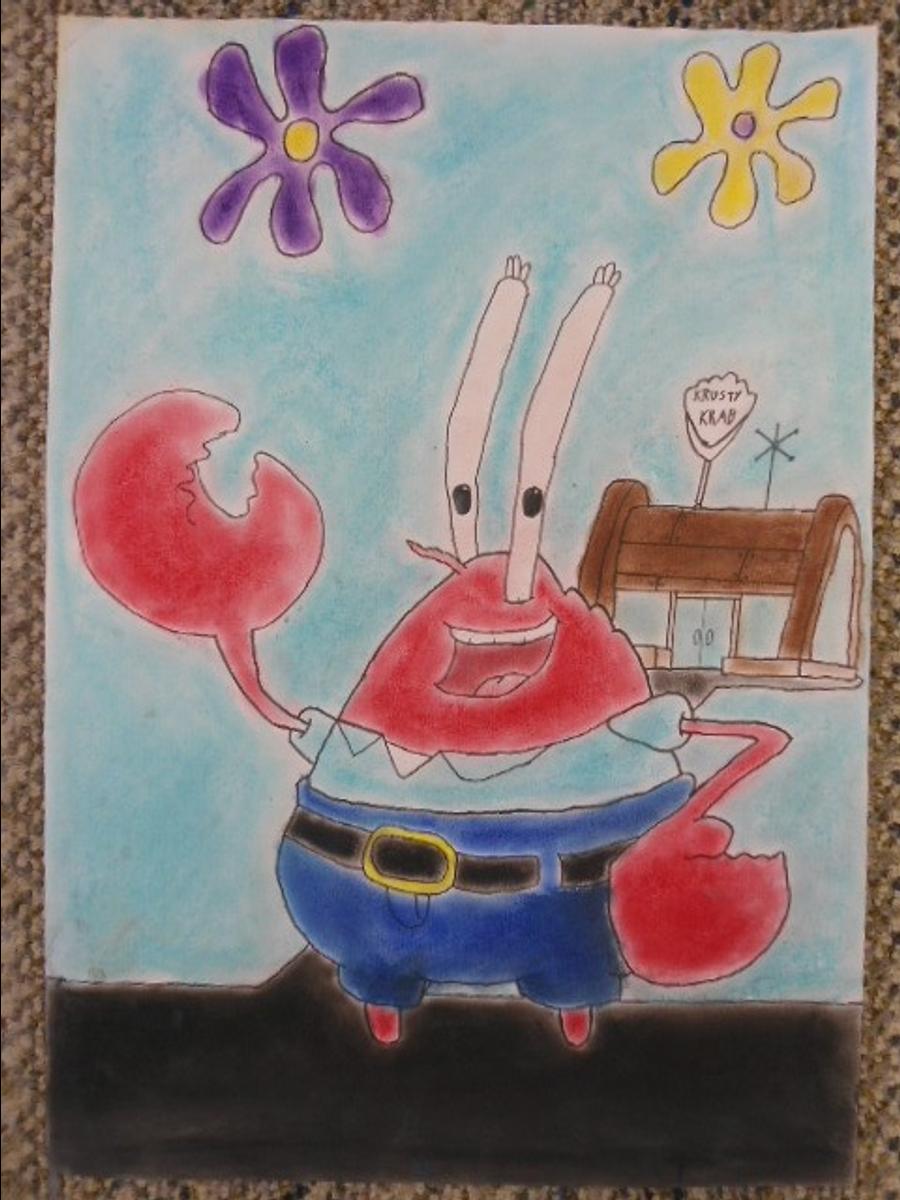
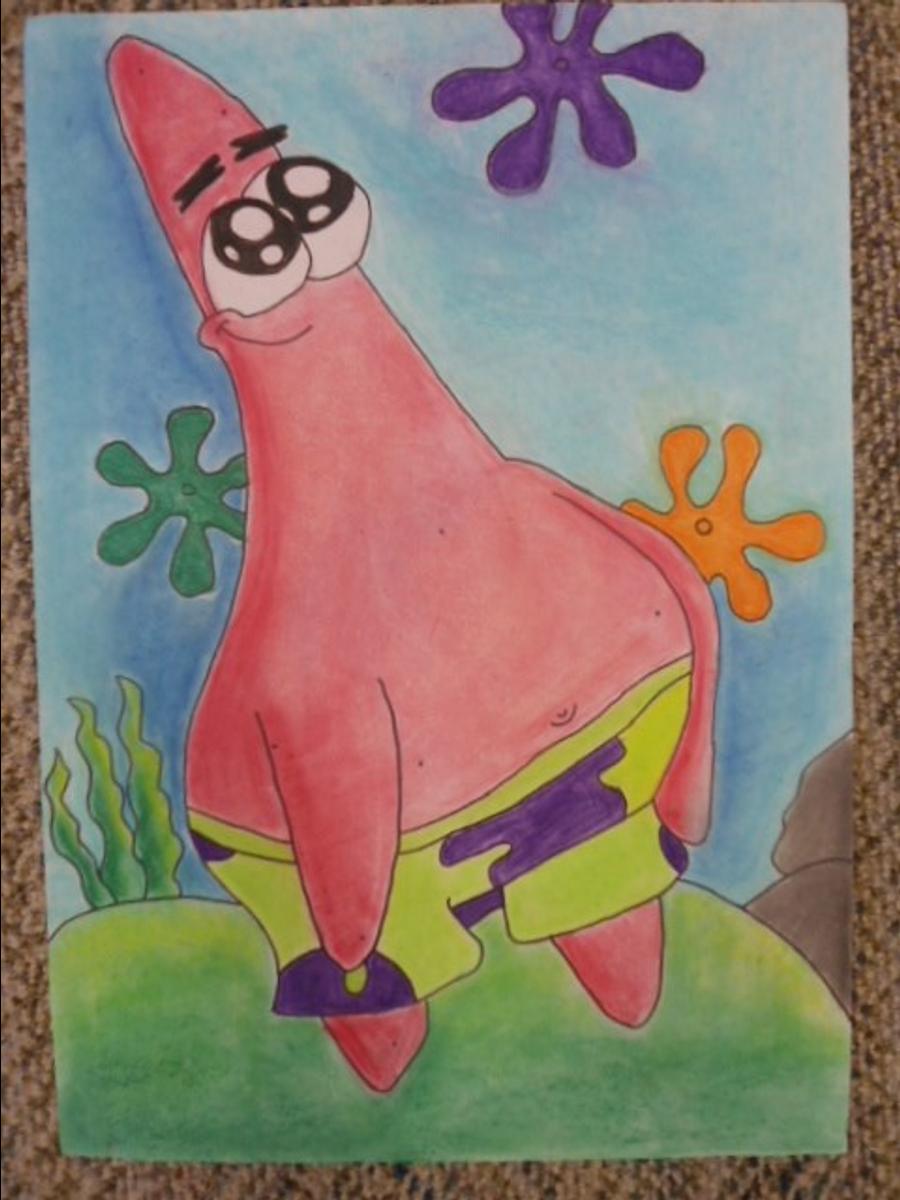
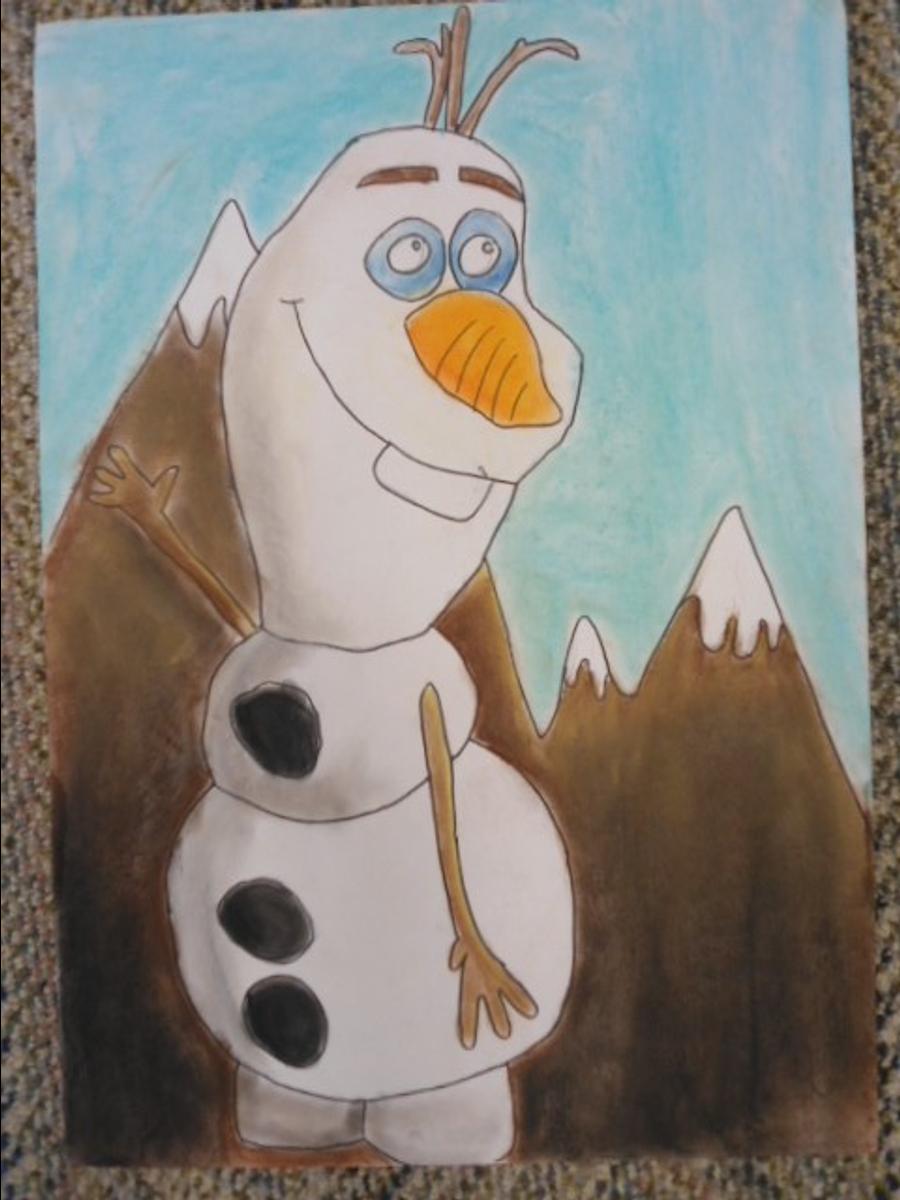
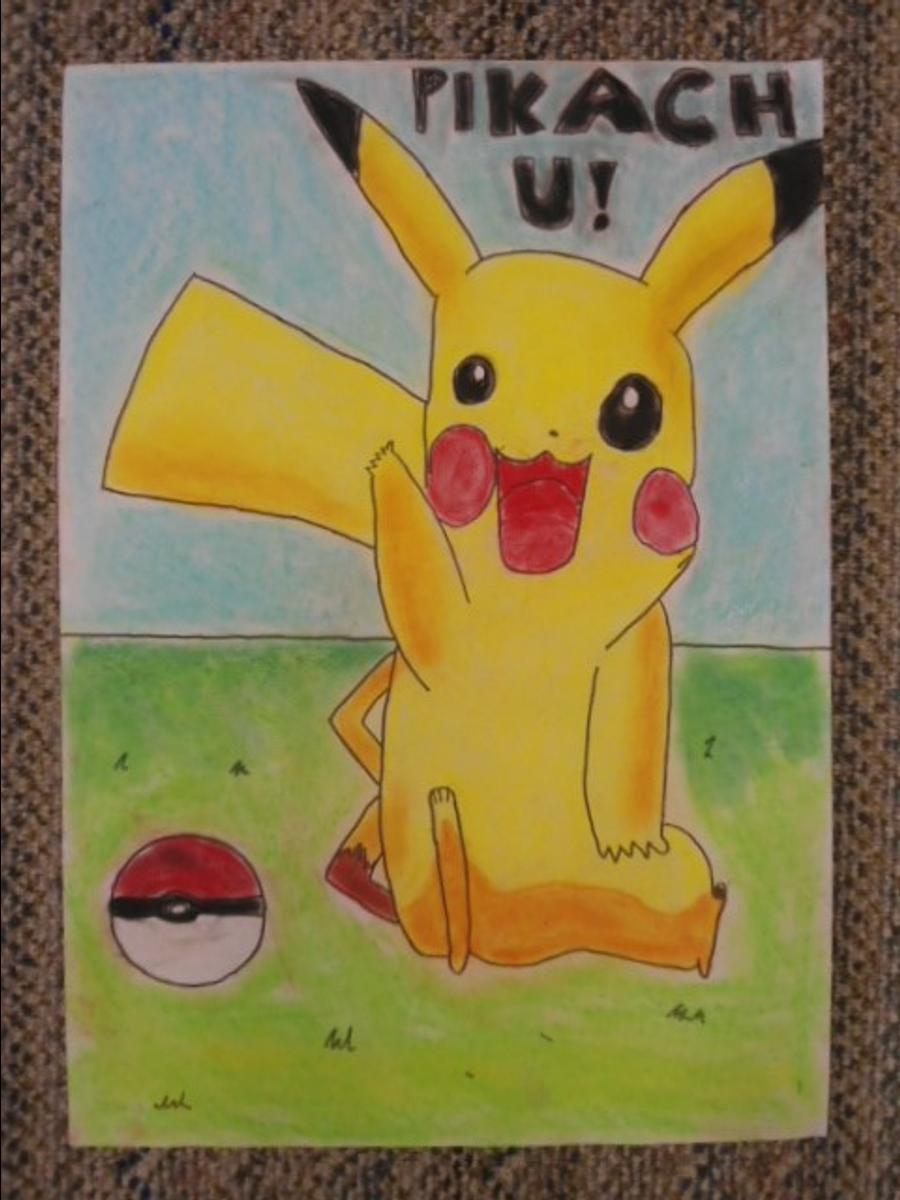
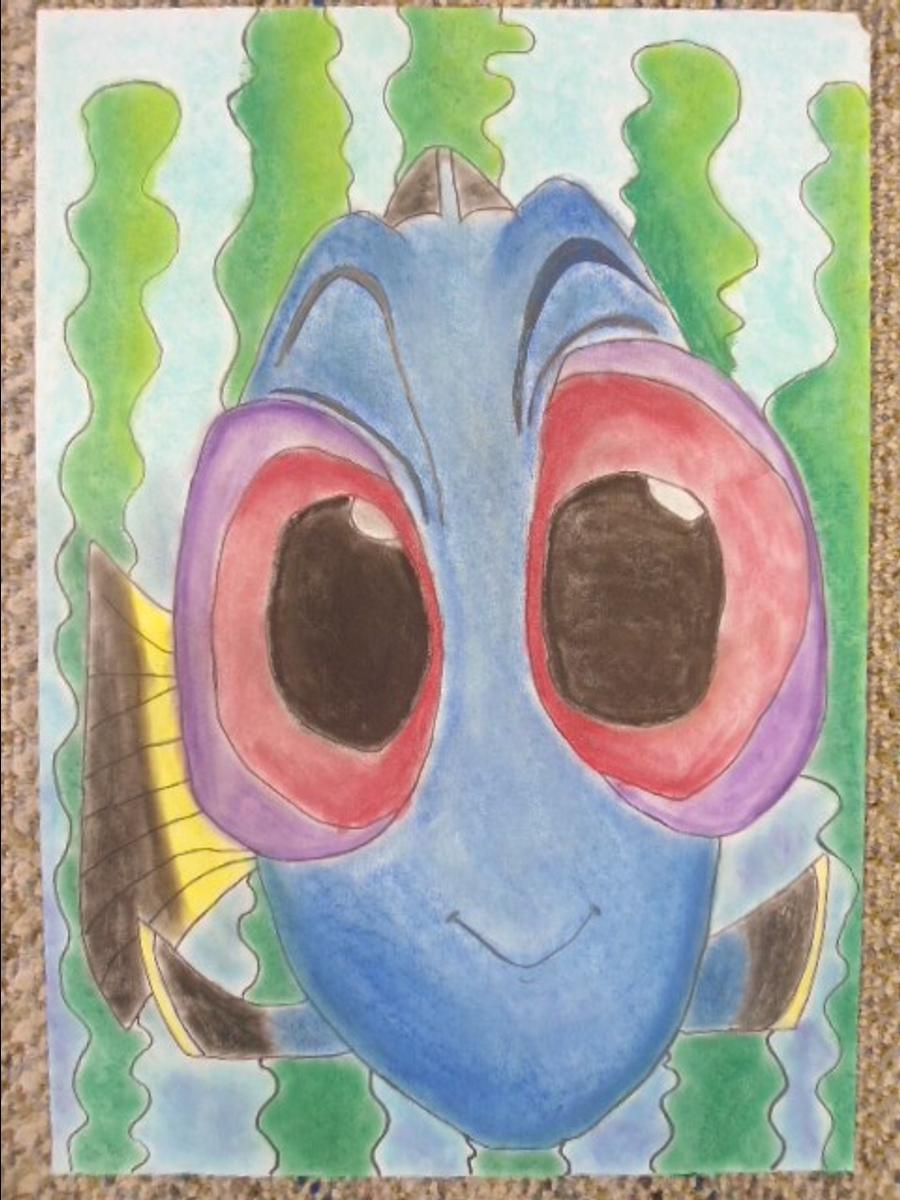
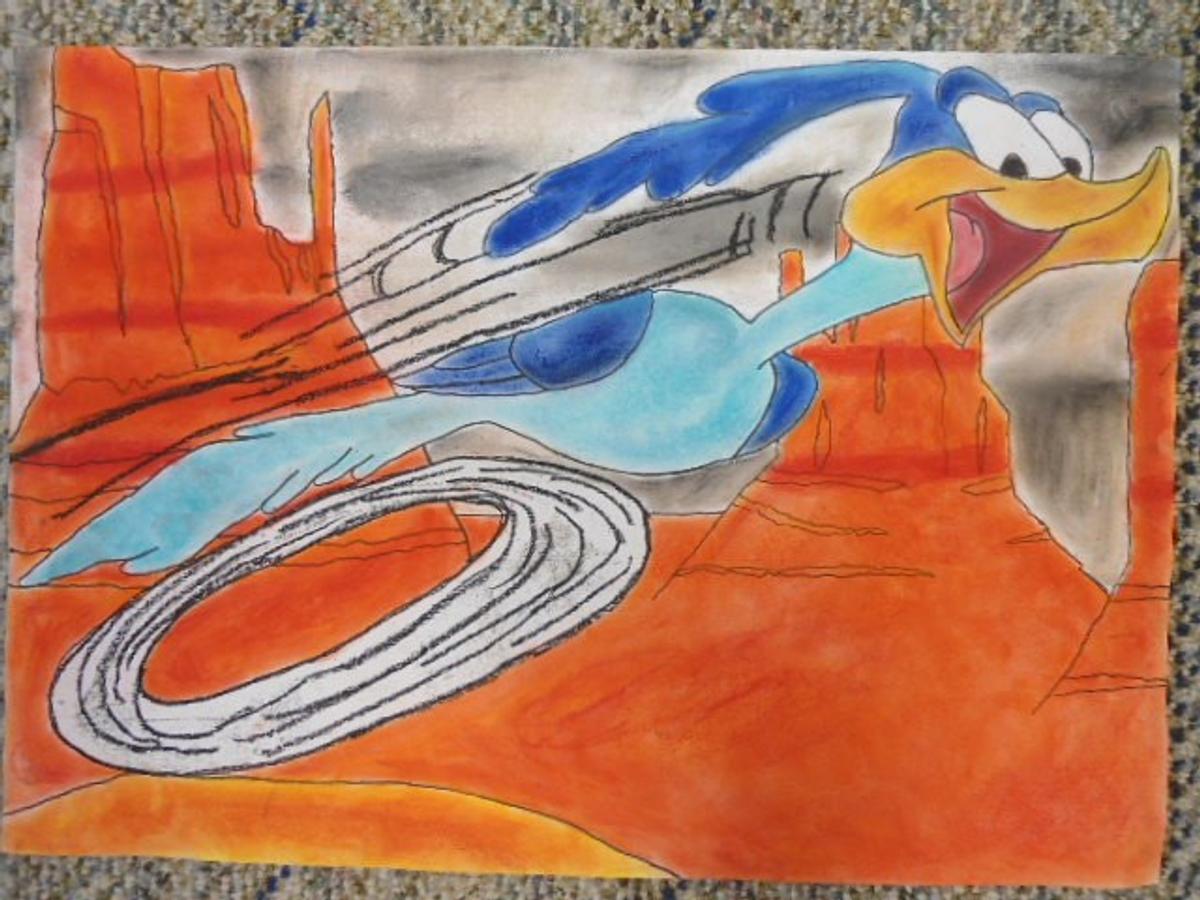
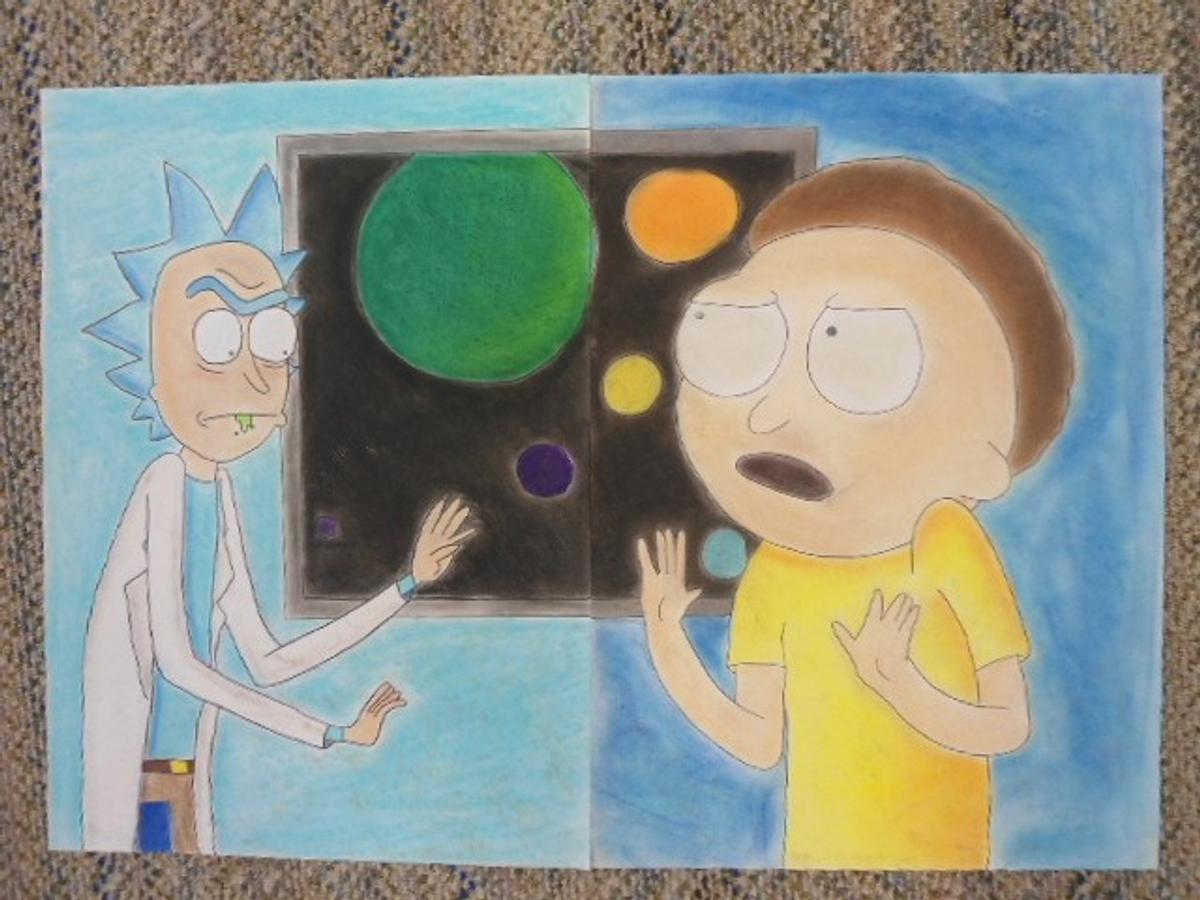
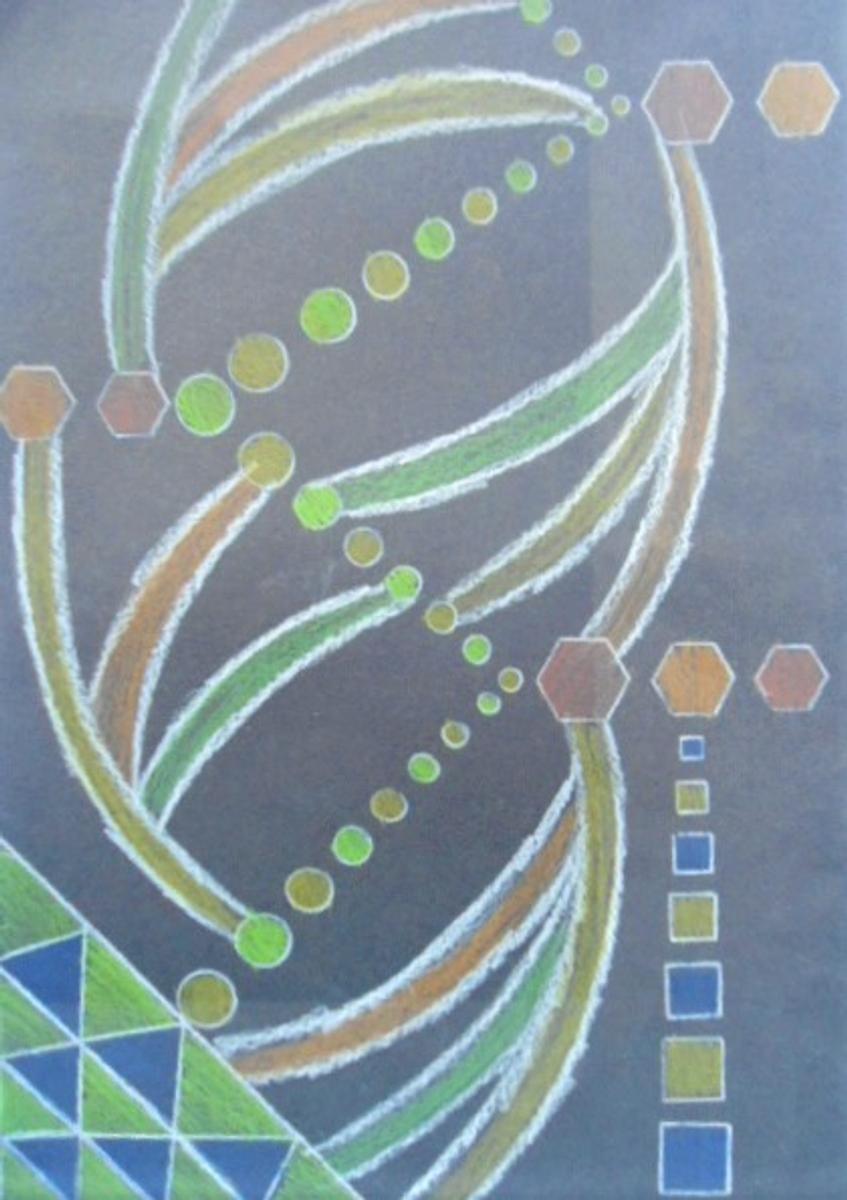
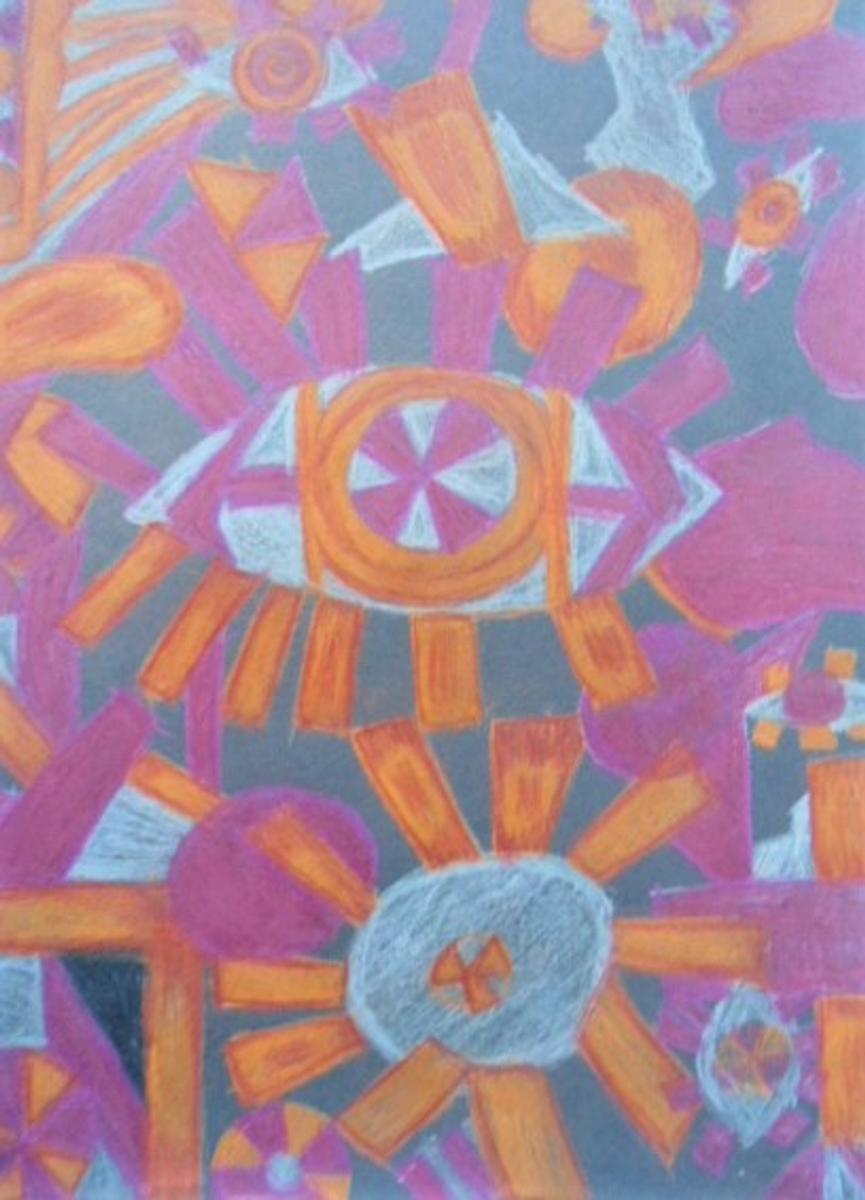
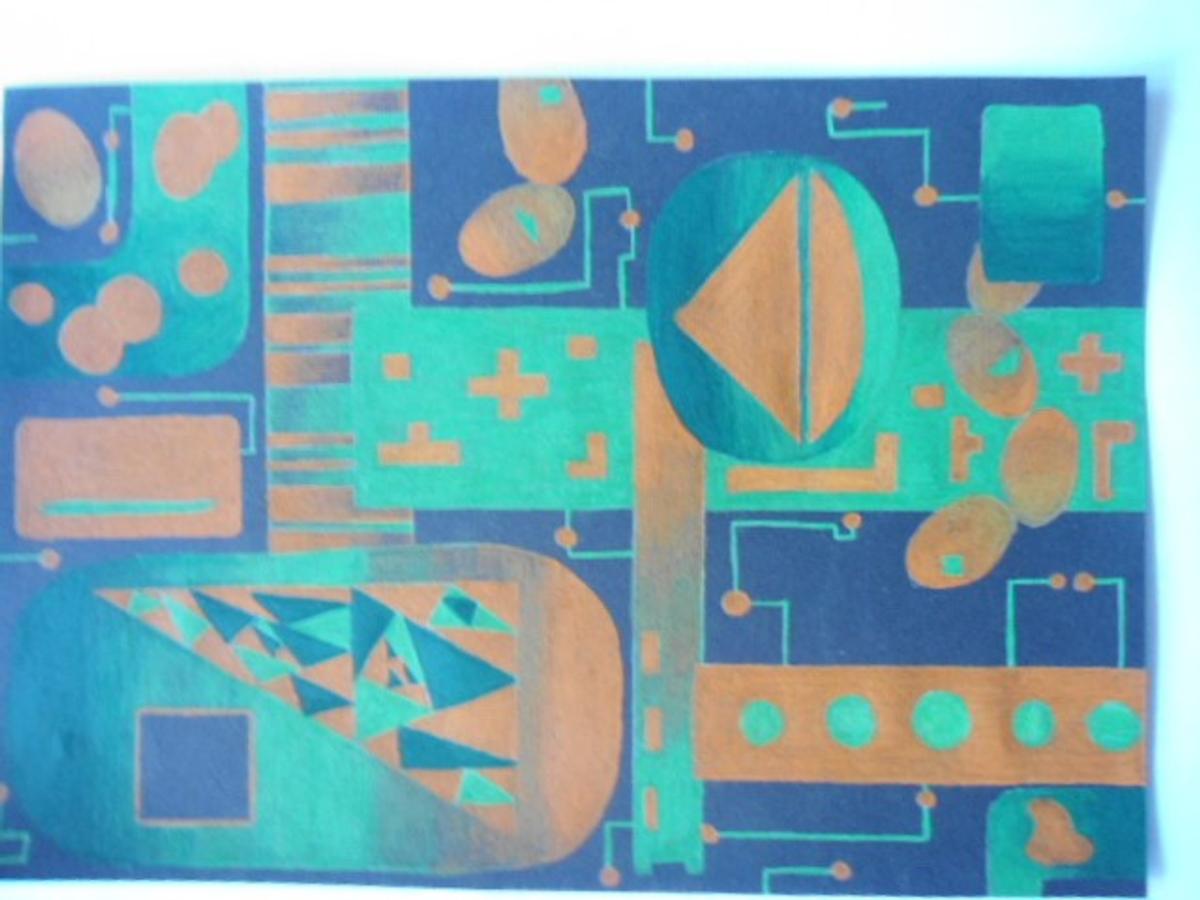
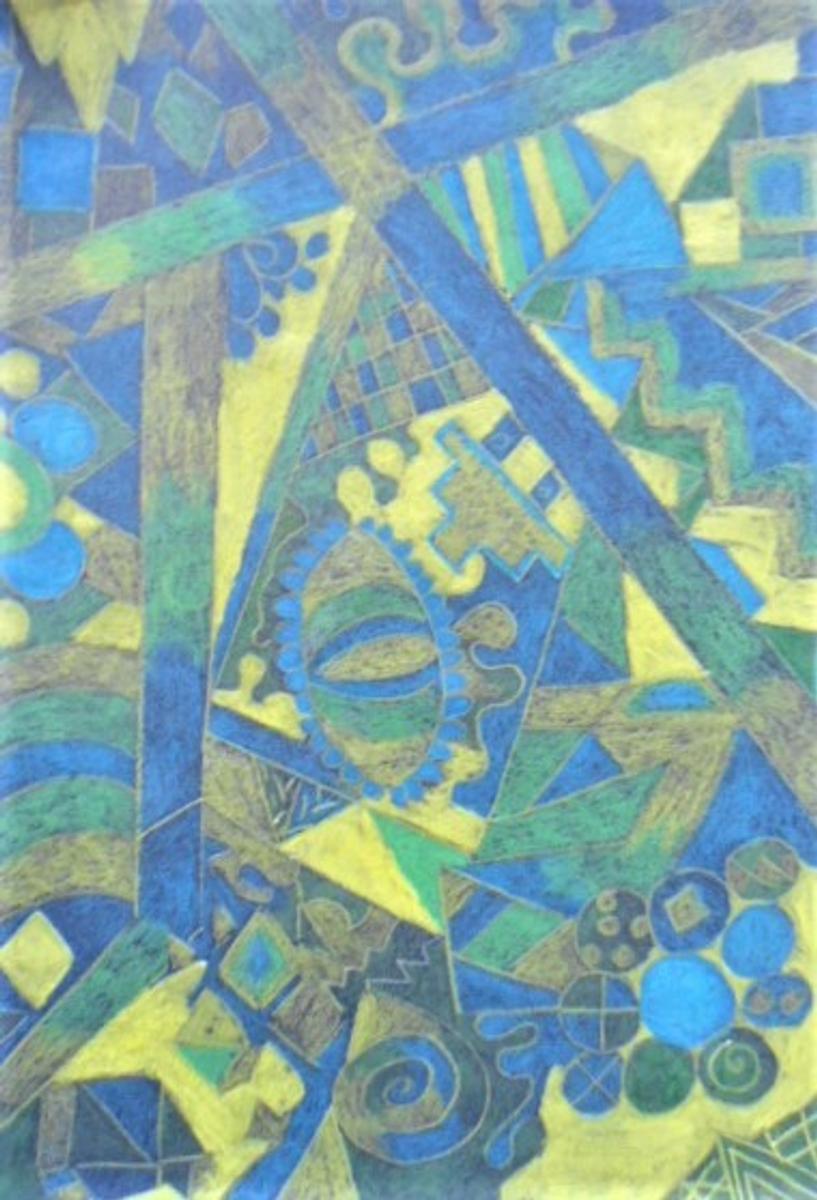
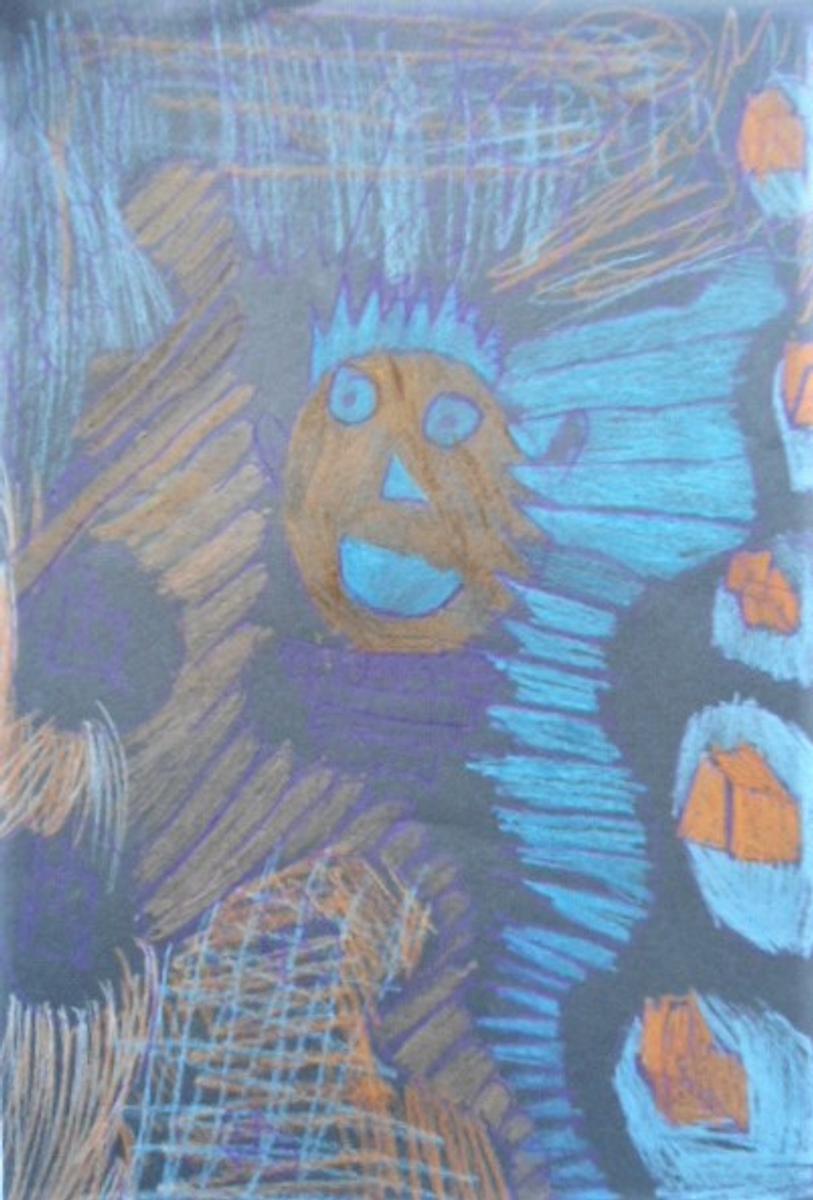
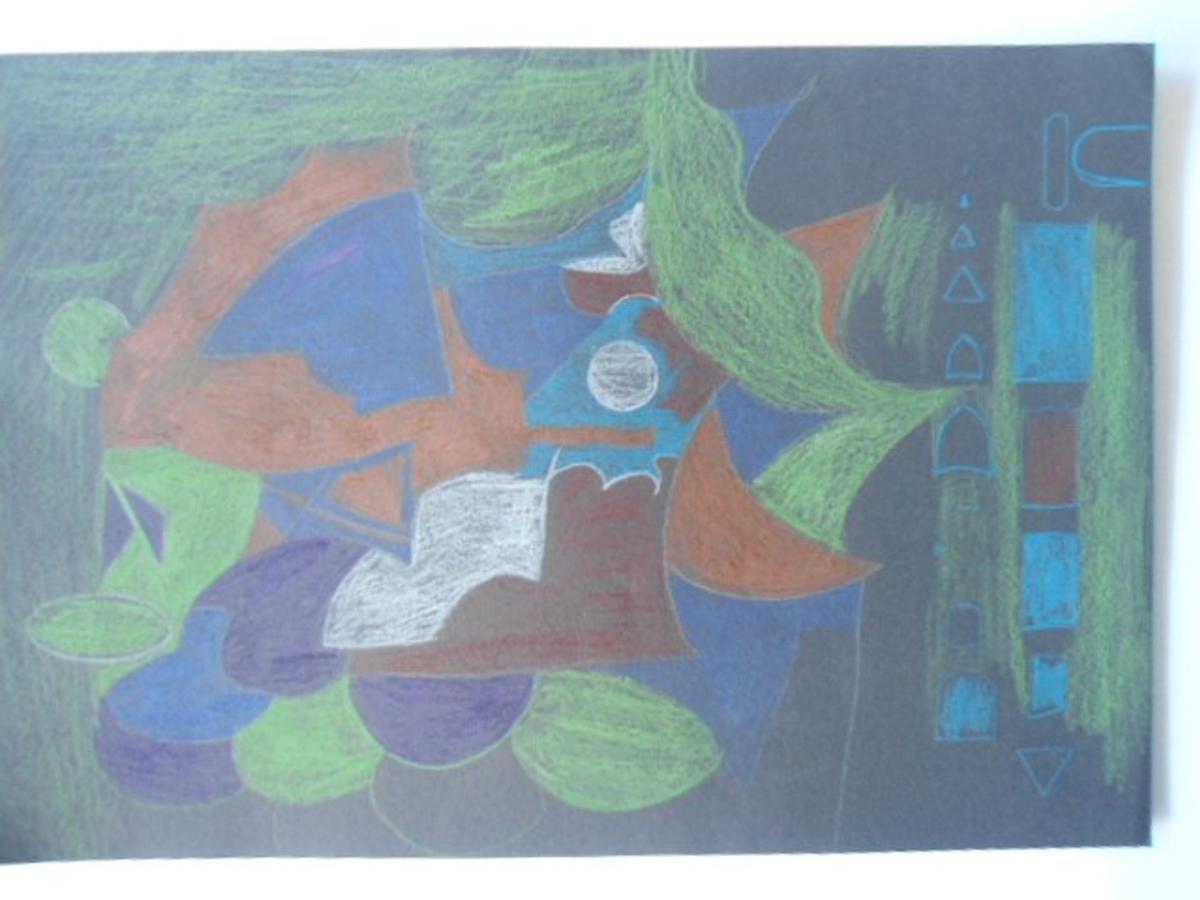
Dry Pastel Drawings
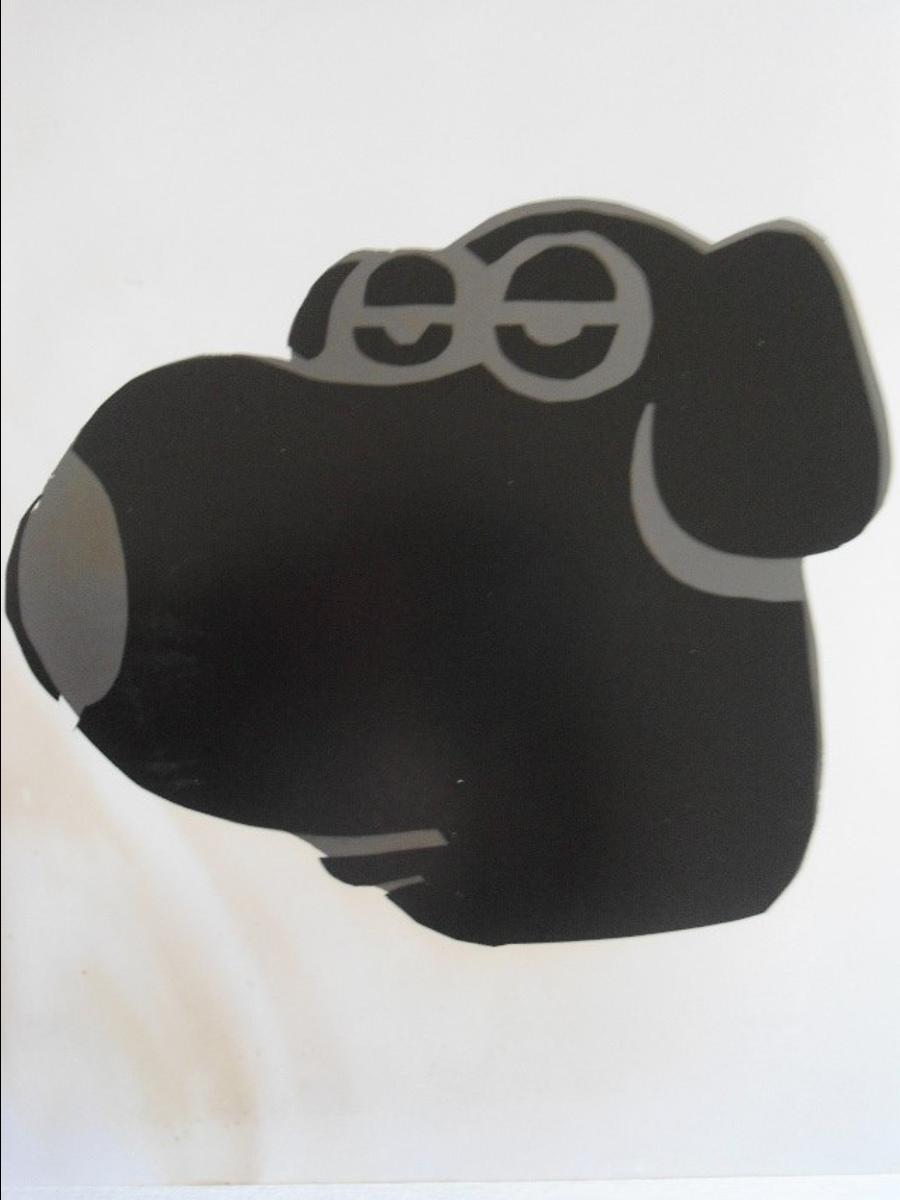
Students had to select a cartoon image, enlarge the image using the grid technique and then transfer this cartoon on to a clean sheet of paper. The students then had to design a simple background environment that complimented the cartoon. Students then applied dry pastel where they were taught how to create tonal changes to give their drawing form.


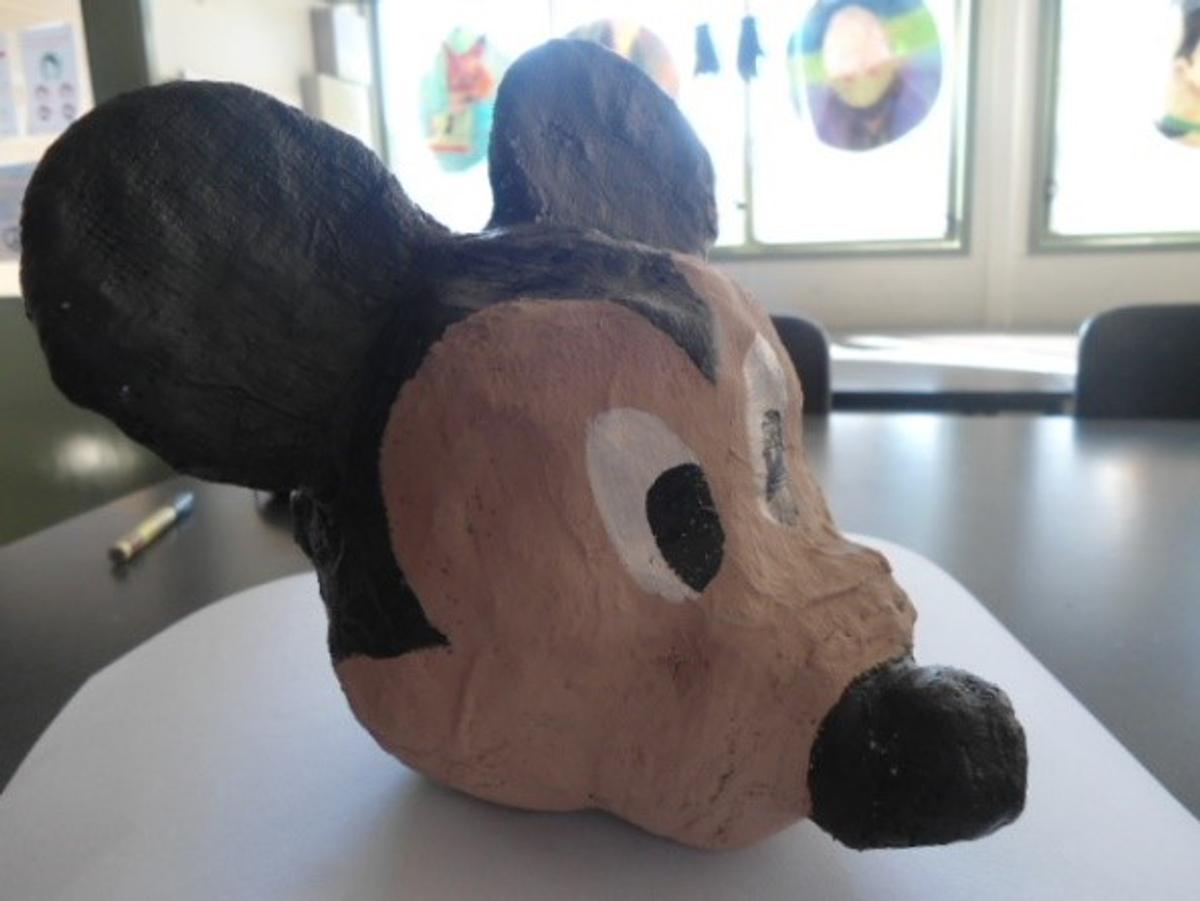
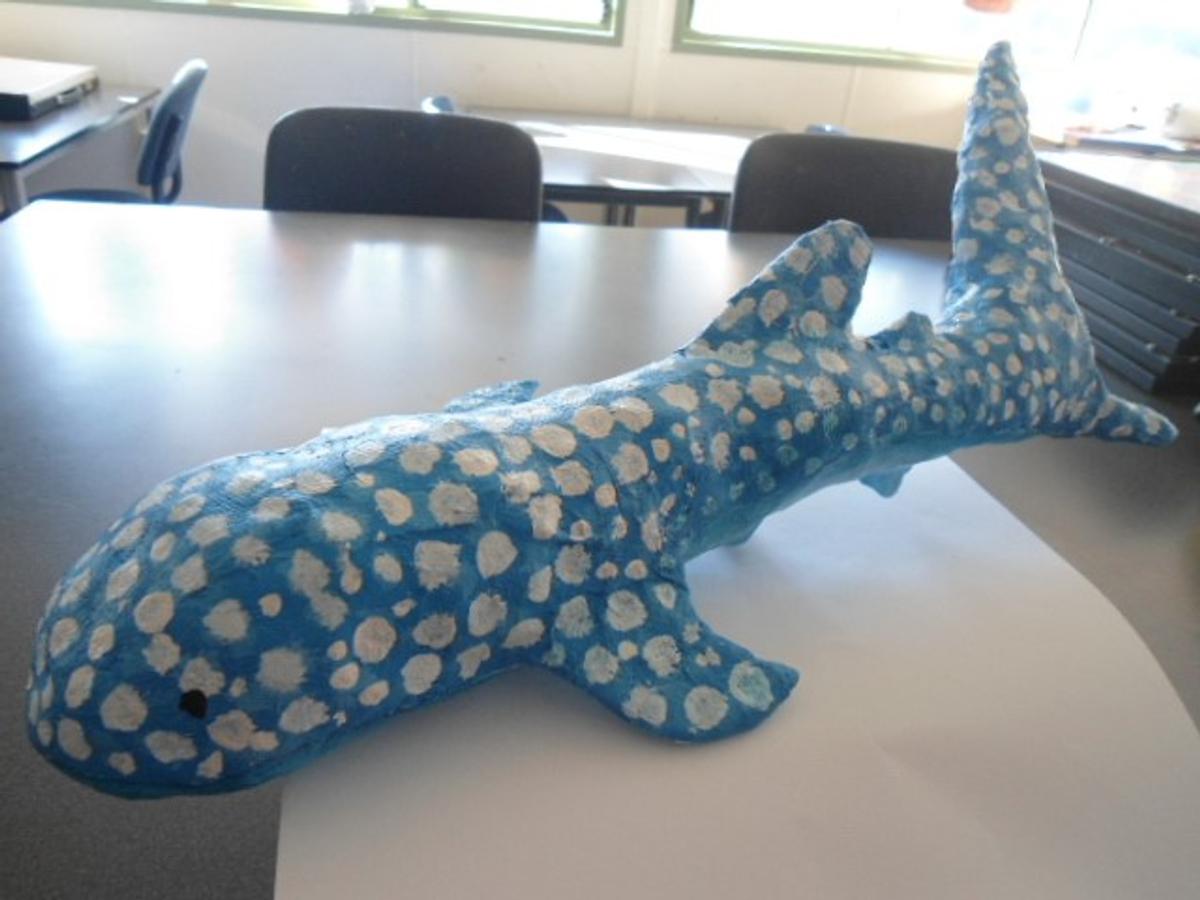
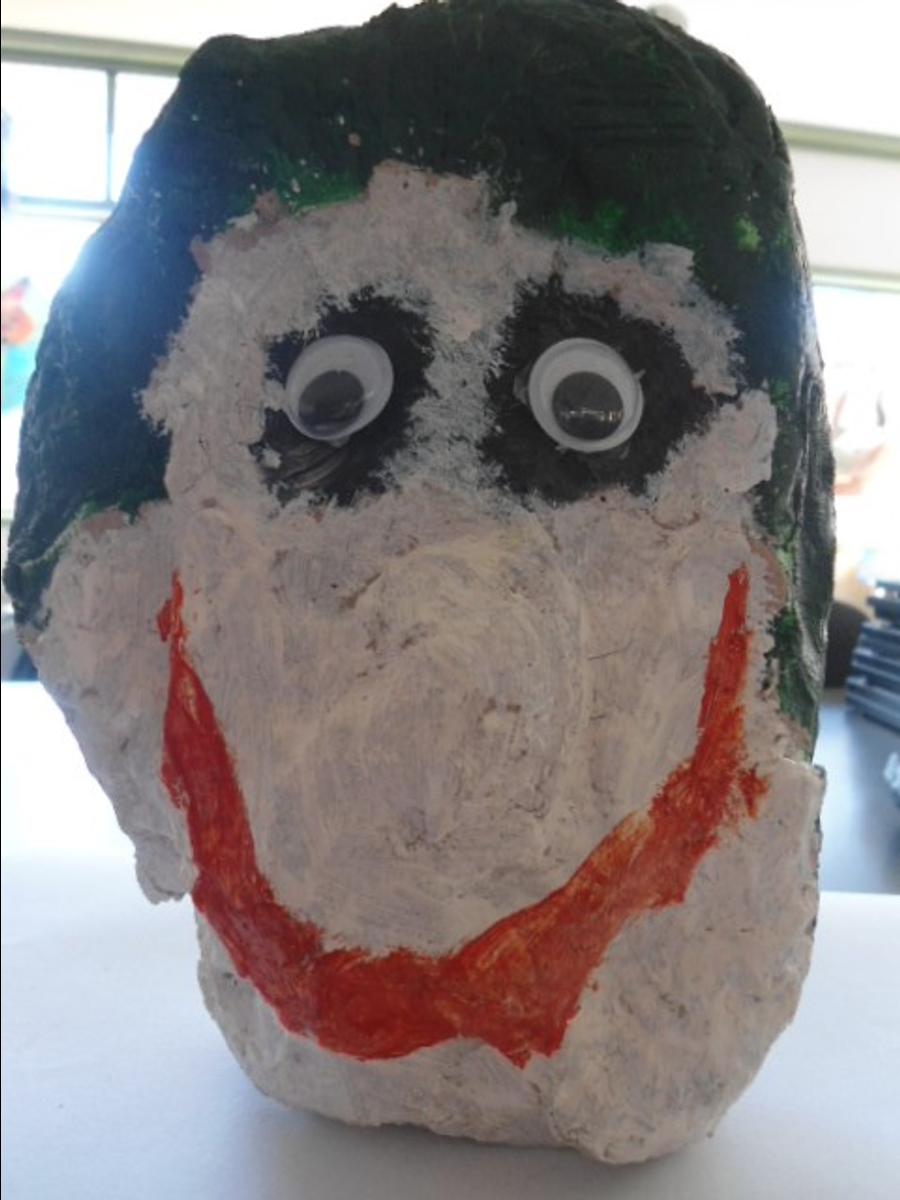
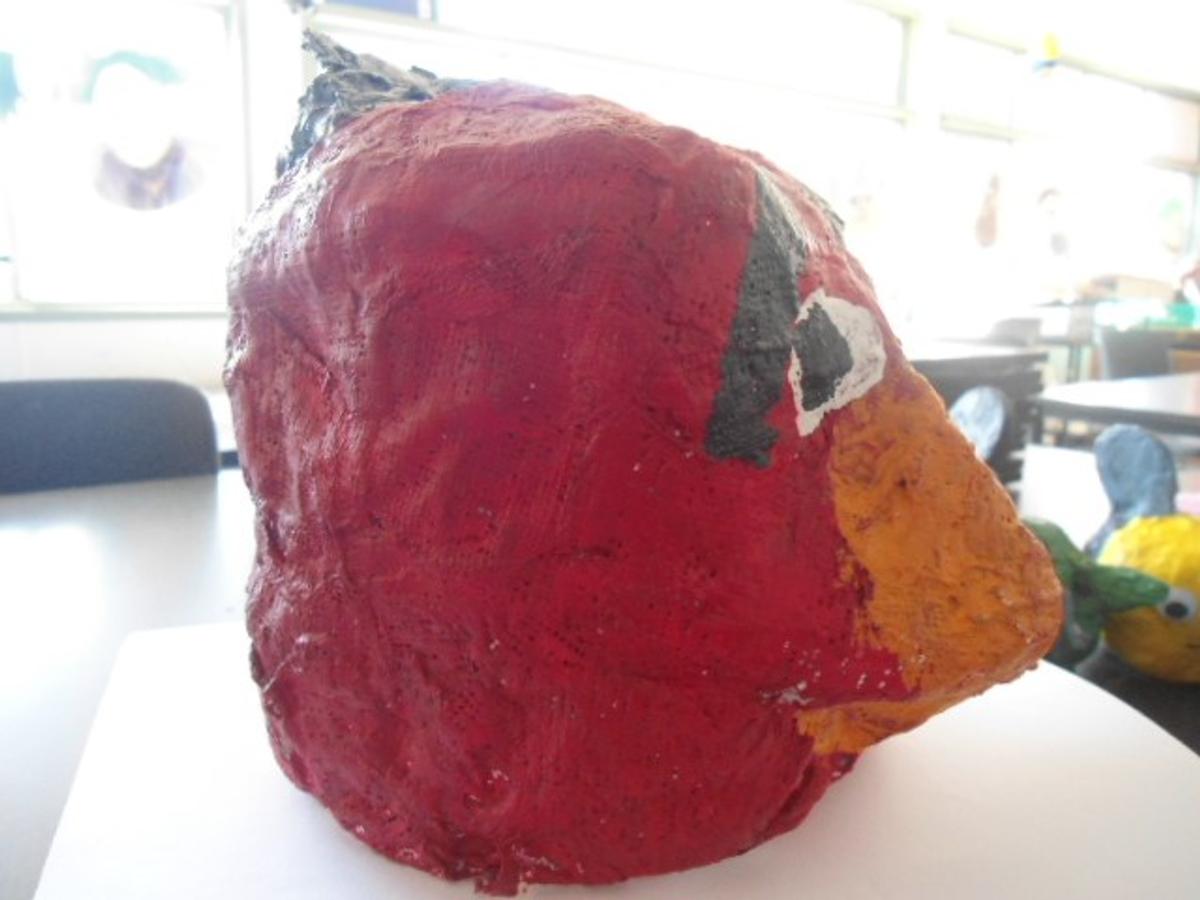
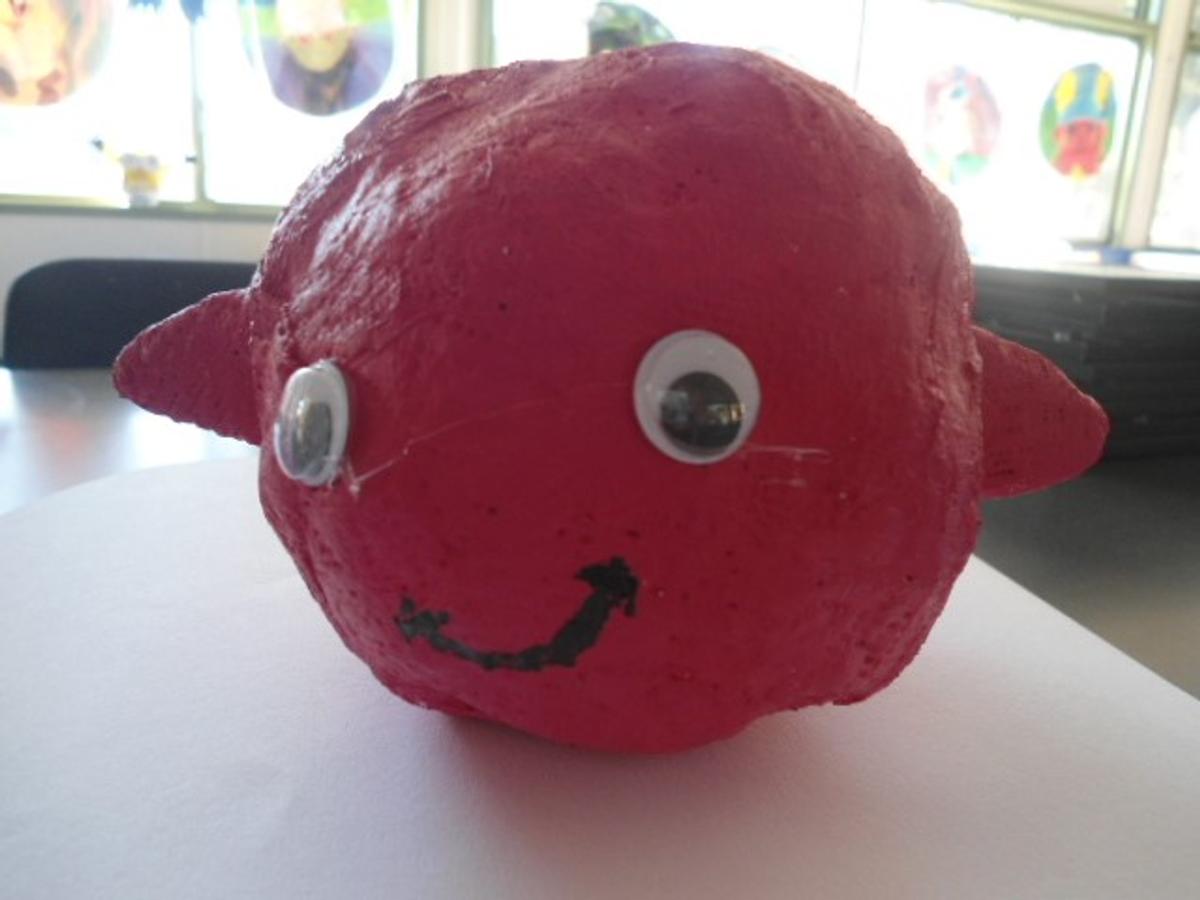
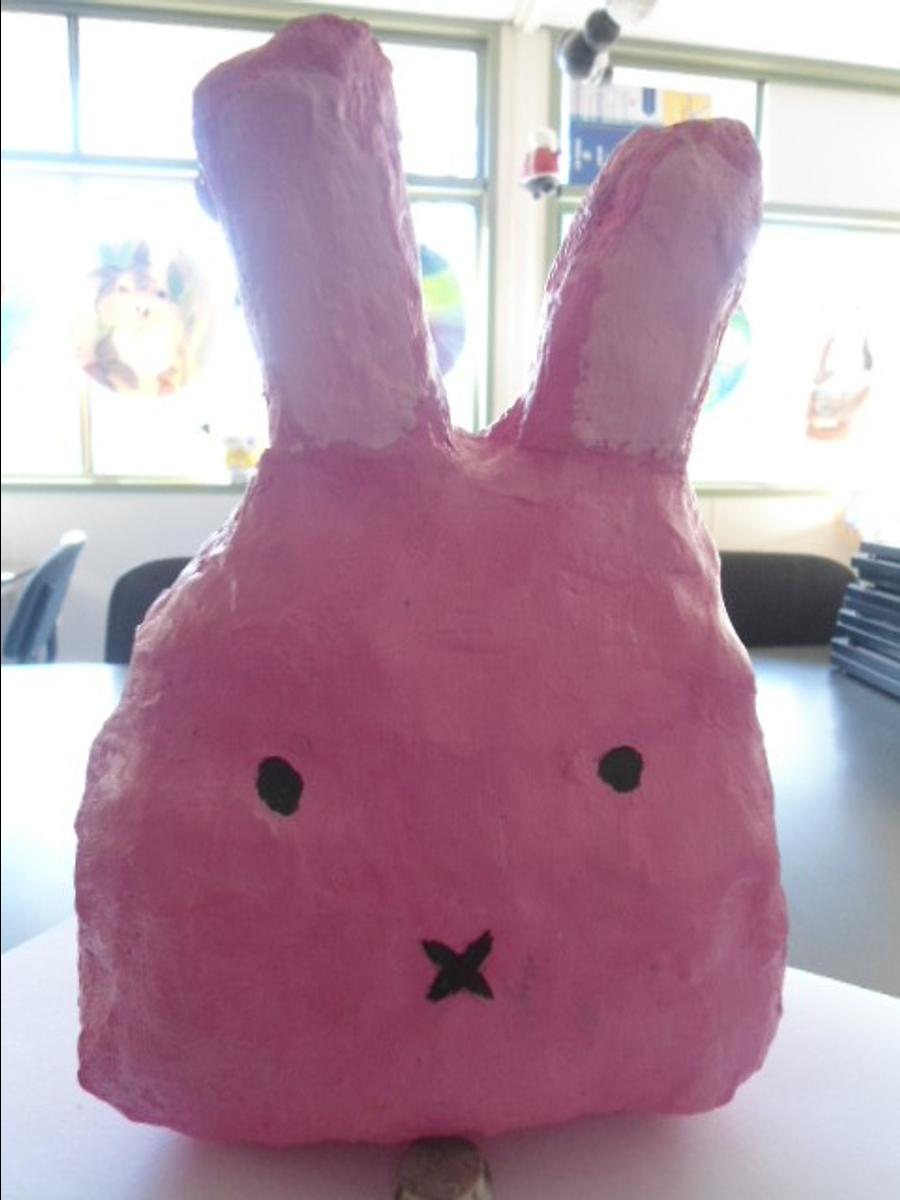
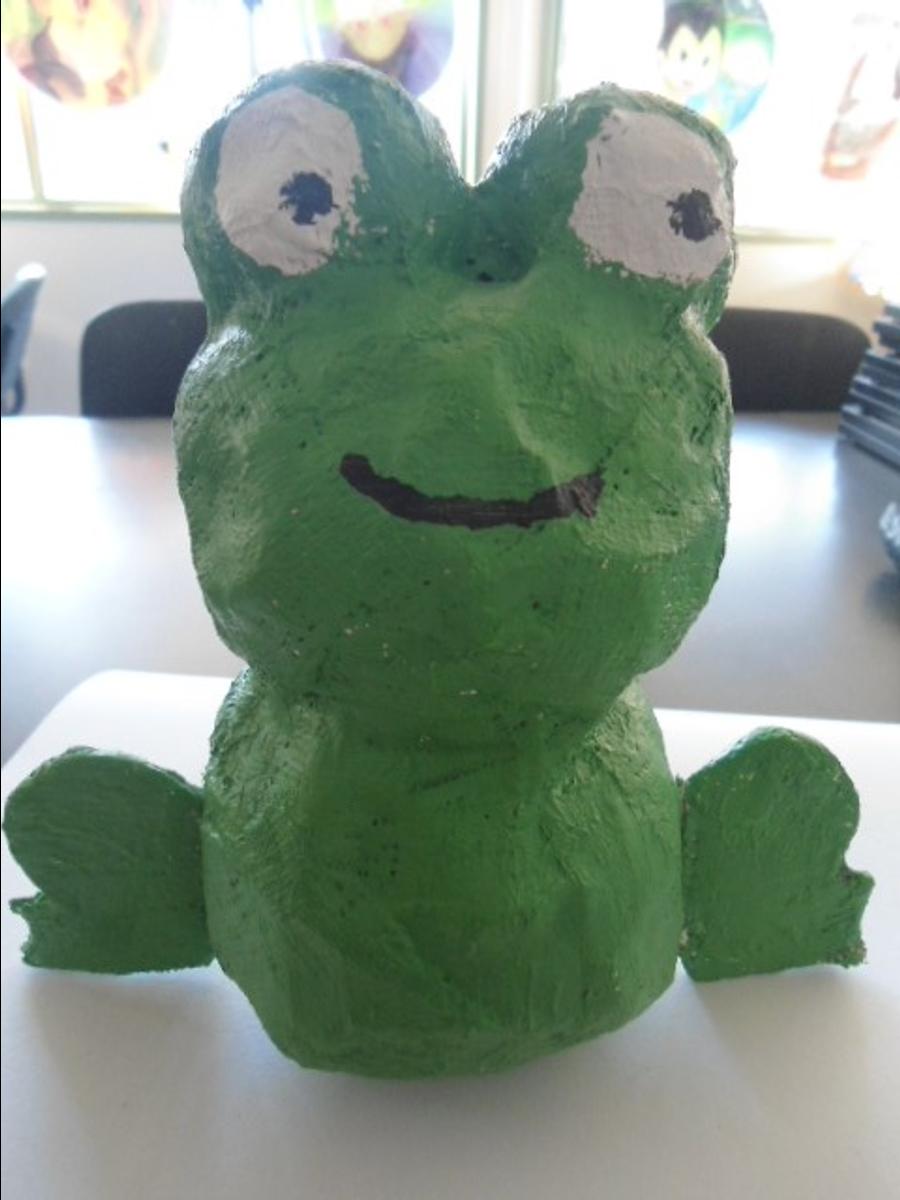
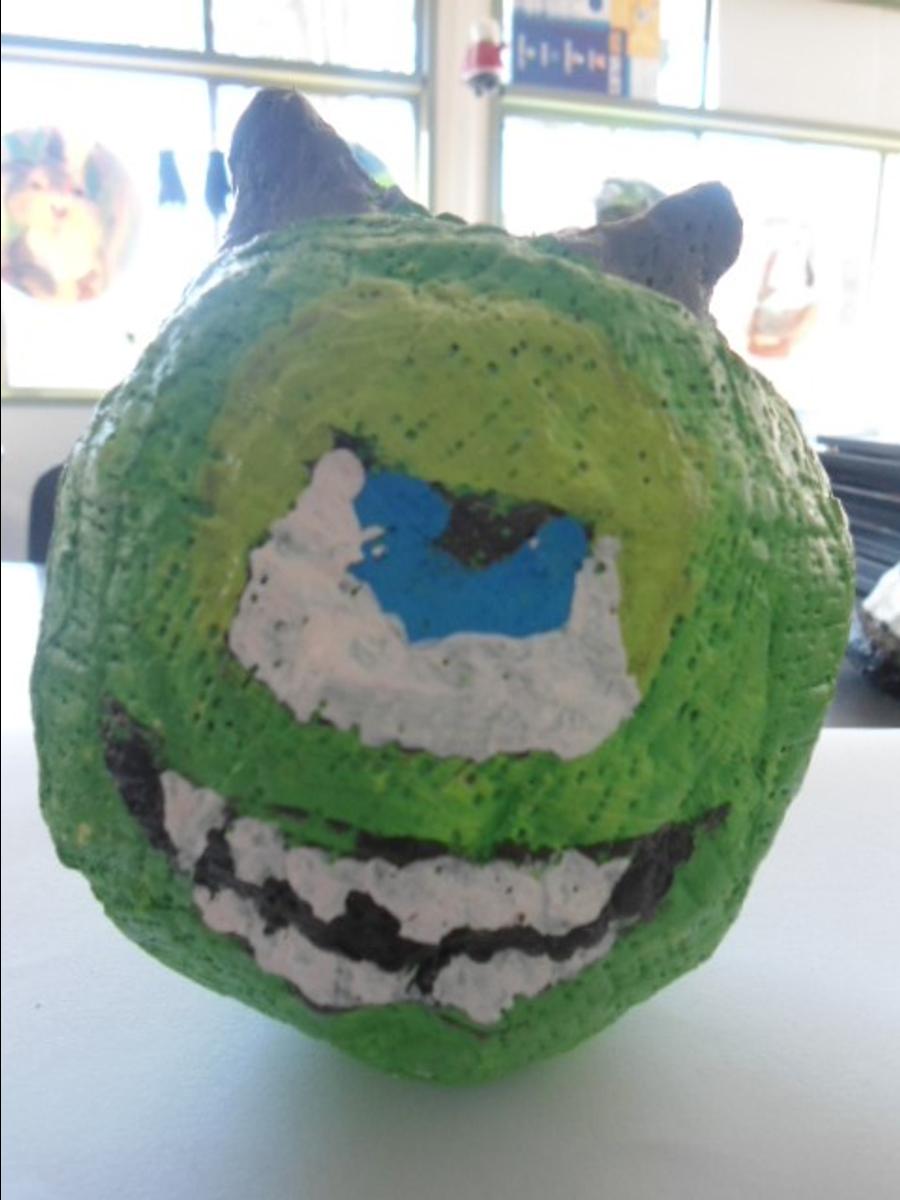
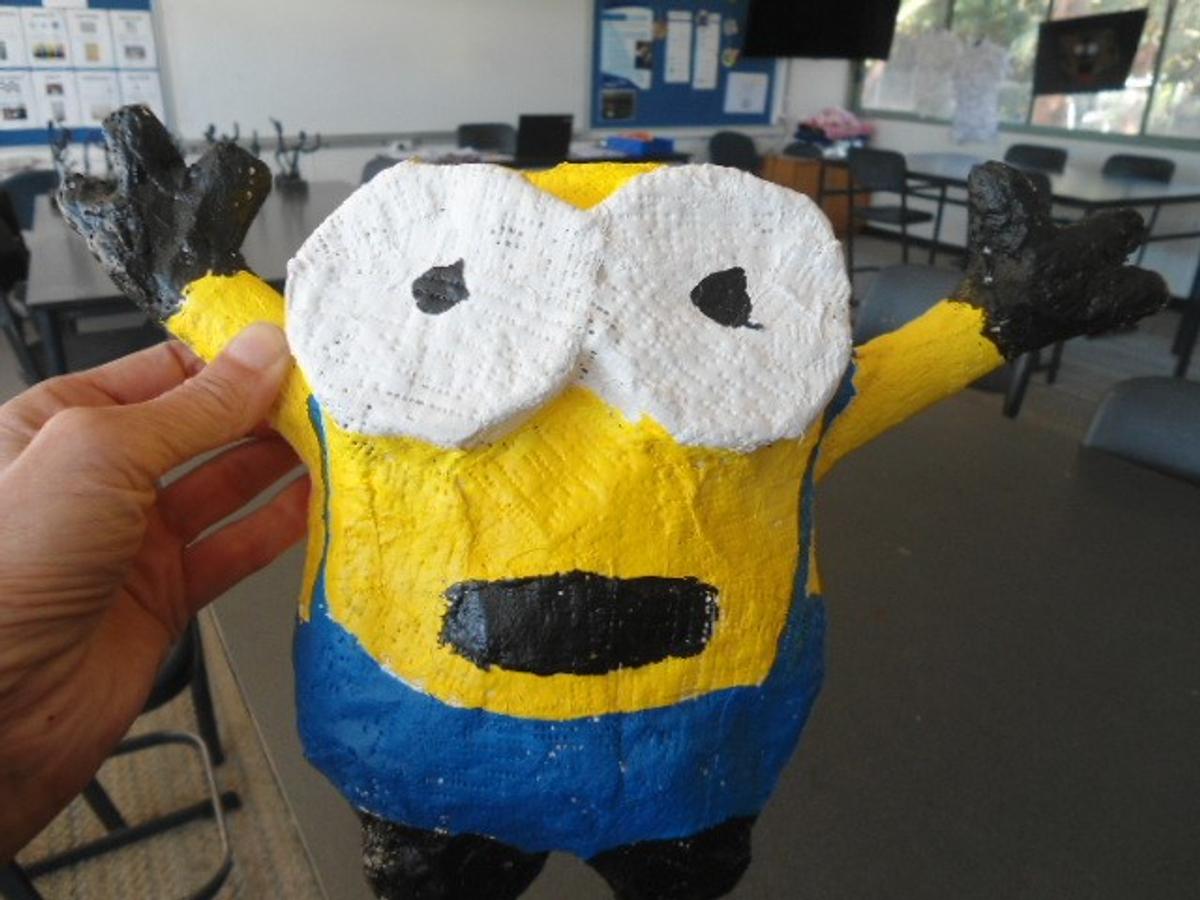
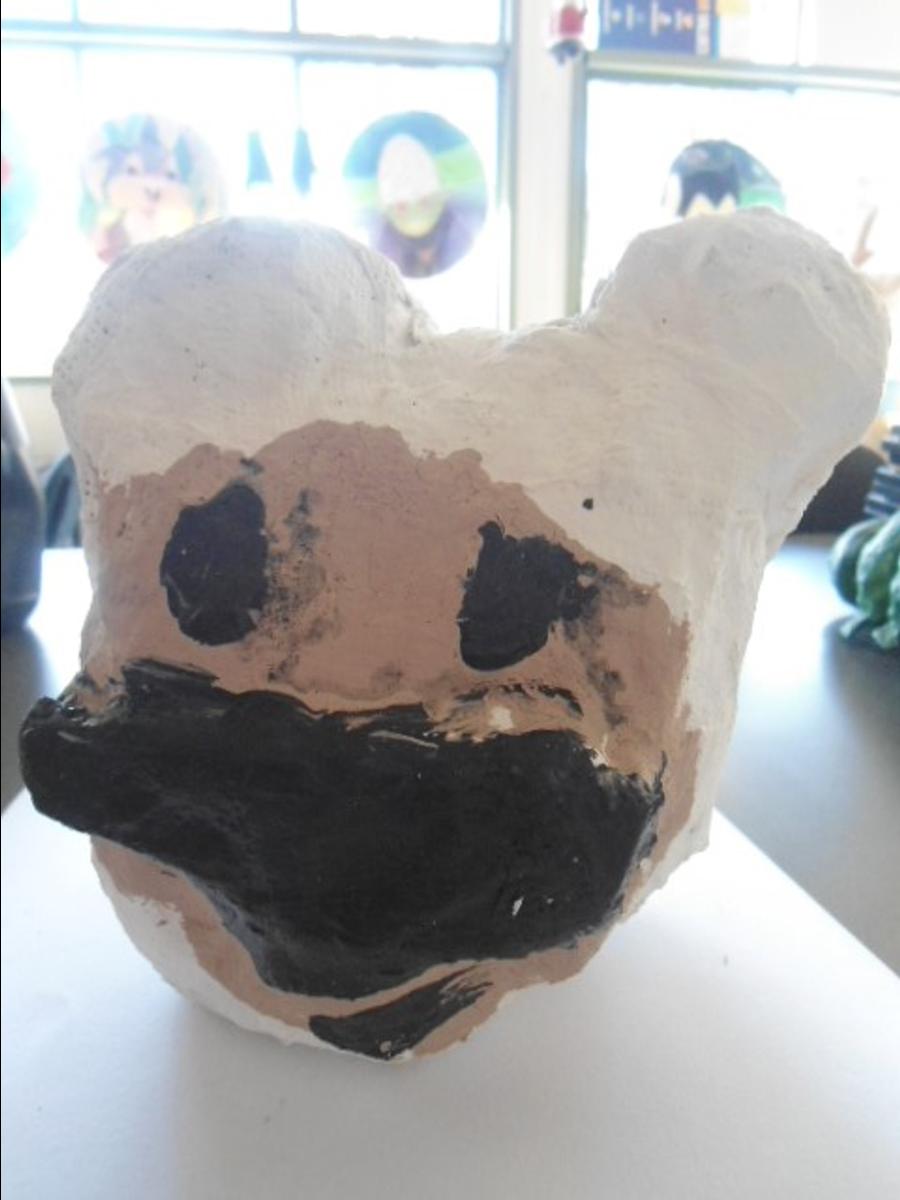
3D Models
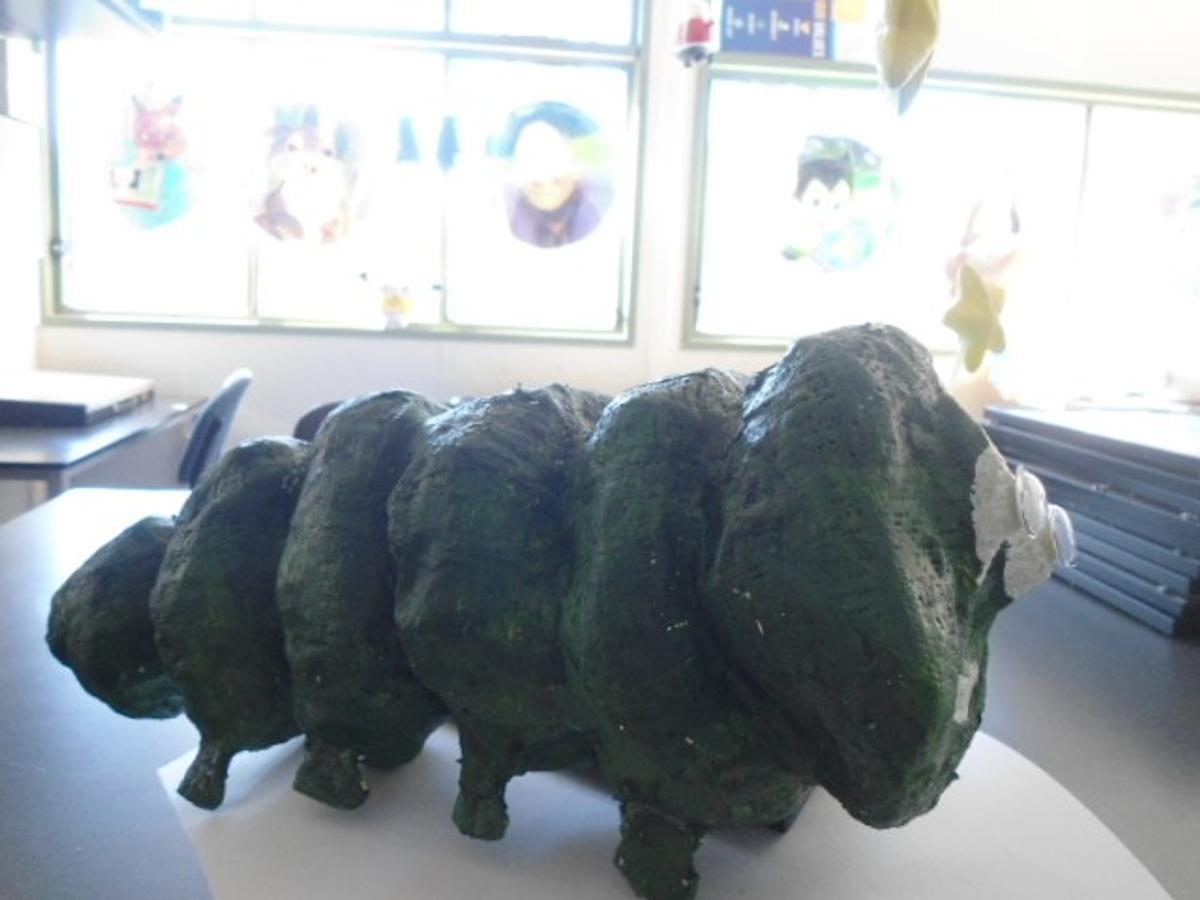
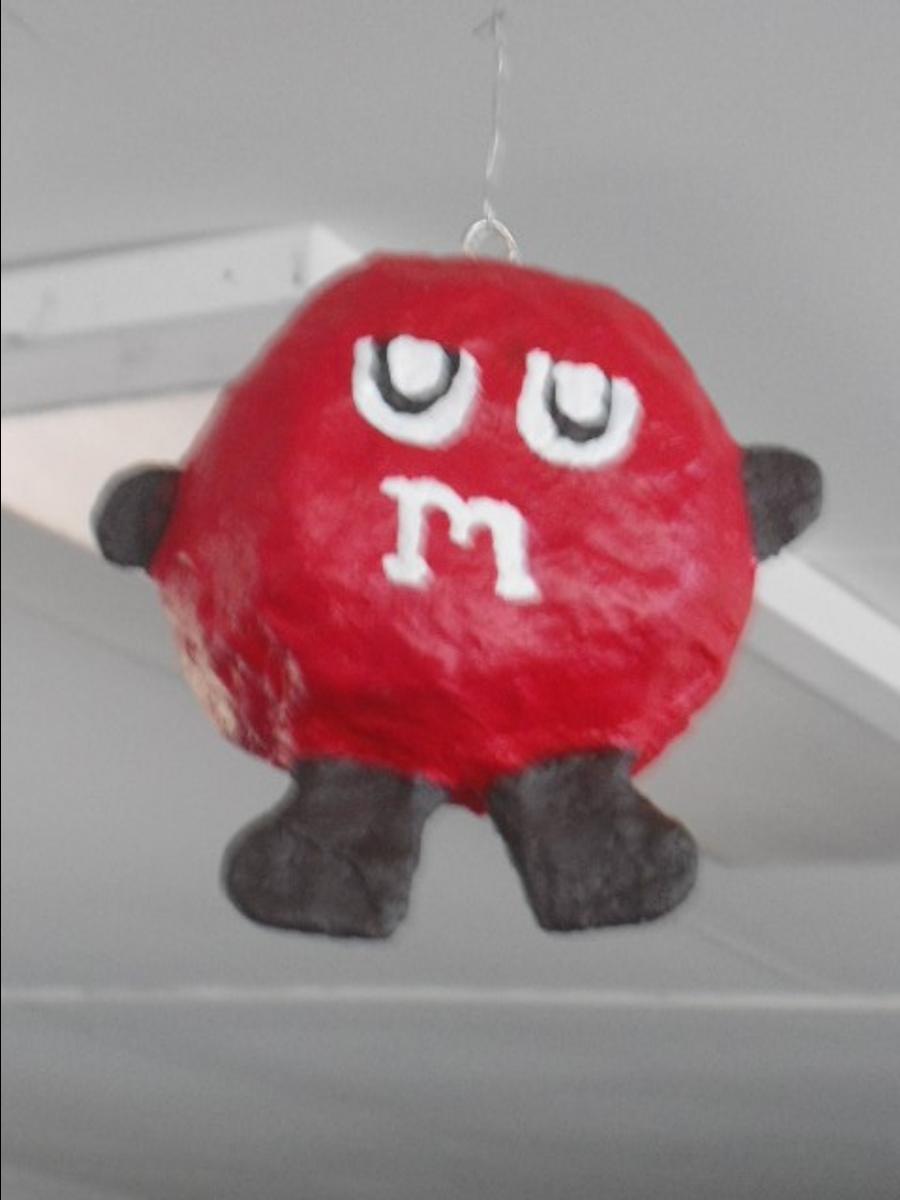
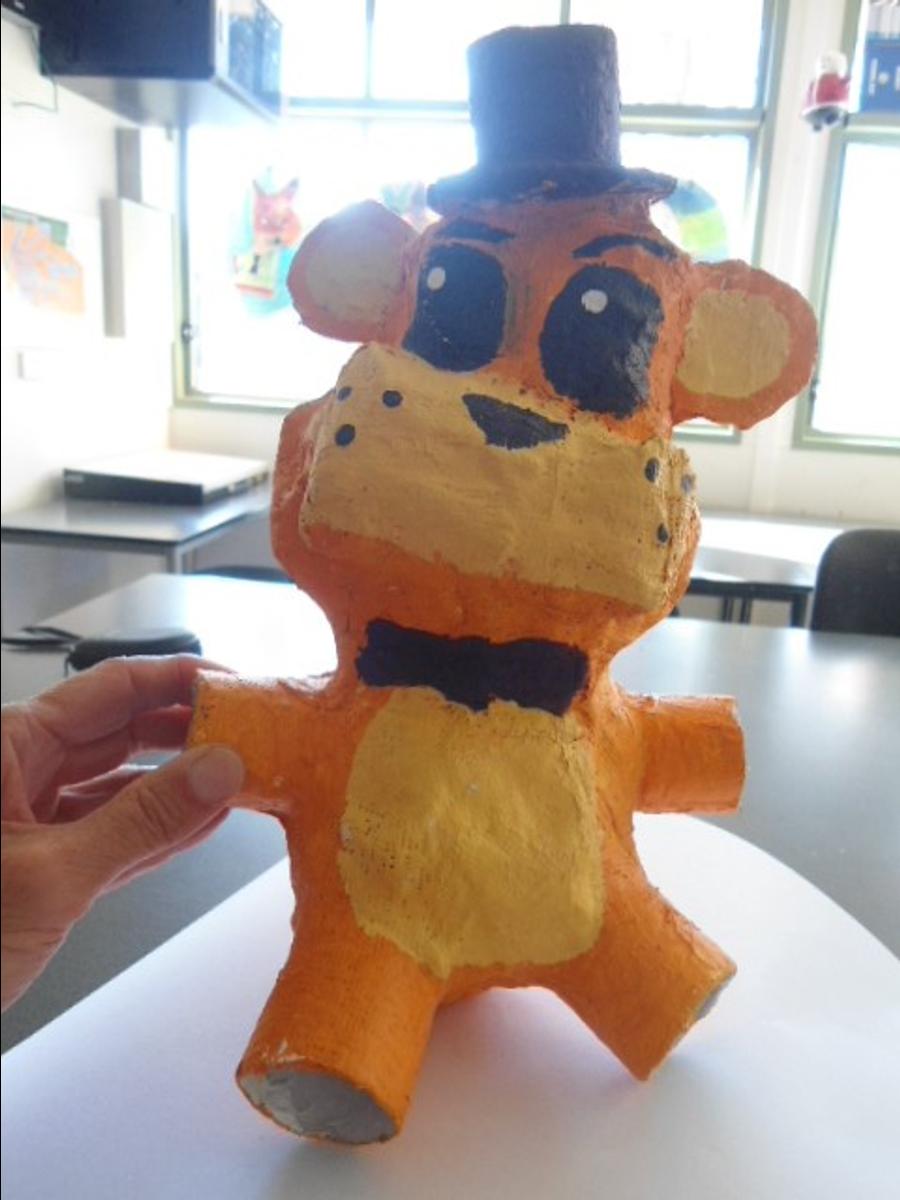
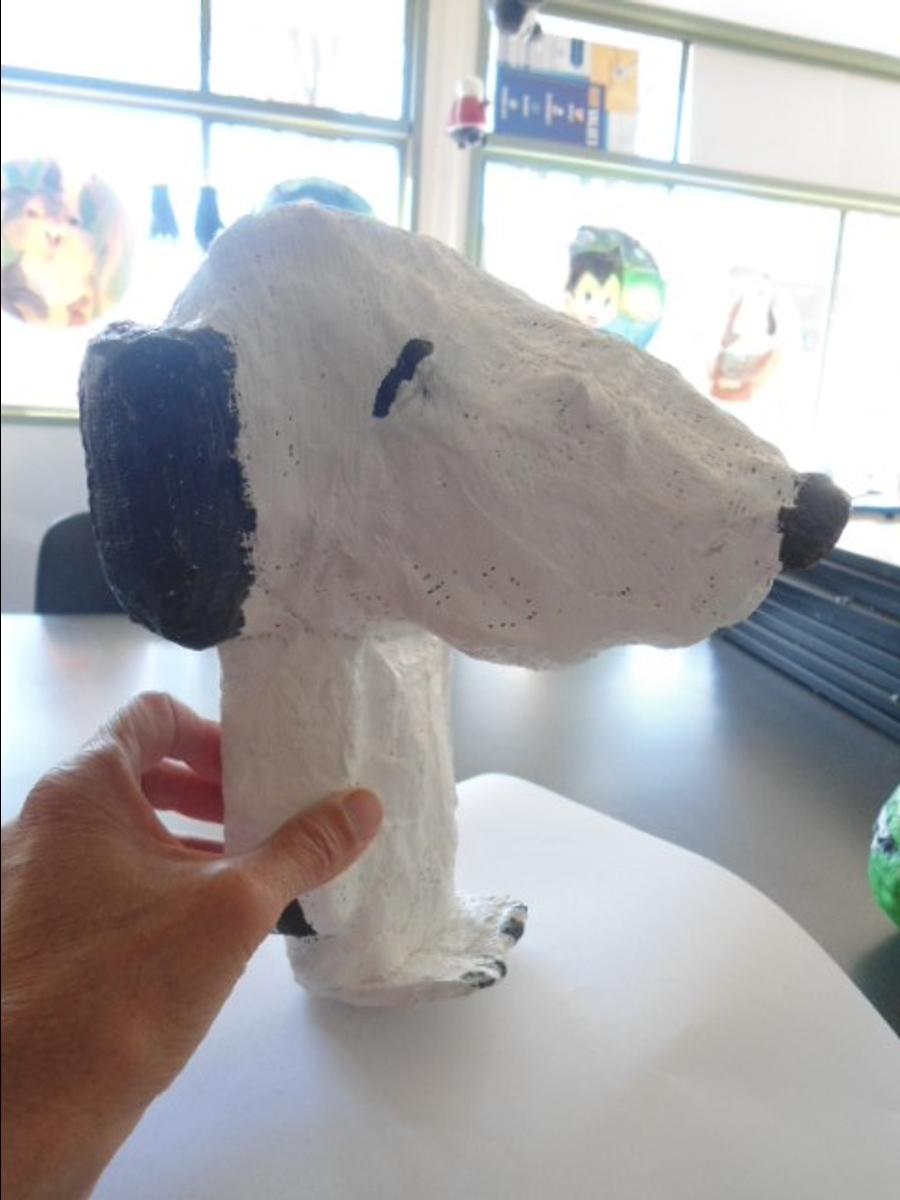
Students were required to find a character that they liked and then print this off in a word document. Once this was done, students then had to construct the body of their character/animal using newspaper and masking tape. Students wrapped the newspaper up like fish ‘n’ chips by placing the newspaper in the middle of a sheet and then wrapping it. Students had to consider the size and shape of their model. Students were also able to use cardboard and the cardboard interior of a toilet roll.

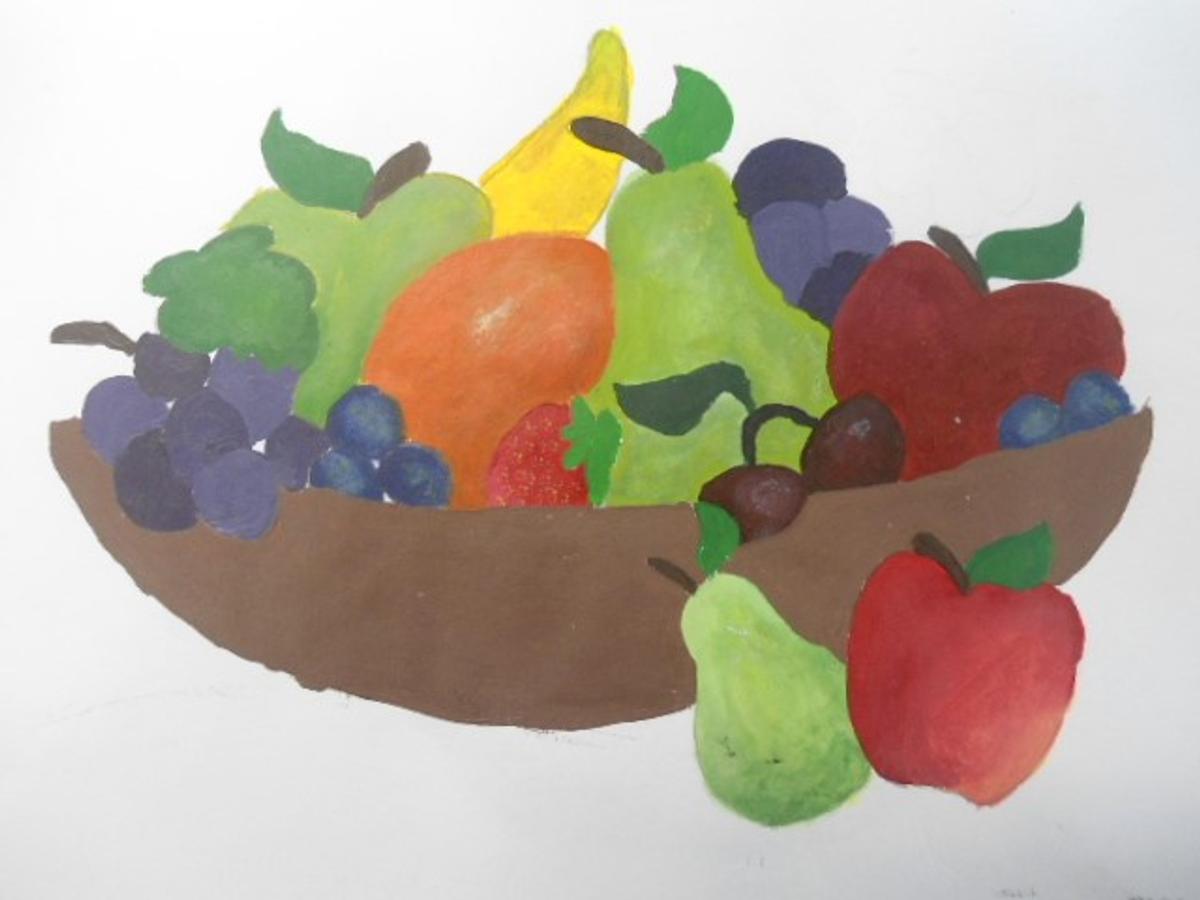
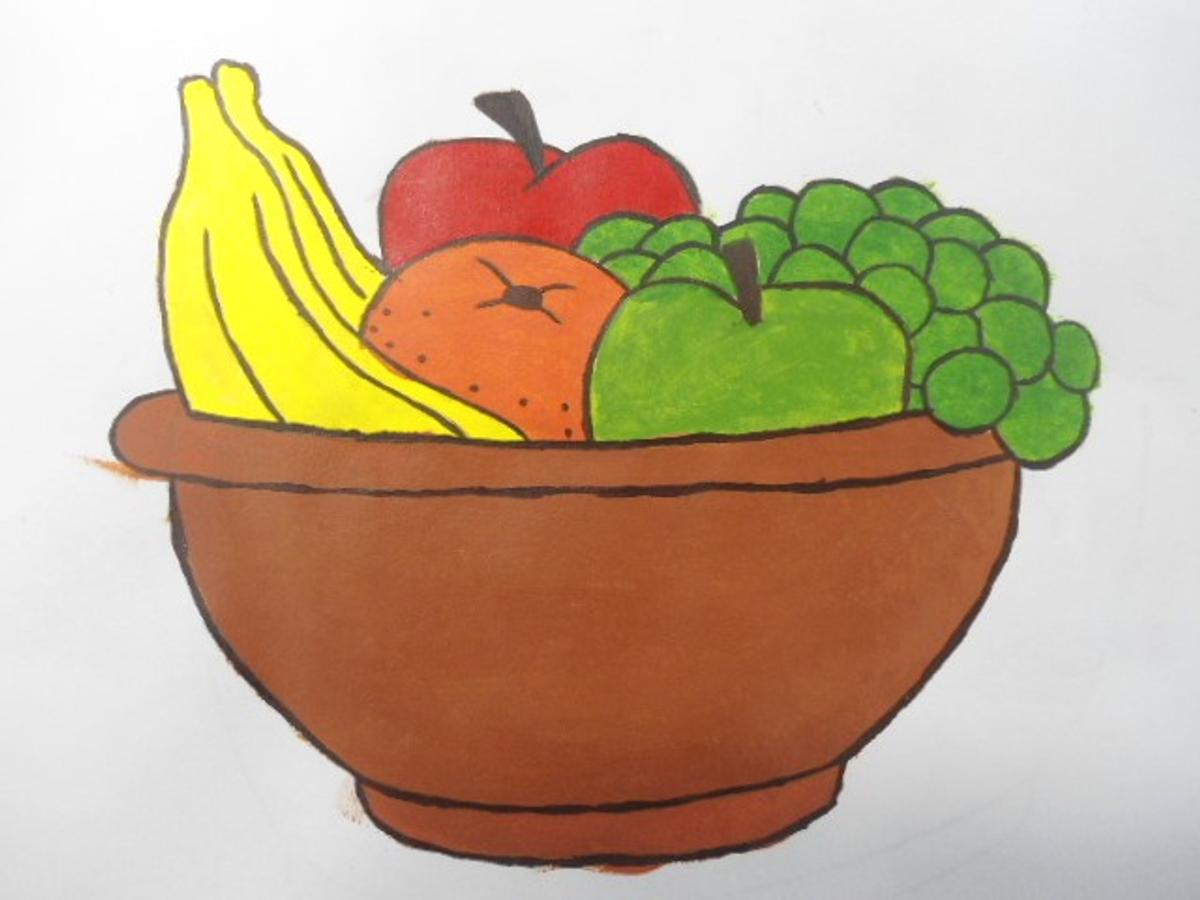
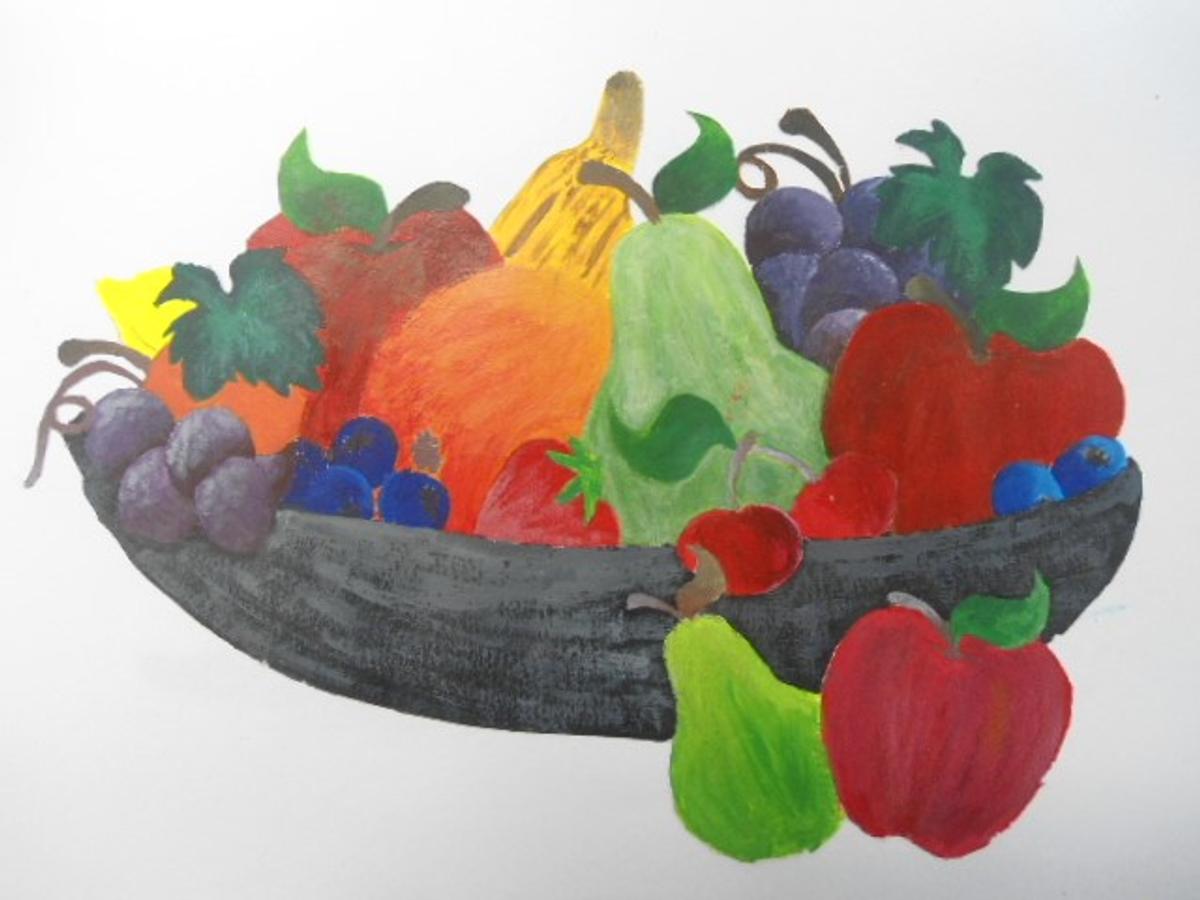
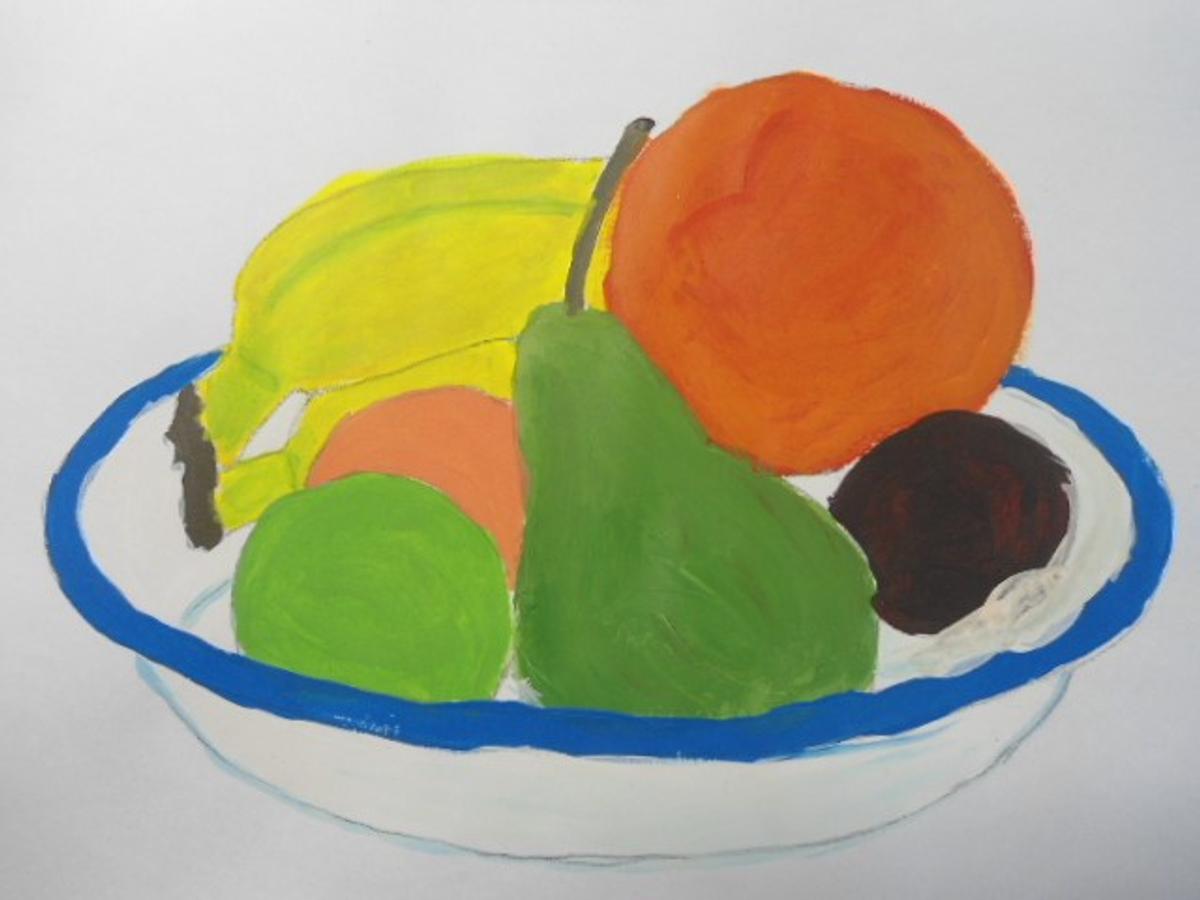
Year 9 Art
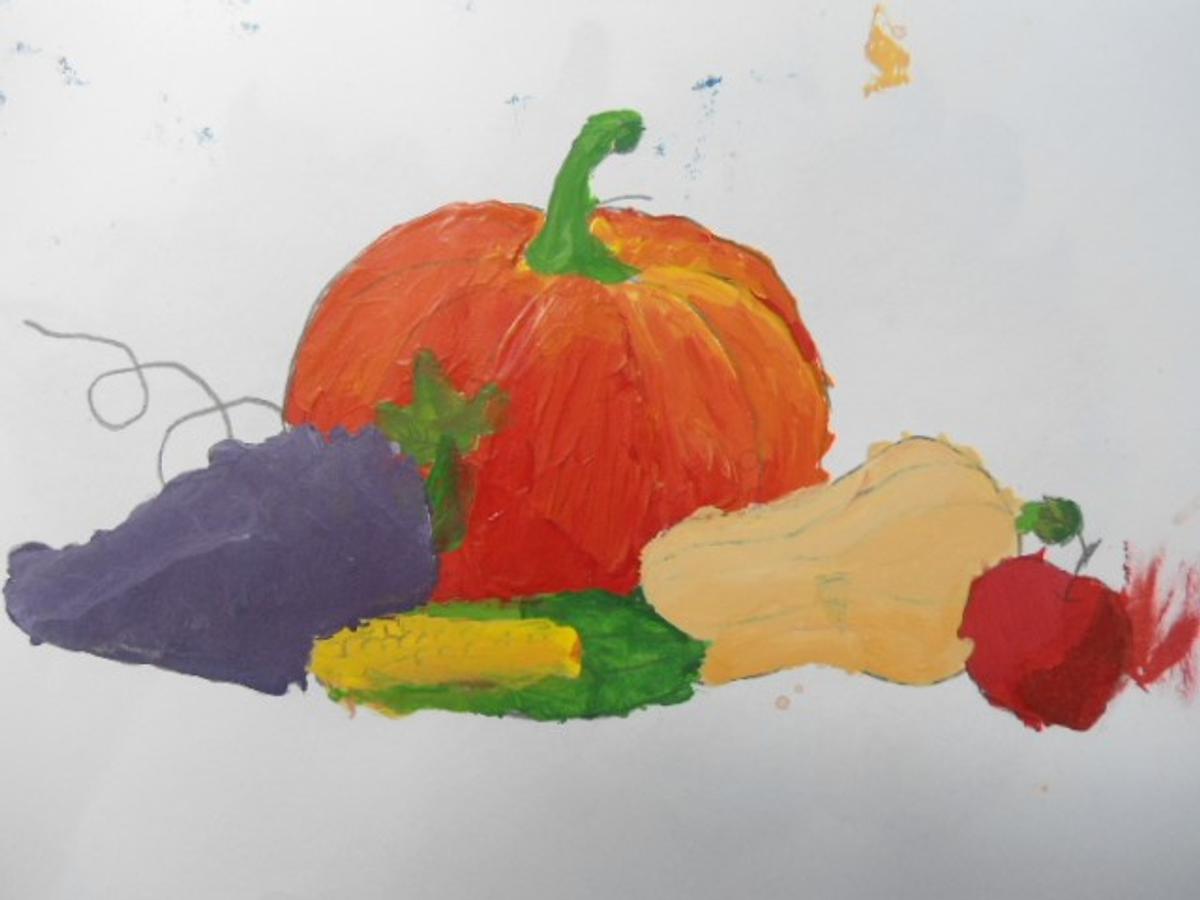
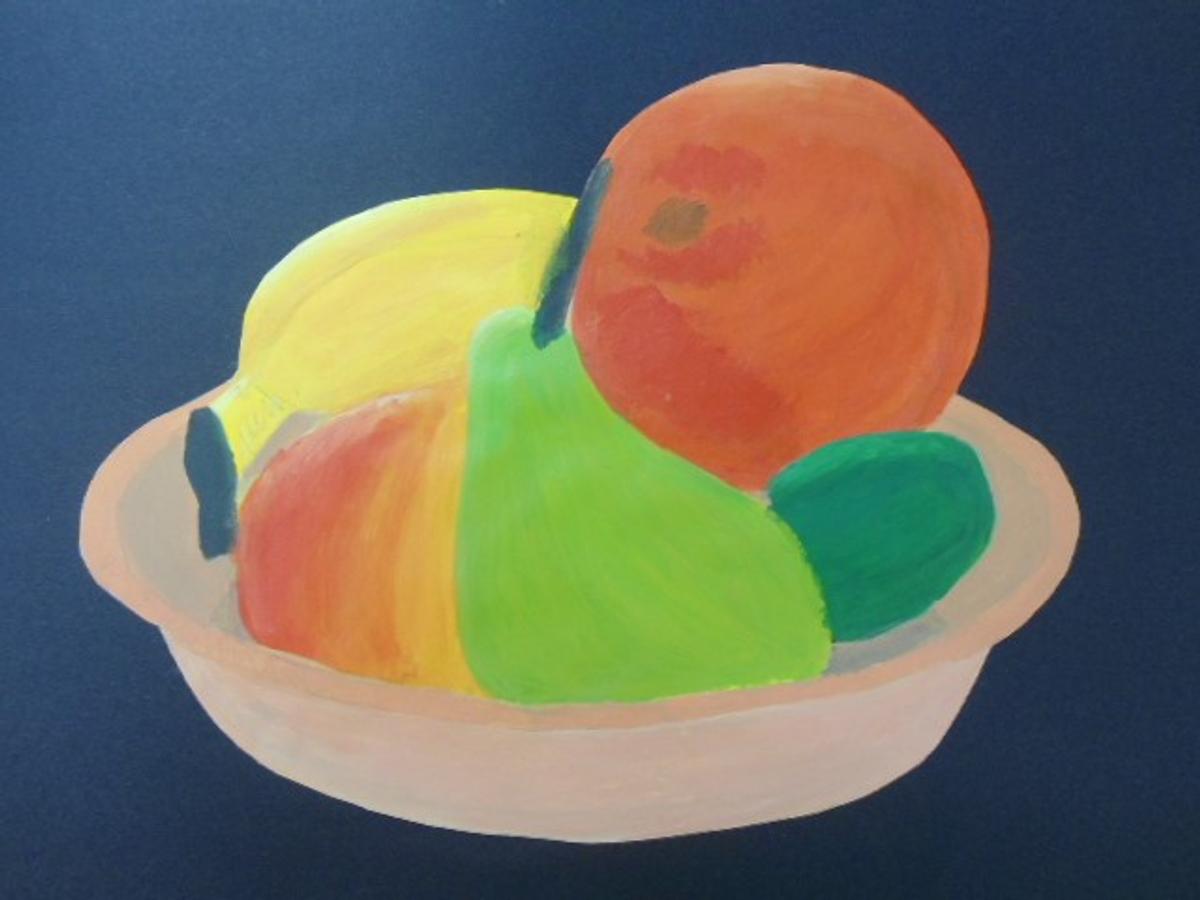
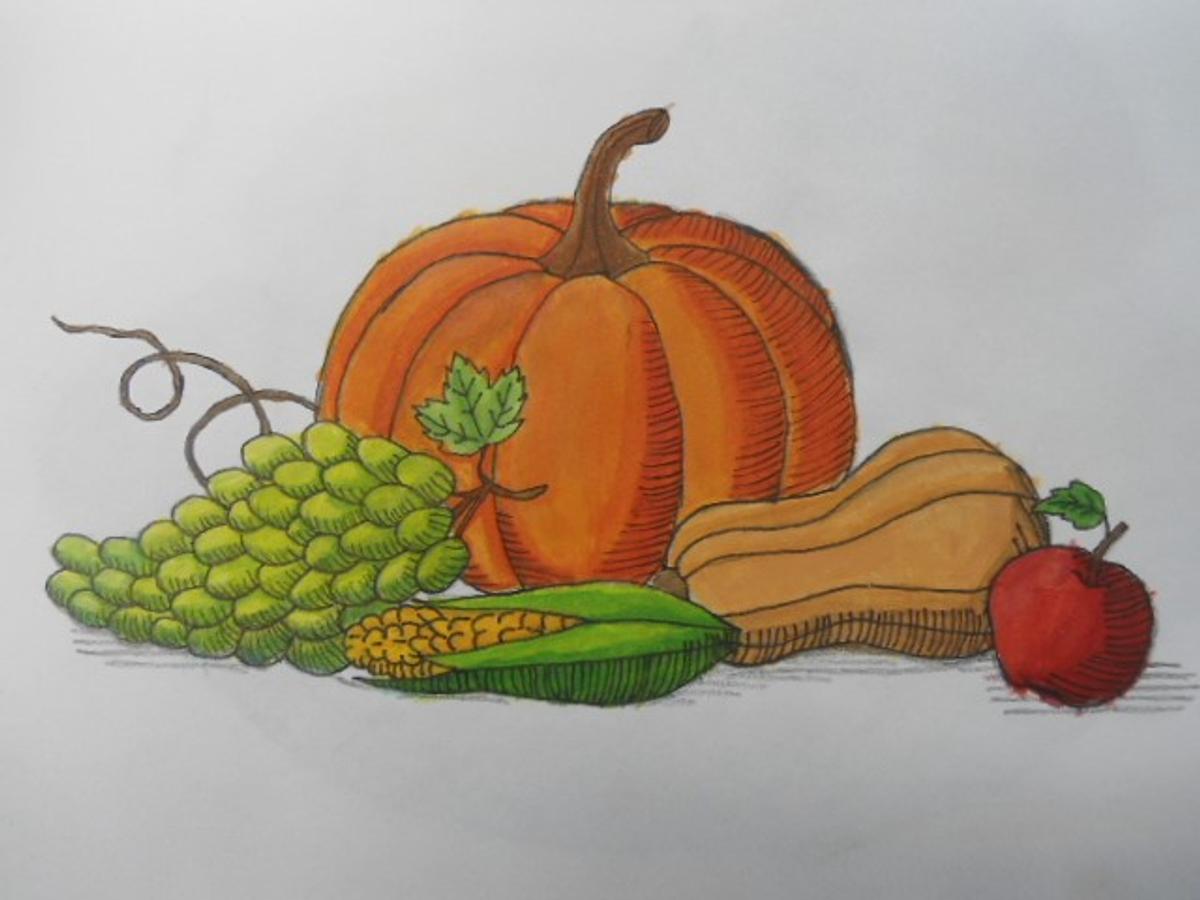
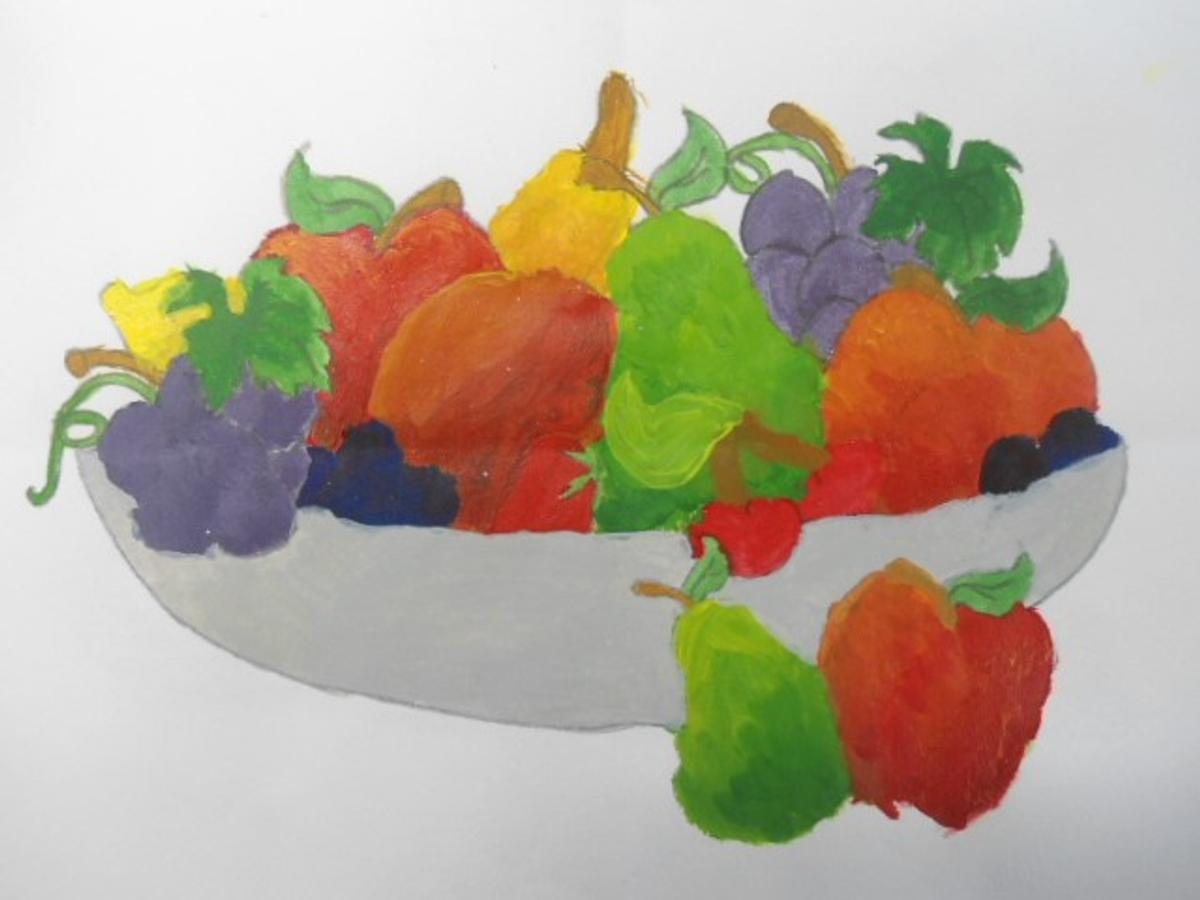
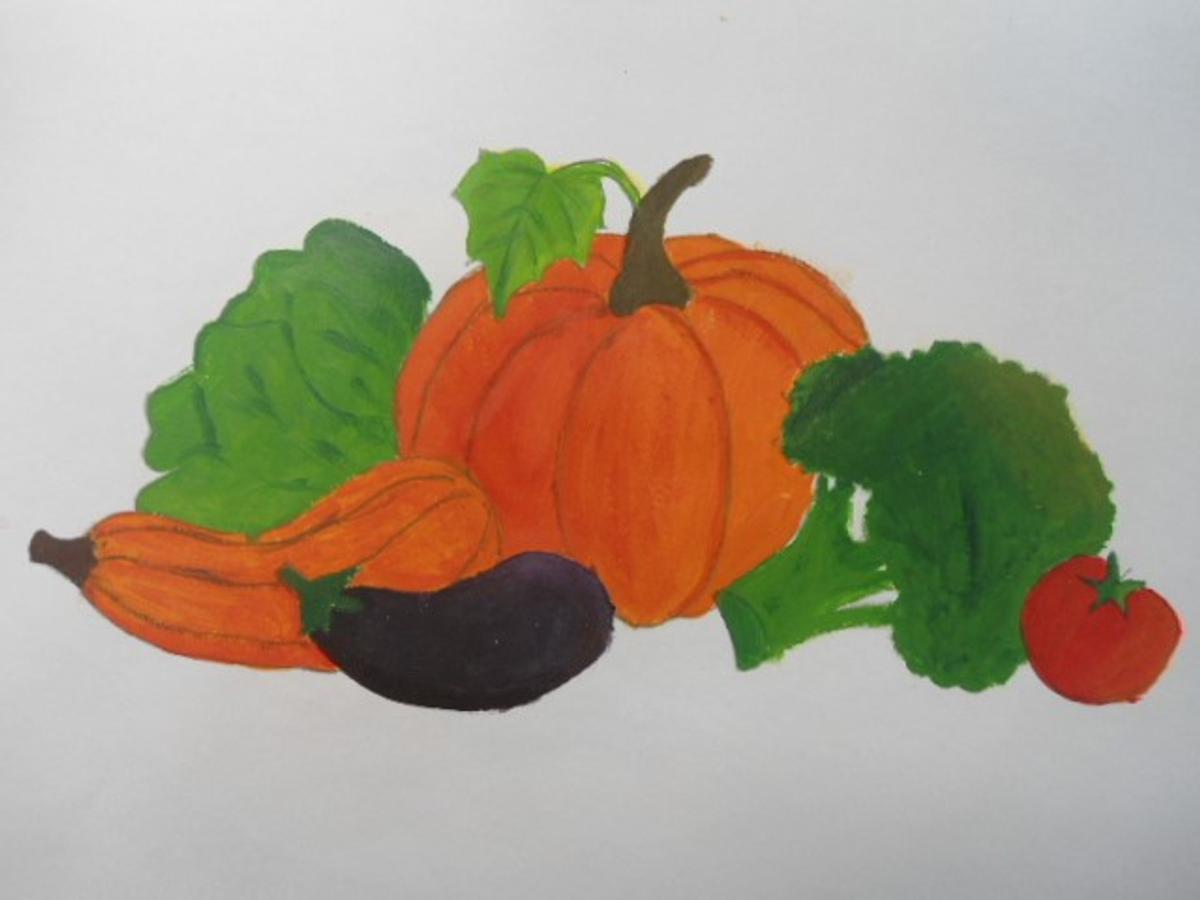
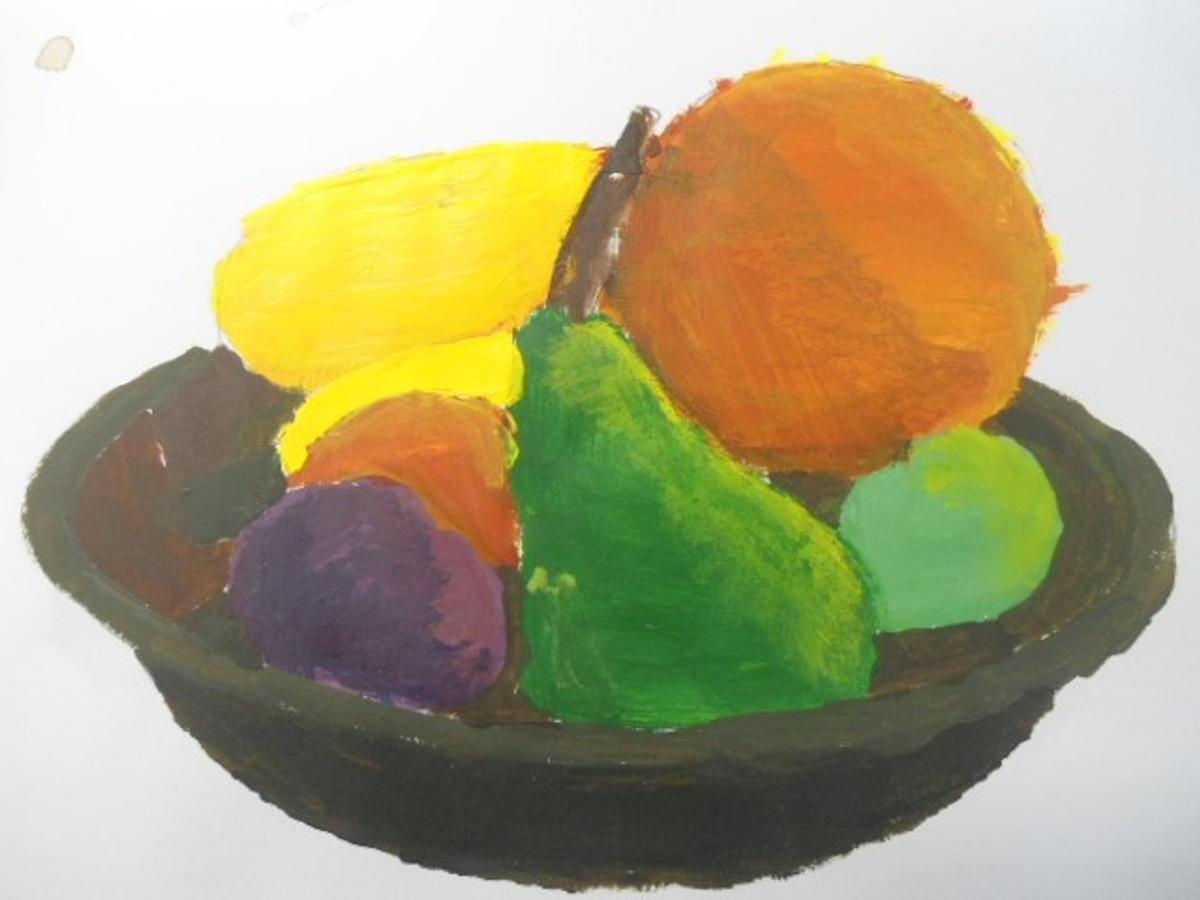
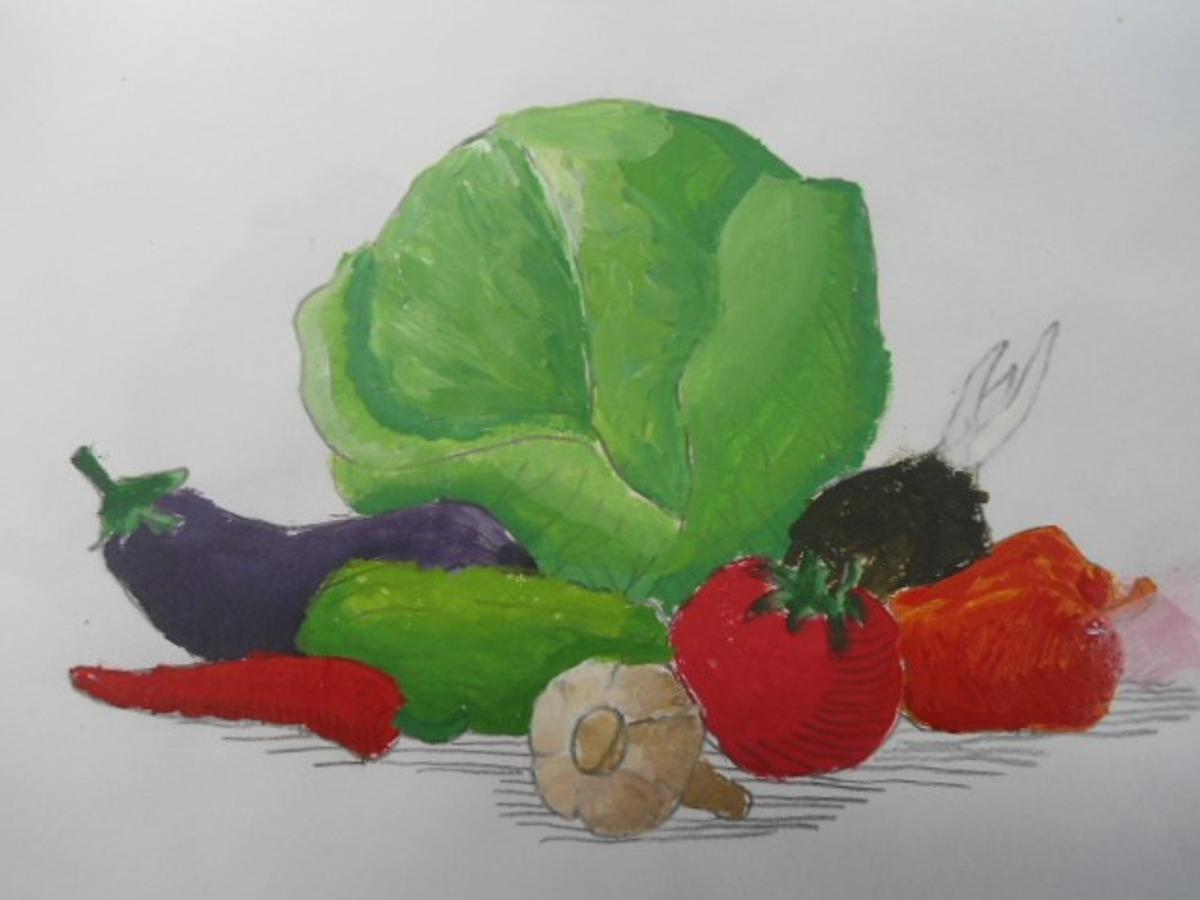
Students painted these bowls of fruit andvegetables using a linear template. Students were required first to create a colour wheel and to learn how to mix colours.


Year 9 students were required to use Georges Braque artwork as an inspiration to create these next set of drawings on black cover paper.
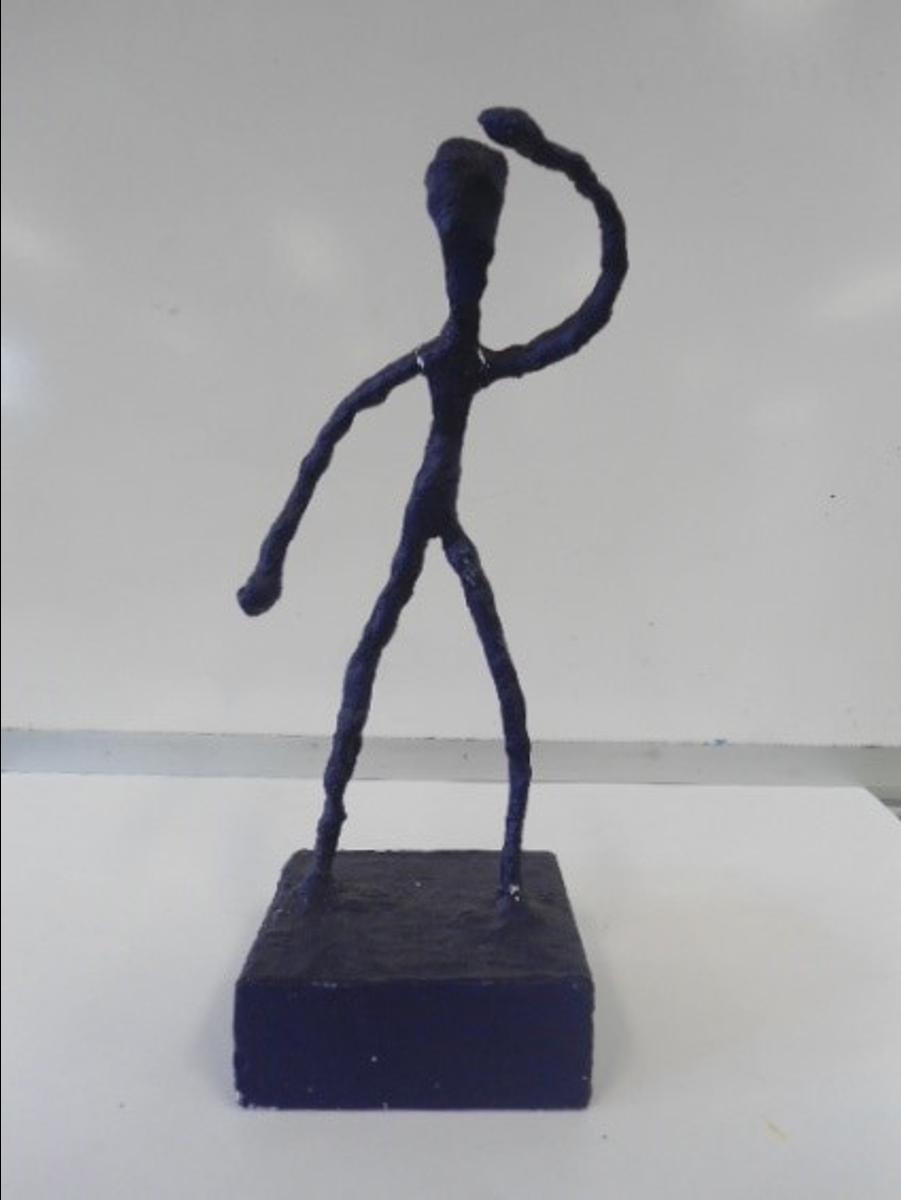
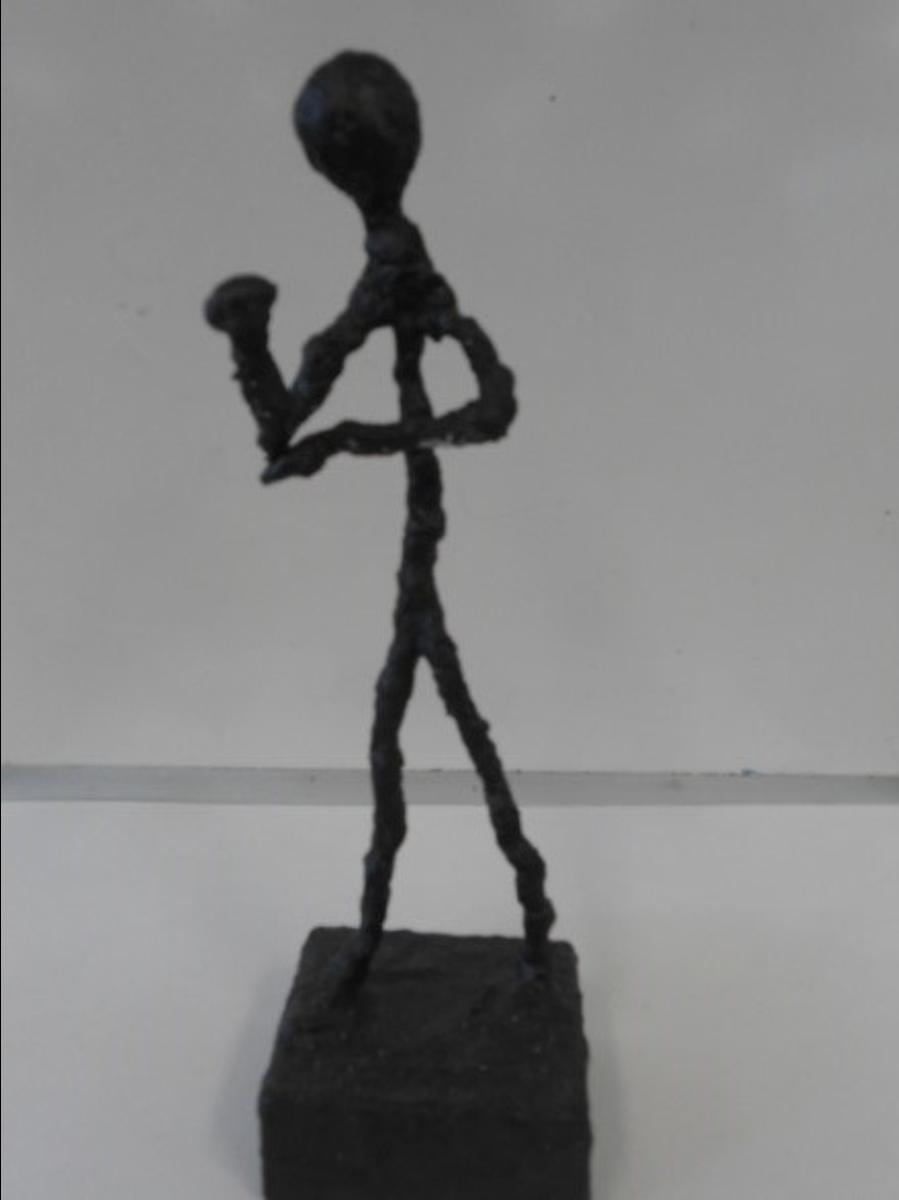
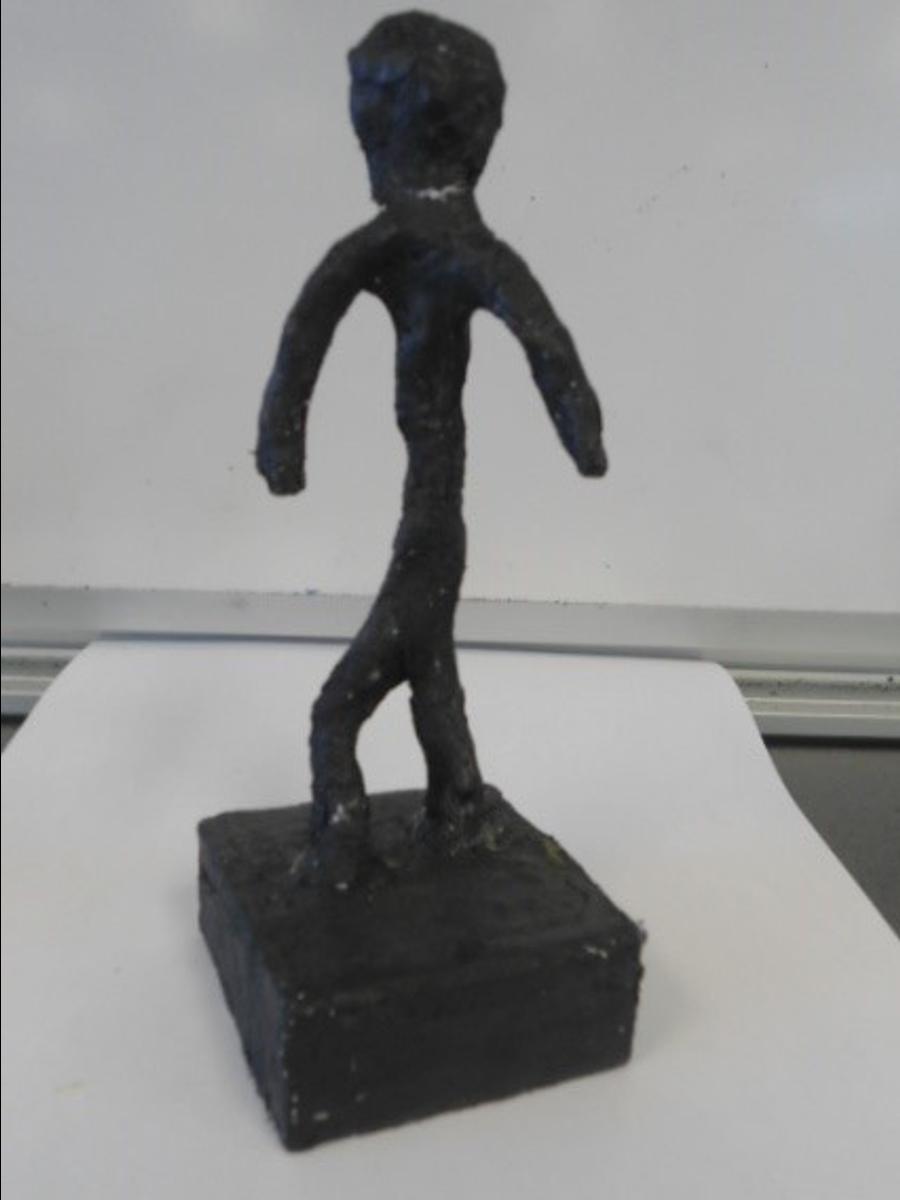
3D Models
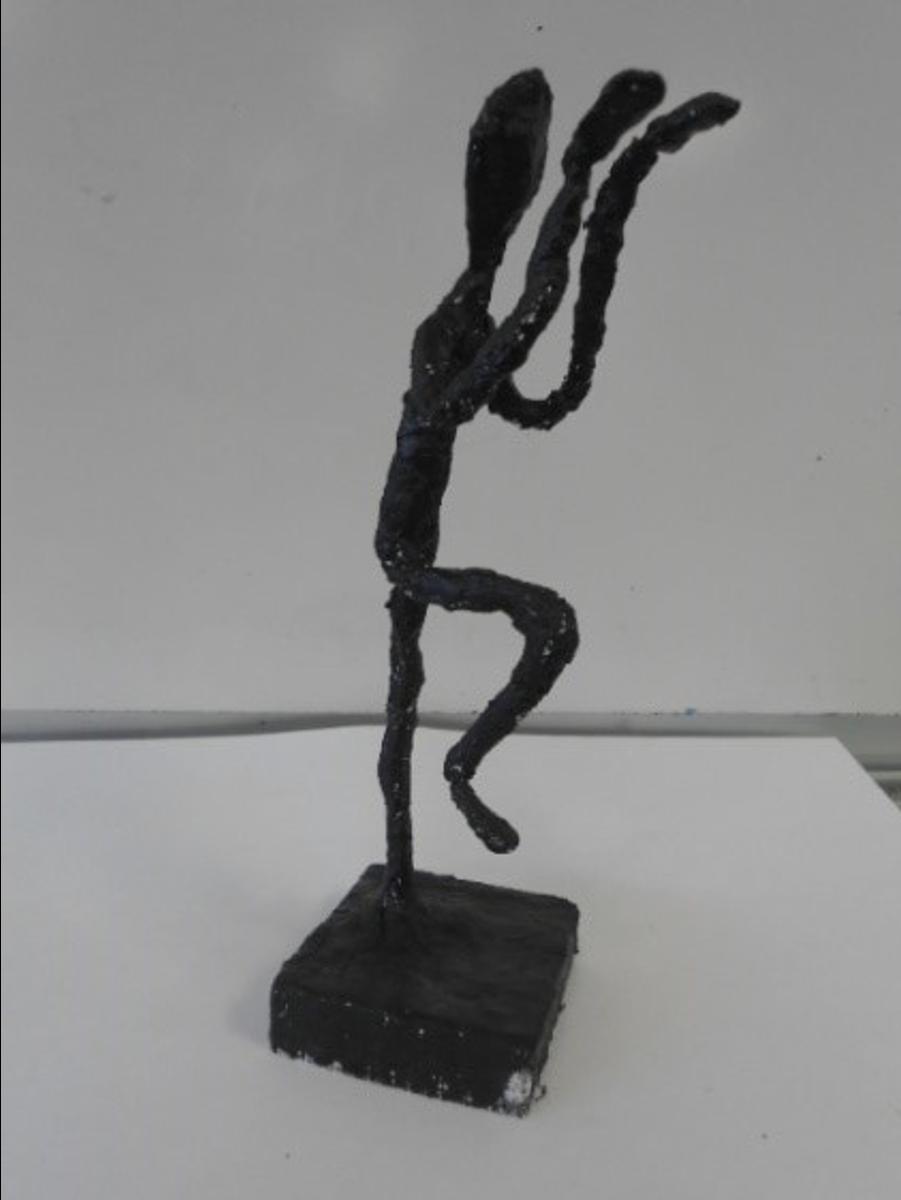
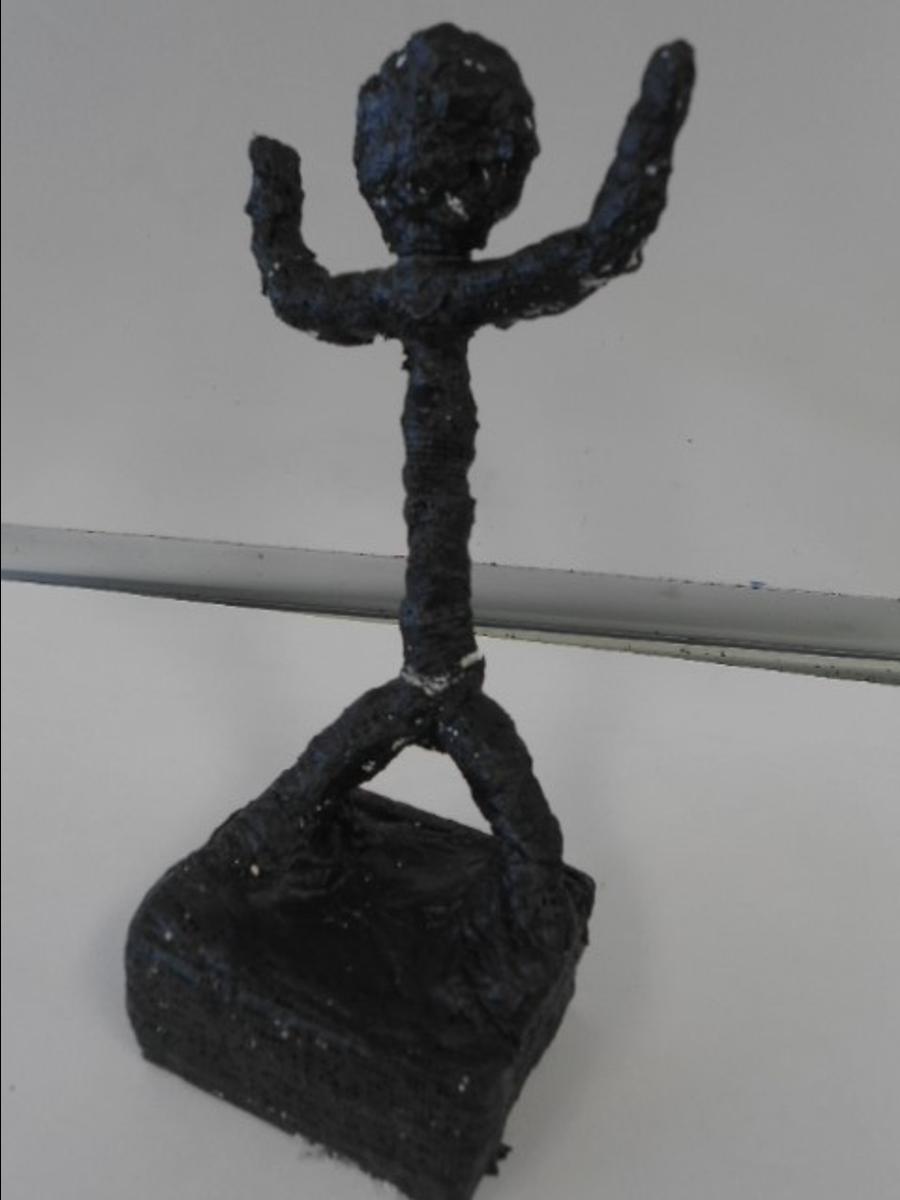
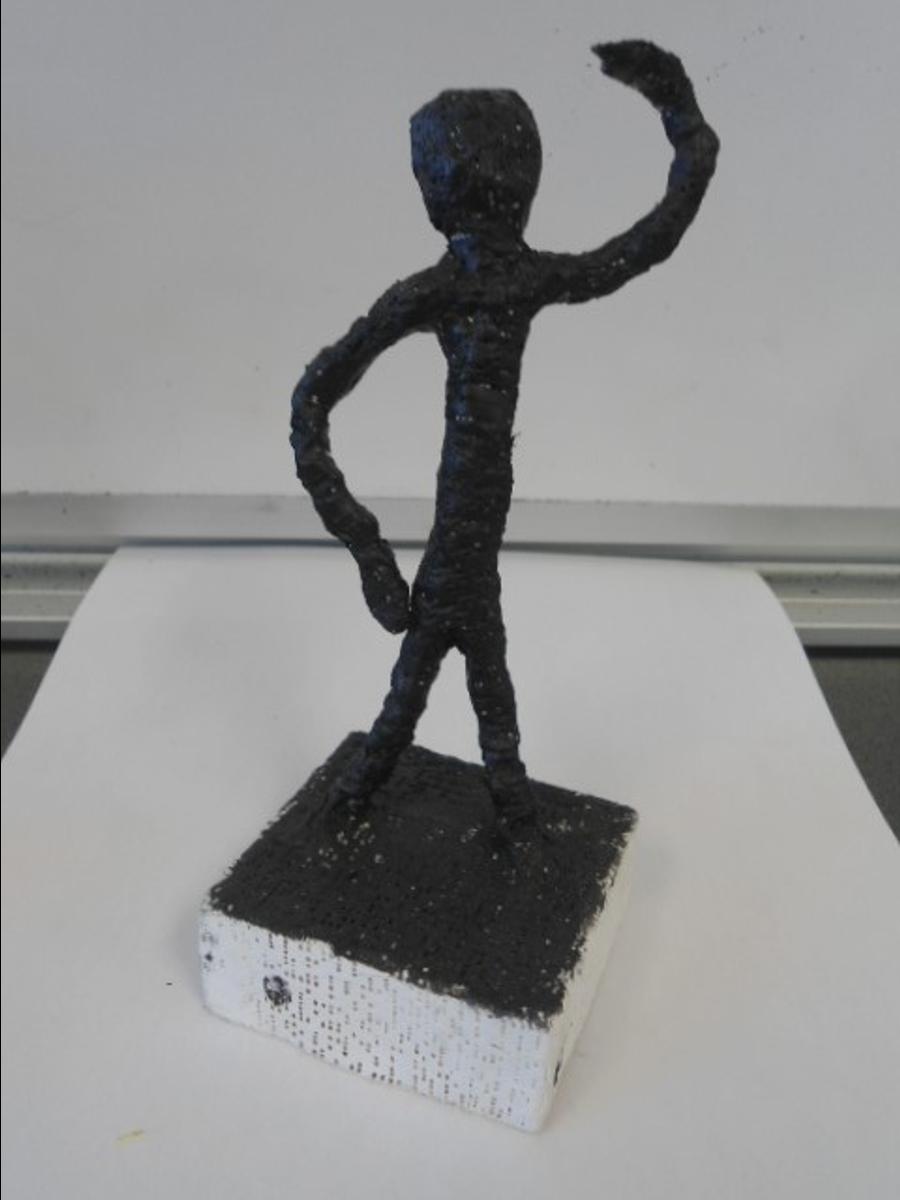
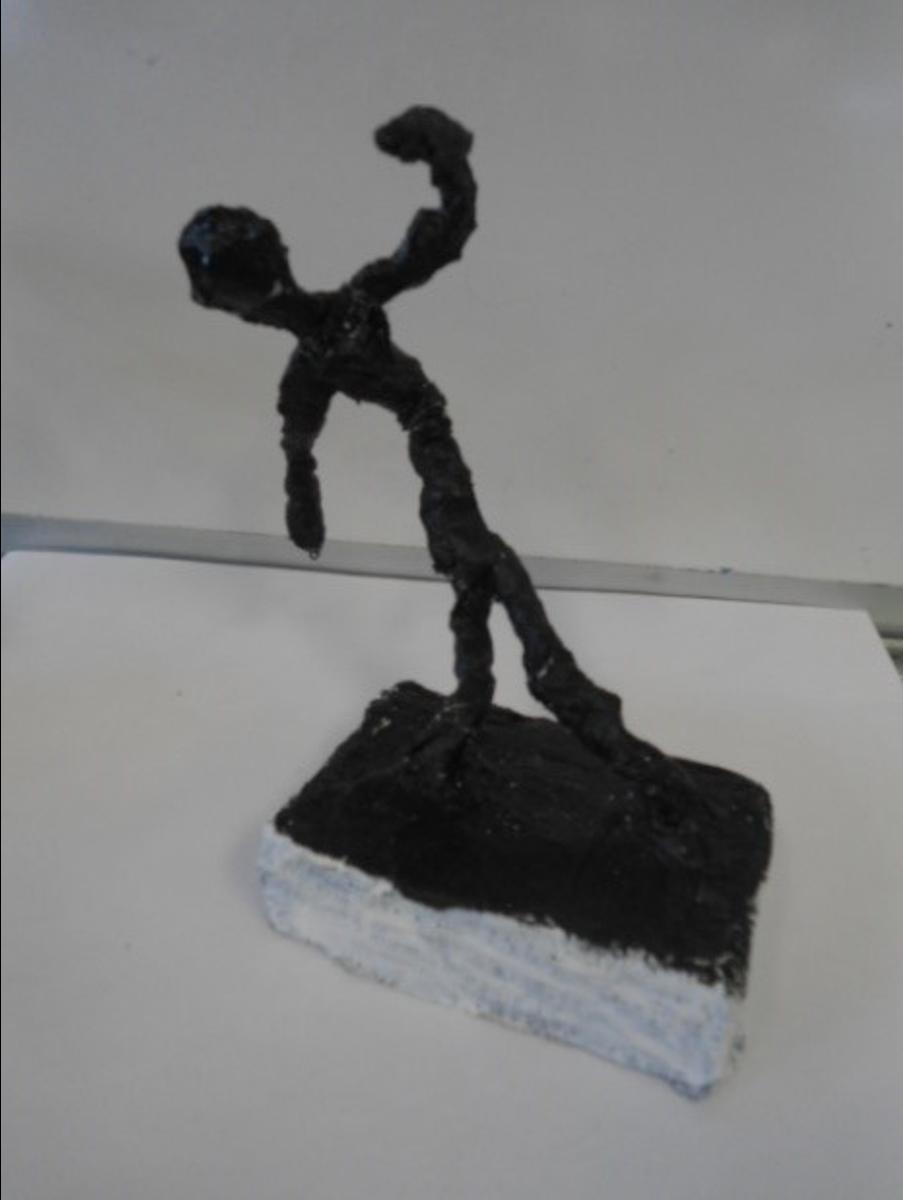
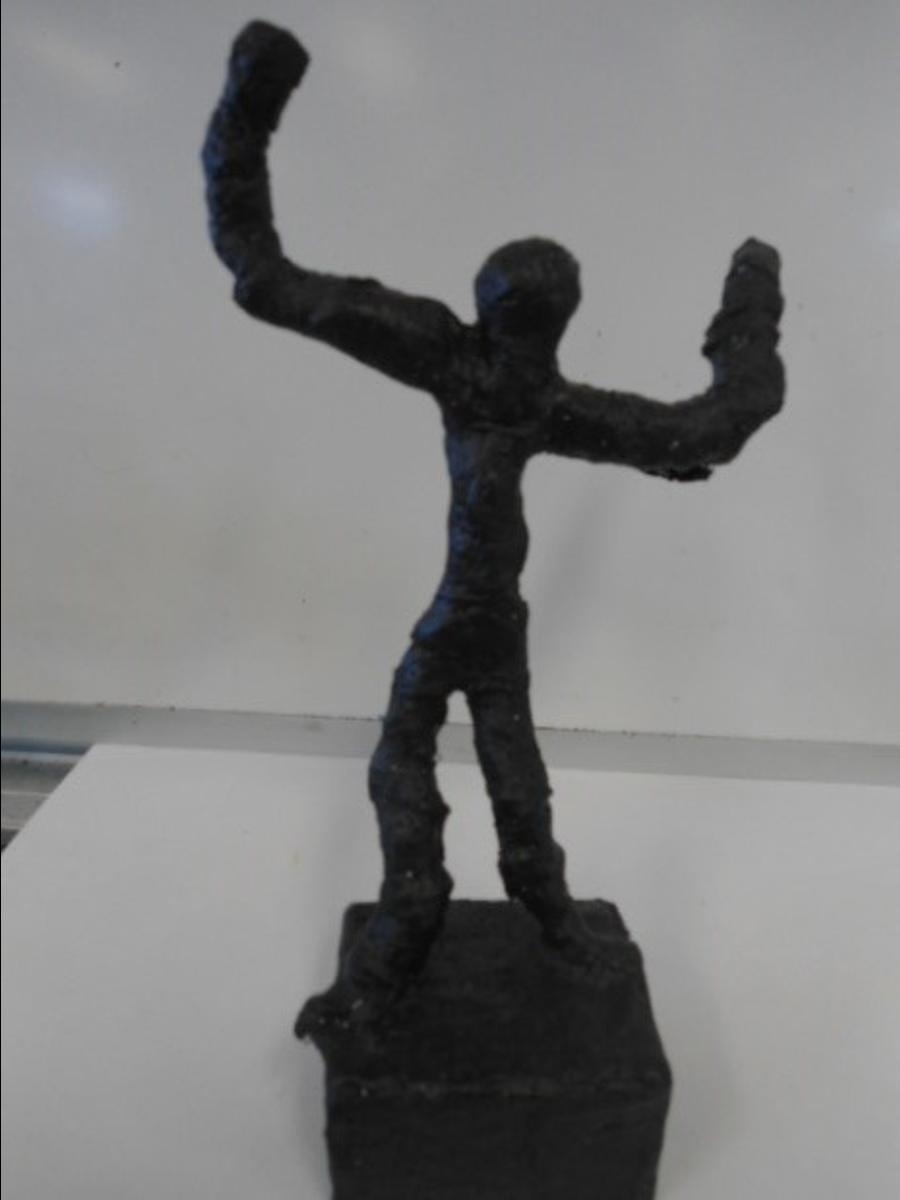
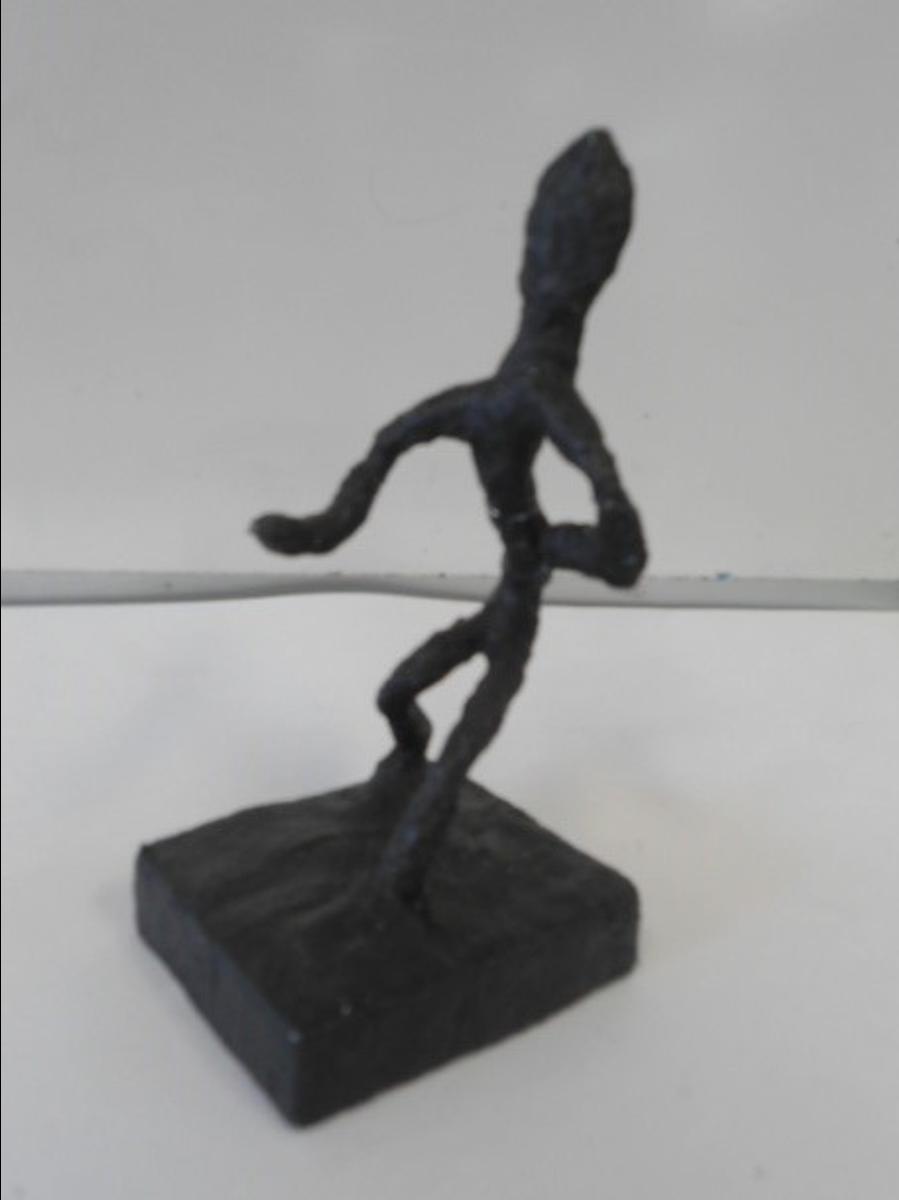
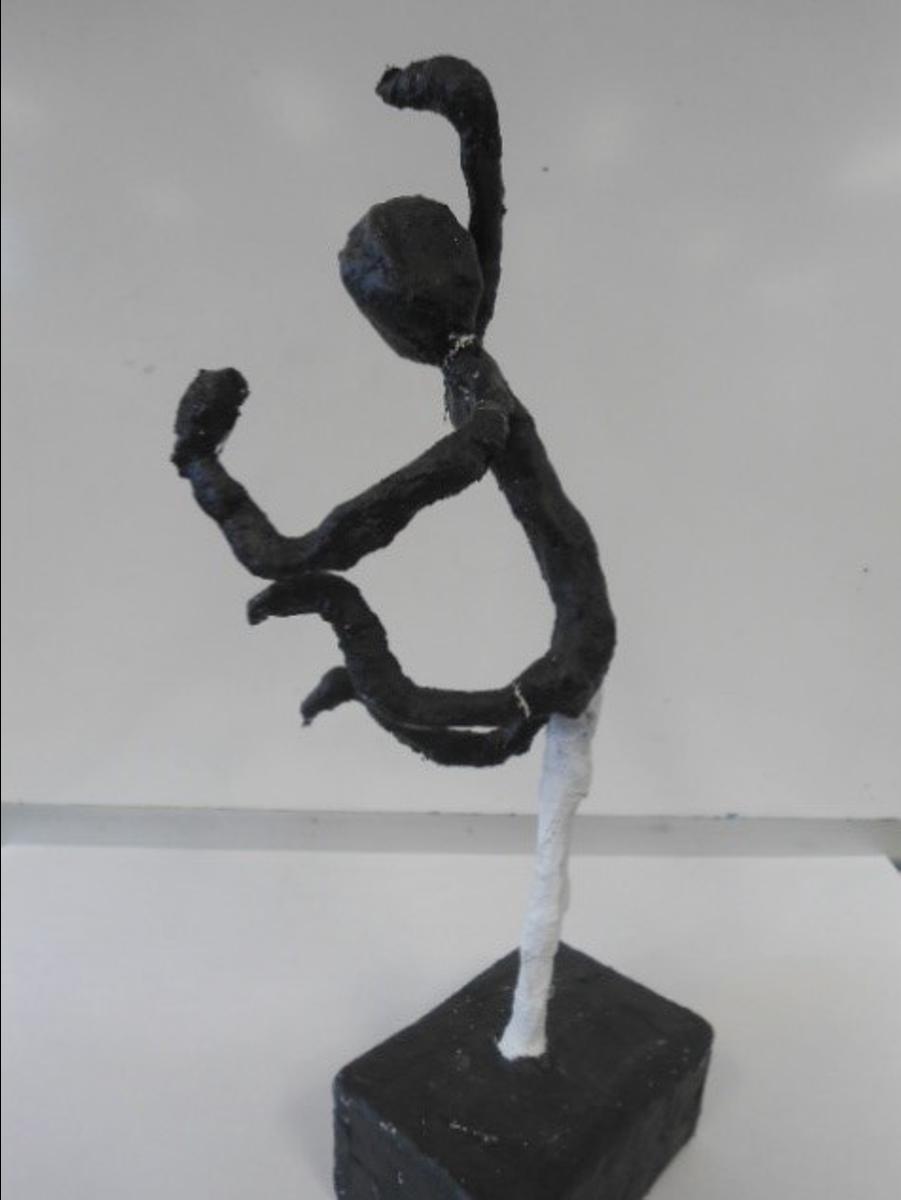
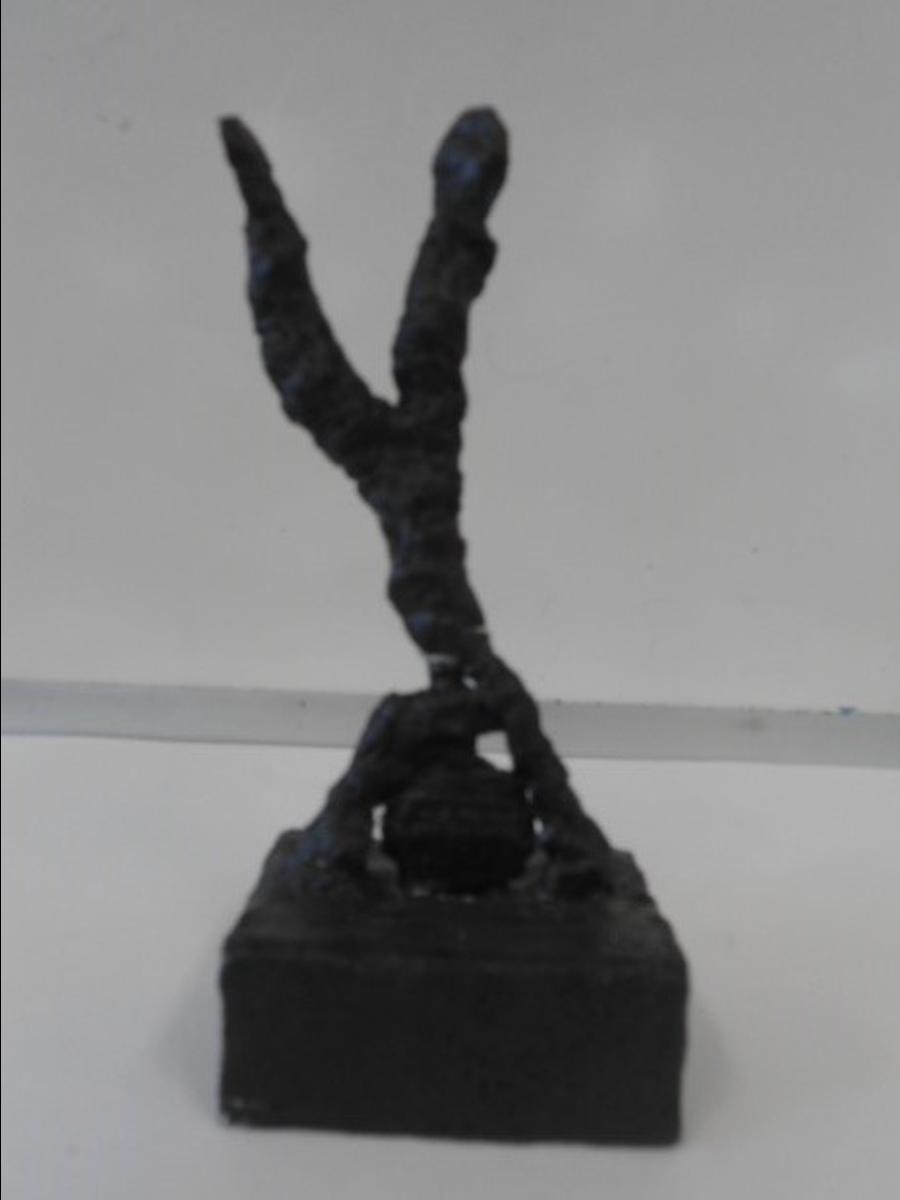
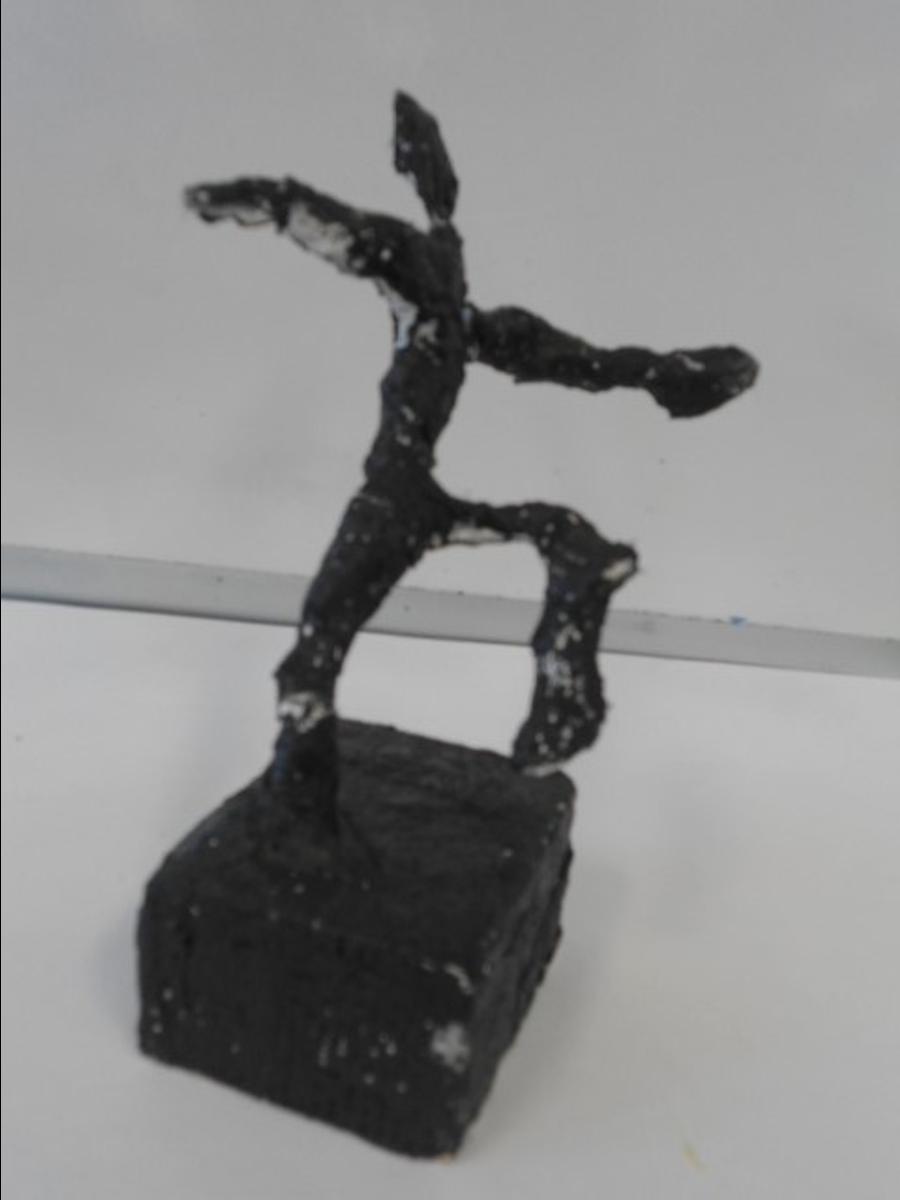
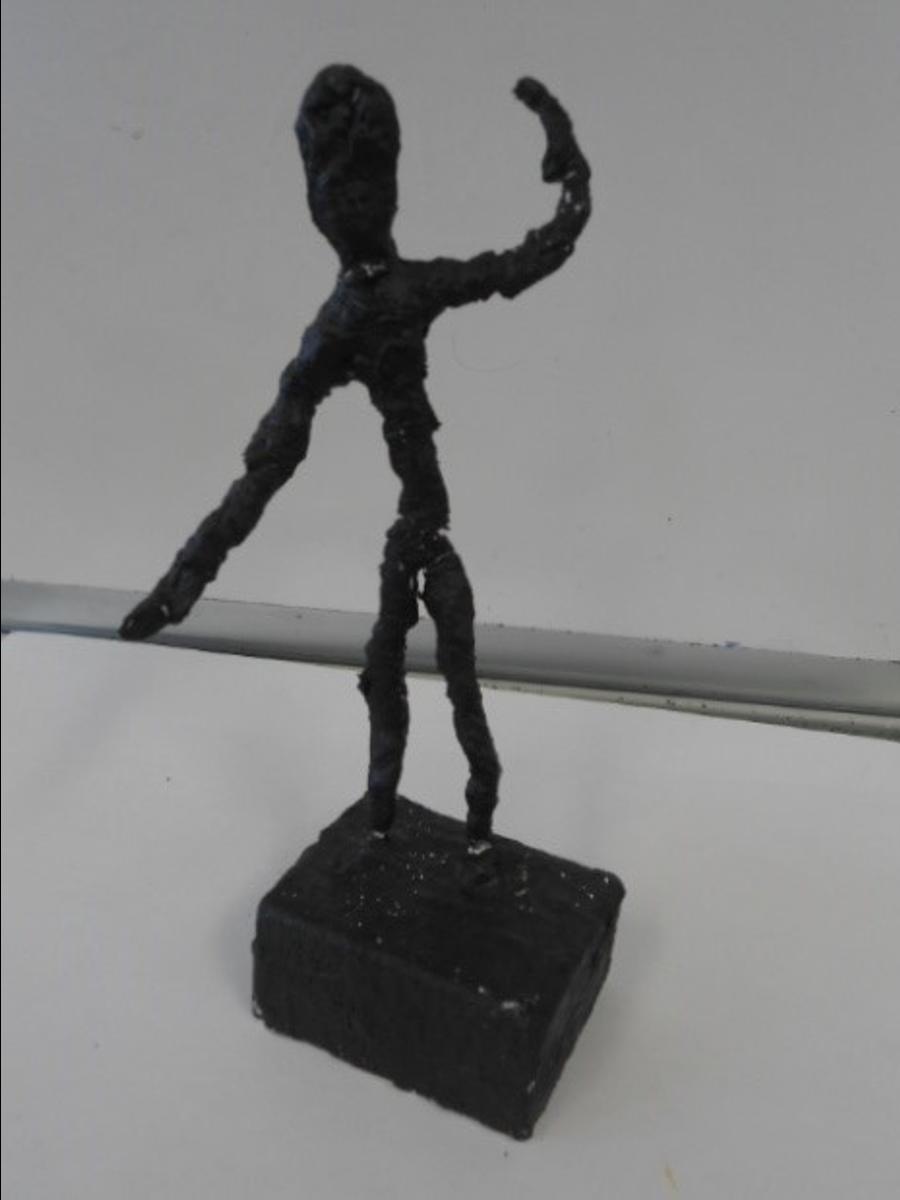
Year 9 students, using a wooden artists manikin and the inspiration of the artist Alberto Giometti, created these small figure sculptures using wire and Modroc.

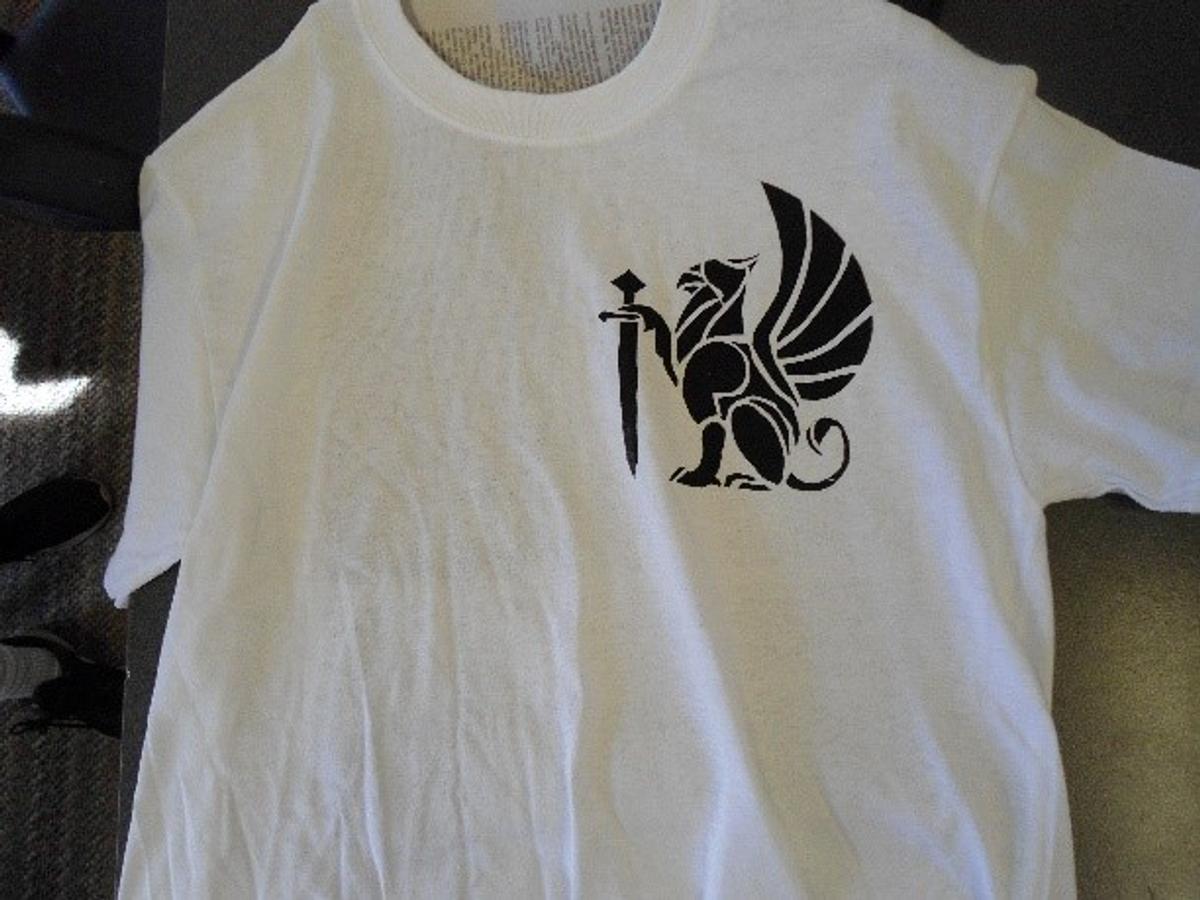
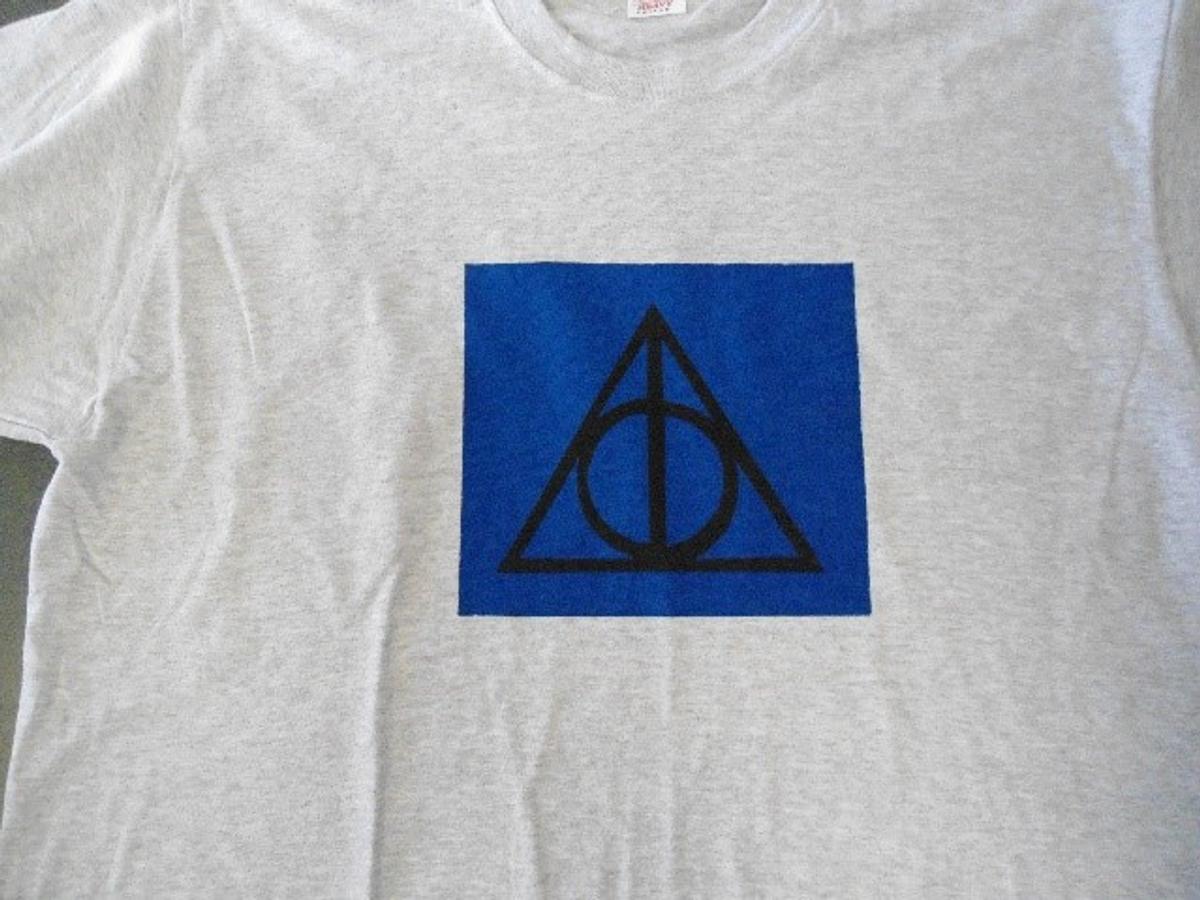
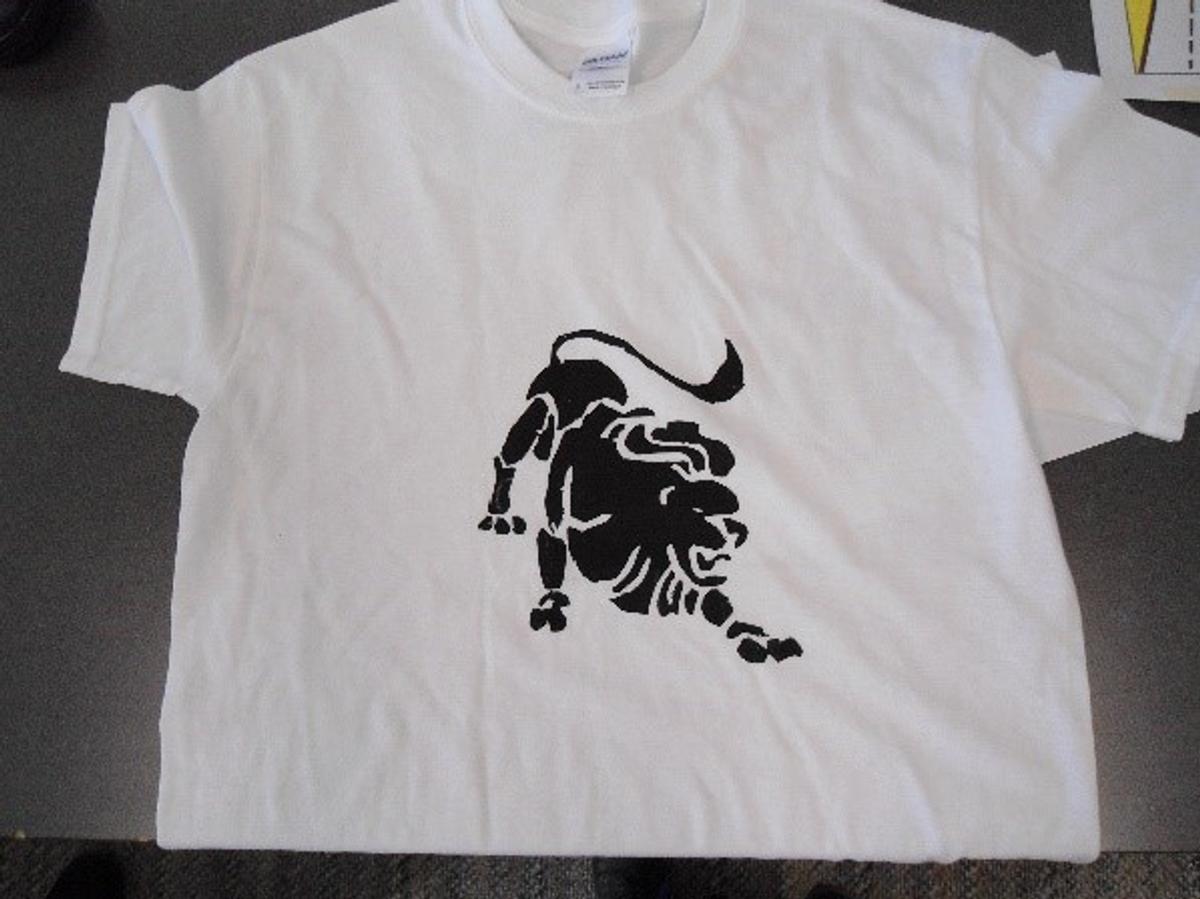
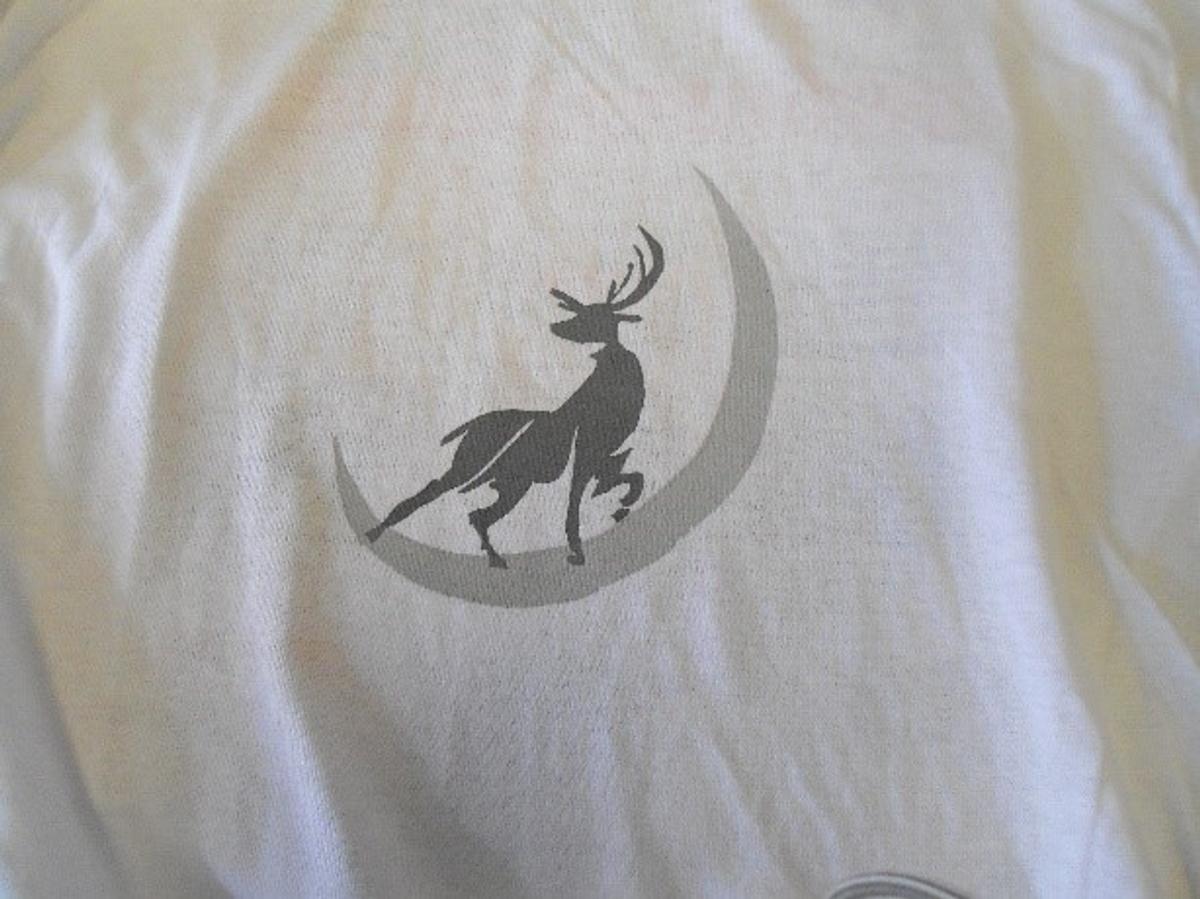
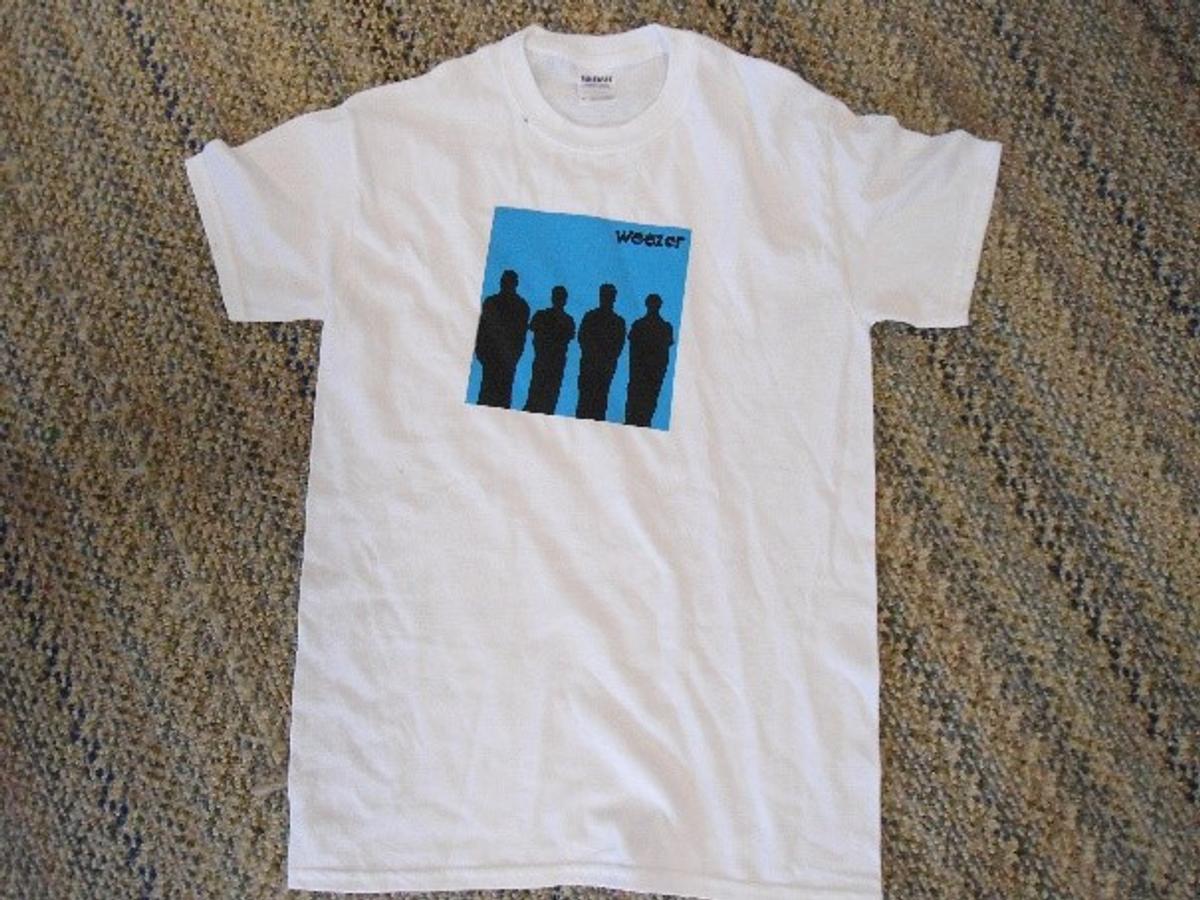
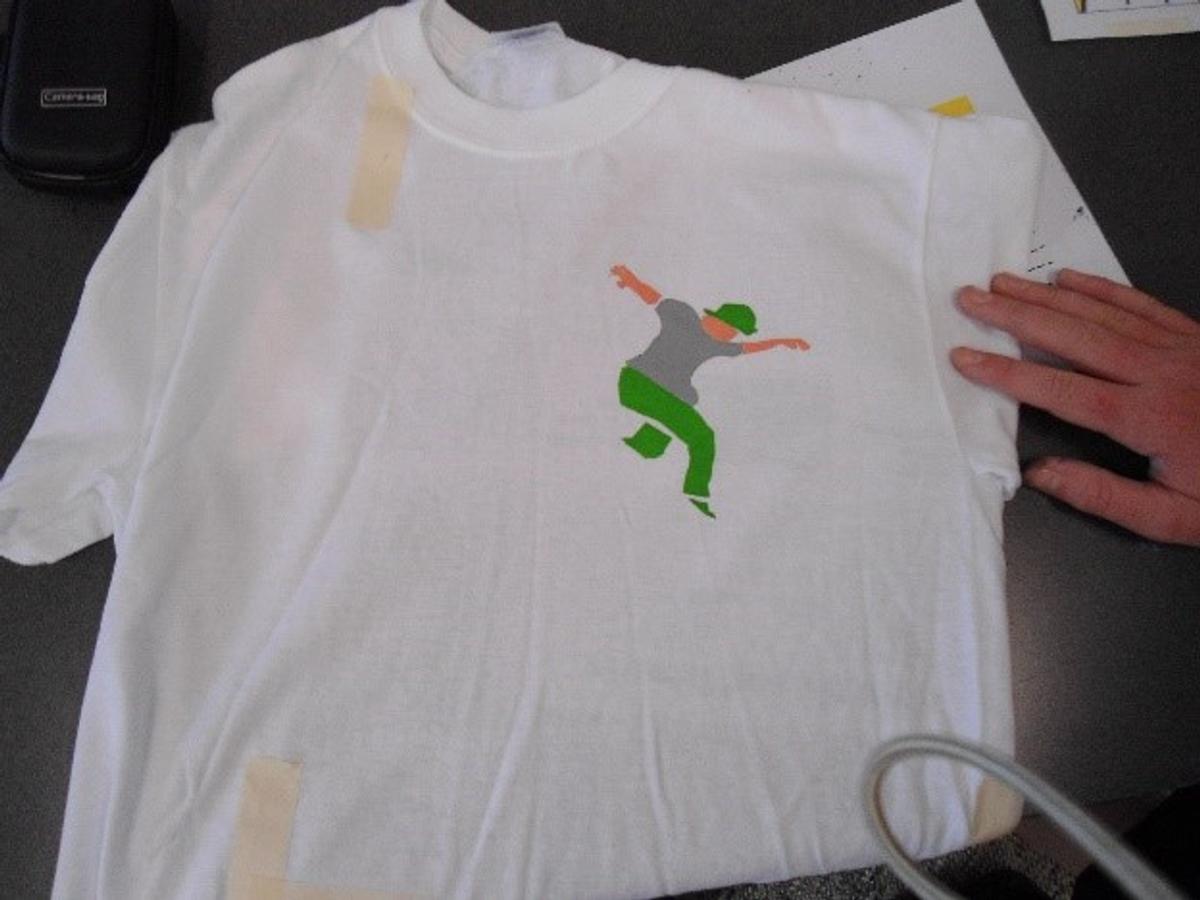
During the semester the year 9 students created stencils so they could print their designs onto t-shirts. Some students used multiple stencils to print up a range of colours.
Year 10 Art
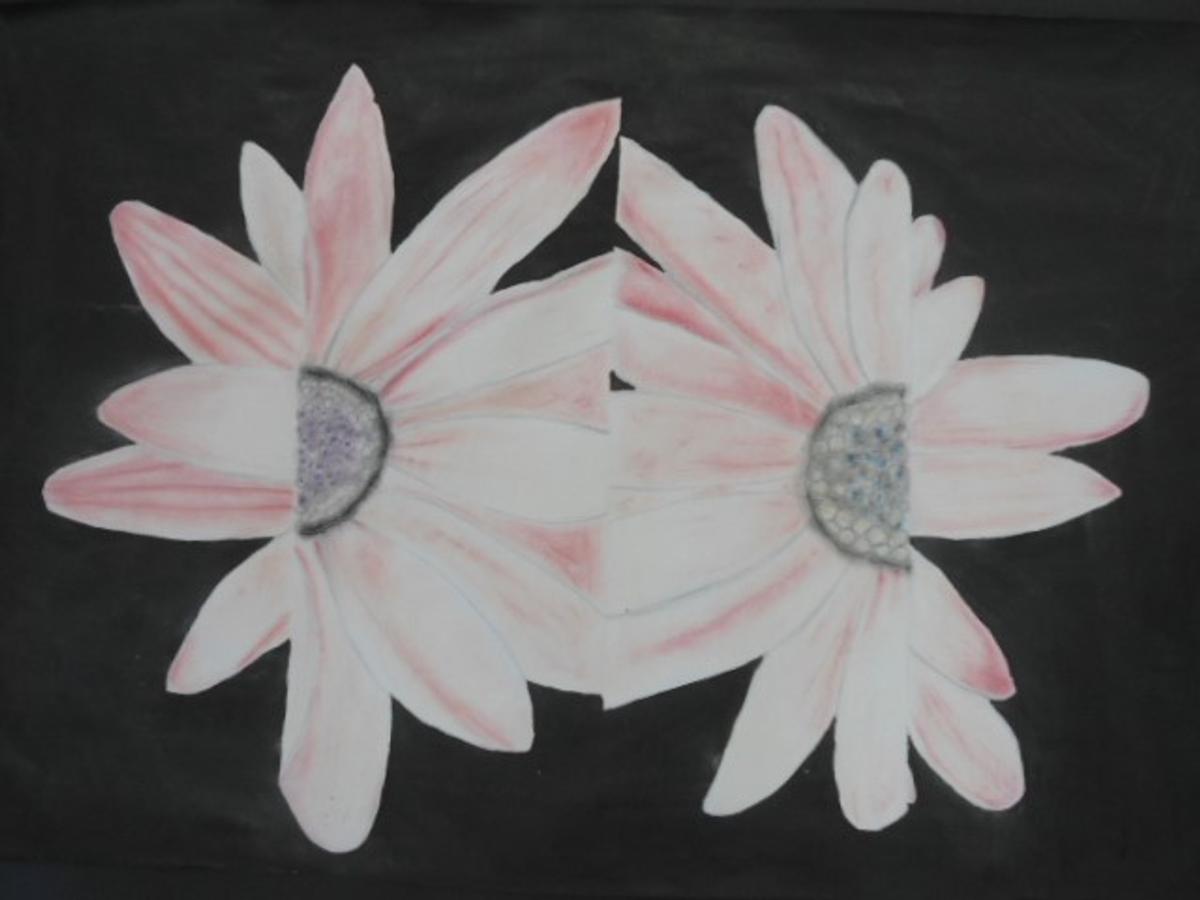
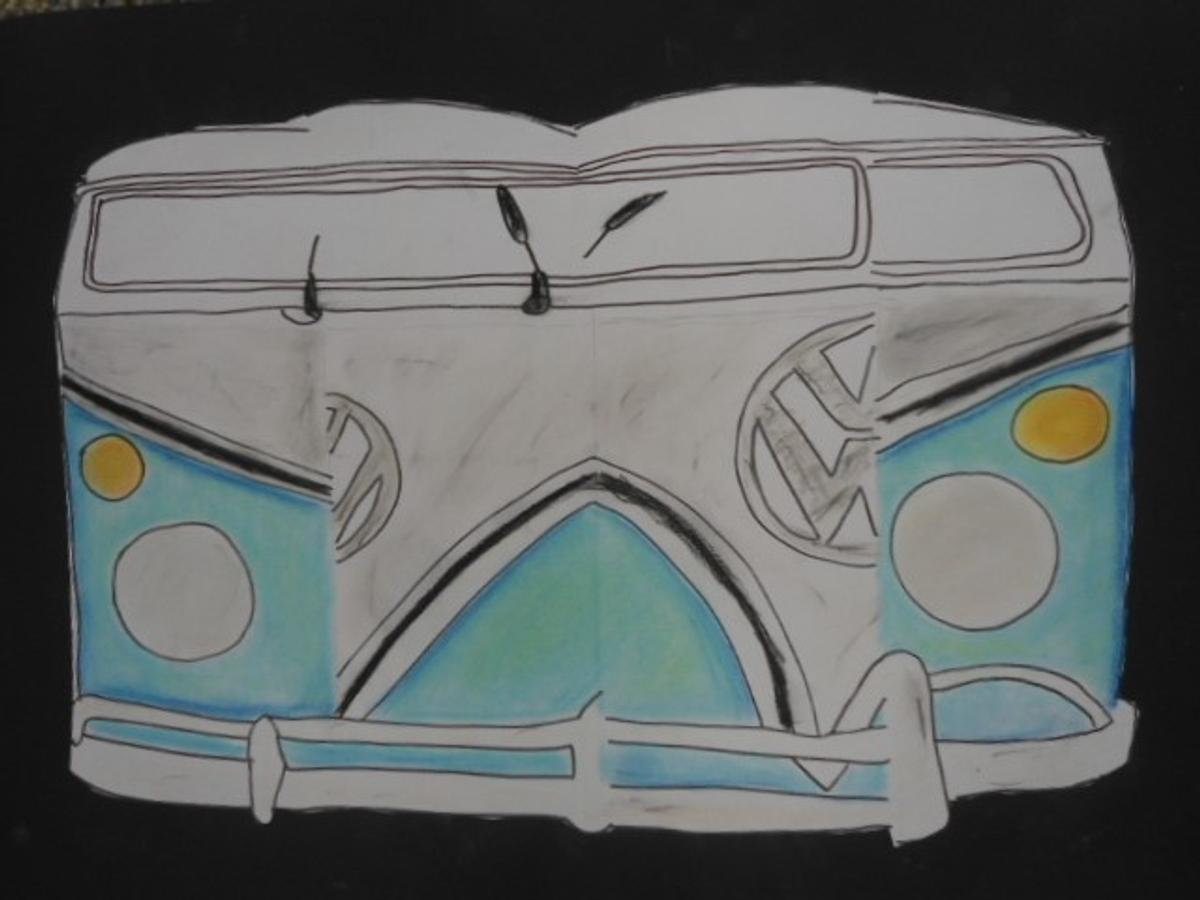
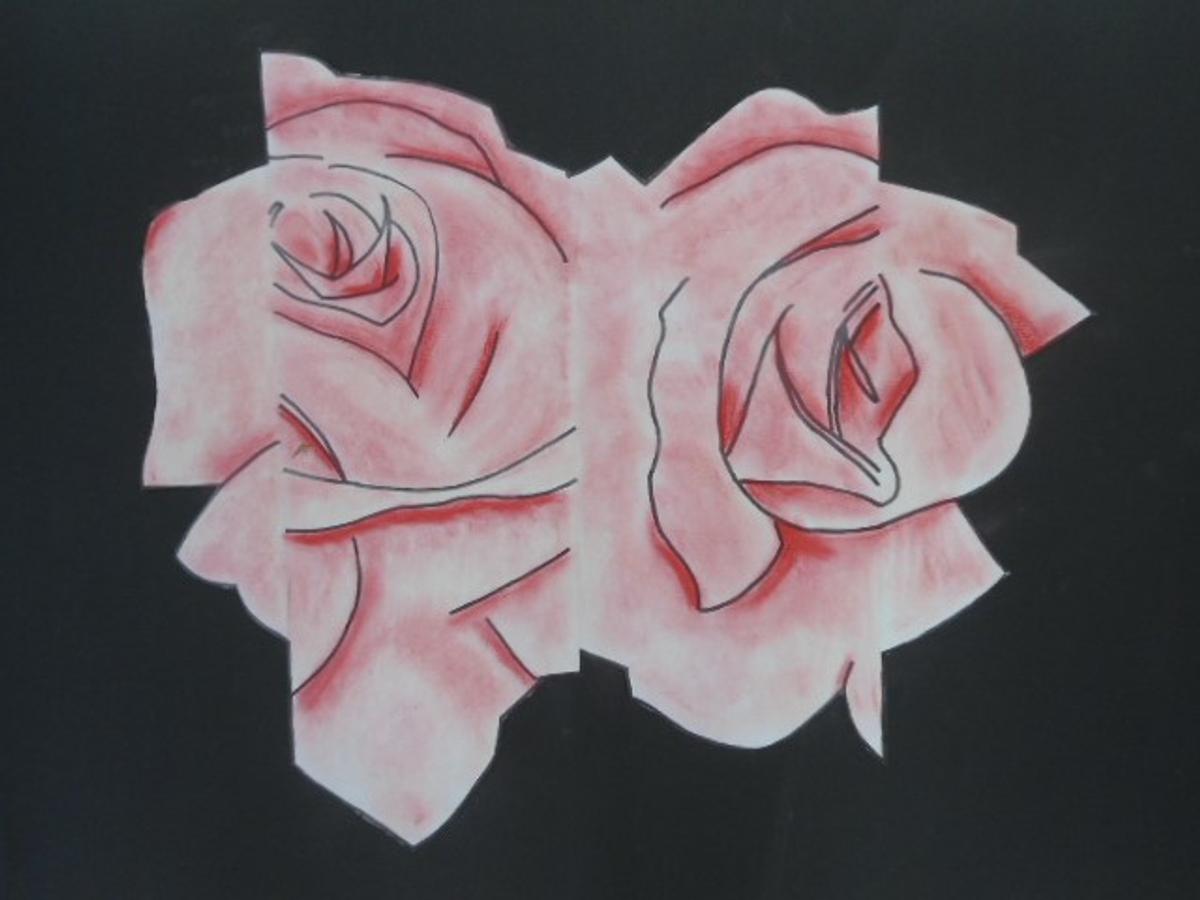
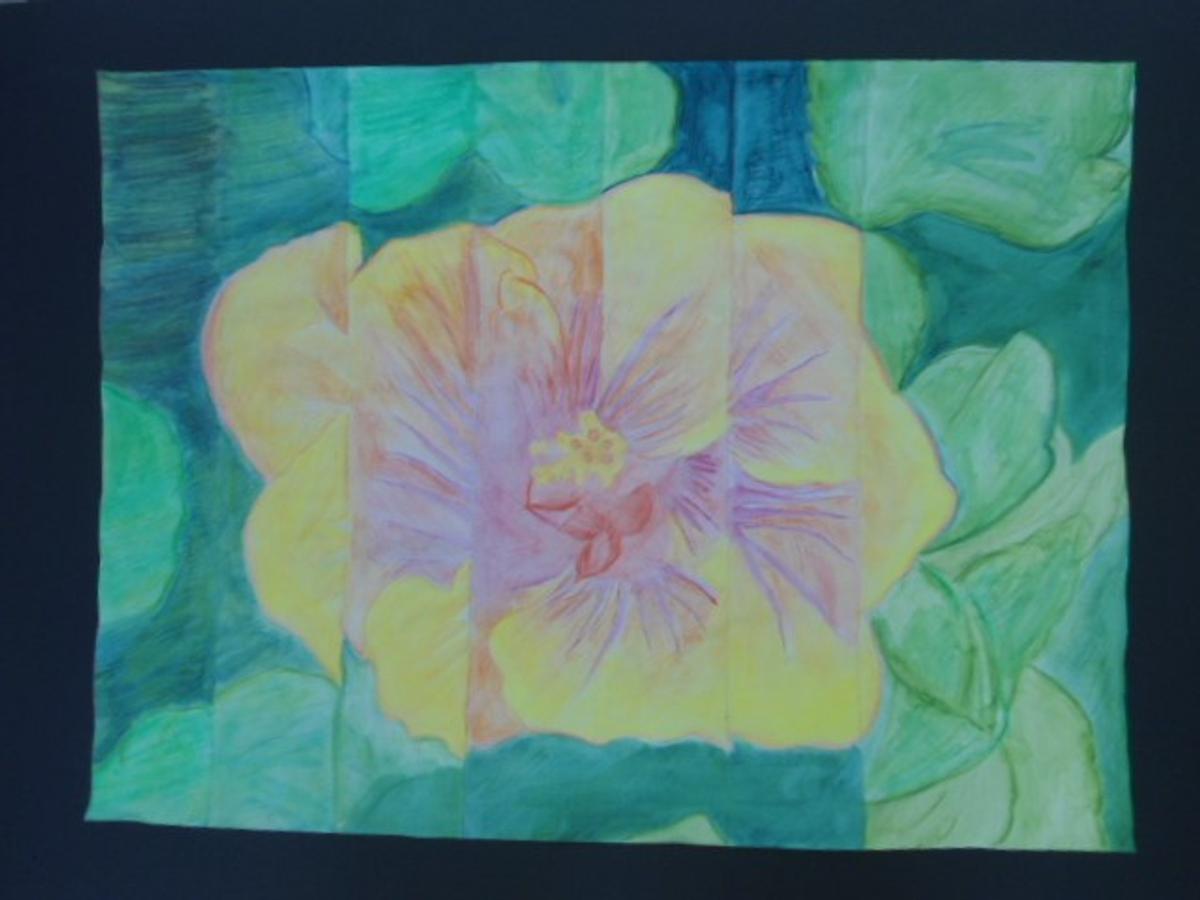
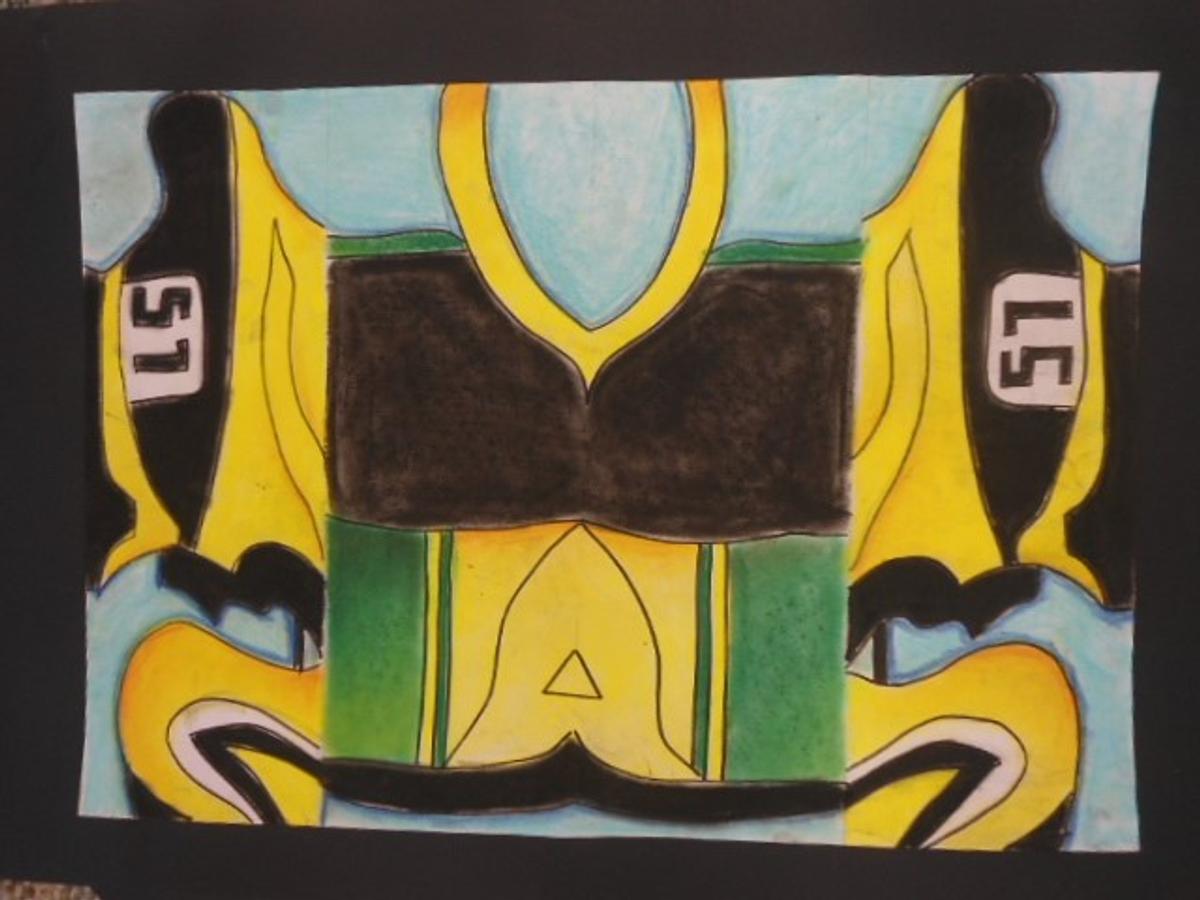
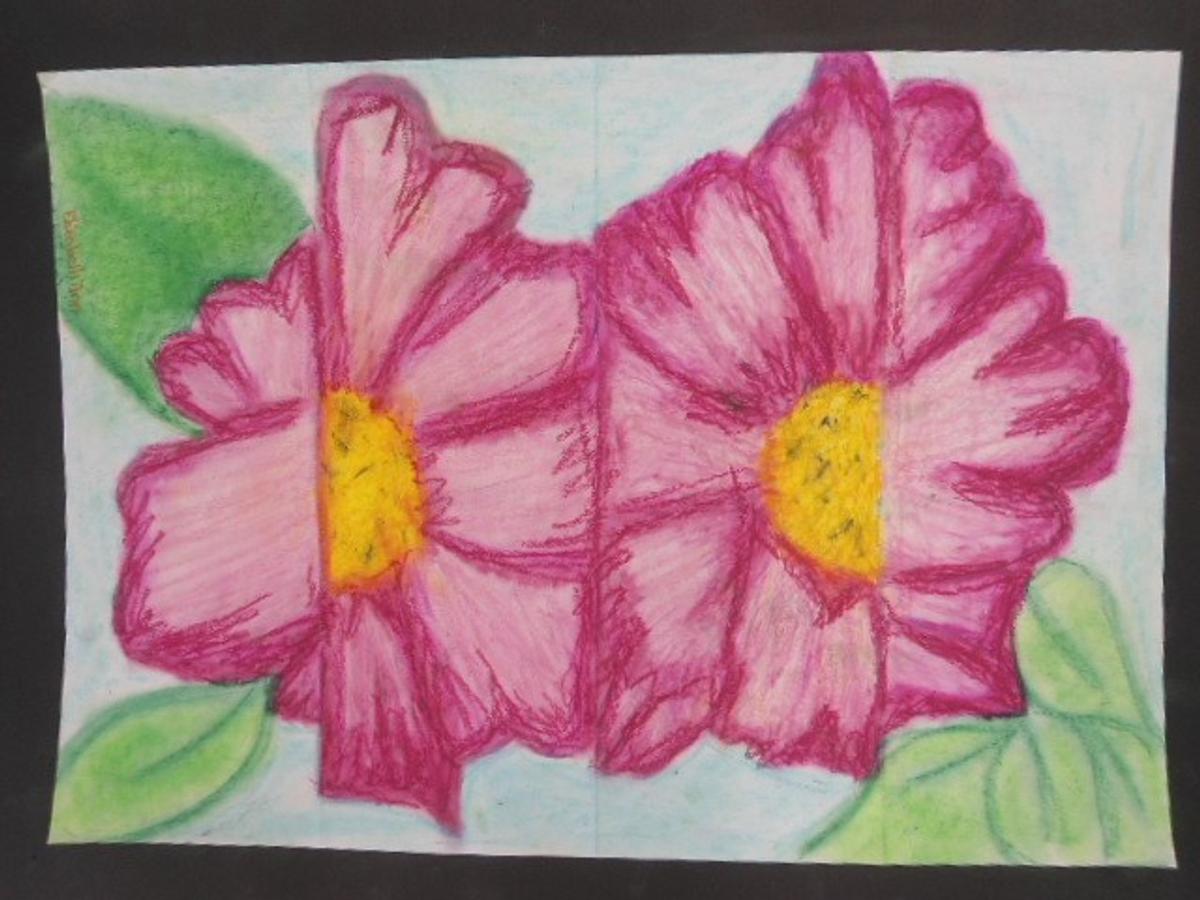
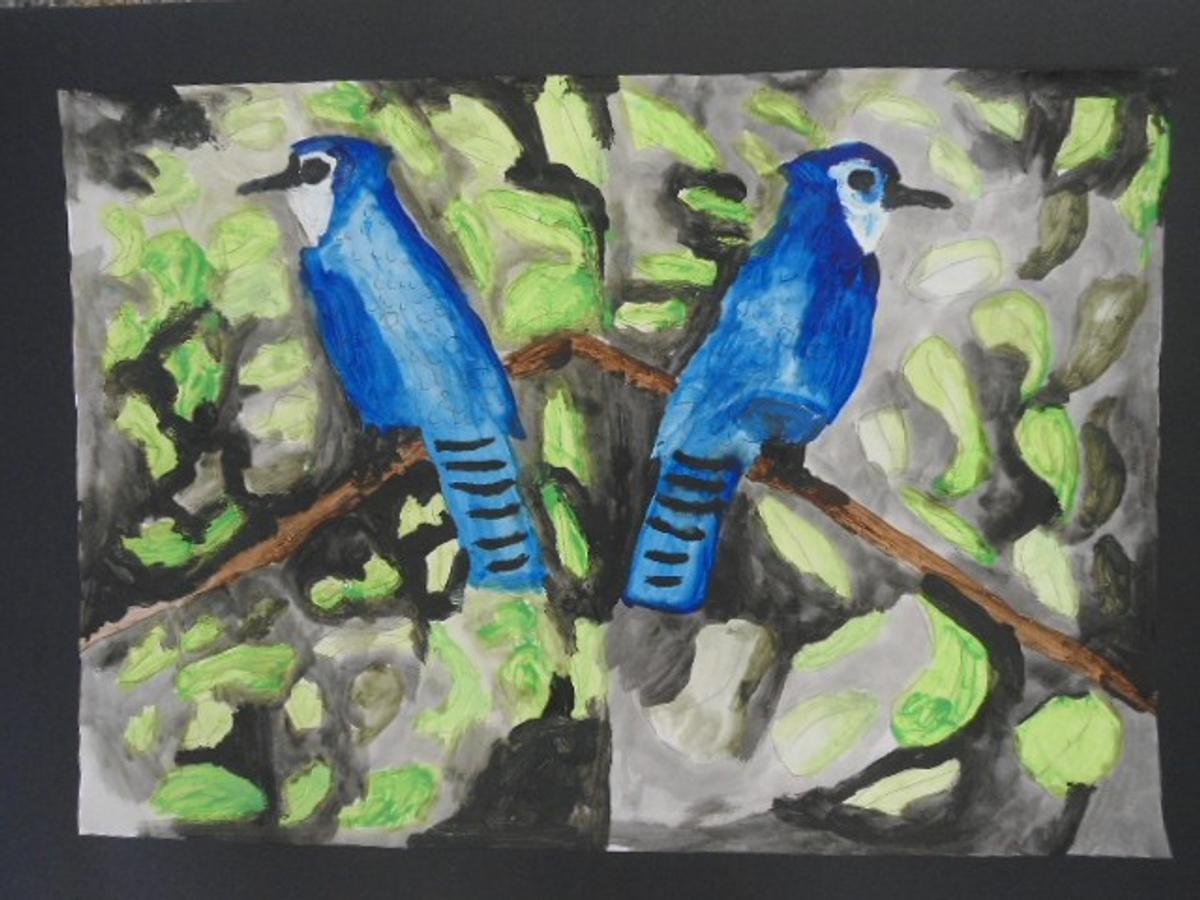
The students were required to find an image on the computer. They had to print off at least two copies of the image and then cut them up into sections and rearrange them into an interesting composition. The students then had to enlarge their composition first by dividing their A2 paper into the required sections and then draw each section. Students had the opportunity to select any medium to complete their artwork.
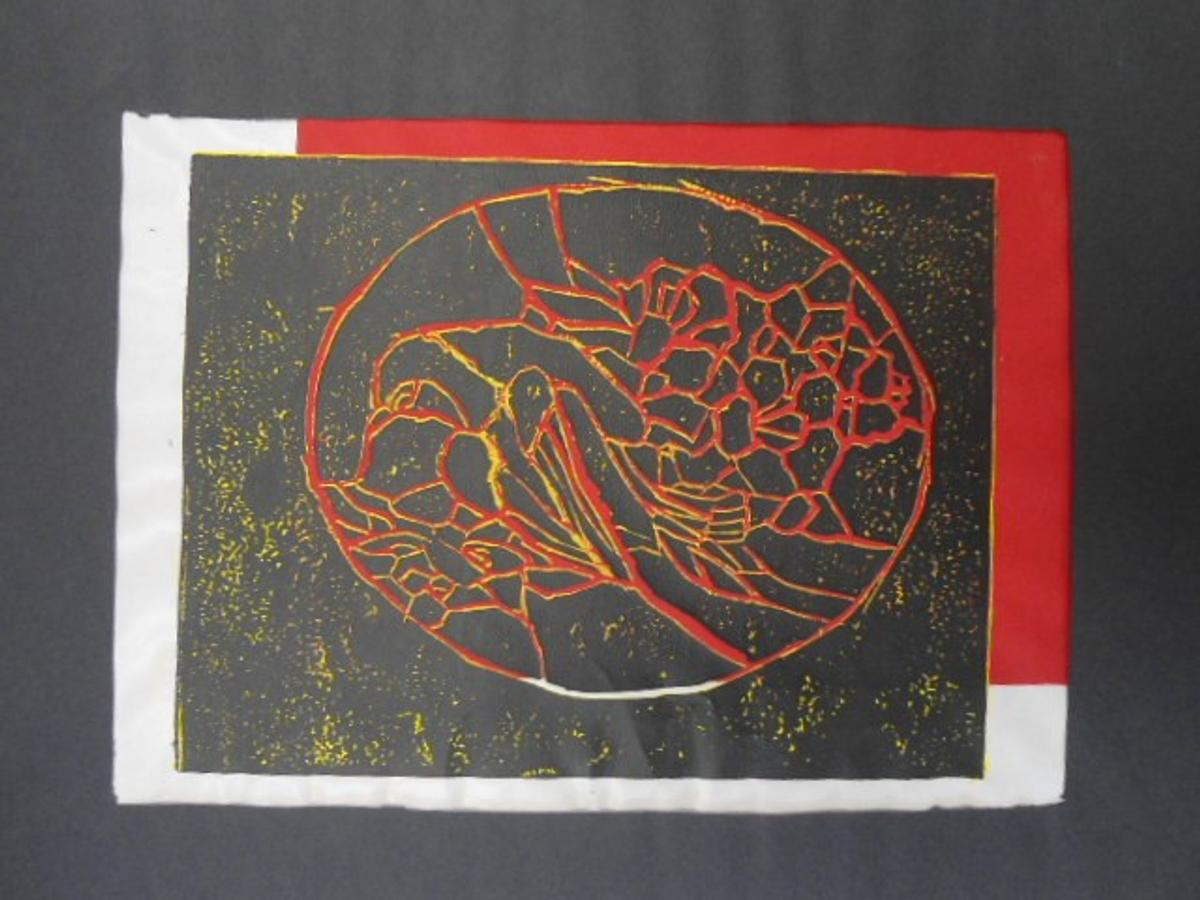
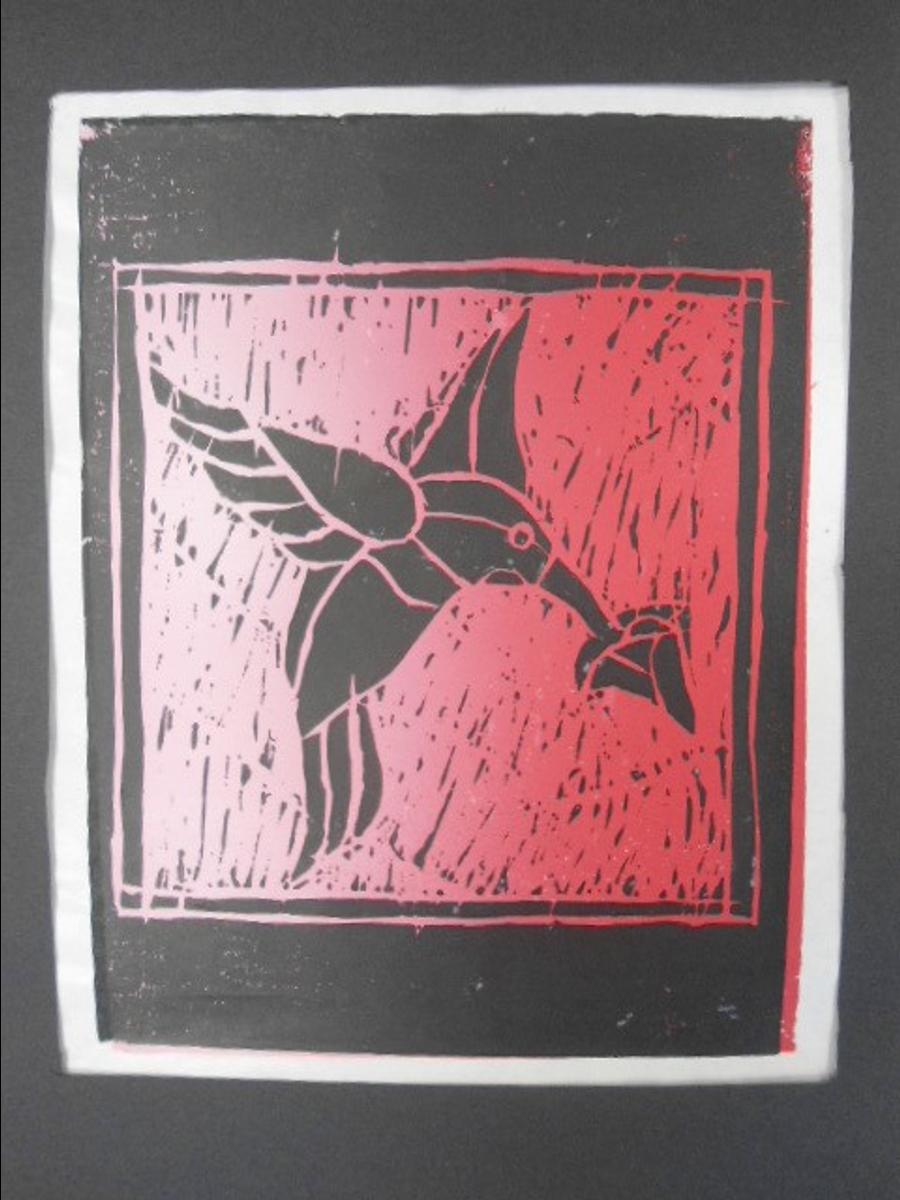
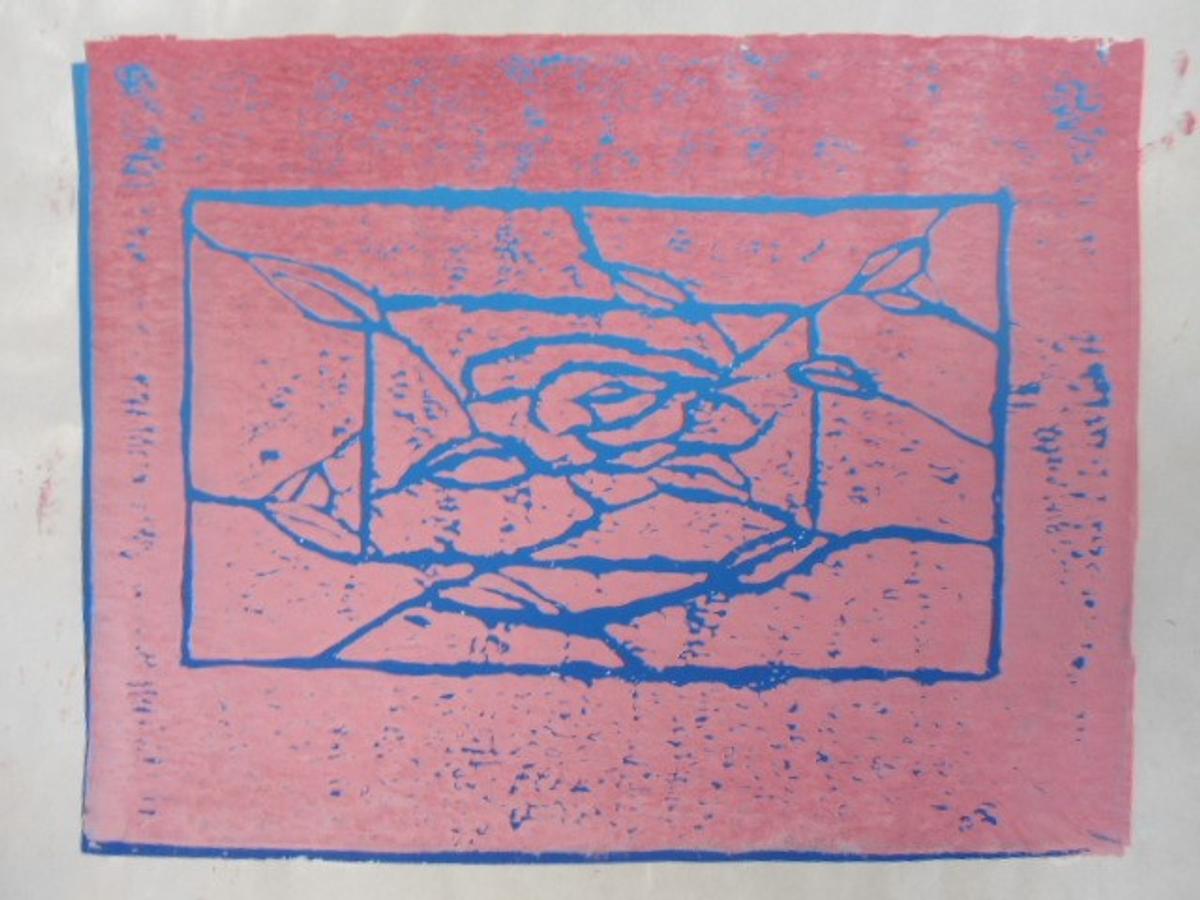
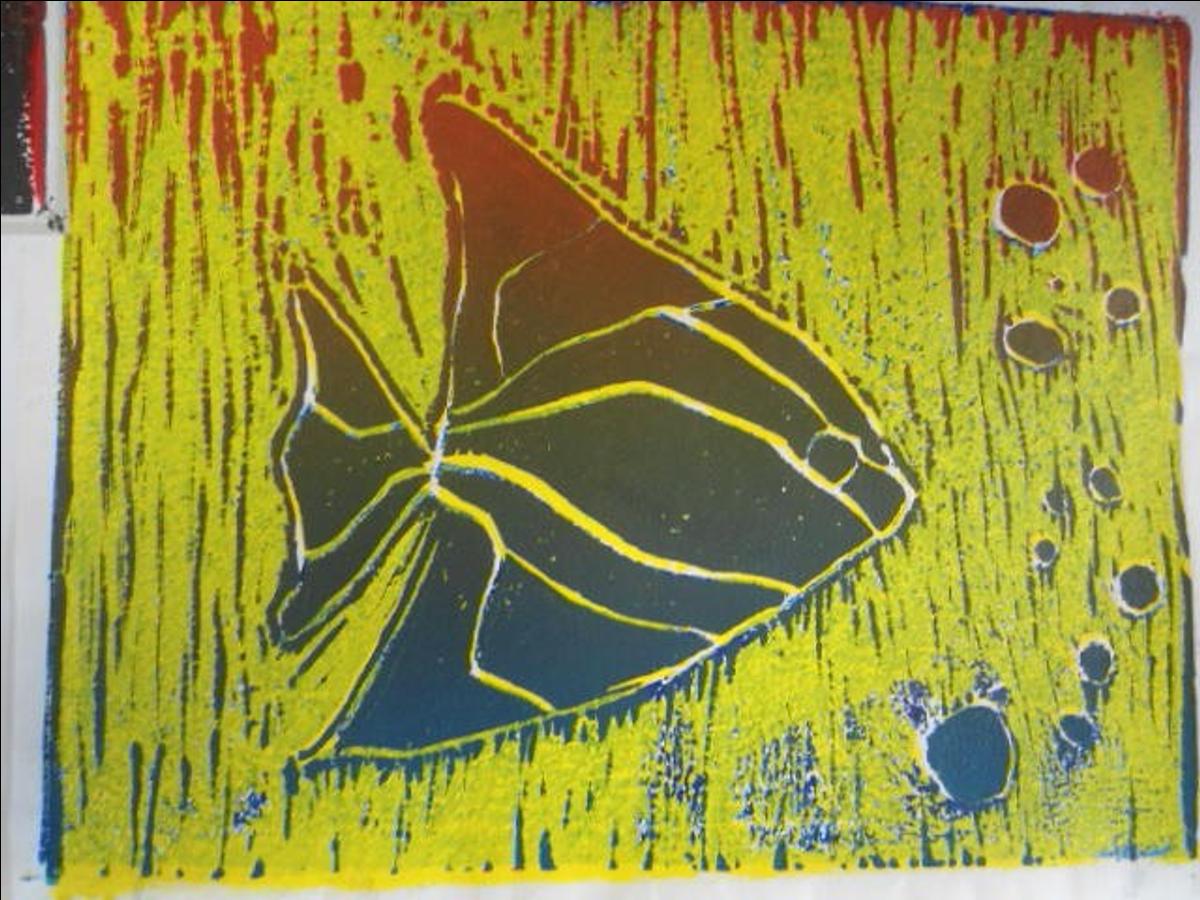
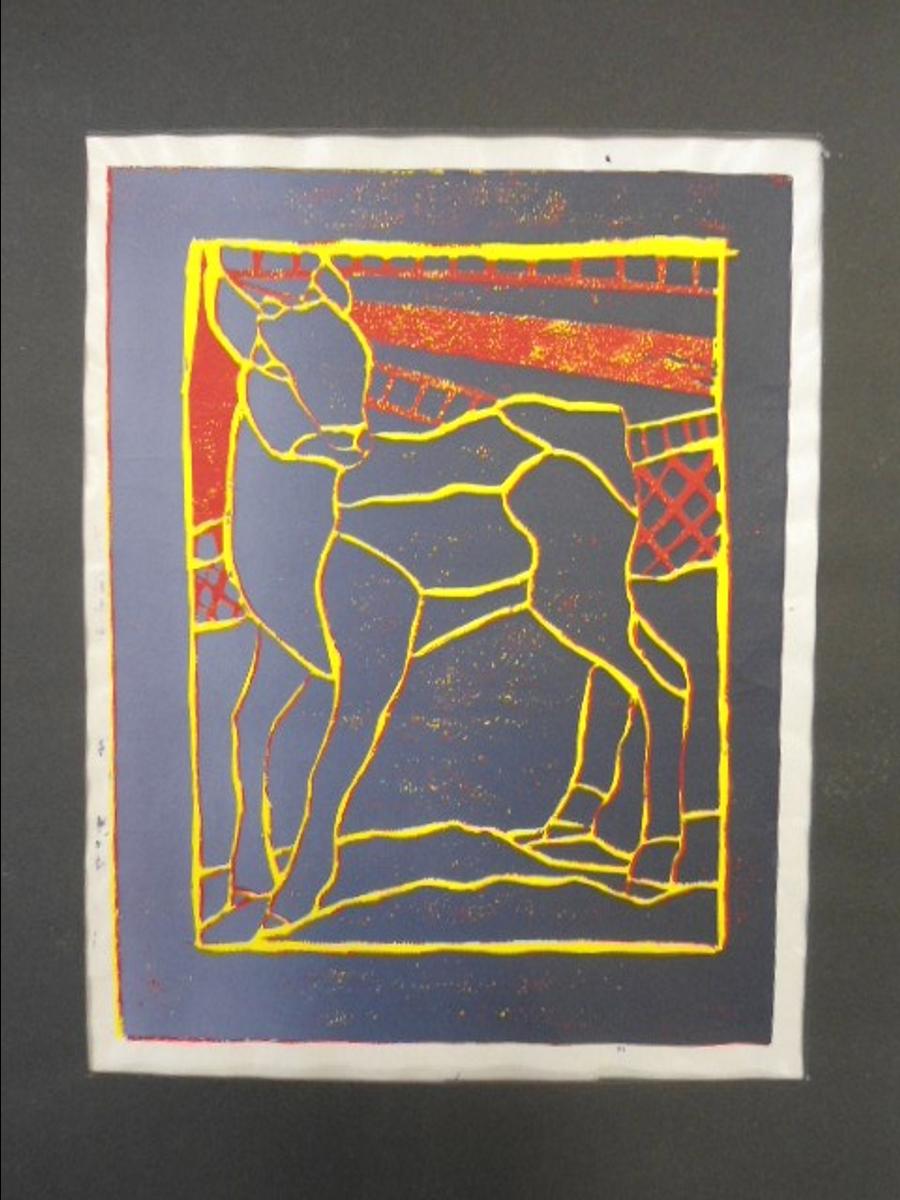
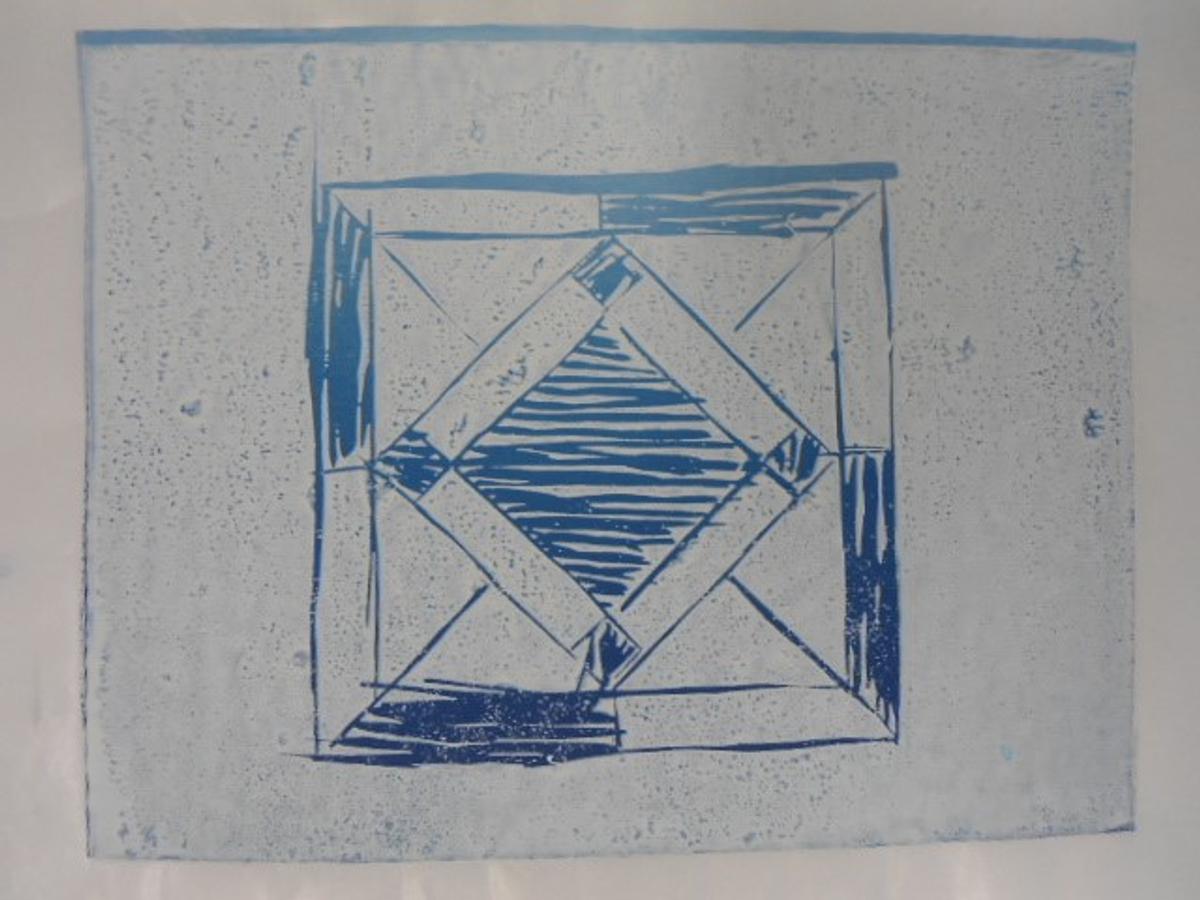
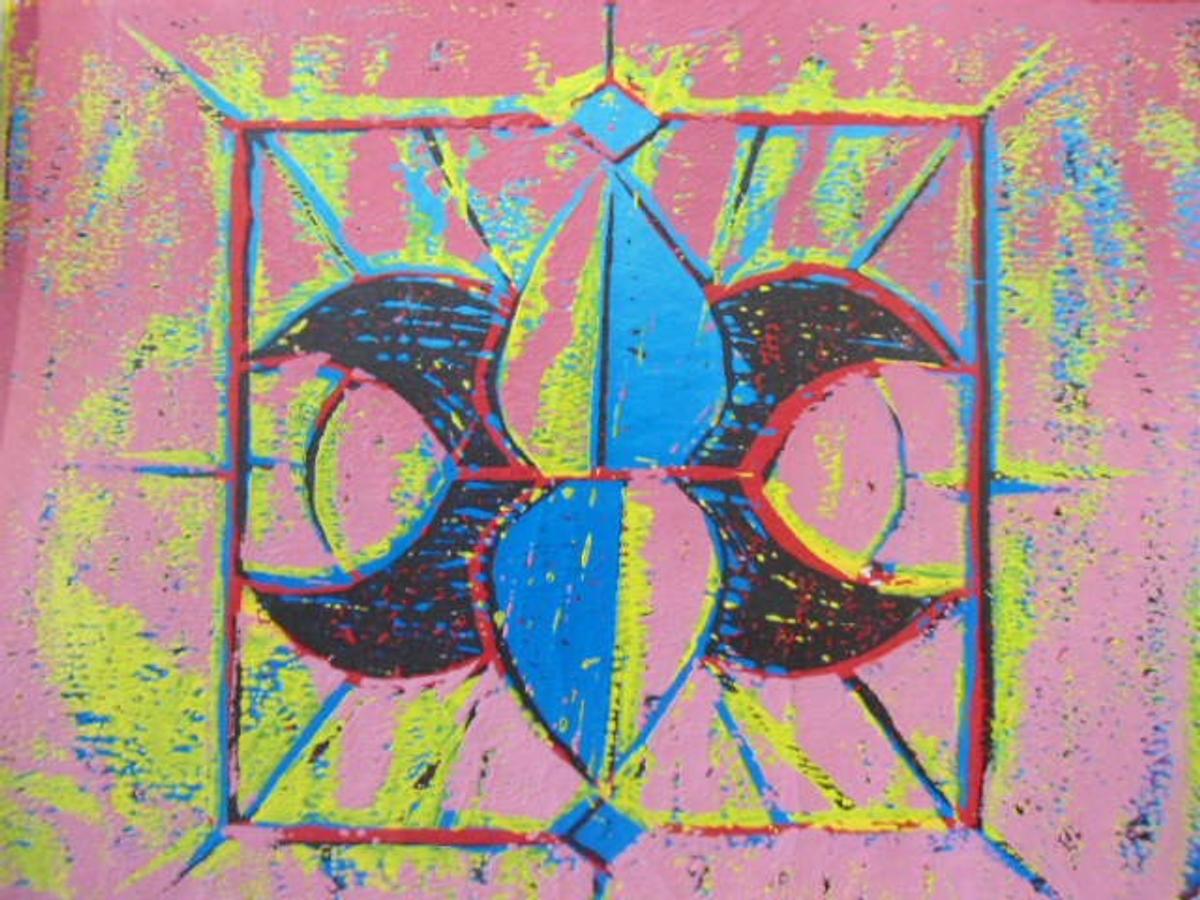
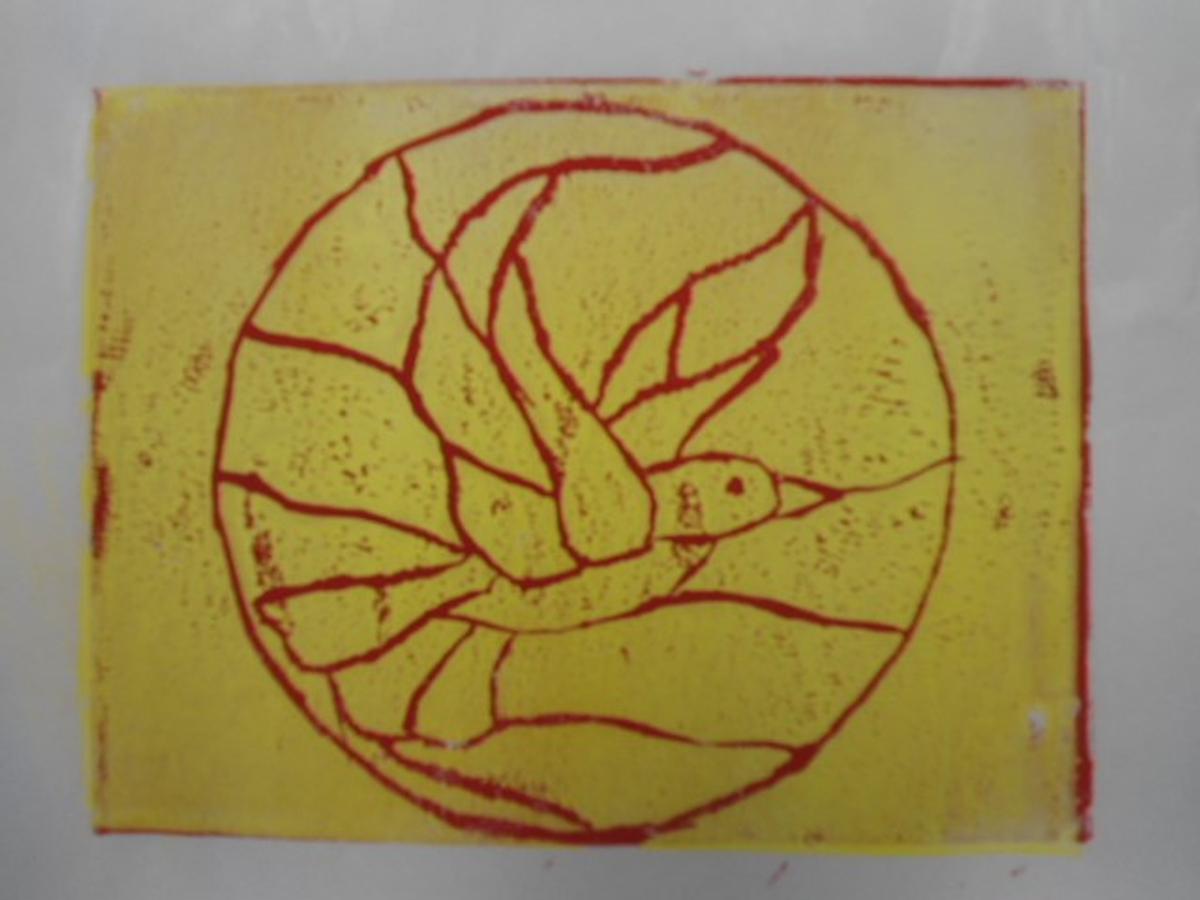
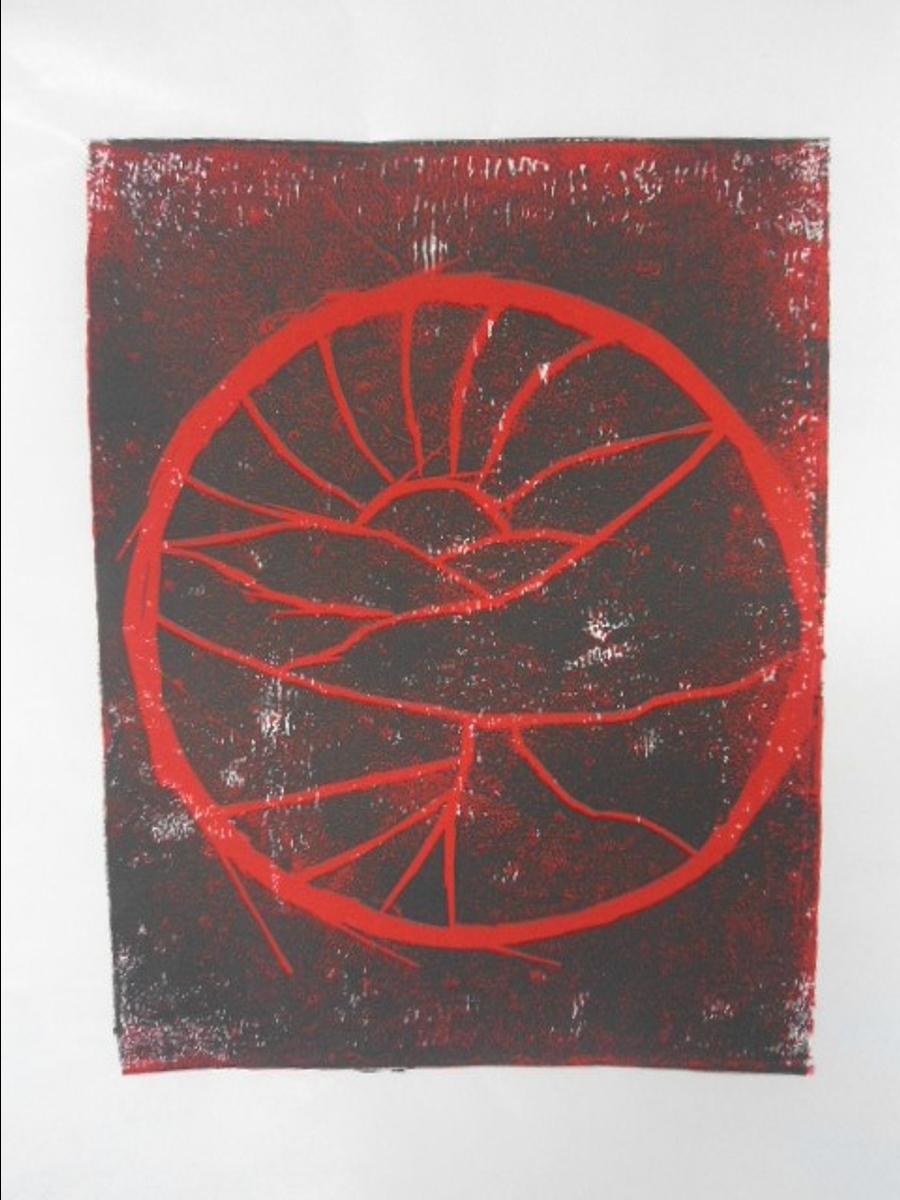
The Year 10 students also produced multiple coloured lino prints by printing on top of previous prints and also by taking sections away from their lino to build up the colour.
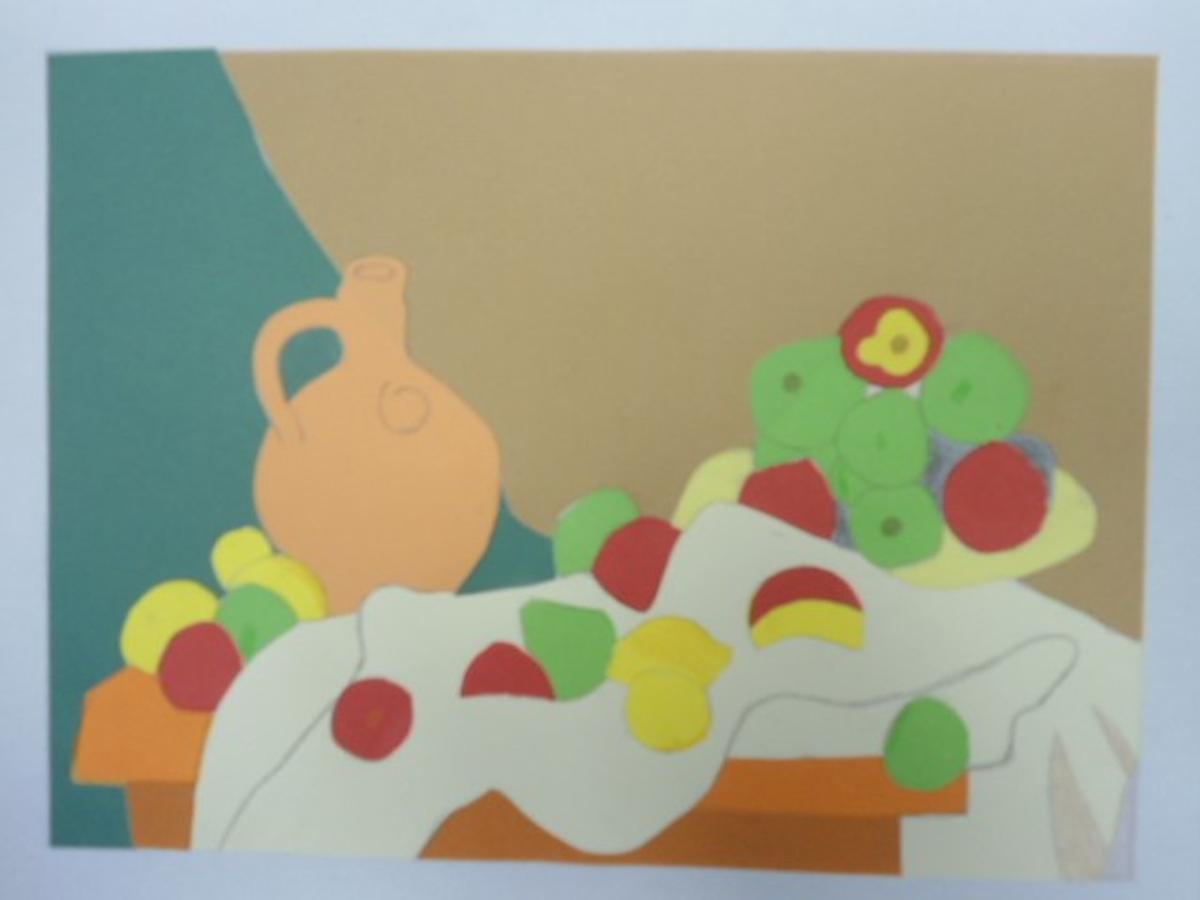
Collage Painting.
Students had to select a painting by an artist. They then photocopied it, traced over it with tracing paper and transferred this to A3 paper. The students then had to select coloured paper that best represented the original artwork. Students could modify the painting if it contained fine detail. Students were also able to work over the painting to define areas using a fineliner.
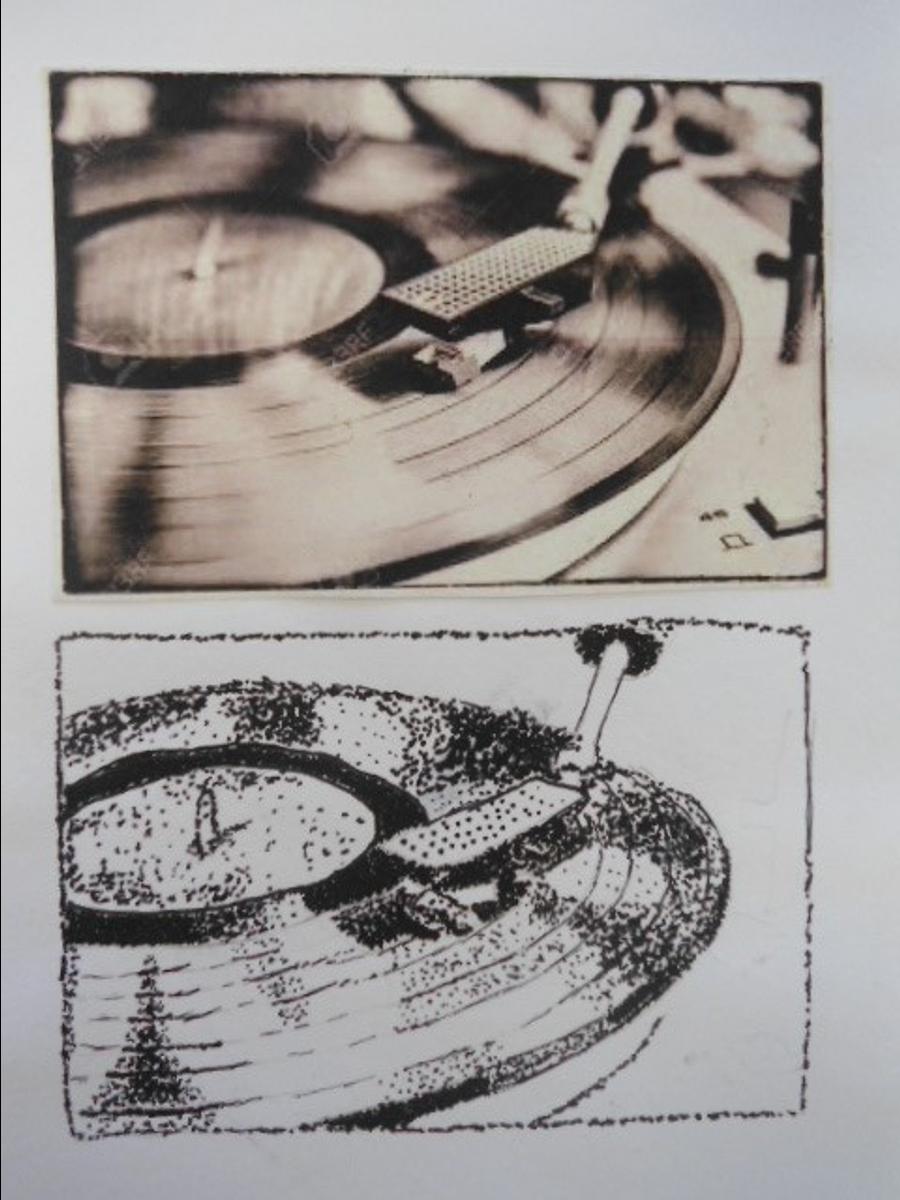
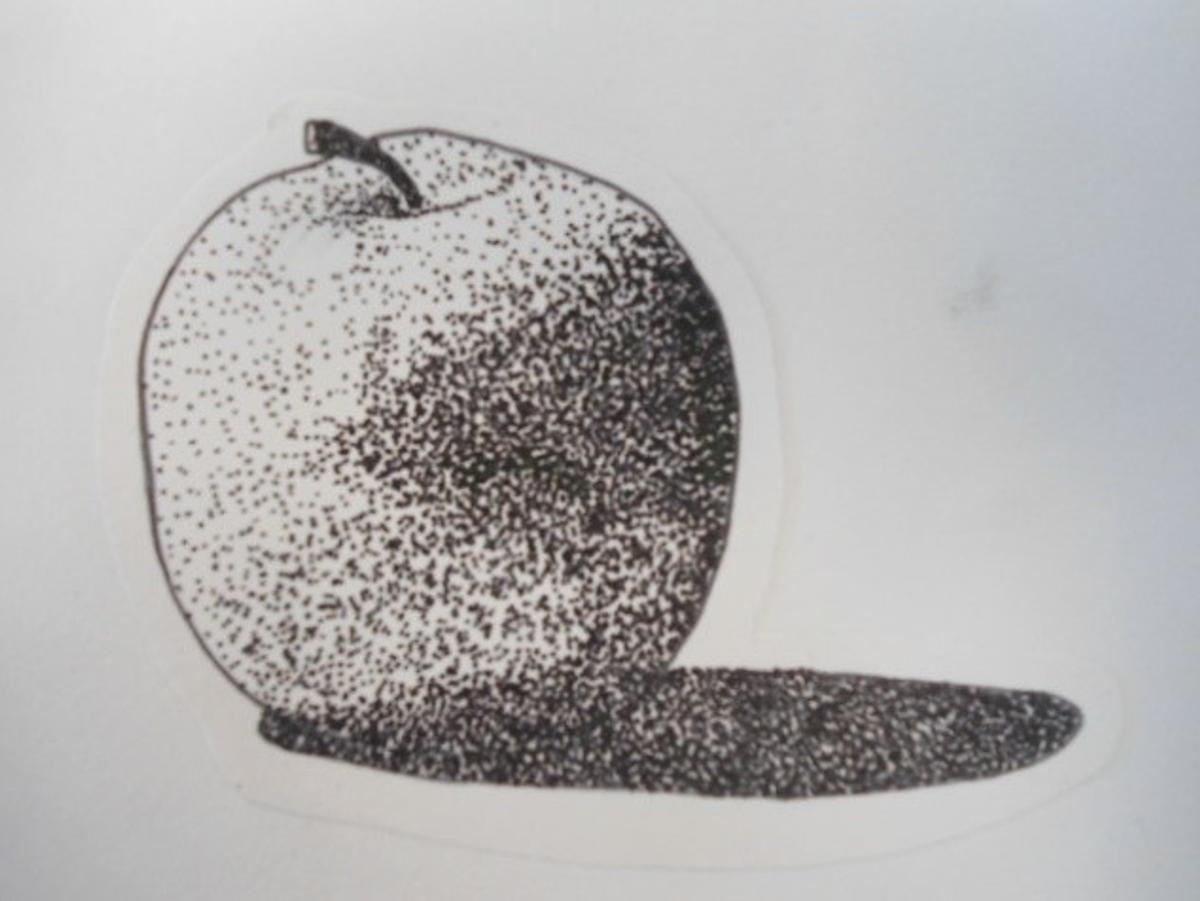
Stippling Drawings
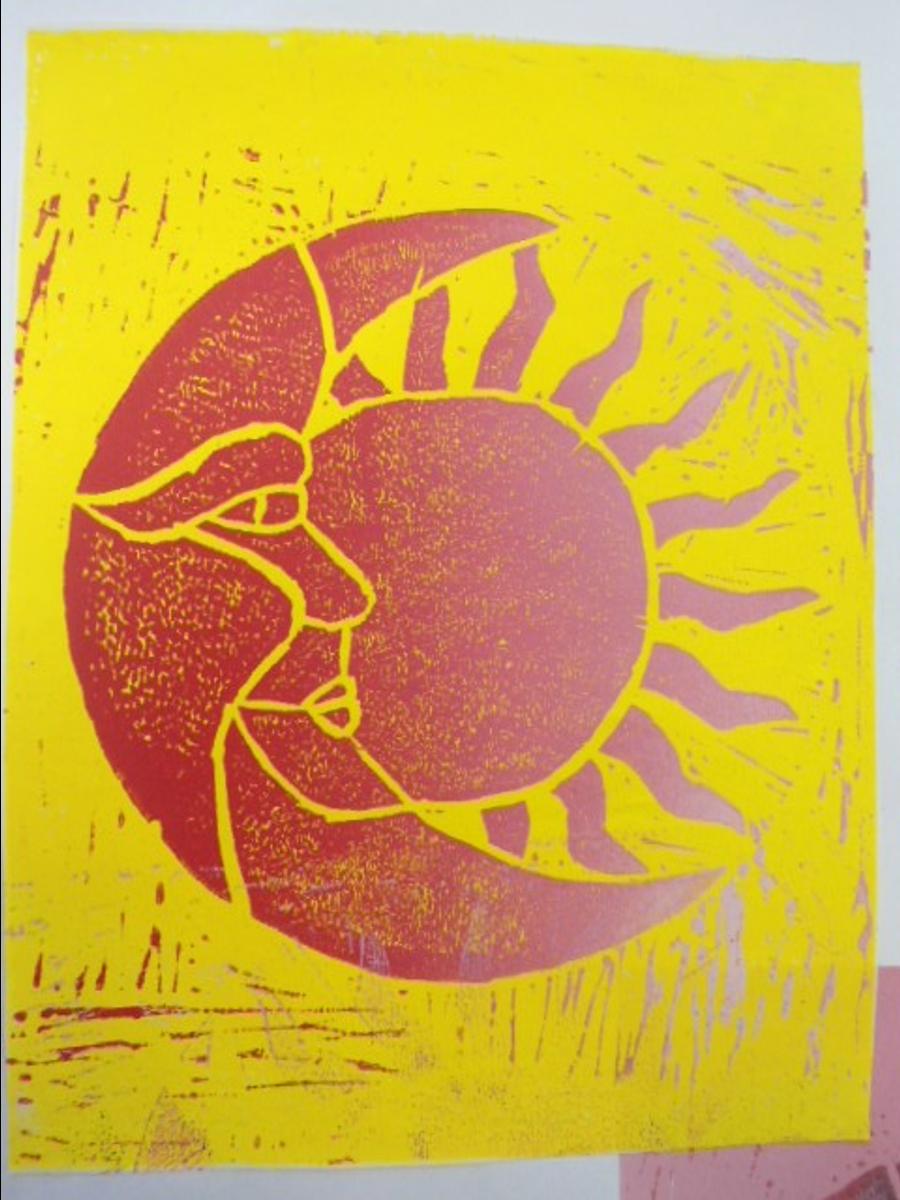
Students had to select a black and white image that could be converted into a range of dots known as the stippling technique.


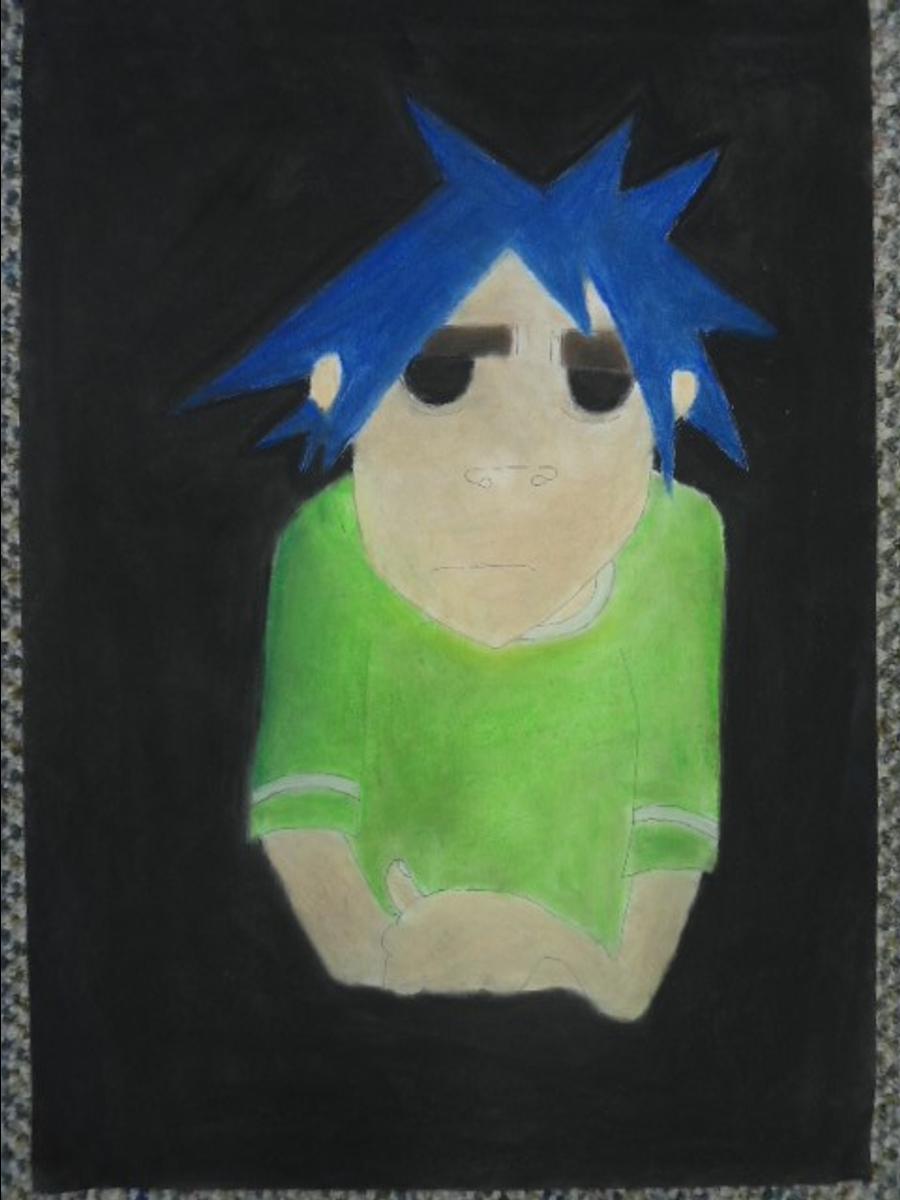
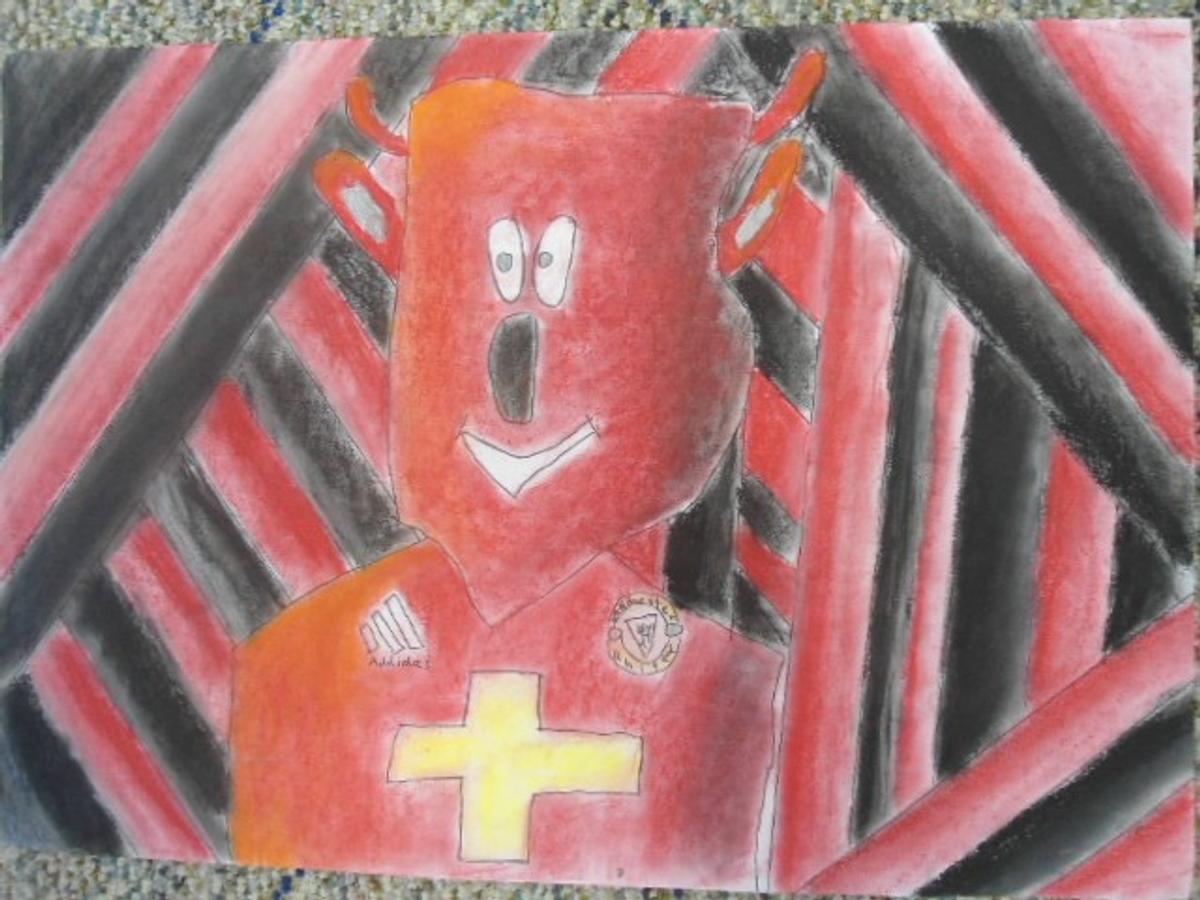
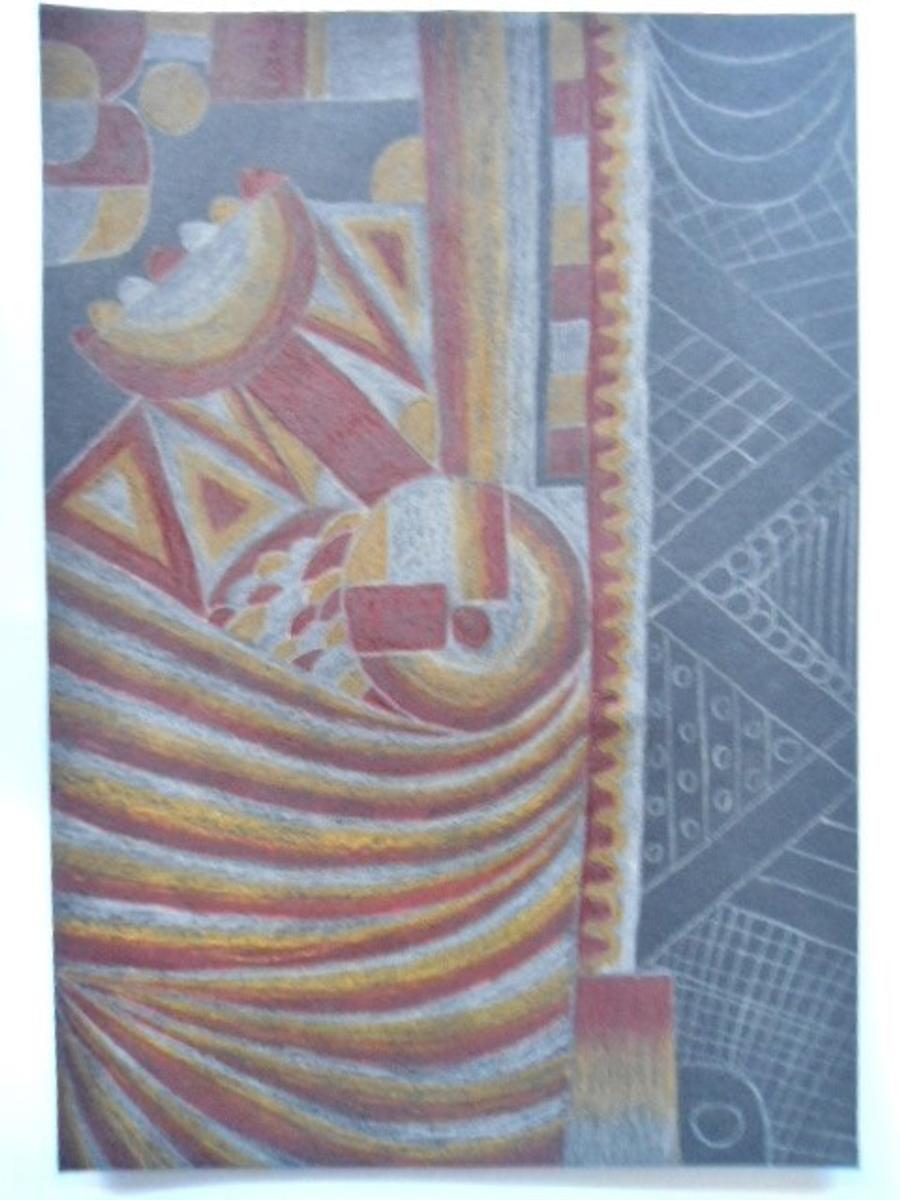
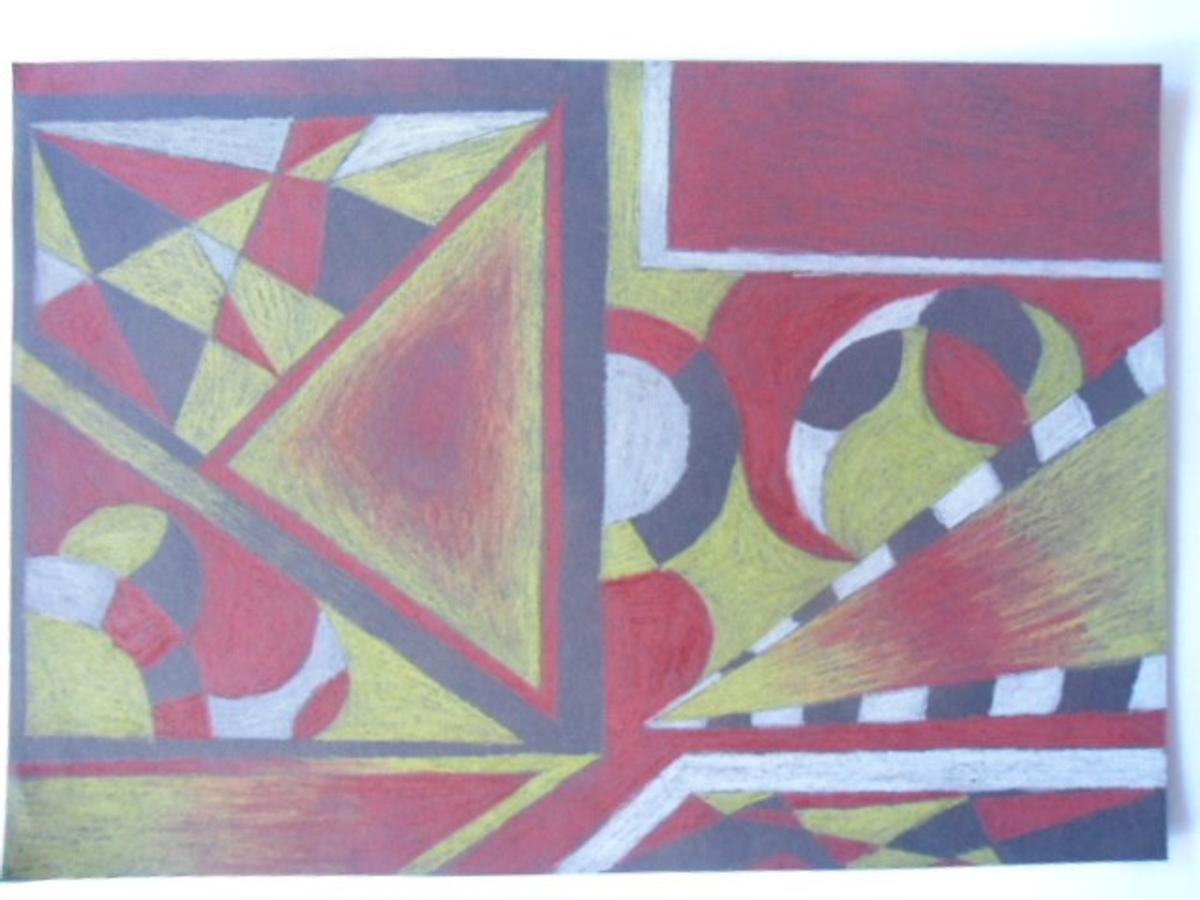
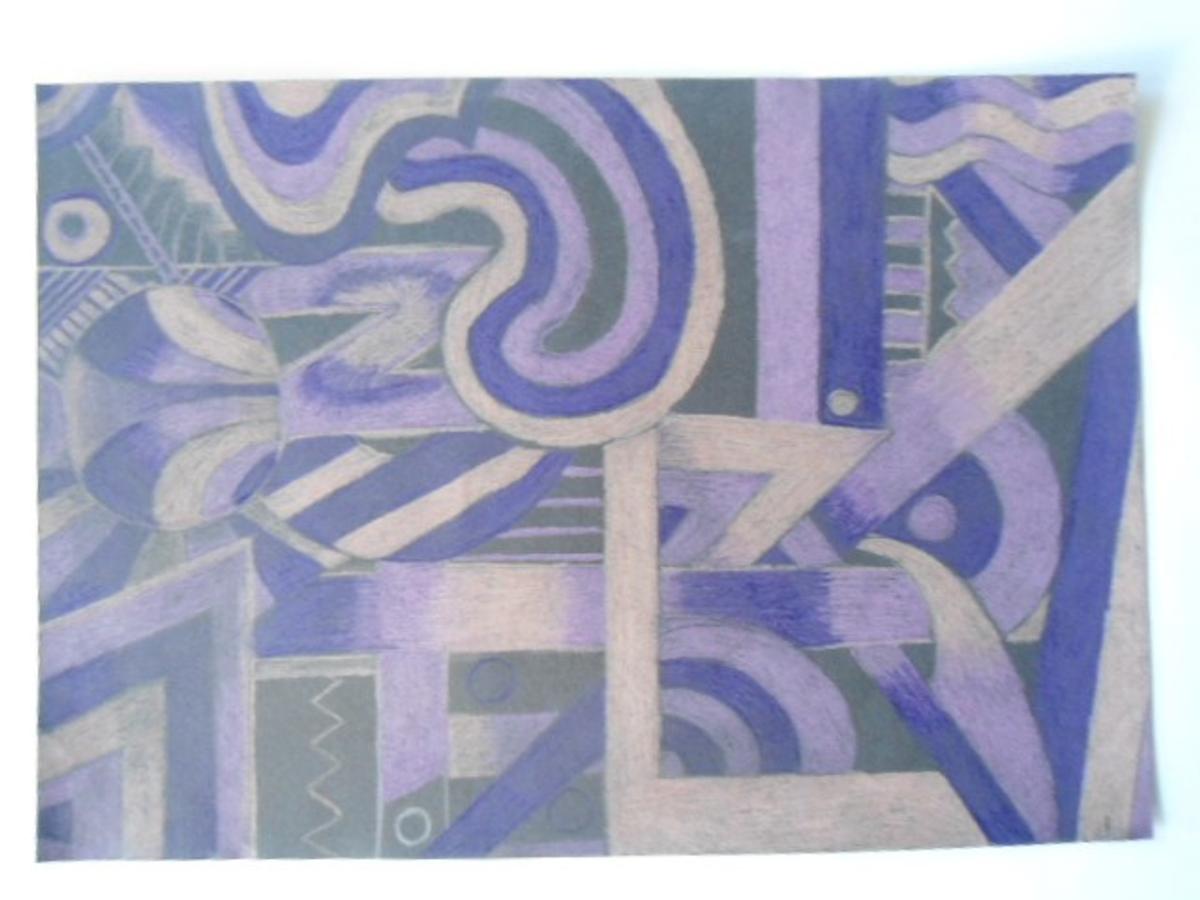
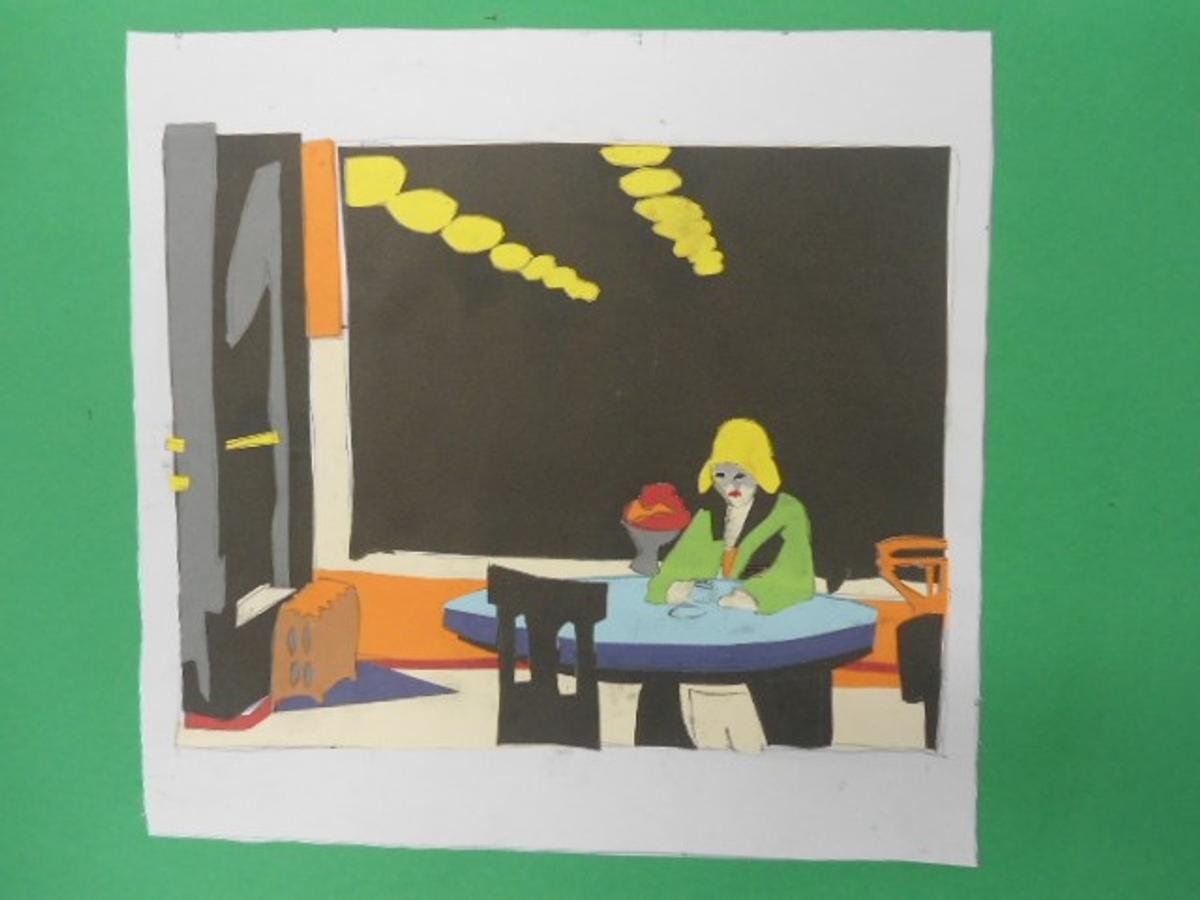
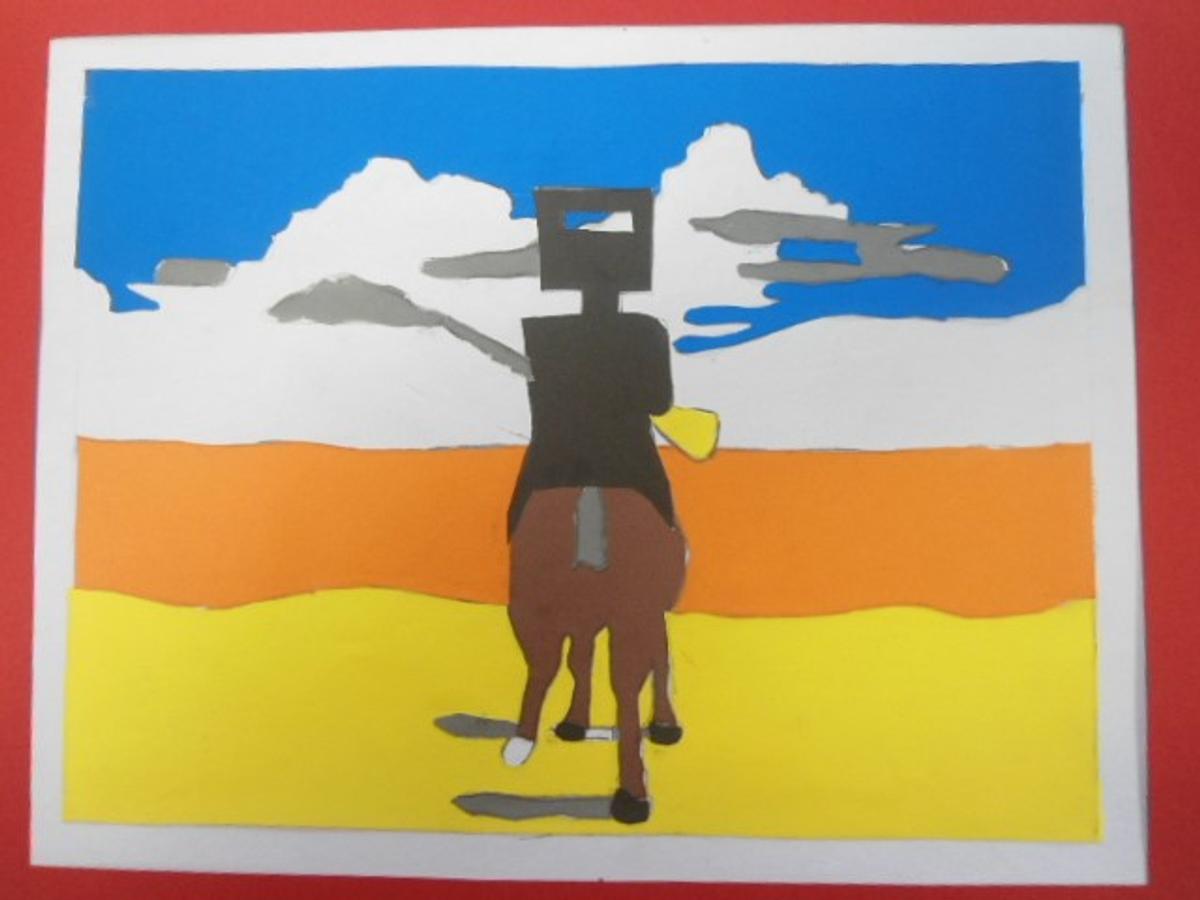
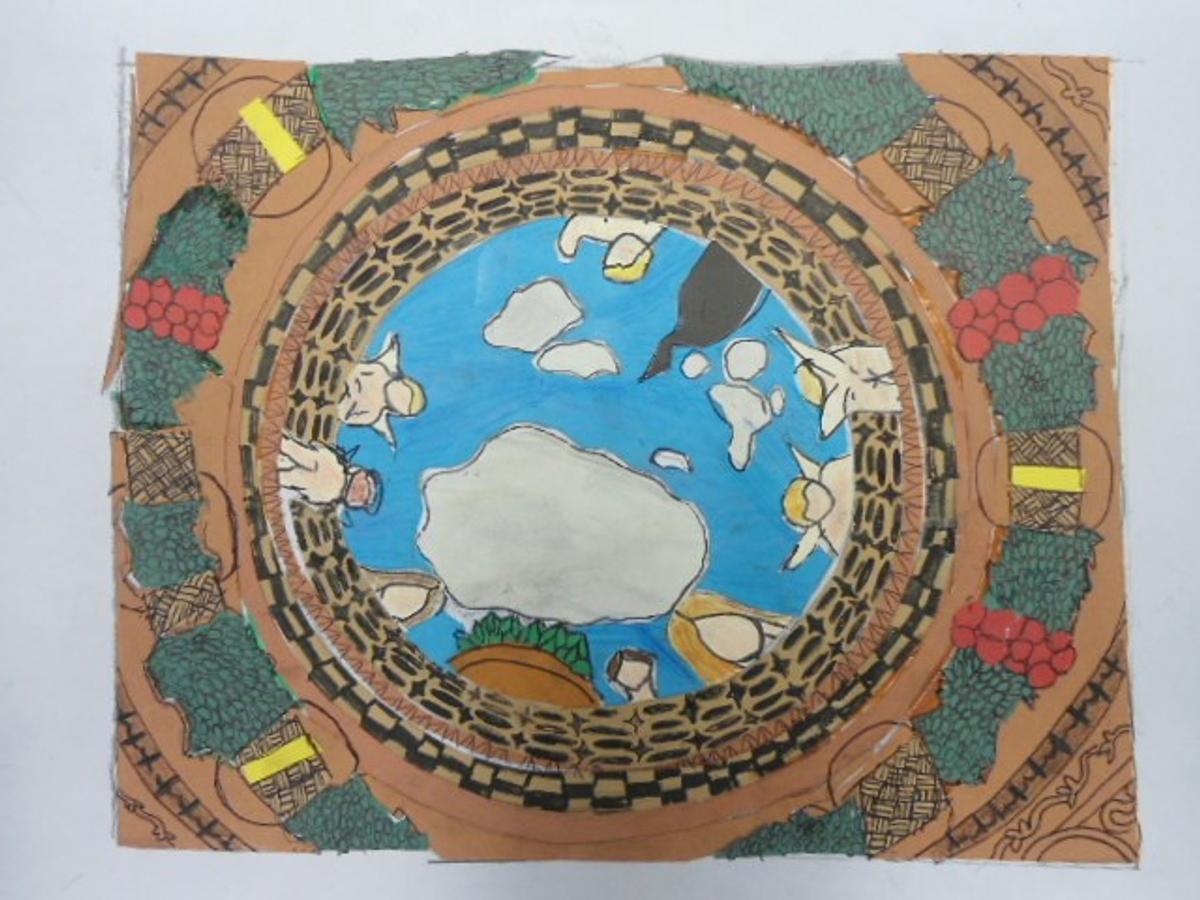
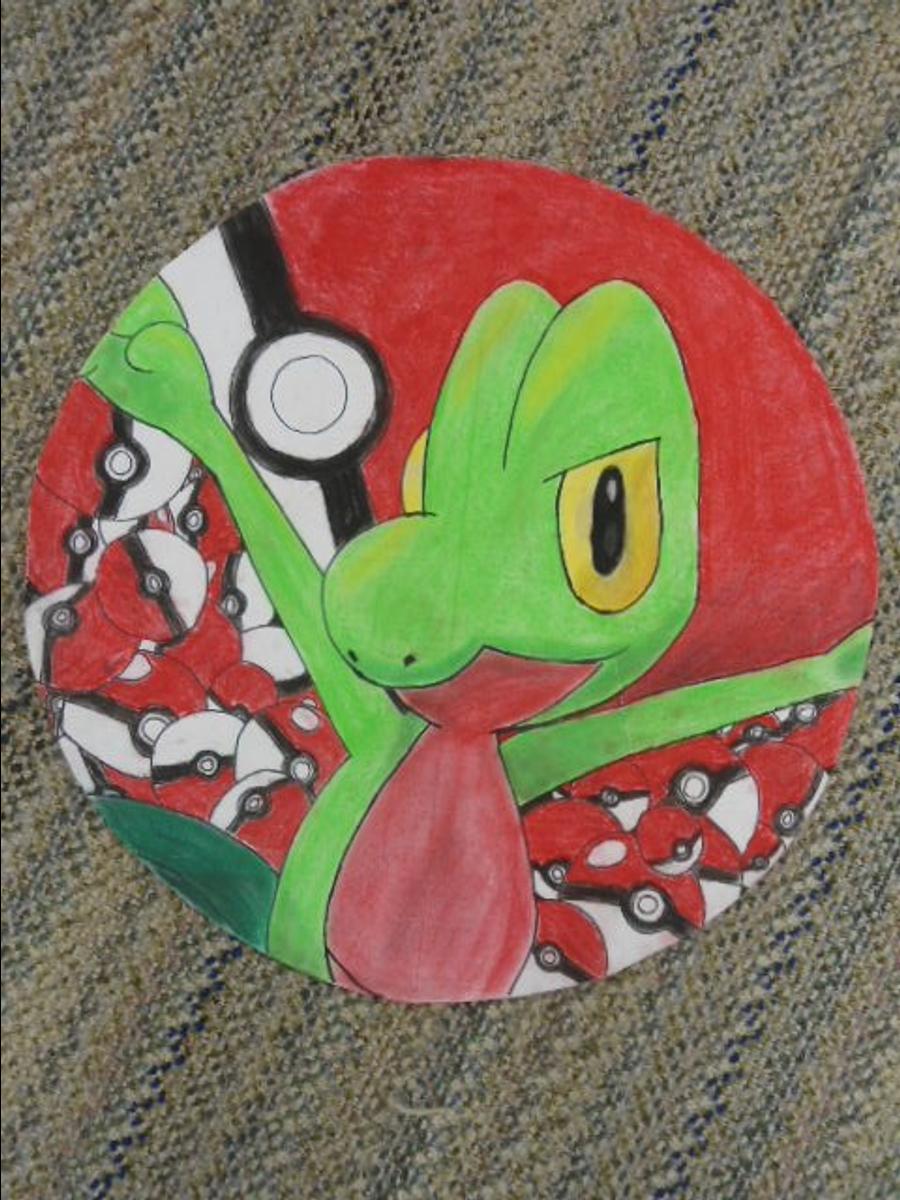
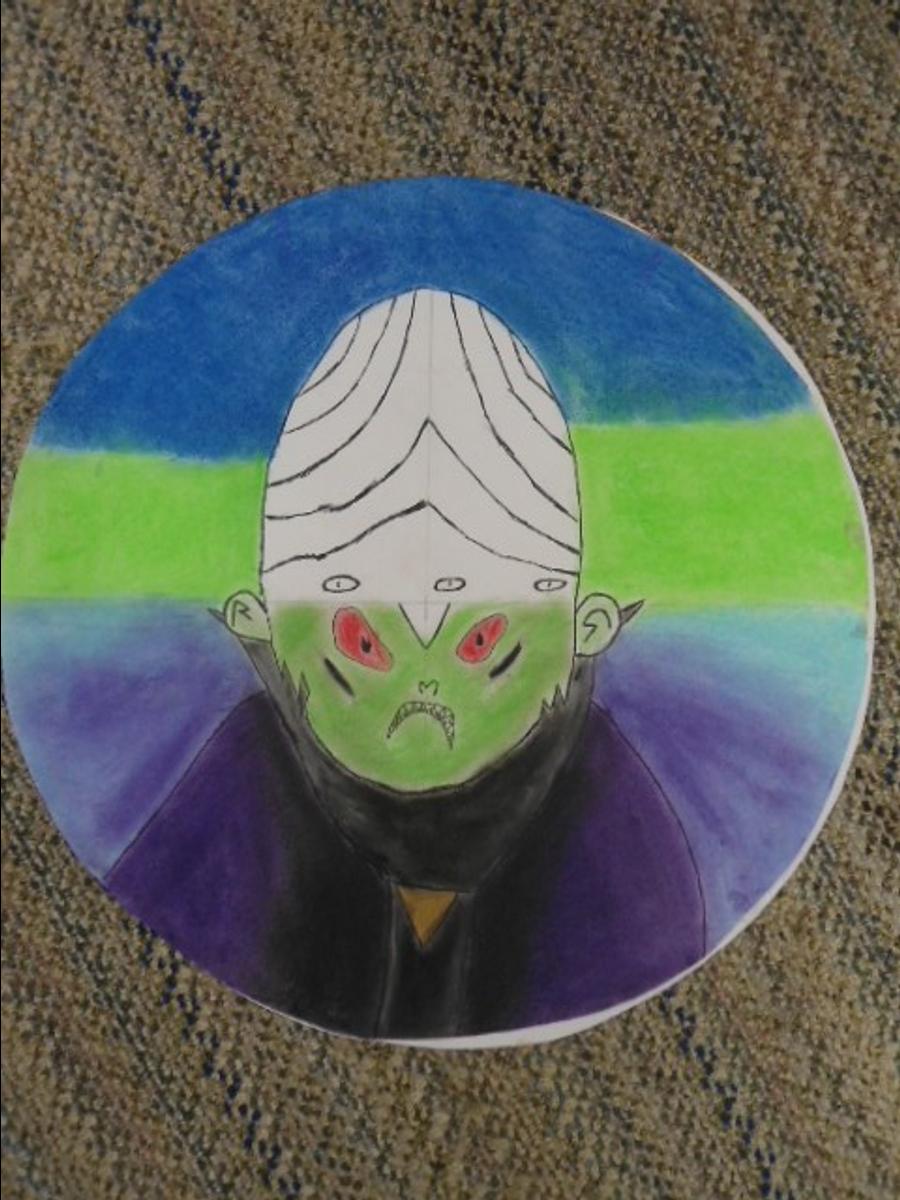
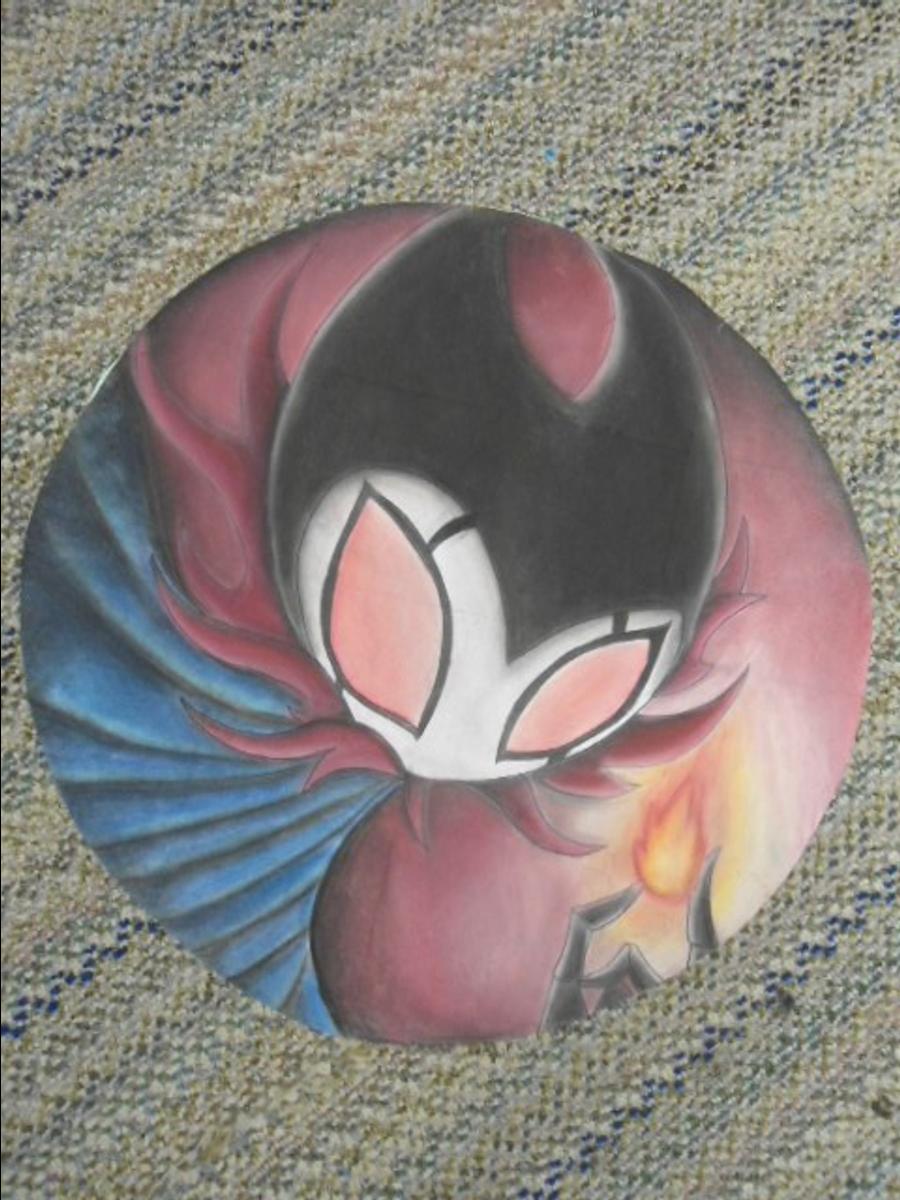
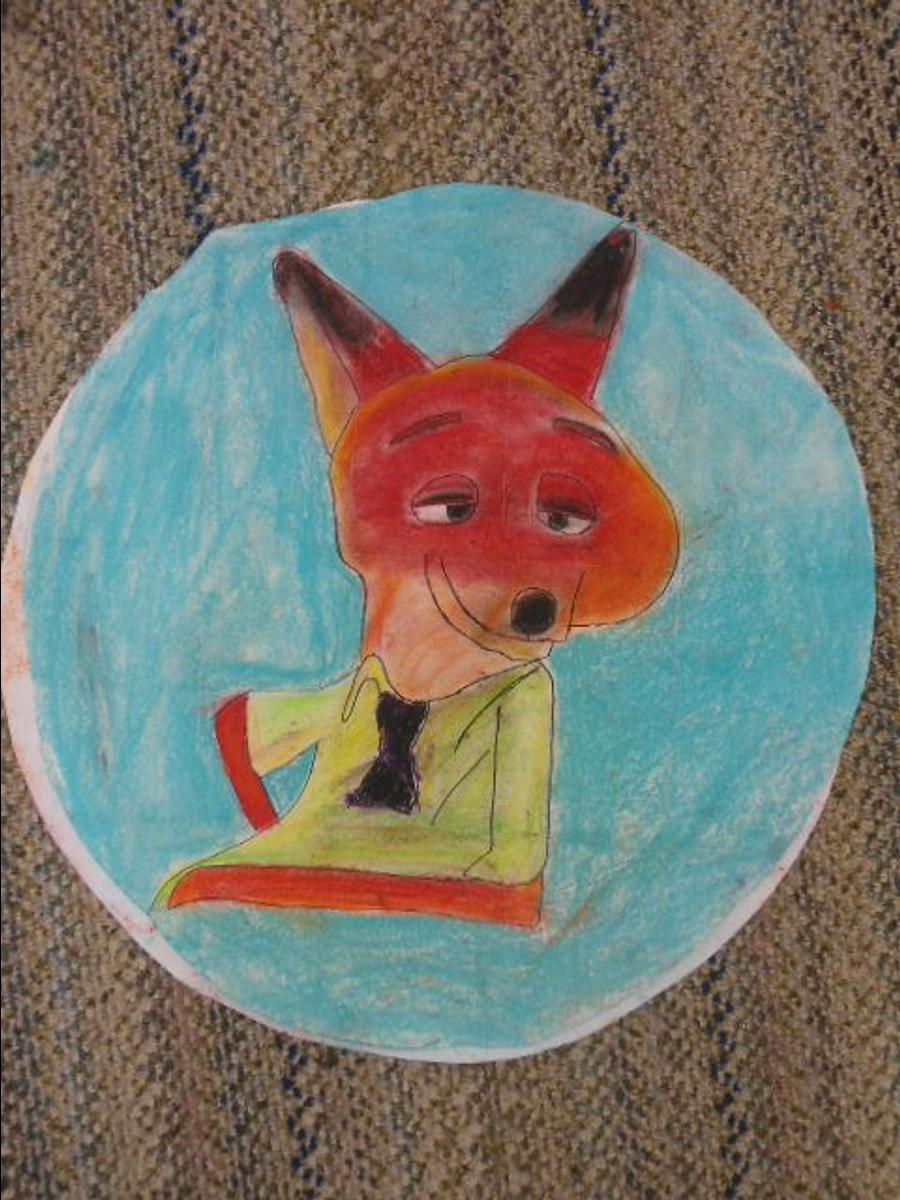
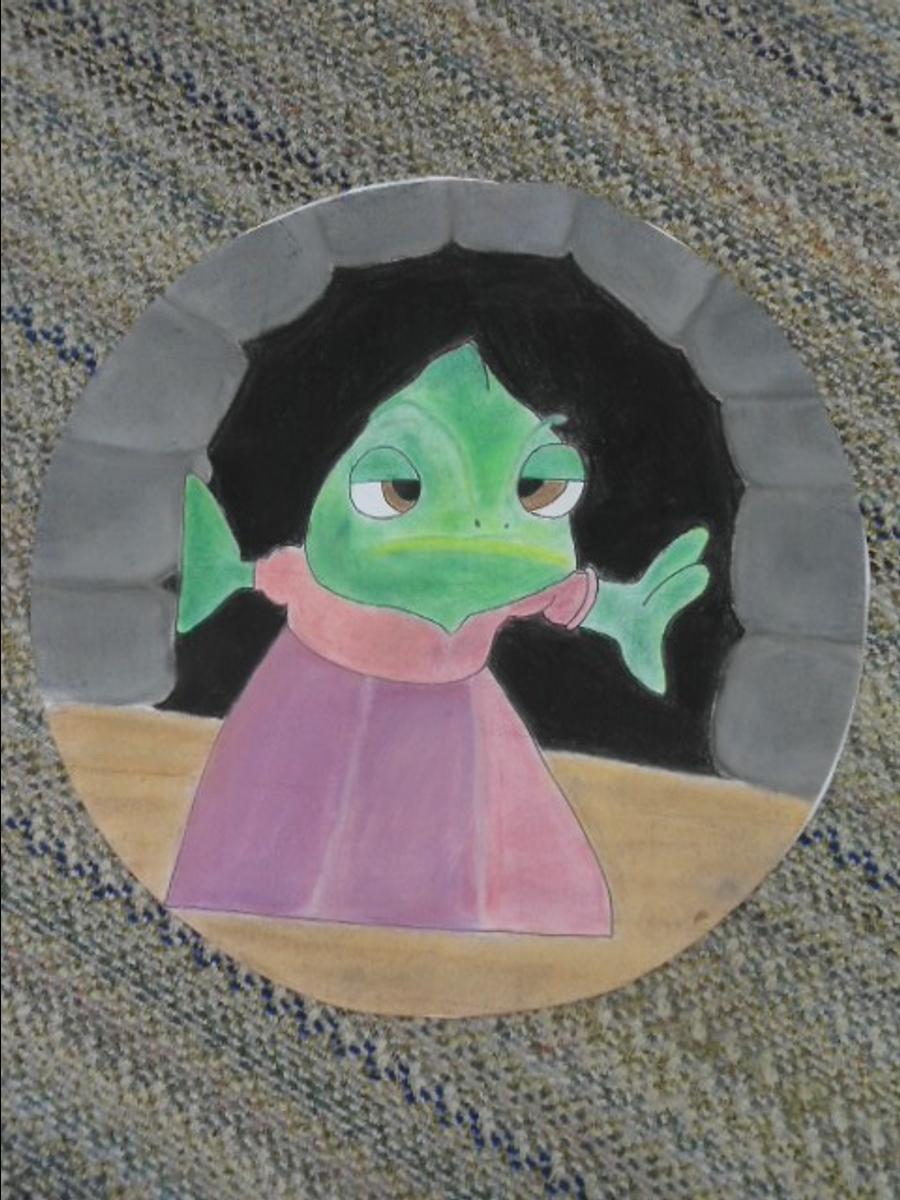
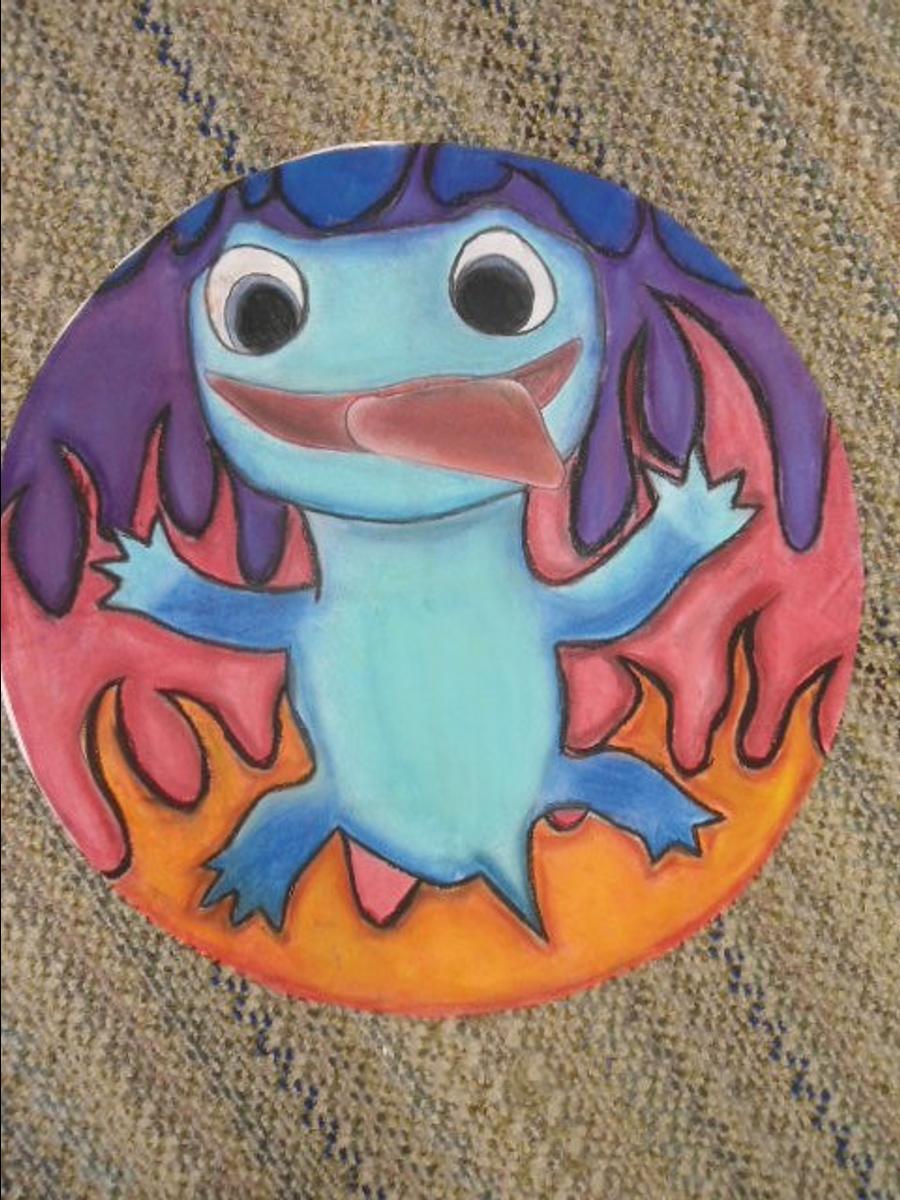
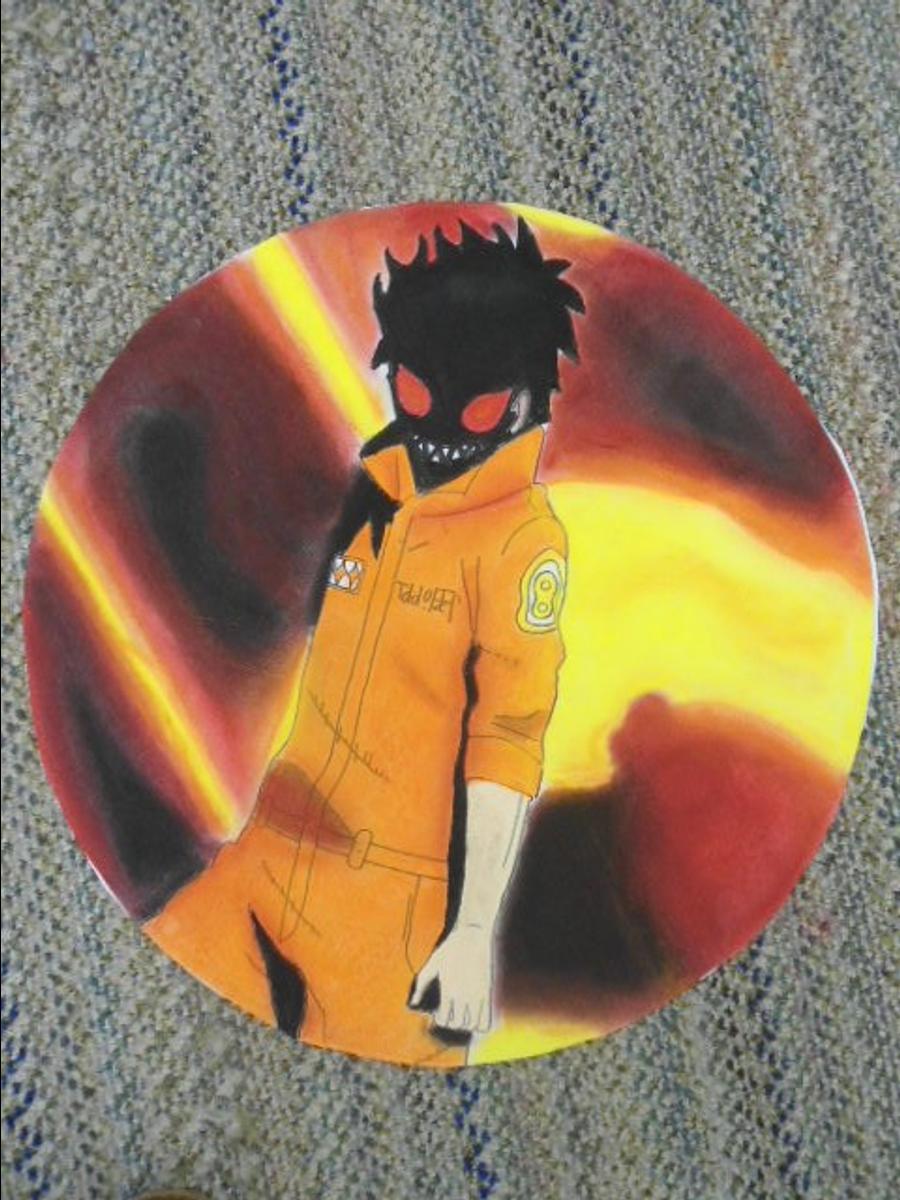
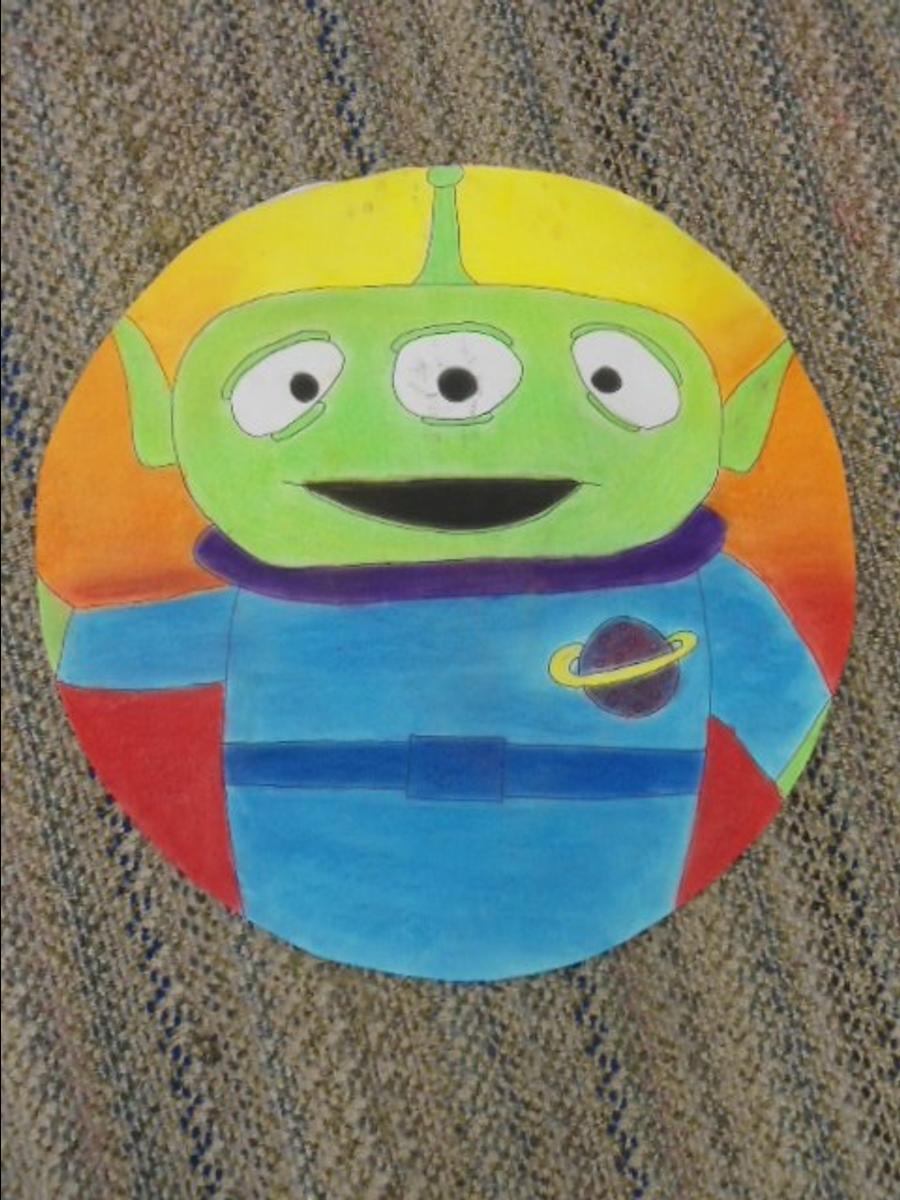
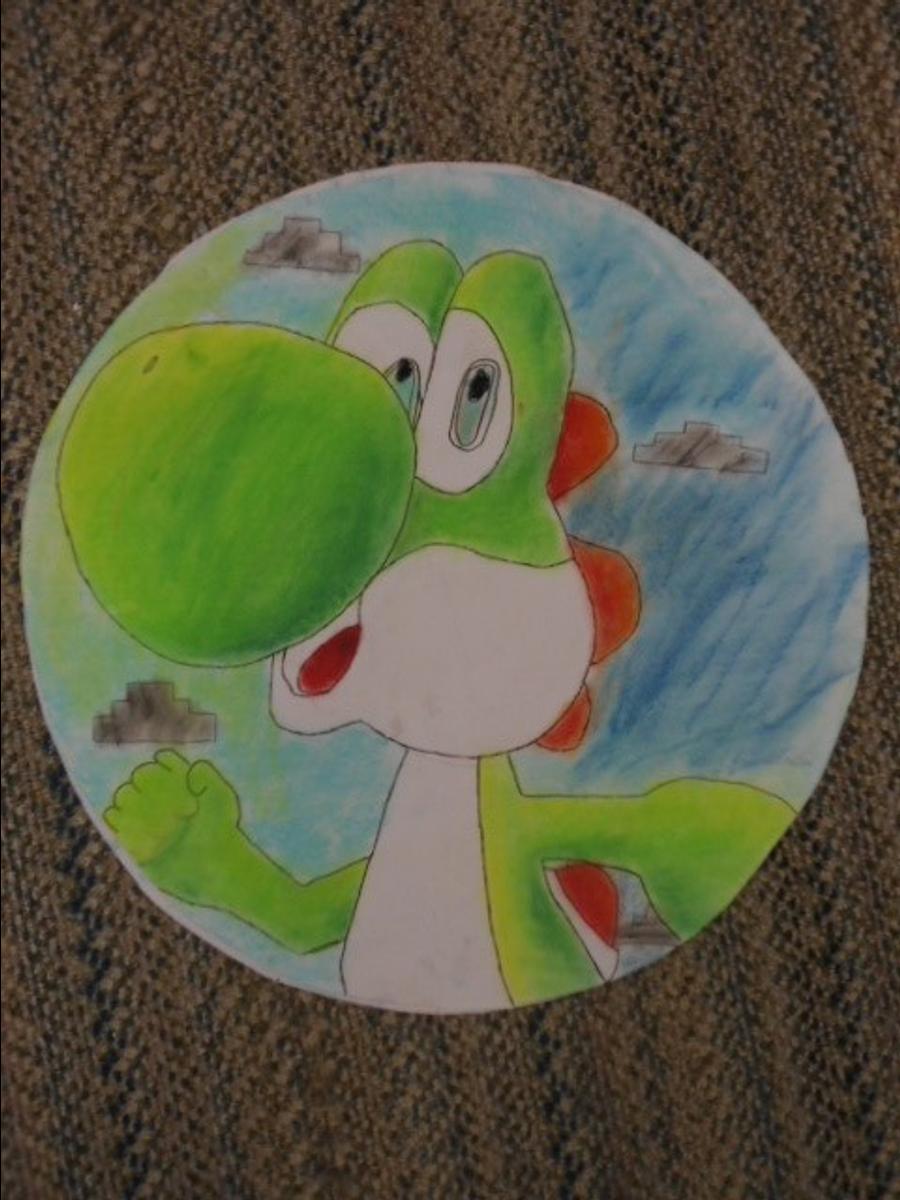
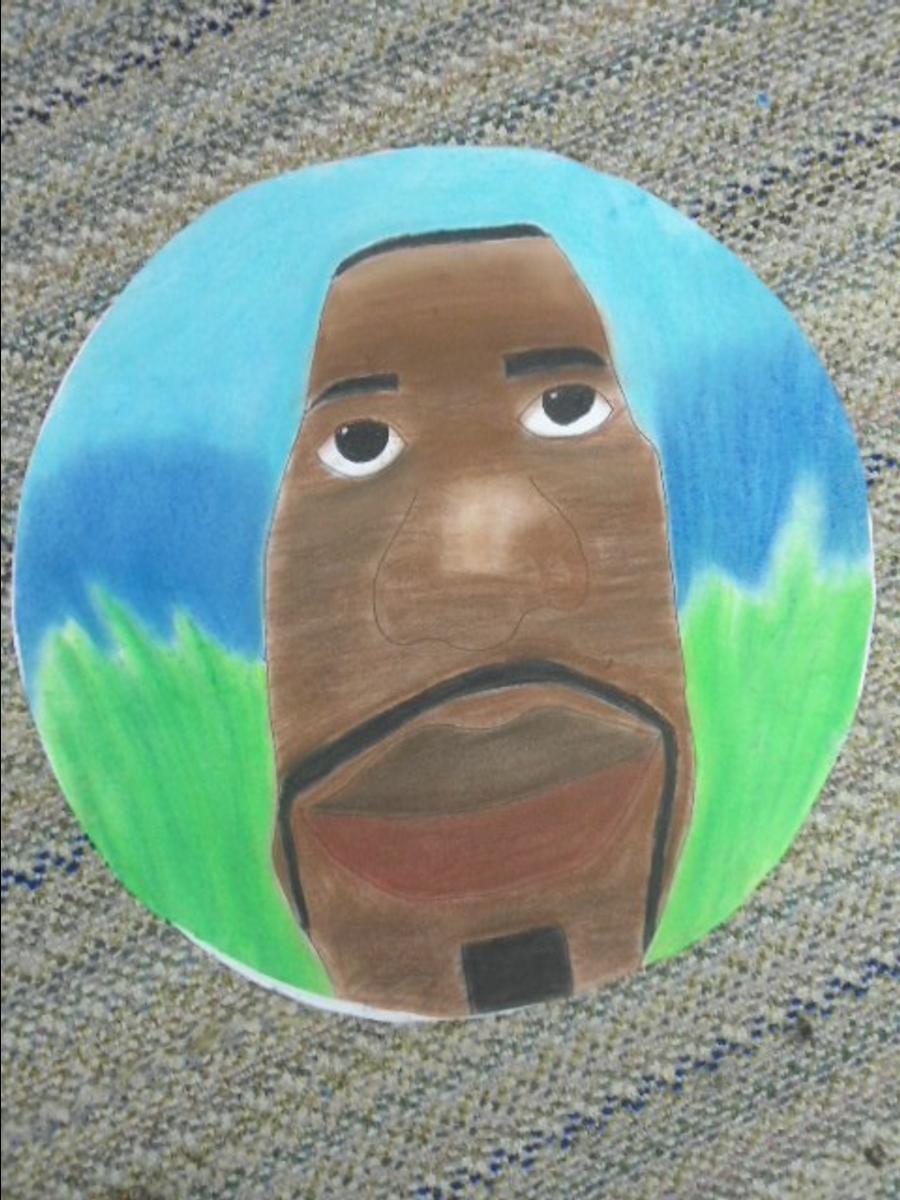
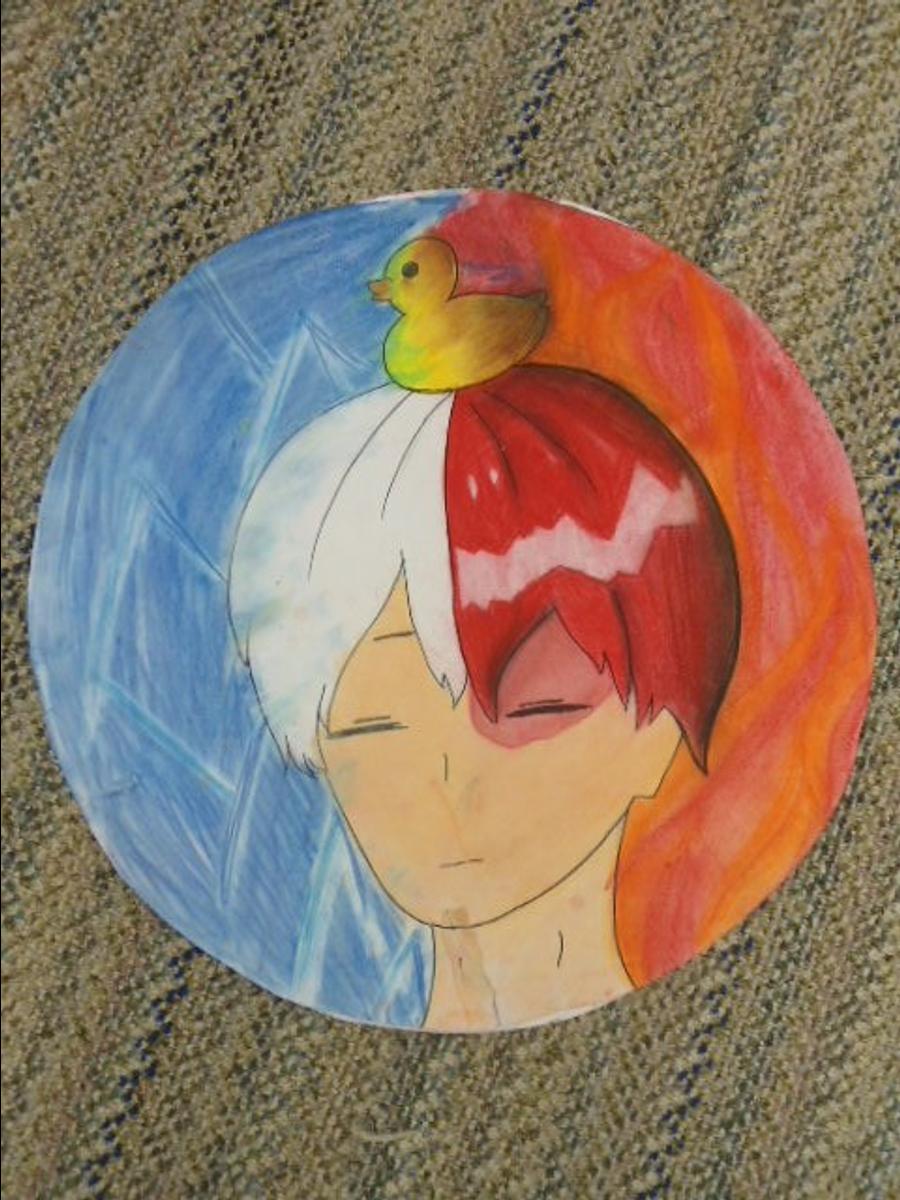
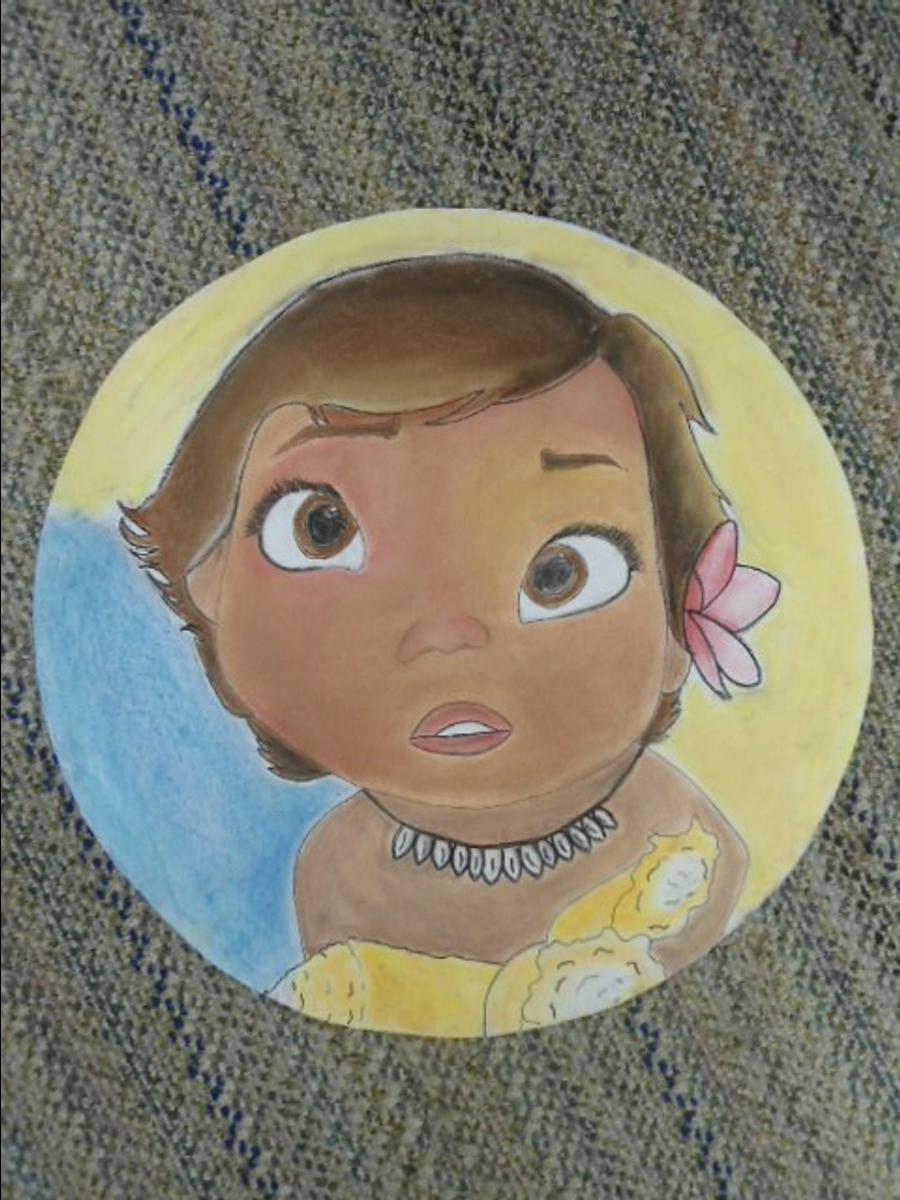
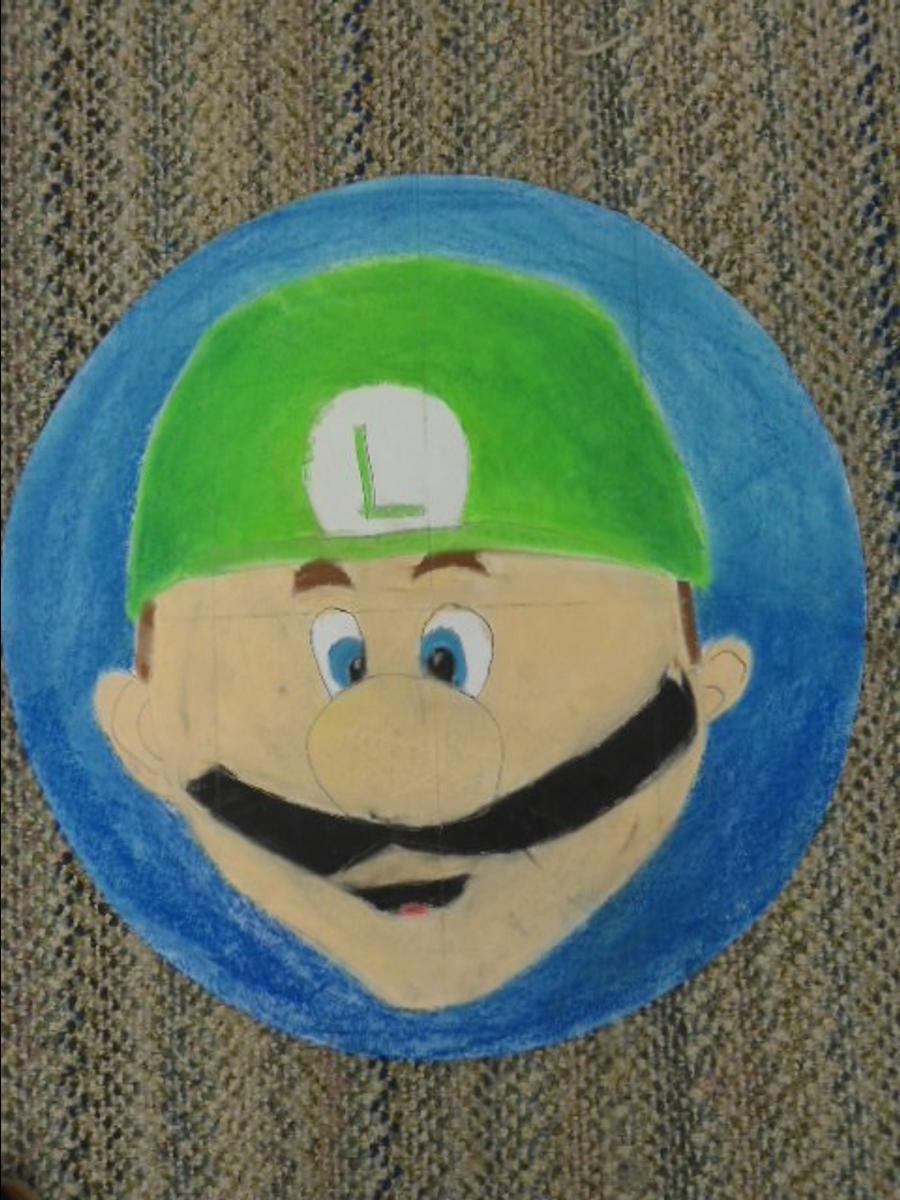
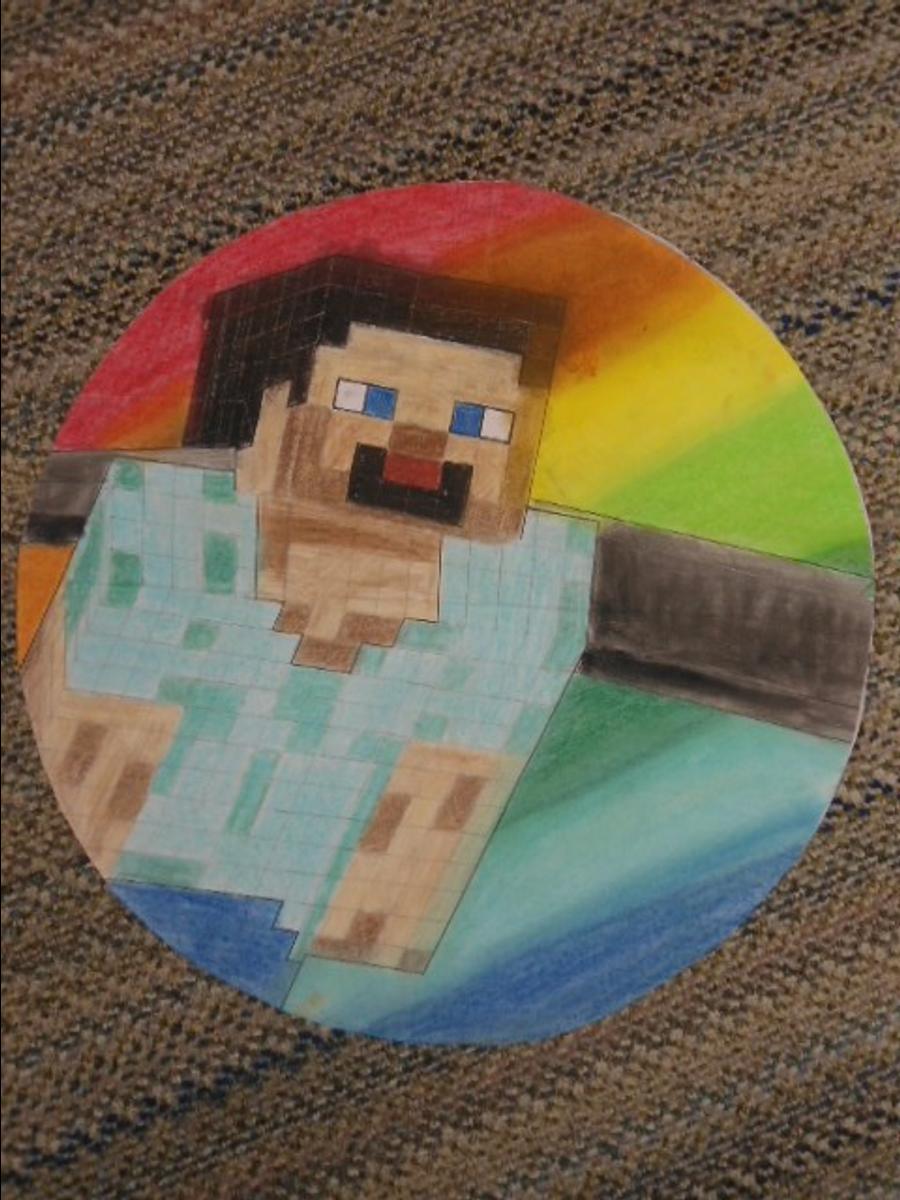
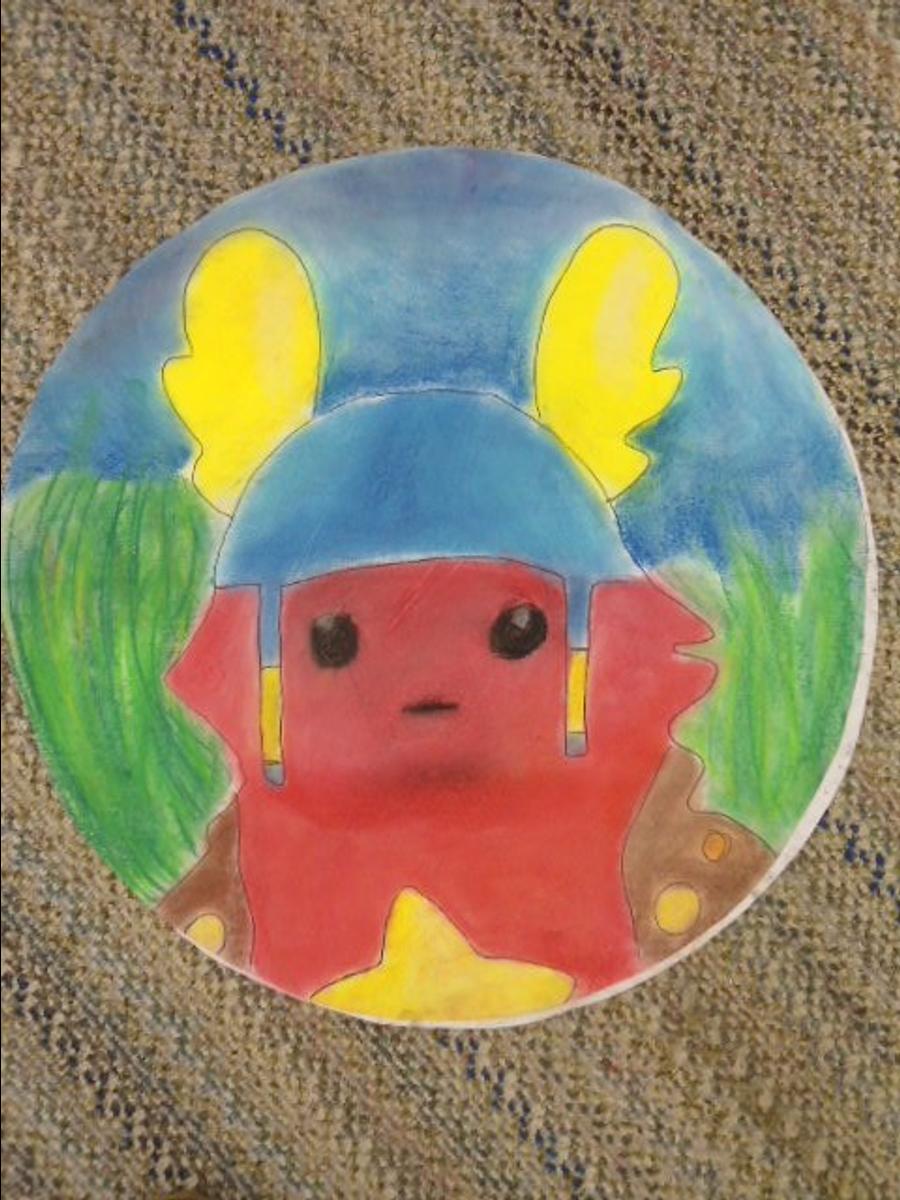
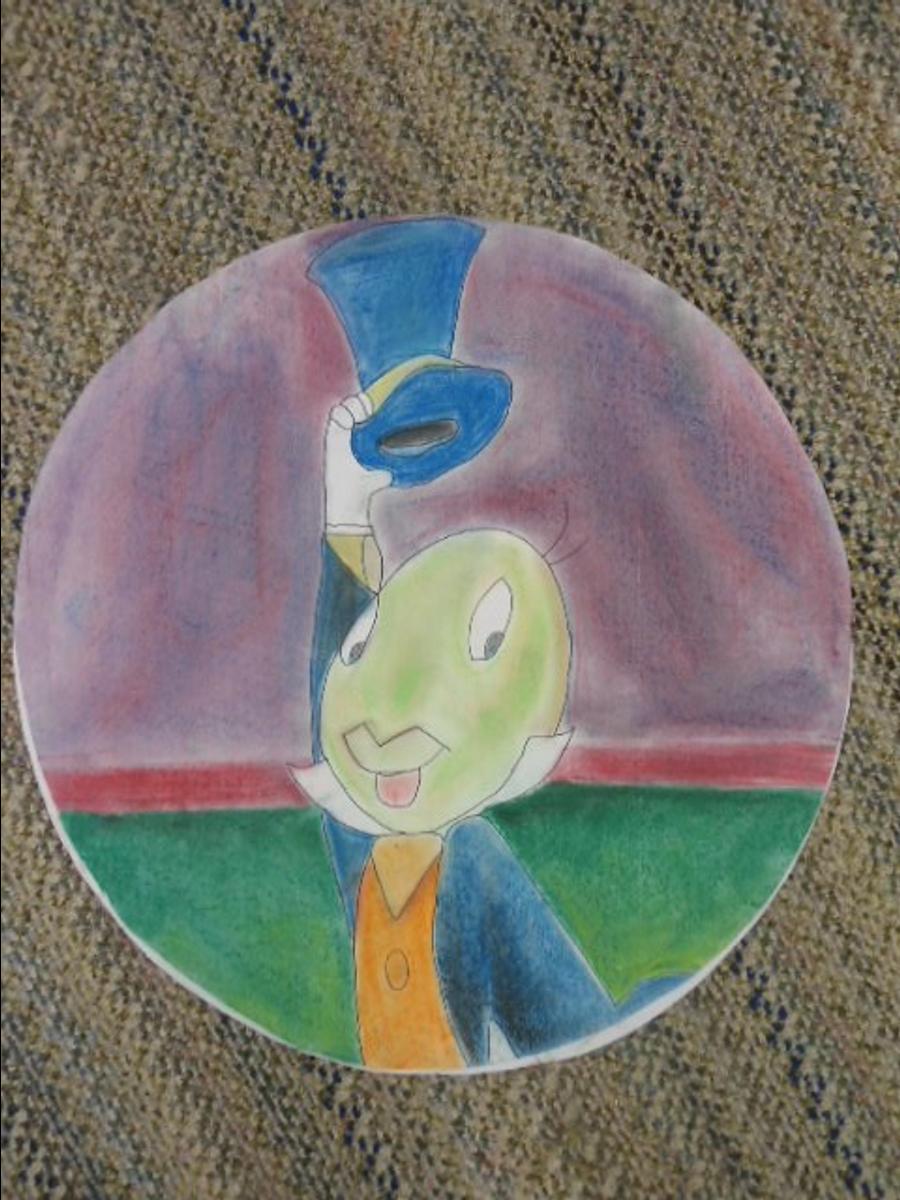
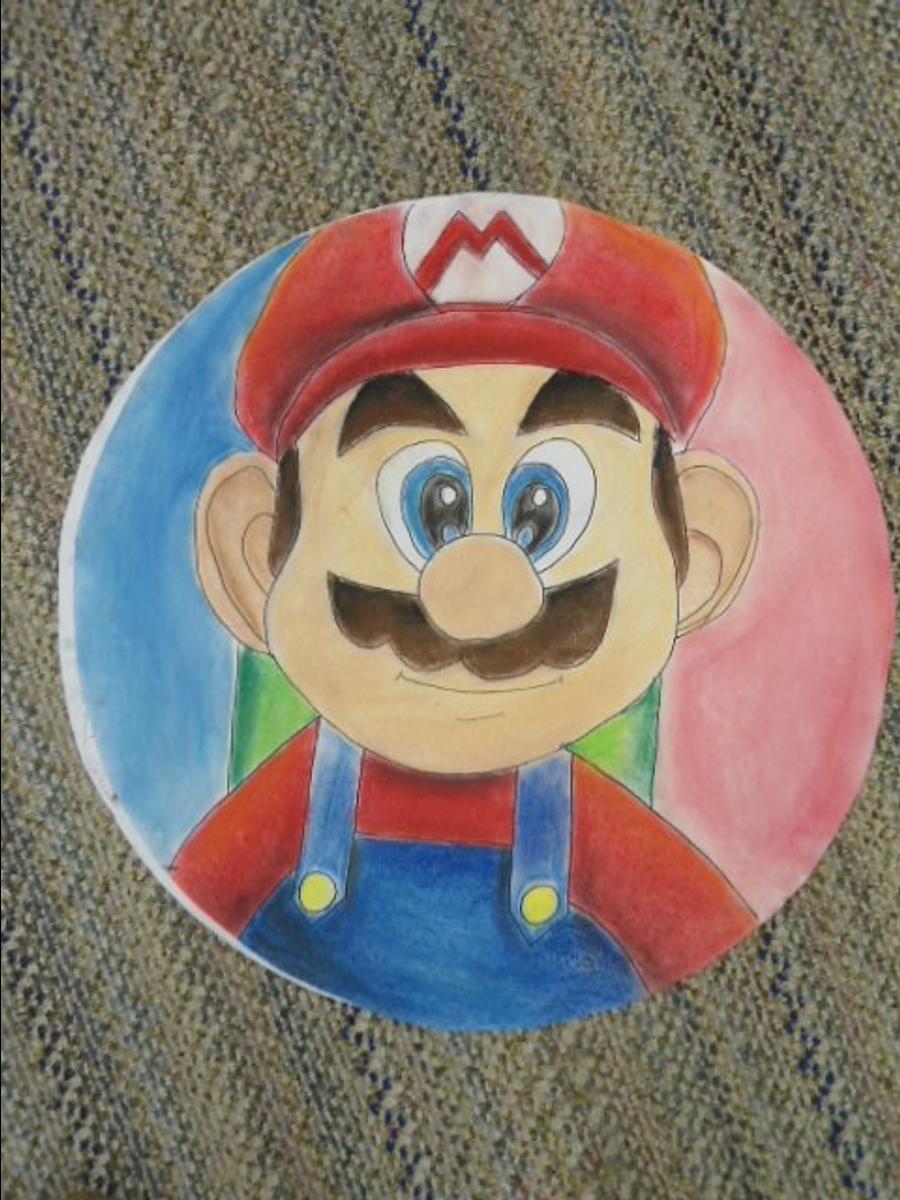
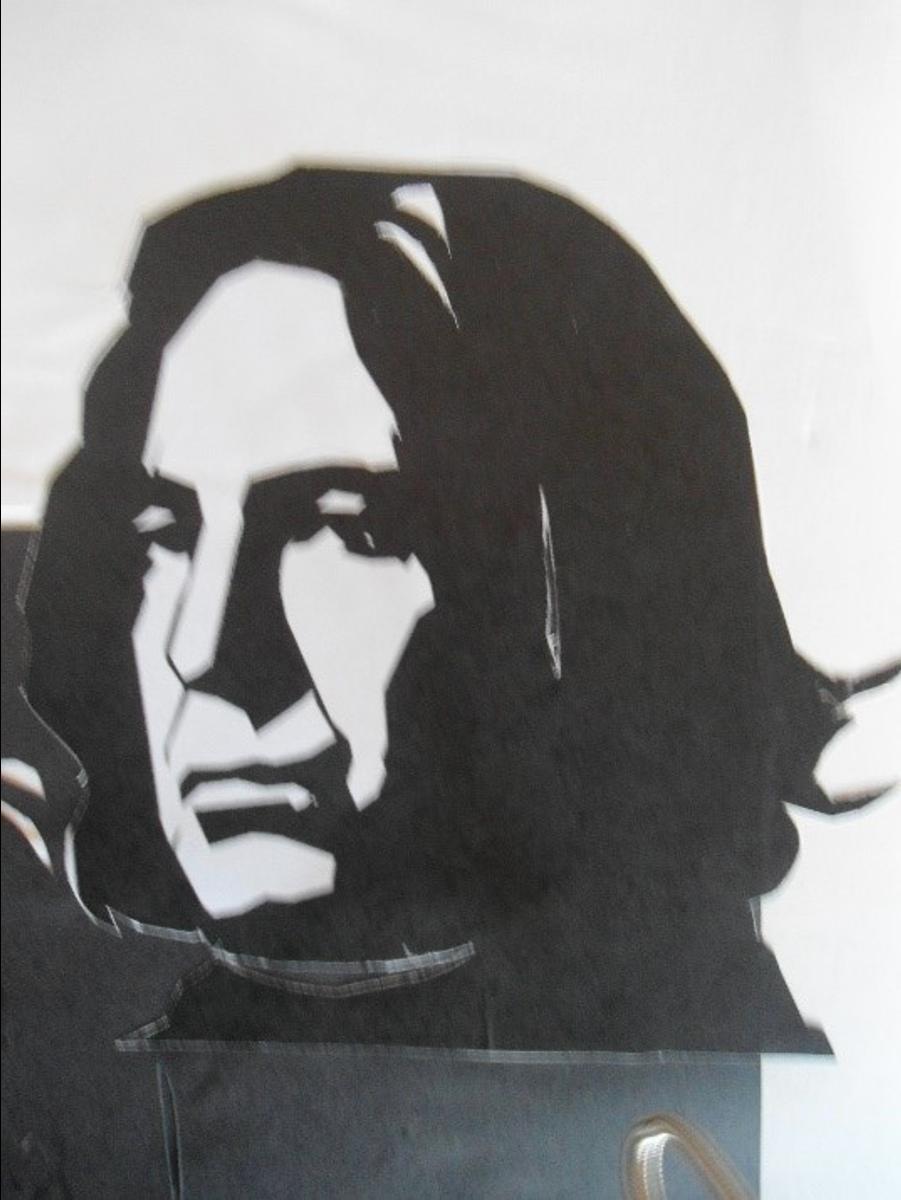
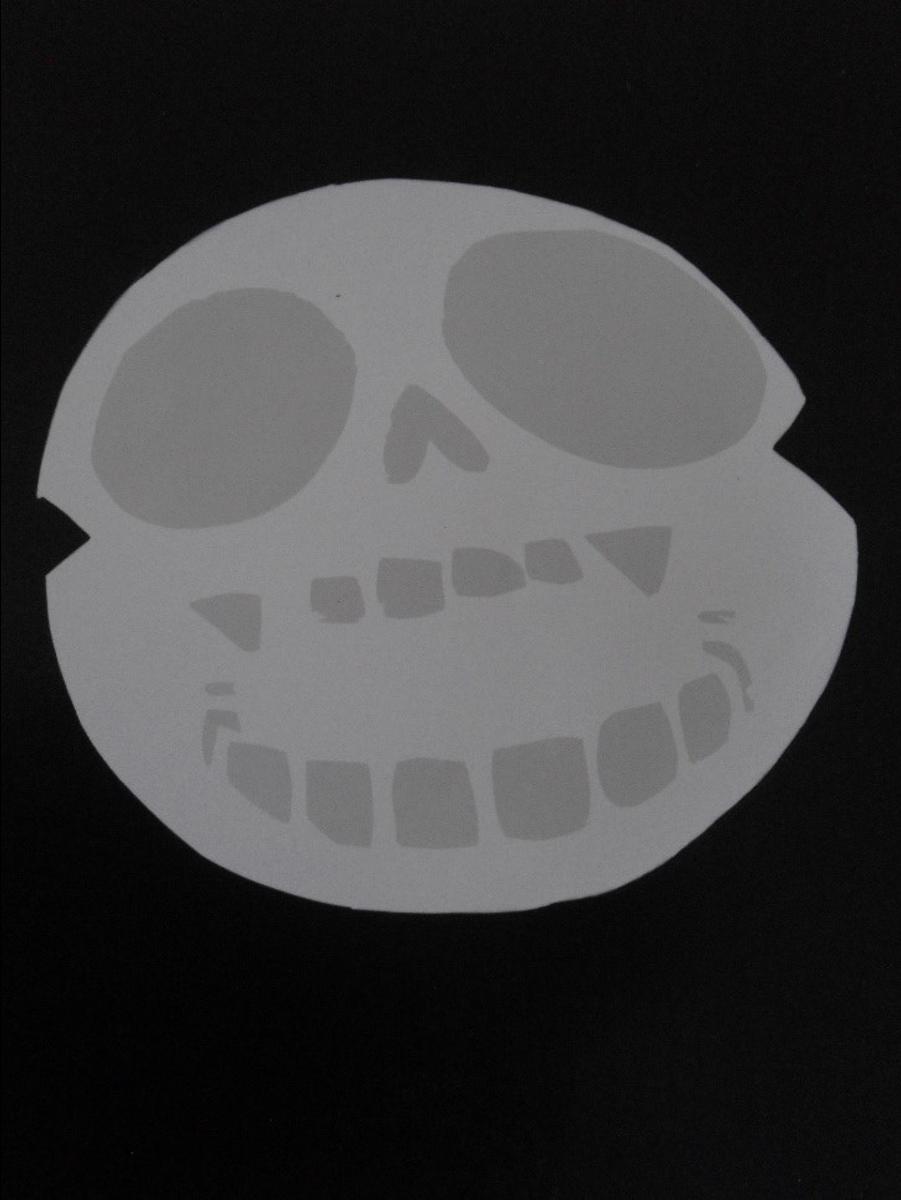
Year 10 Cartooning/Illustration
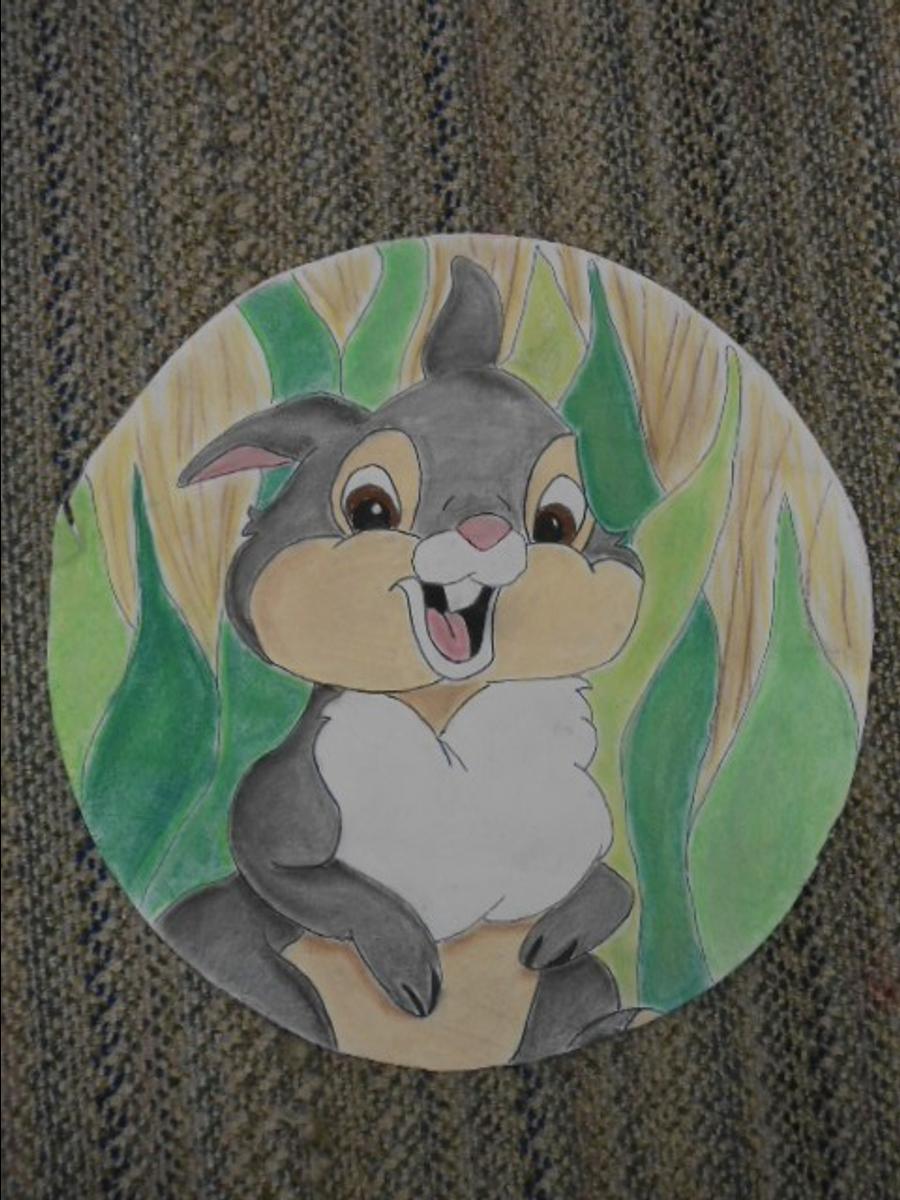
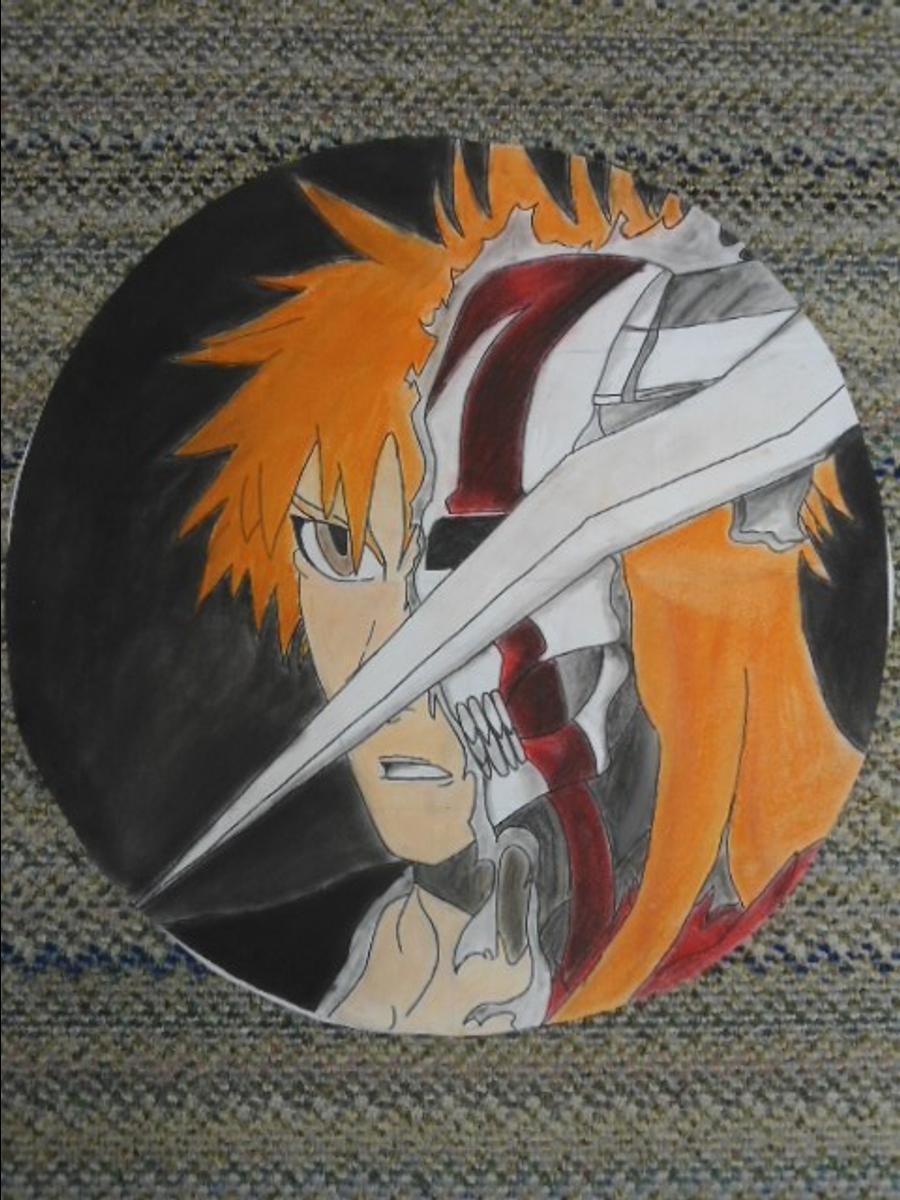
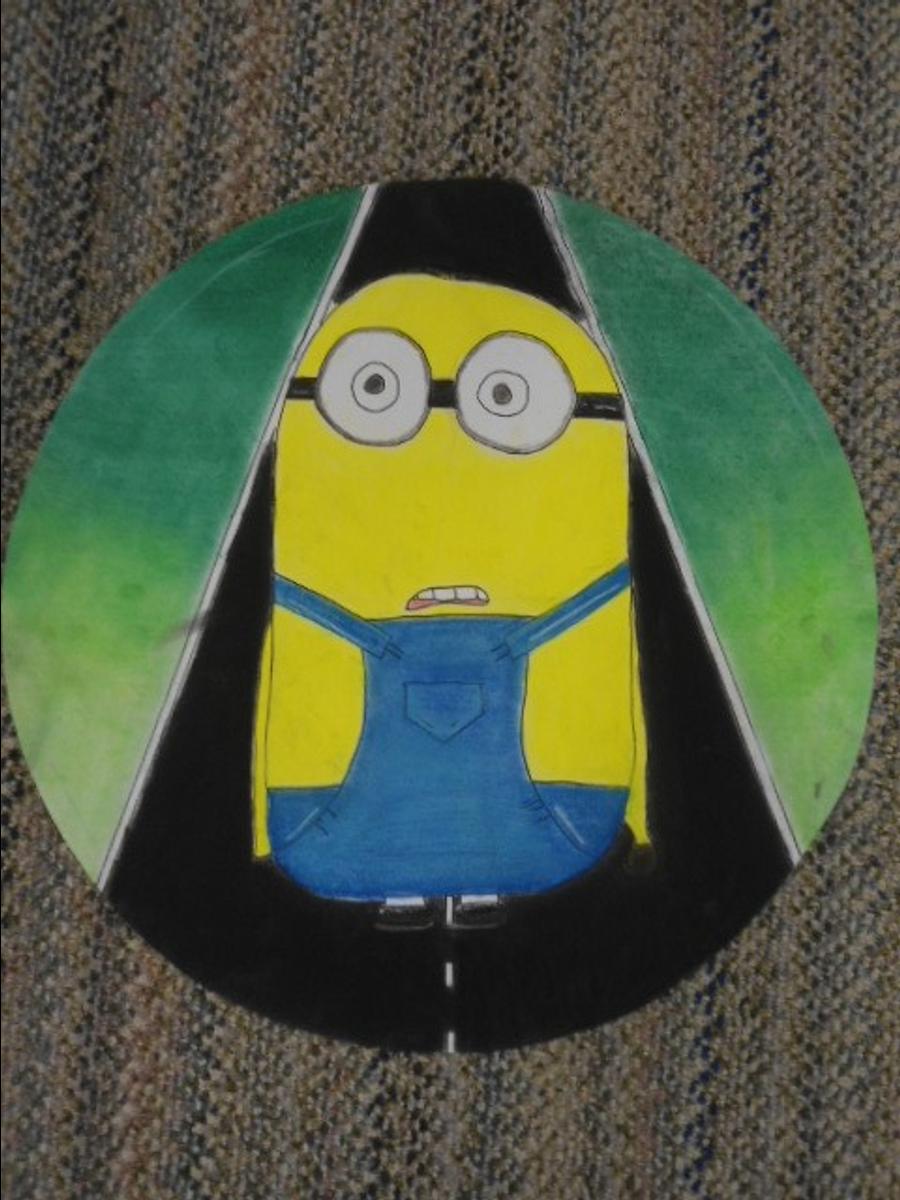
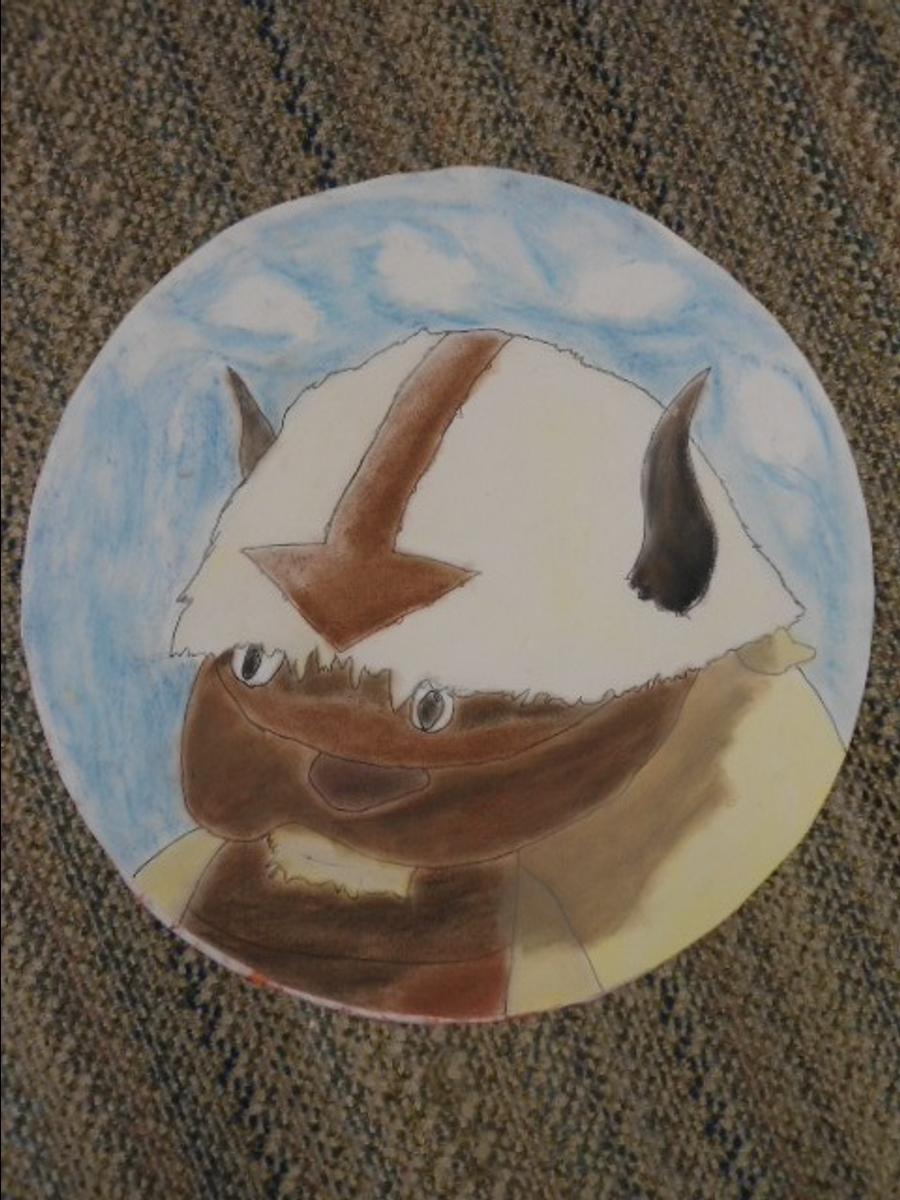
Students selected a cartoon image and, using the grid technique, they transferred the image onto a large disc. Students then used dry pastel to create colour blending and tonal changes.


Photography
Semester 1 sees the photography students producing photographs in the darkroom without using a camera. They do a range of tasks that reinforce the concept of learning about the importance of exposure times, aperture readings and depth of field. Students produce photographs using an everyday biscuit tin. This is known as the camera obscura or the Pin Hole camera. Students then progress to using a 35mm SLR film camera and learn again the relevance of shutter speeds in conjunction with the aperture openings on the lens. Here are some of the examples of students work from semester 1.
Contact and combination prints

Contact and combination prints
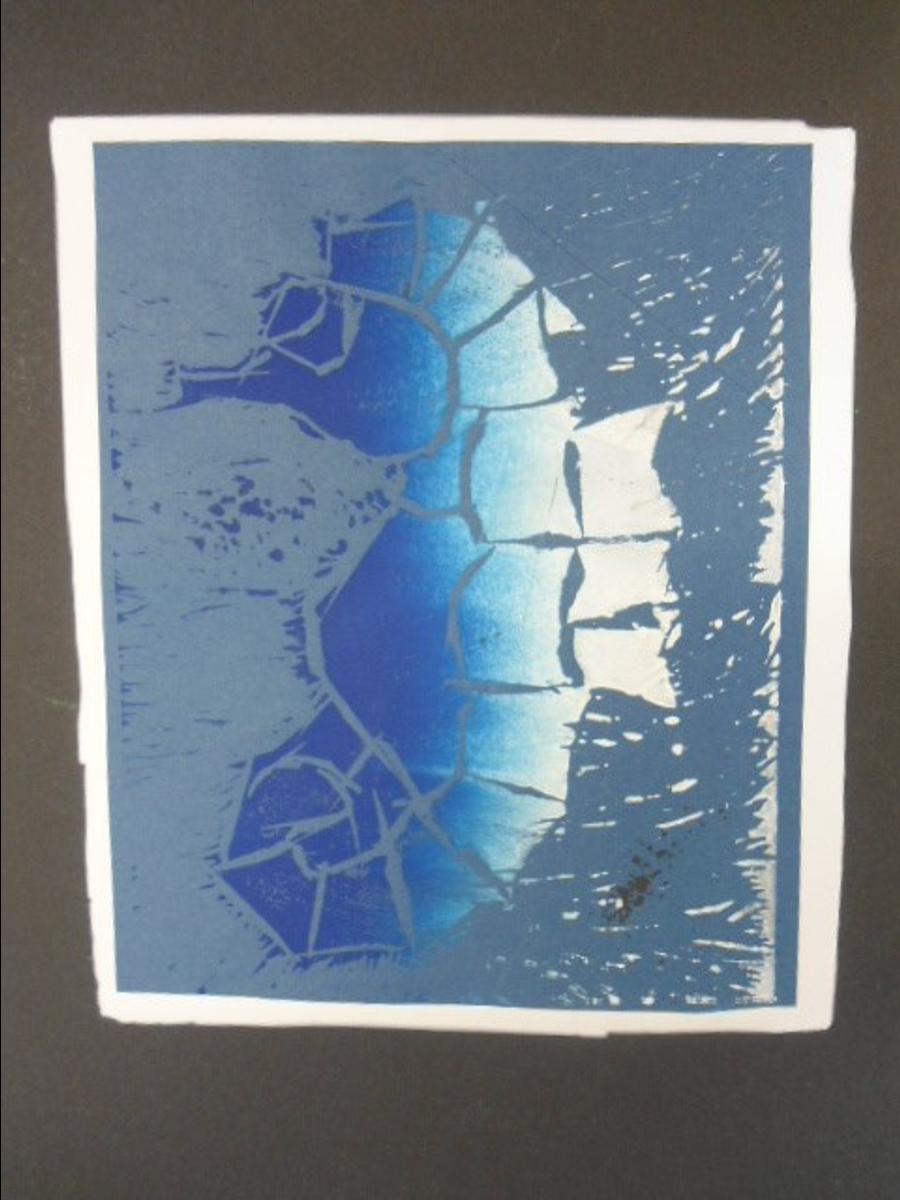
Two Toned Print using multiple stencils – experimenting with exposure time and aperture readings on the enlarger.


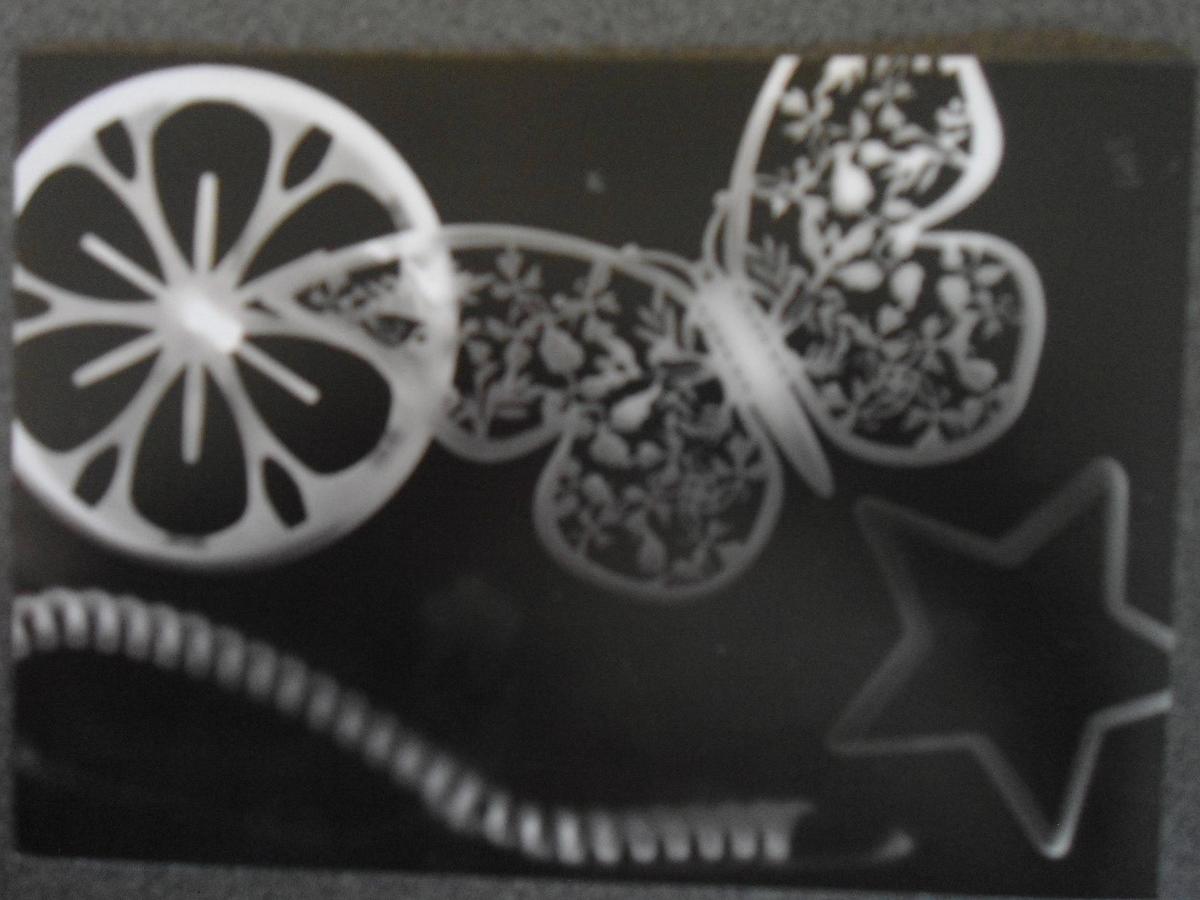
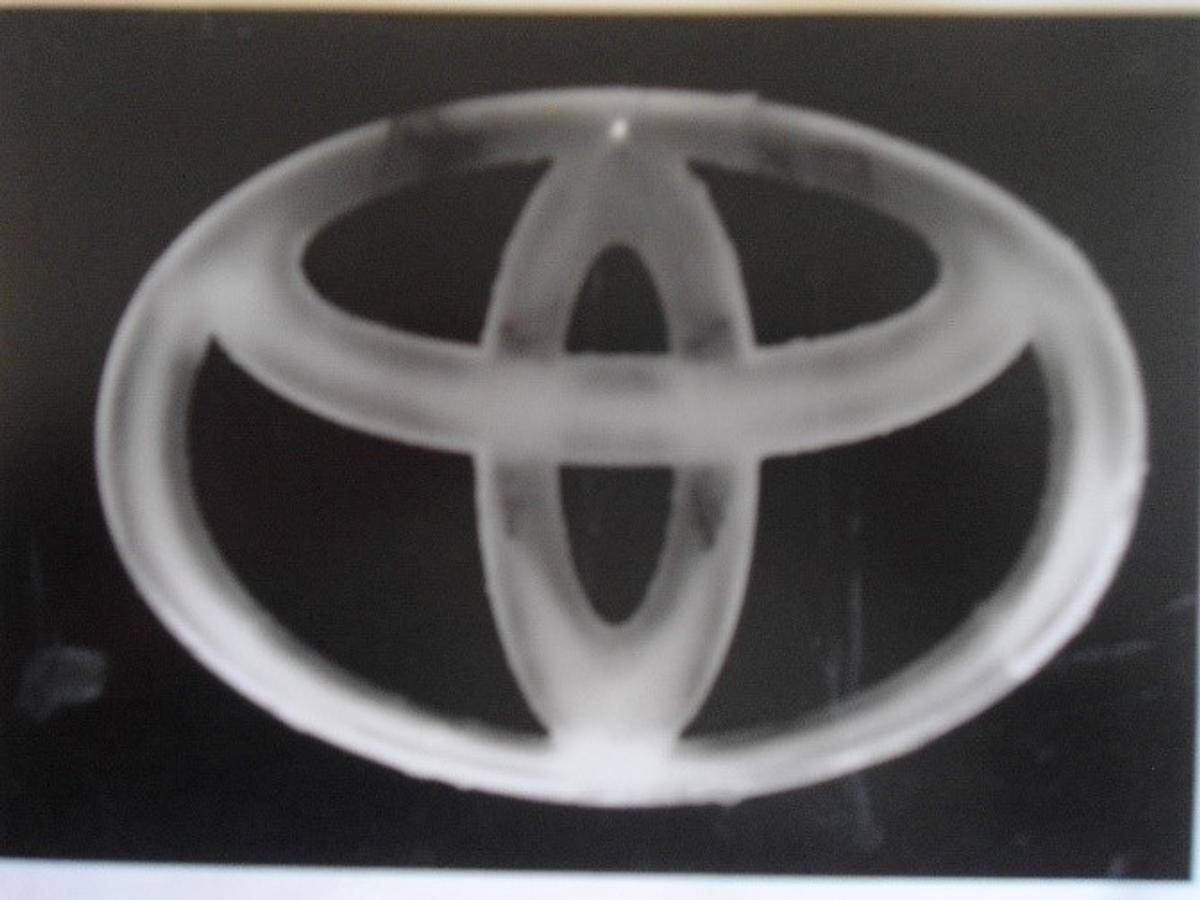
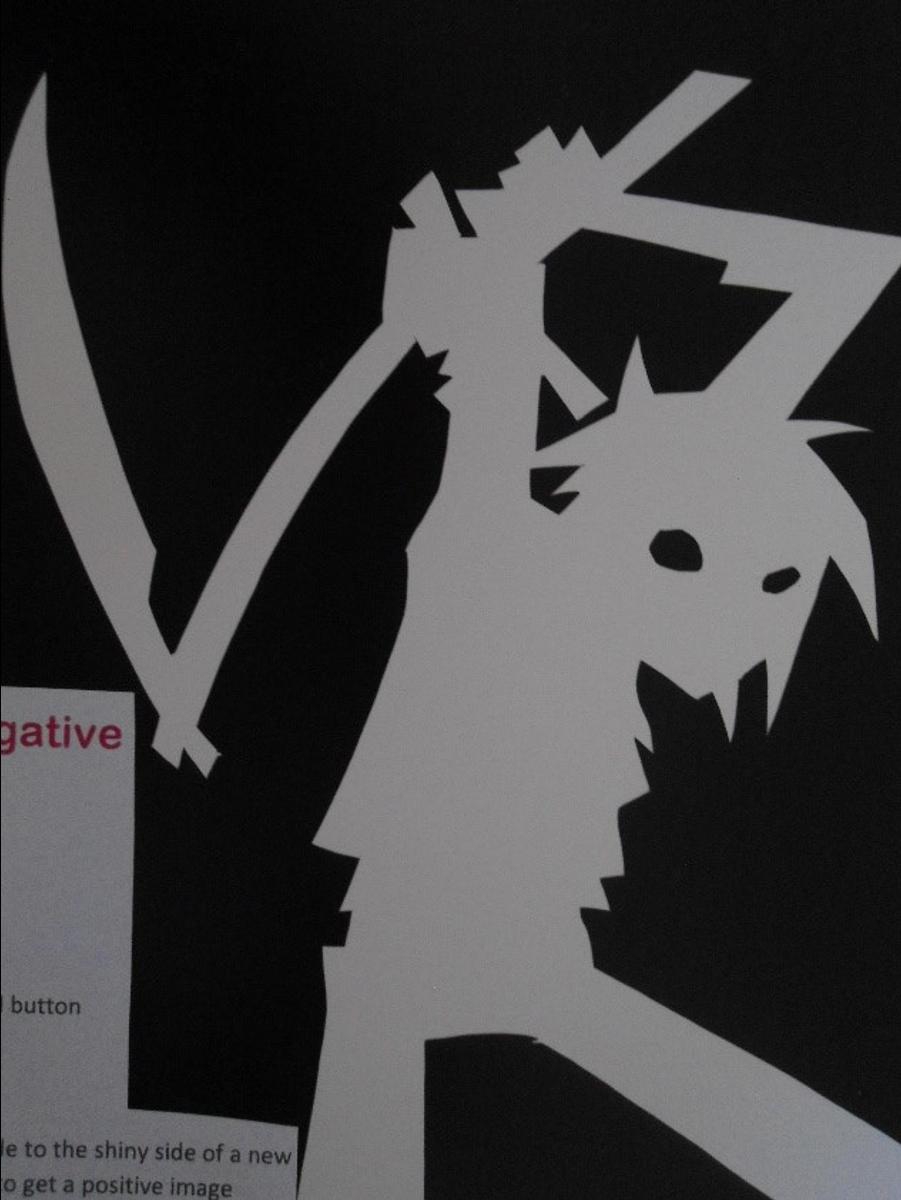
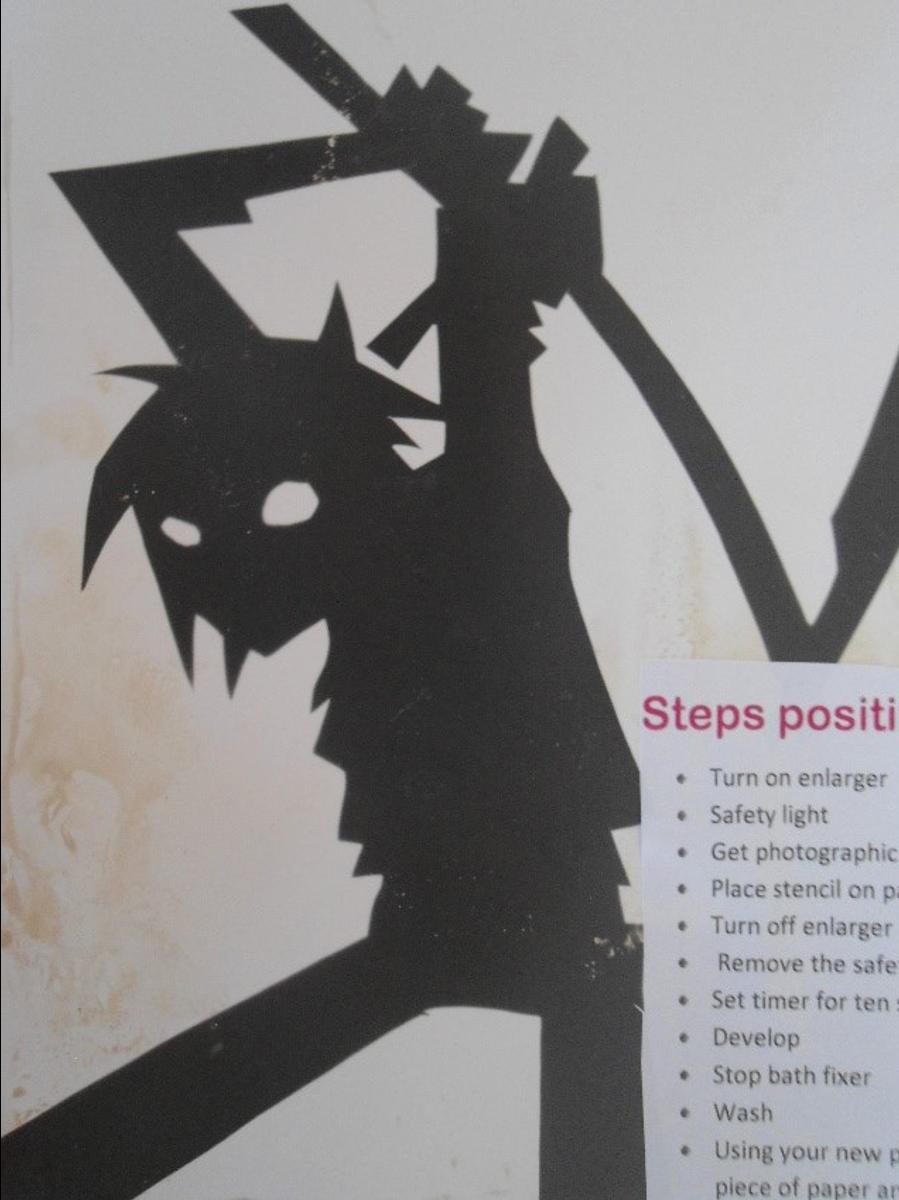
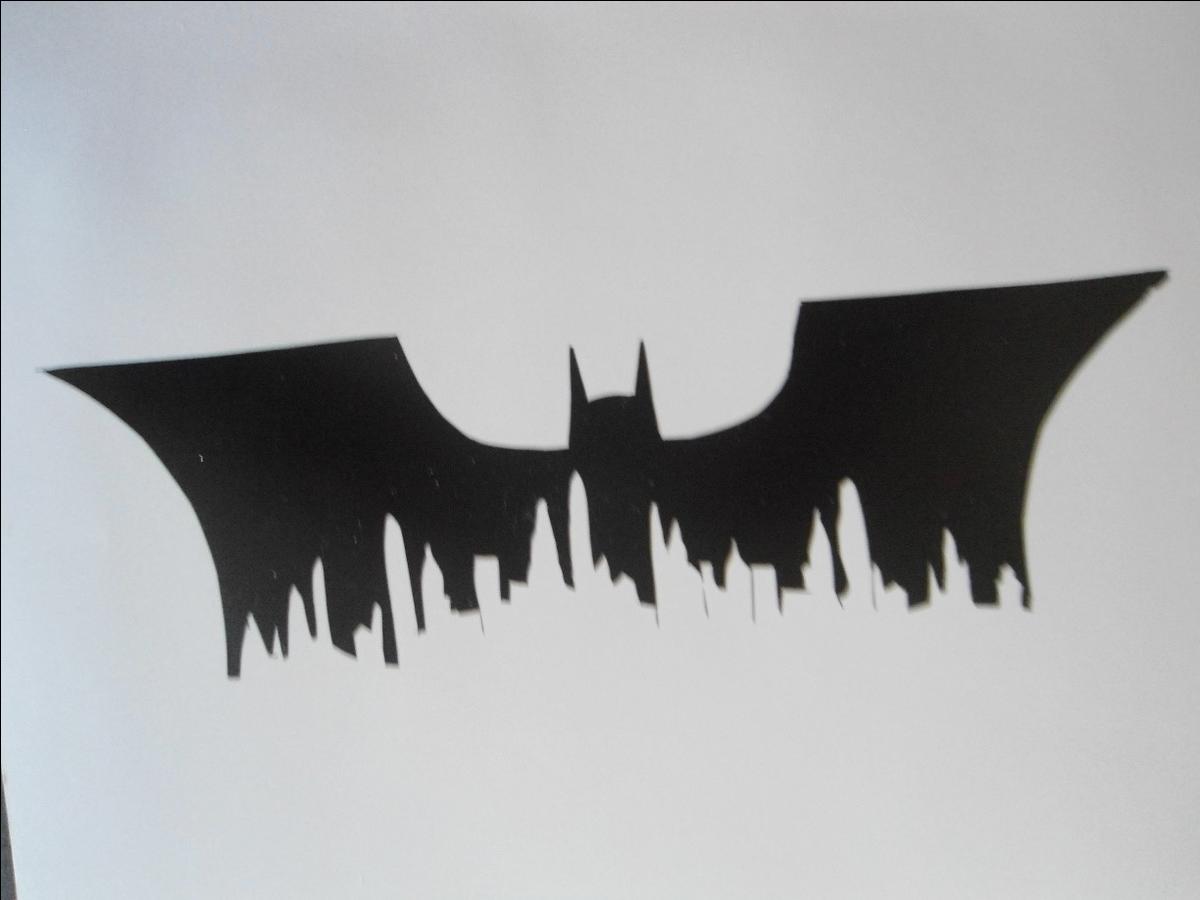
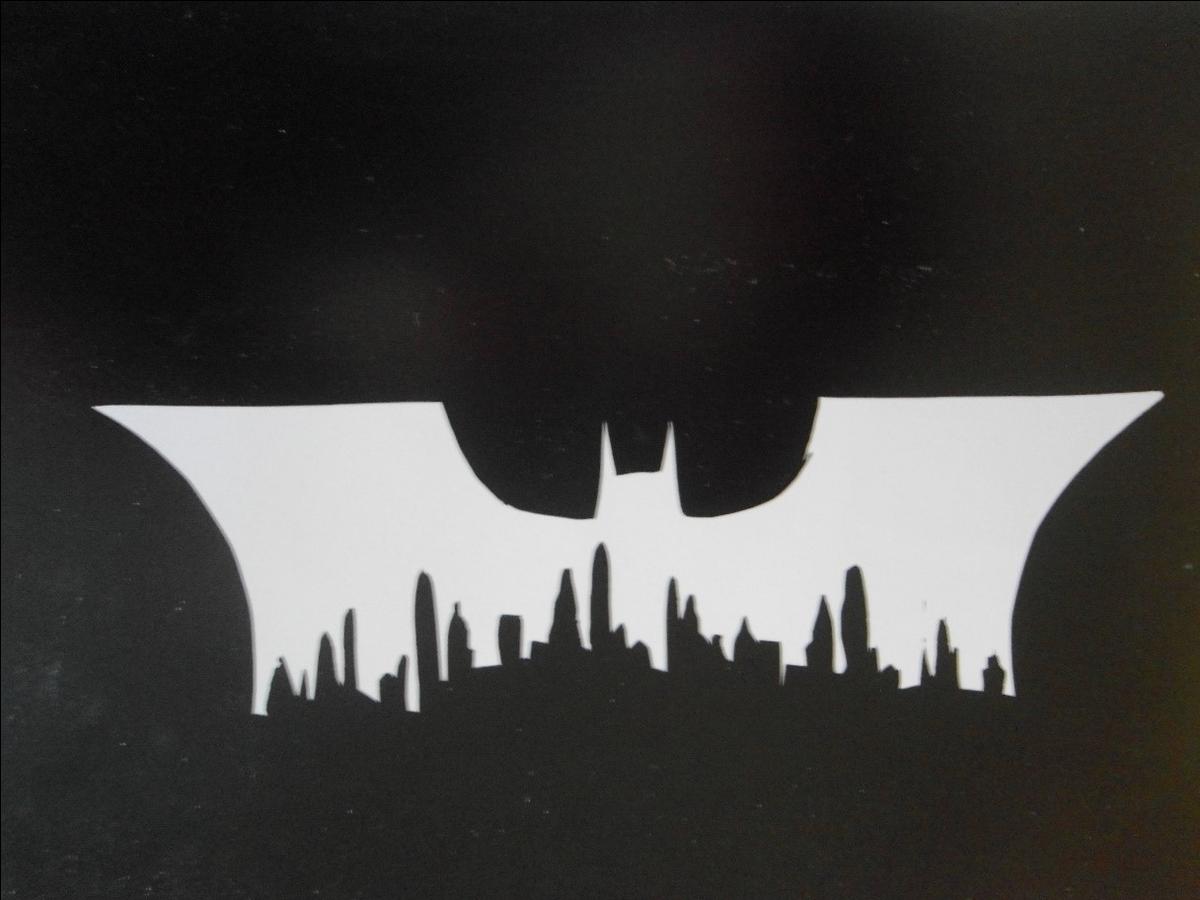
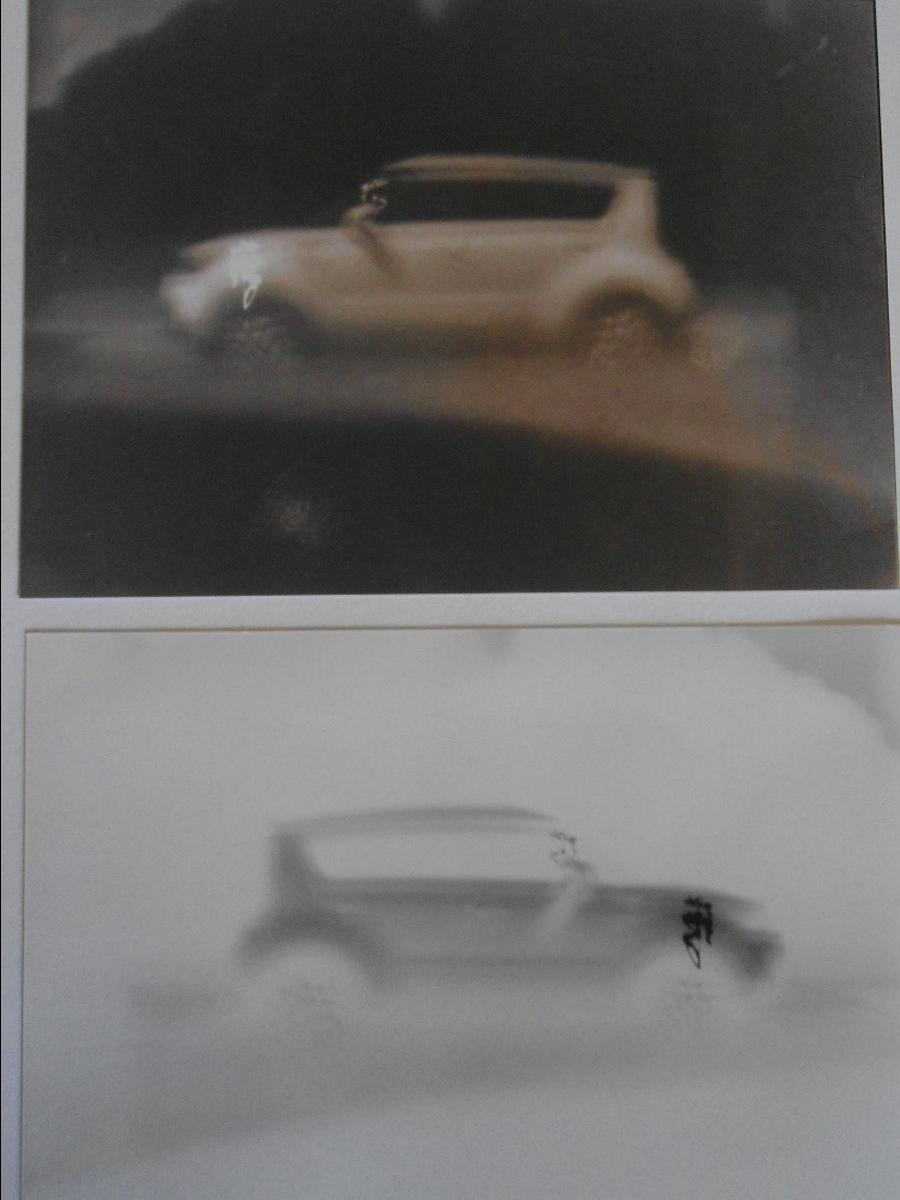
Magazine Print
Students find an image from a magazine and check both sides of the page to ensure that there is an interesting image on each side. They then use this to expose onto photographic paper to produce firstly a negative image and then use this print to produce the positive version.

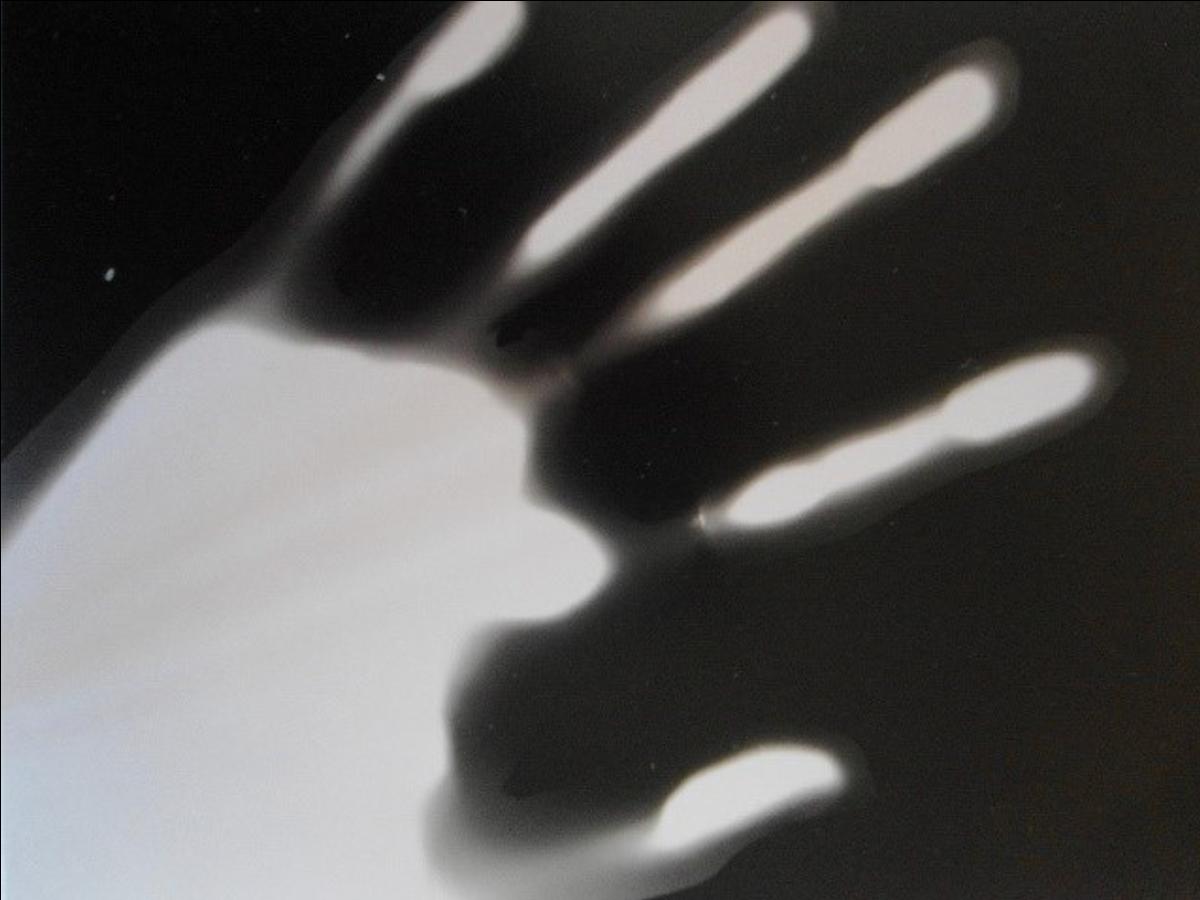
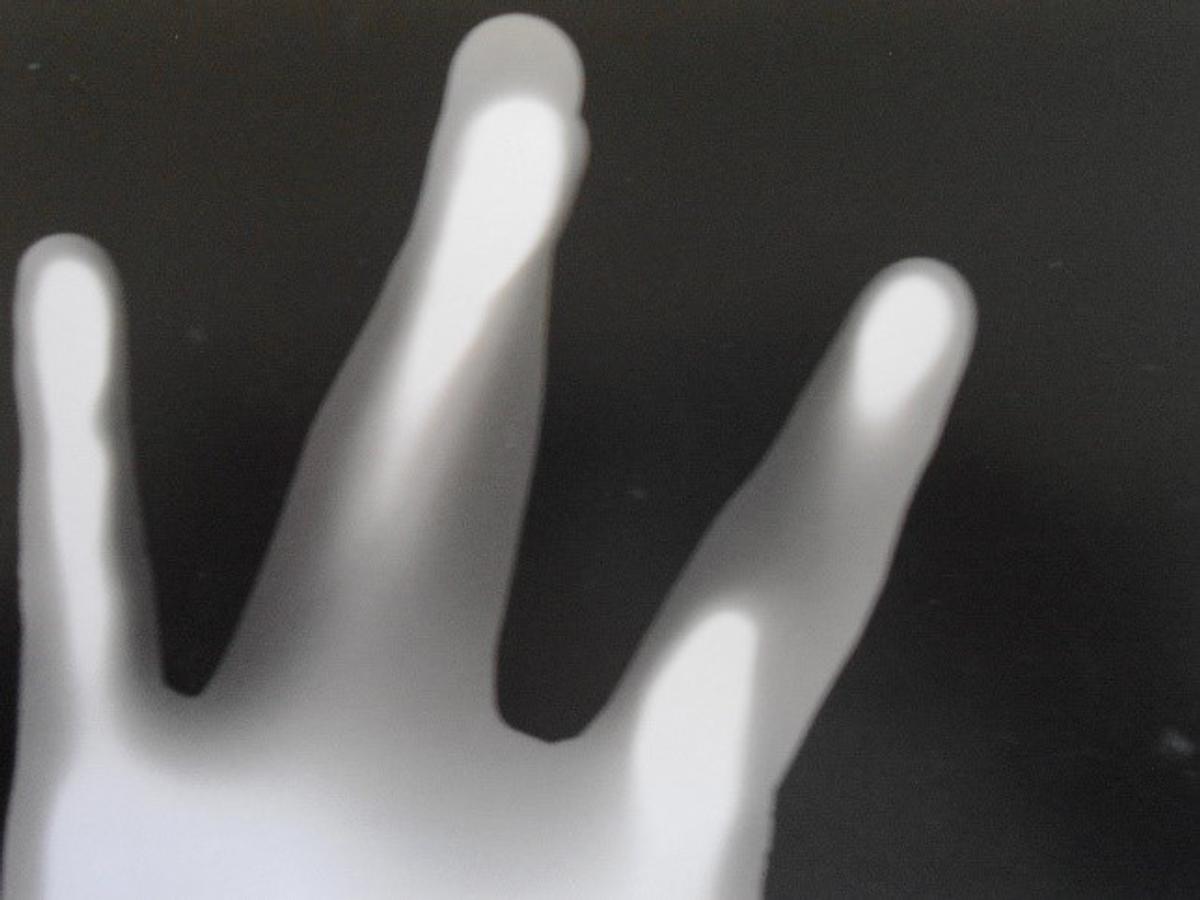
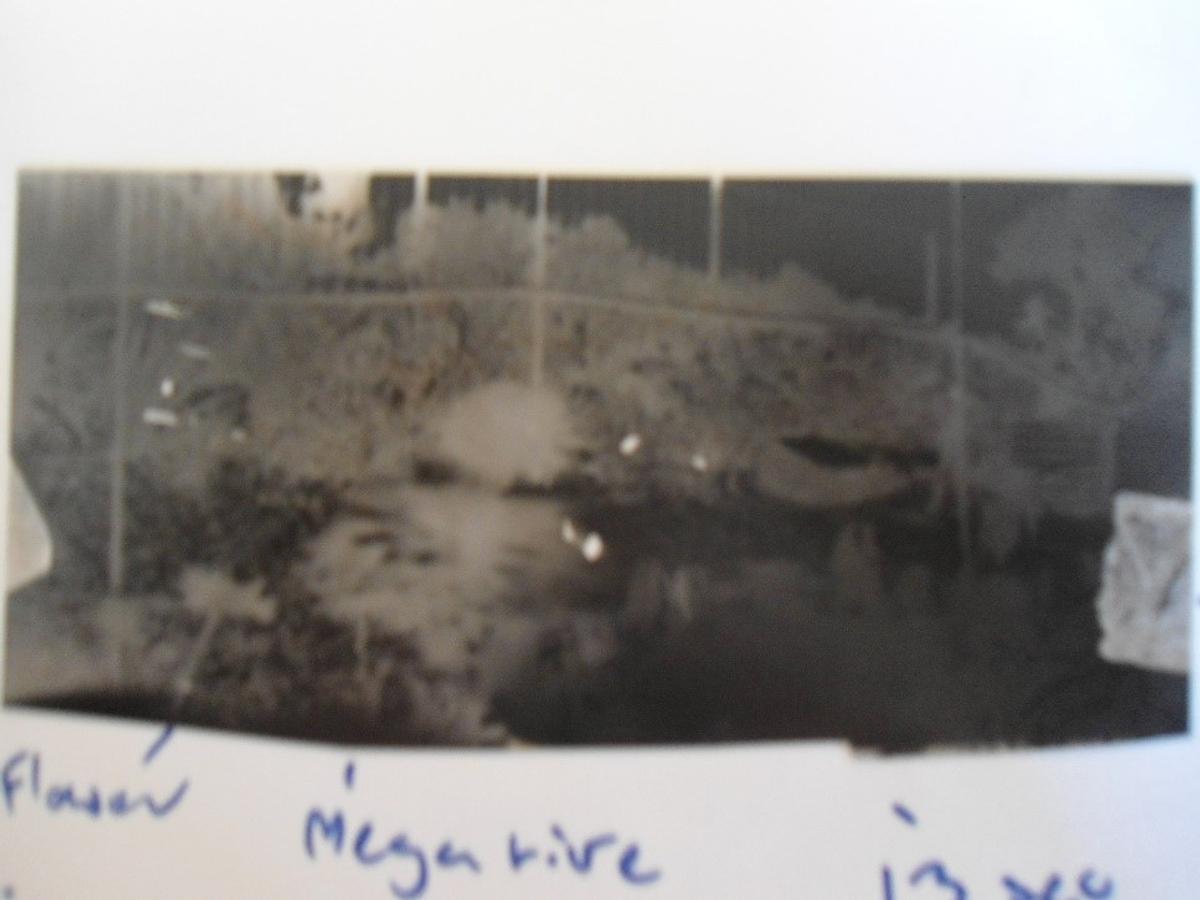
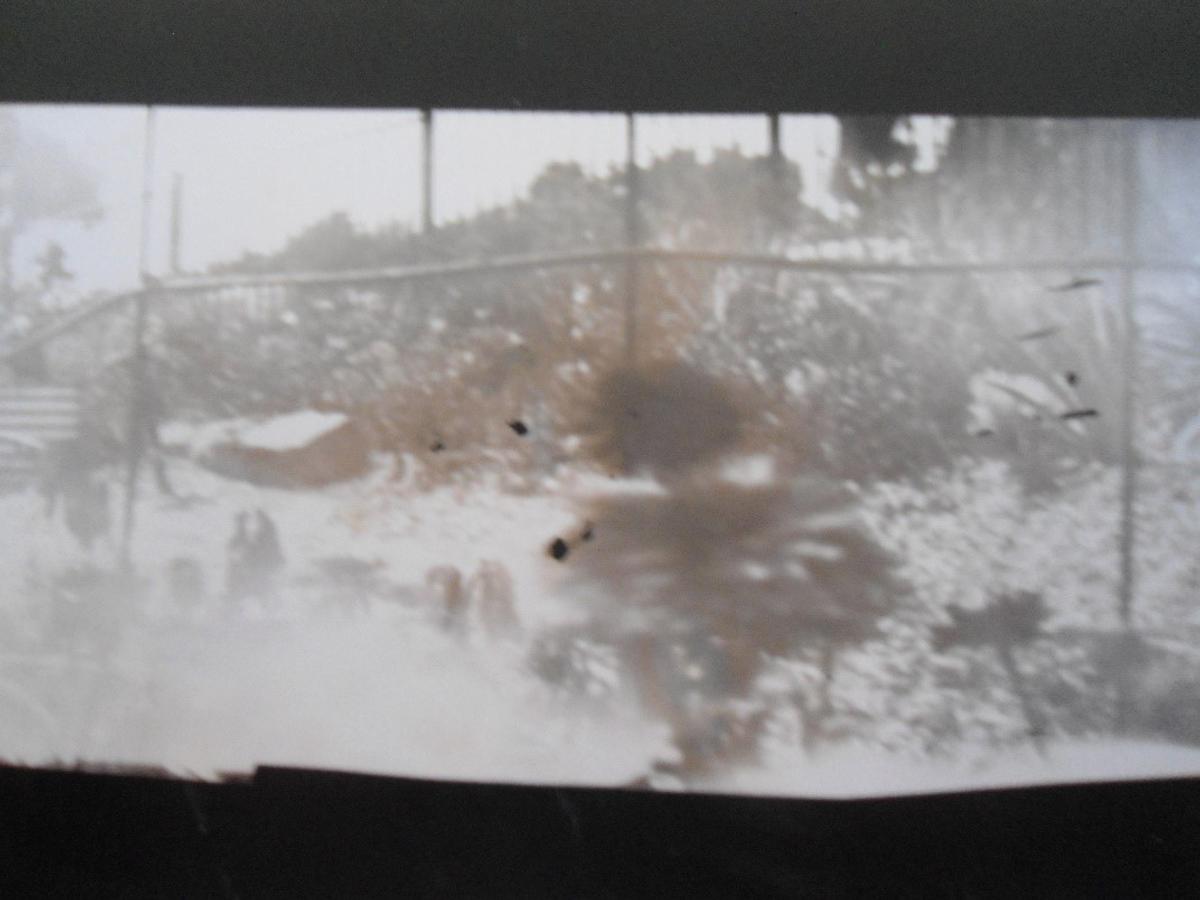
Pin Hole Camera or Camera Obscura
Pin Hole camera prints using a biscuit tin as a camera. The image that is recorded on the paper is a negative. Students develop the image and then using this print they place it on top of another sheet of photographic paper. Both shiny sides or emulsion sides are face to face. The image is then exposed for around 3 to 6 secs to produce the positive photograph.
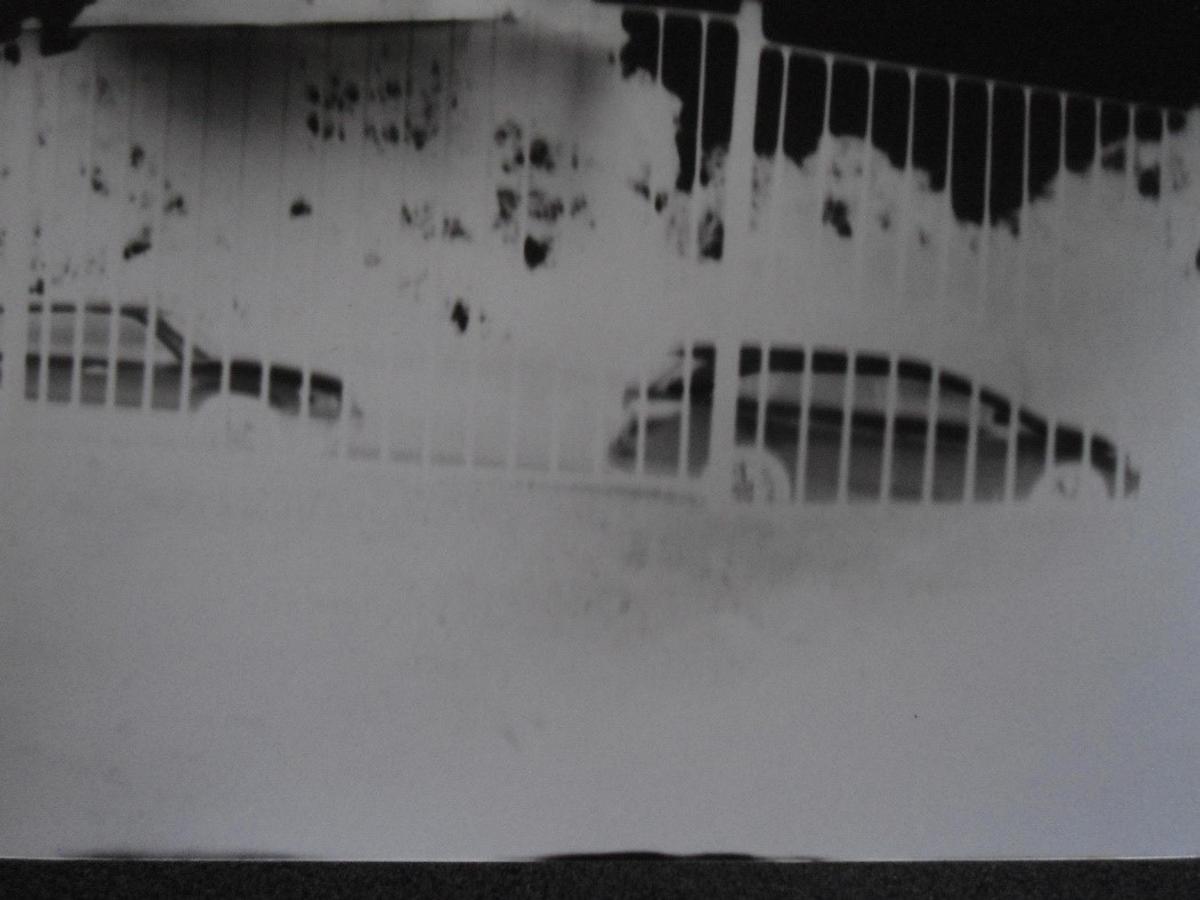

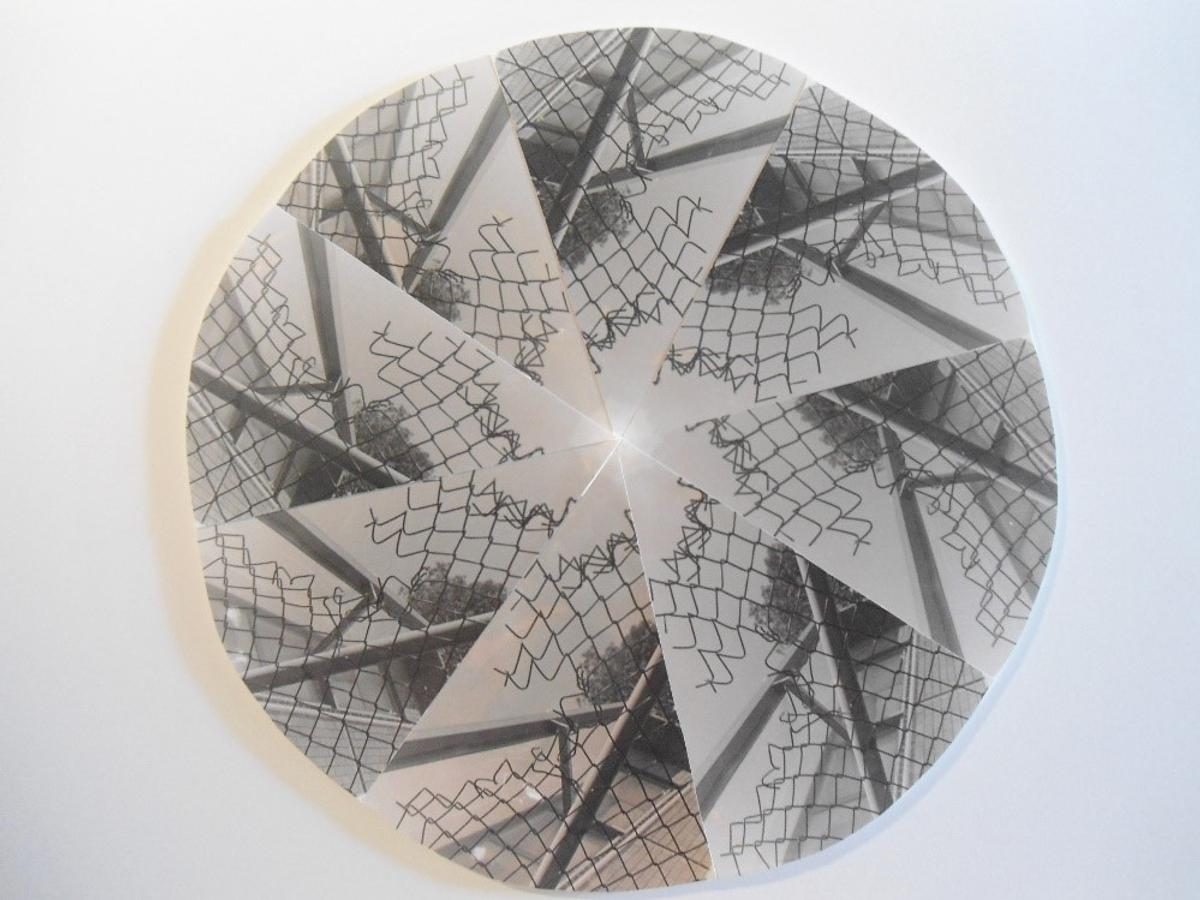
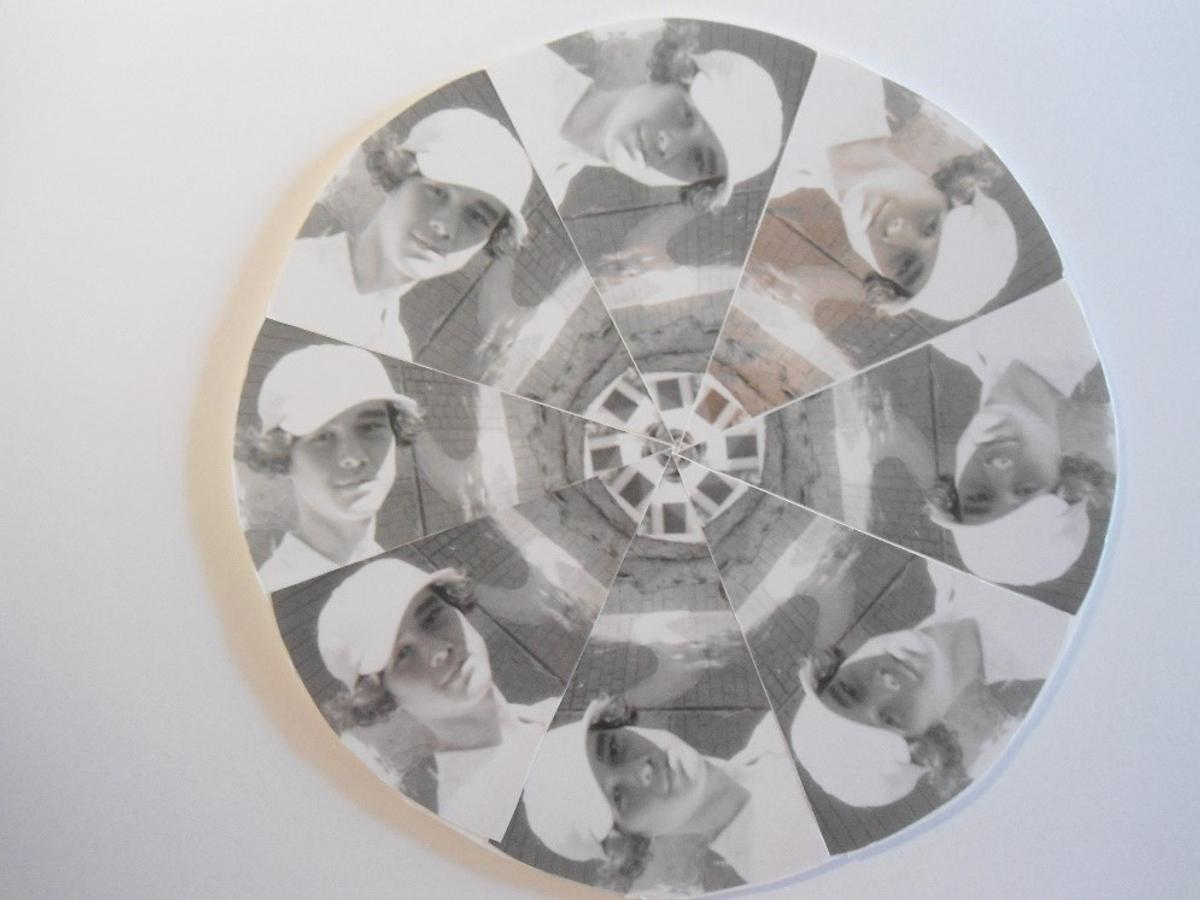
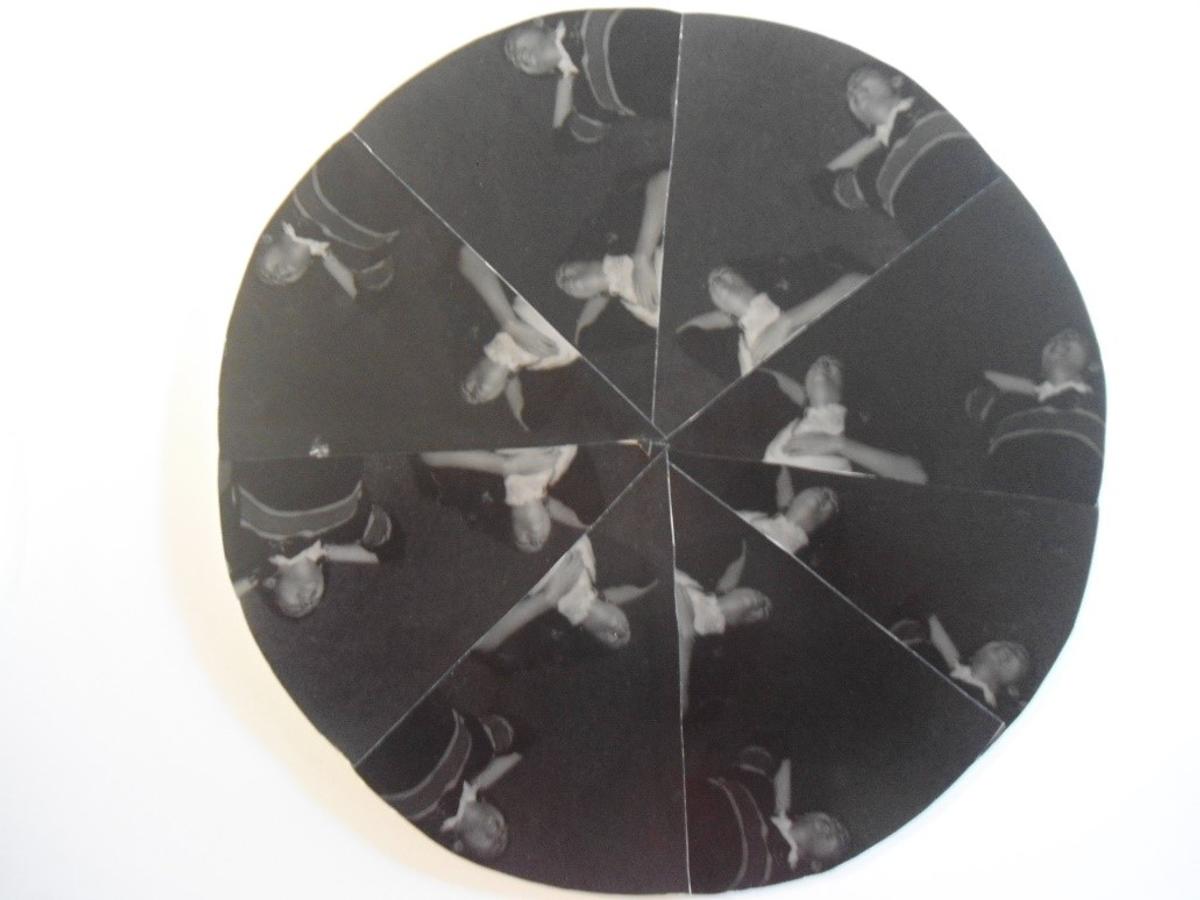
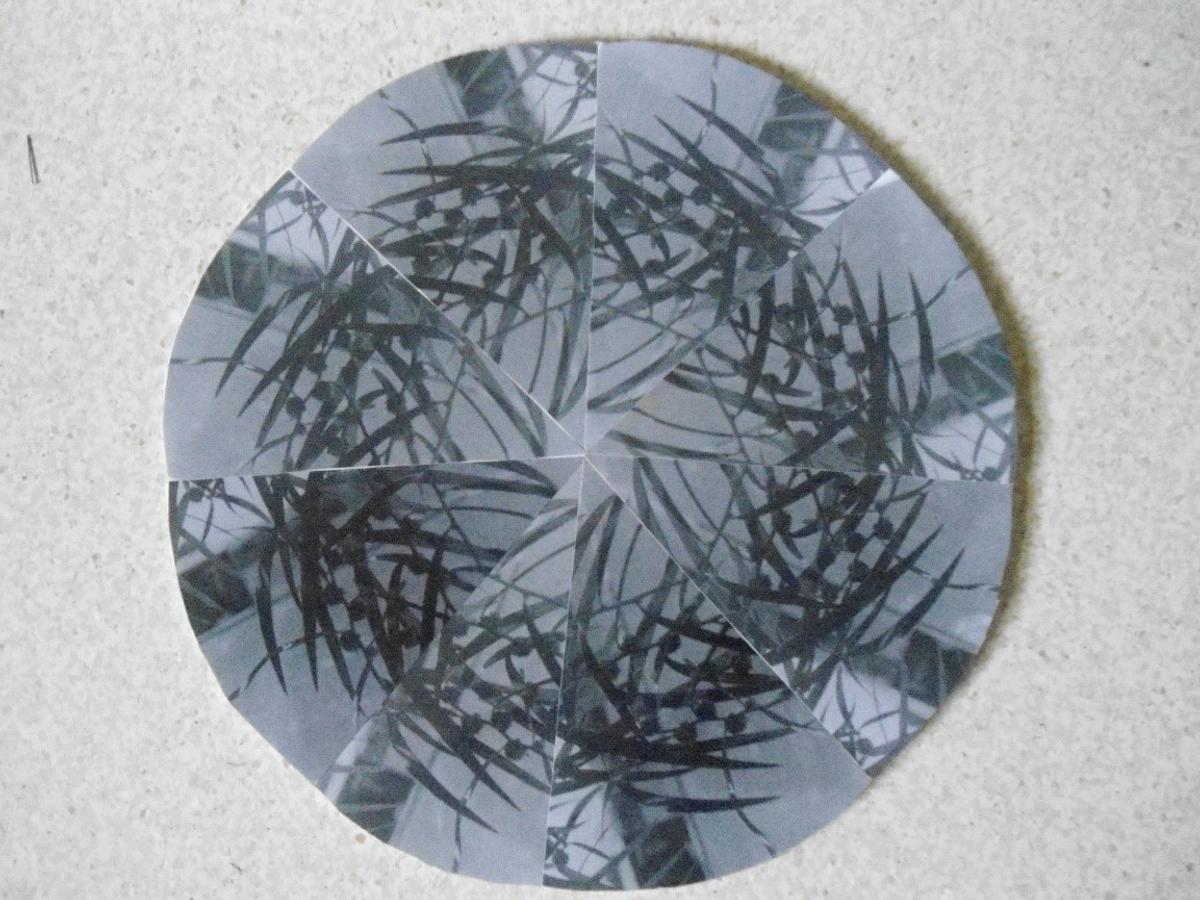
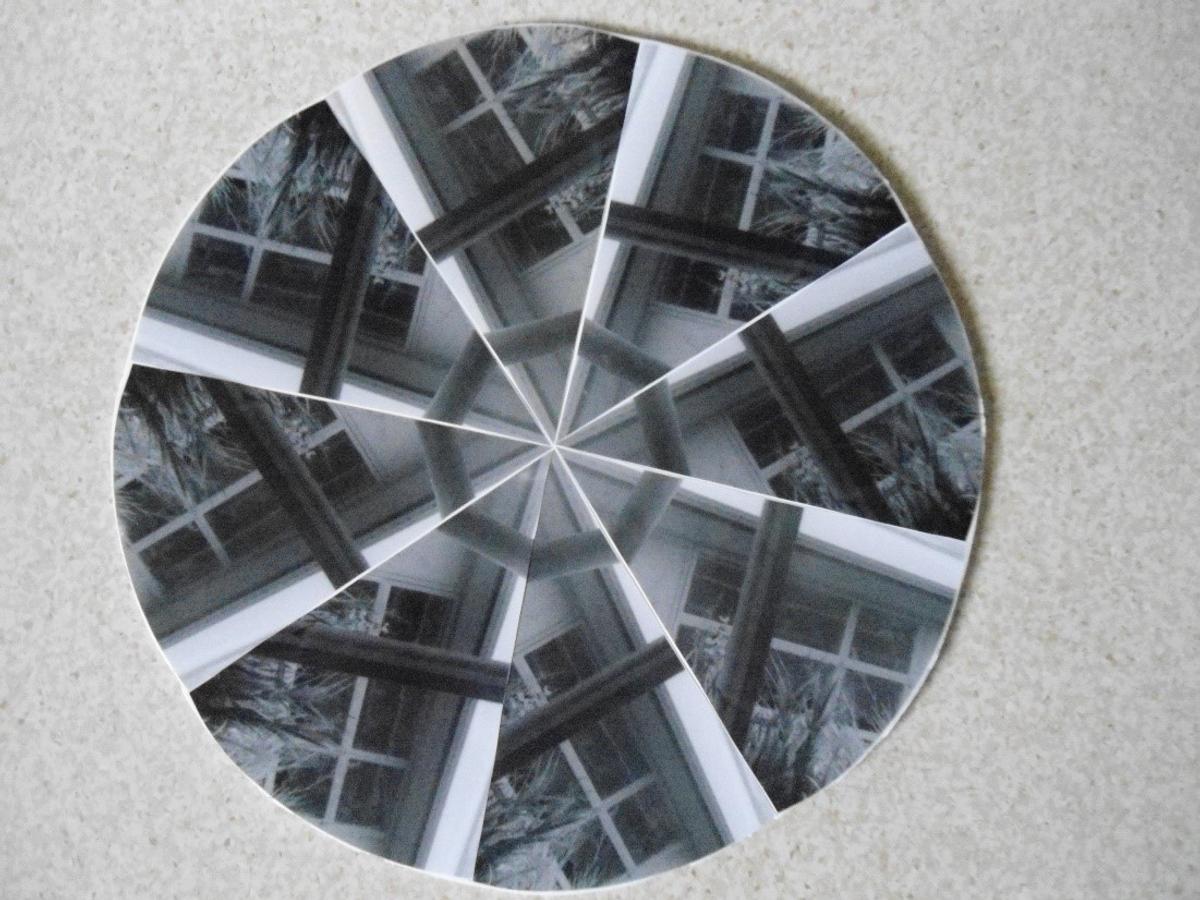
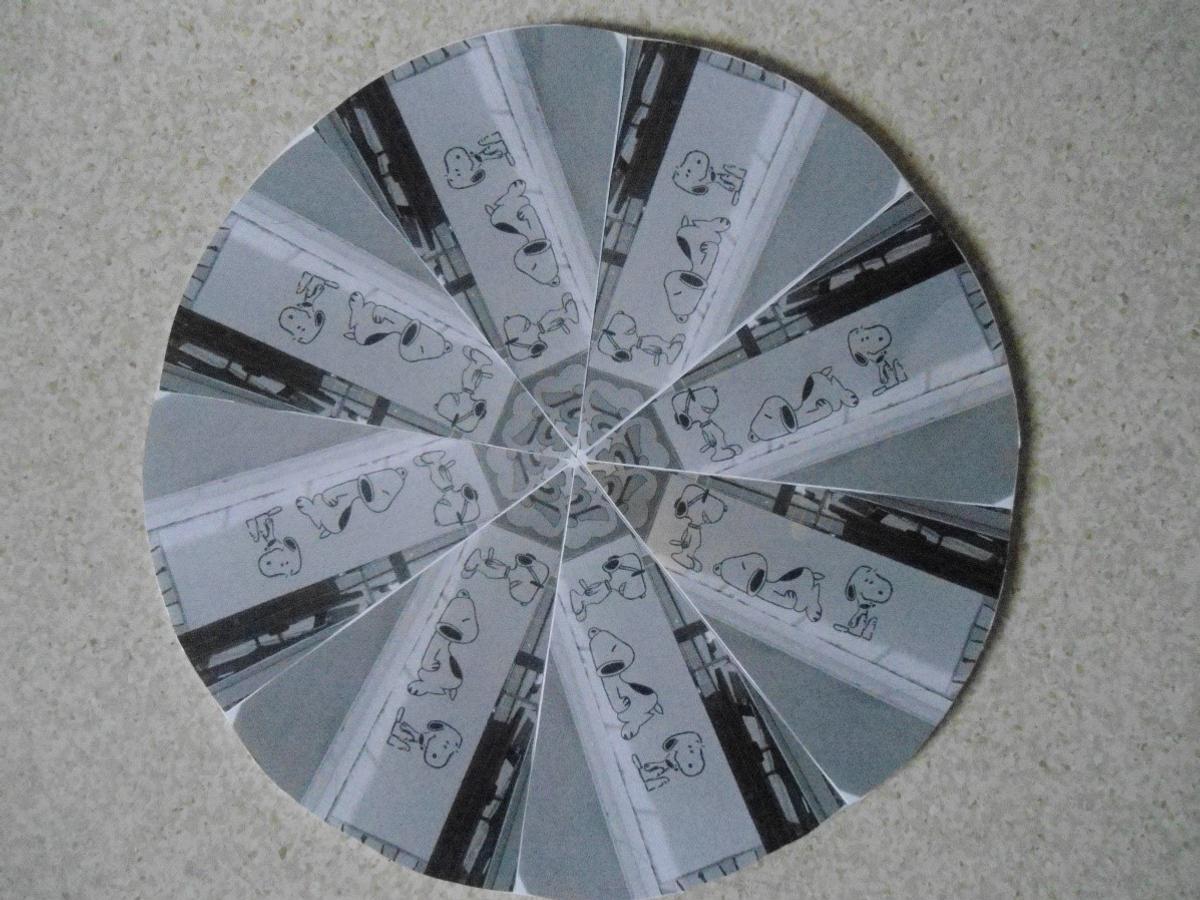
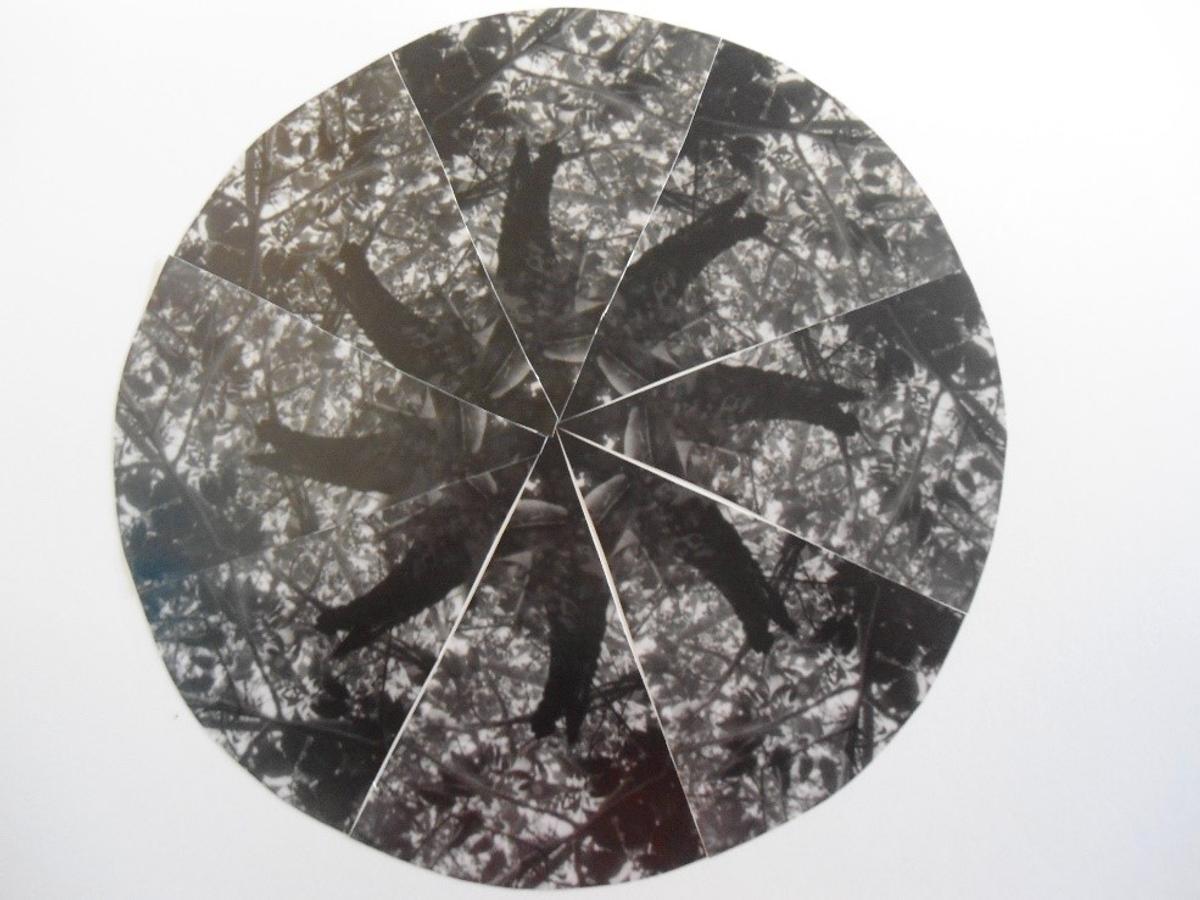
Kaleidoscopes
Students have created these kaleidoscopes by selecting a section from one of their negatives. They are required to produce a test strip of exposure times first and then select the best time that gives correct exposure or tonal range. The students then cut out a triangle shape and place the photographic paper underneath this. Student then go and produce eight prints the same, cut these out and arrange them into a circle.

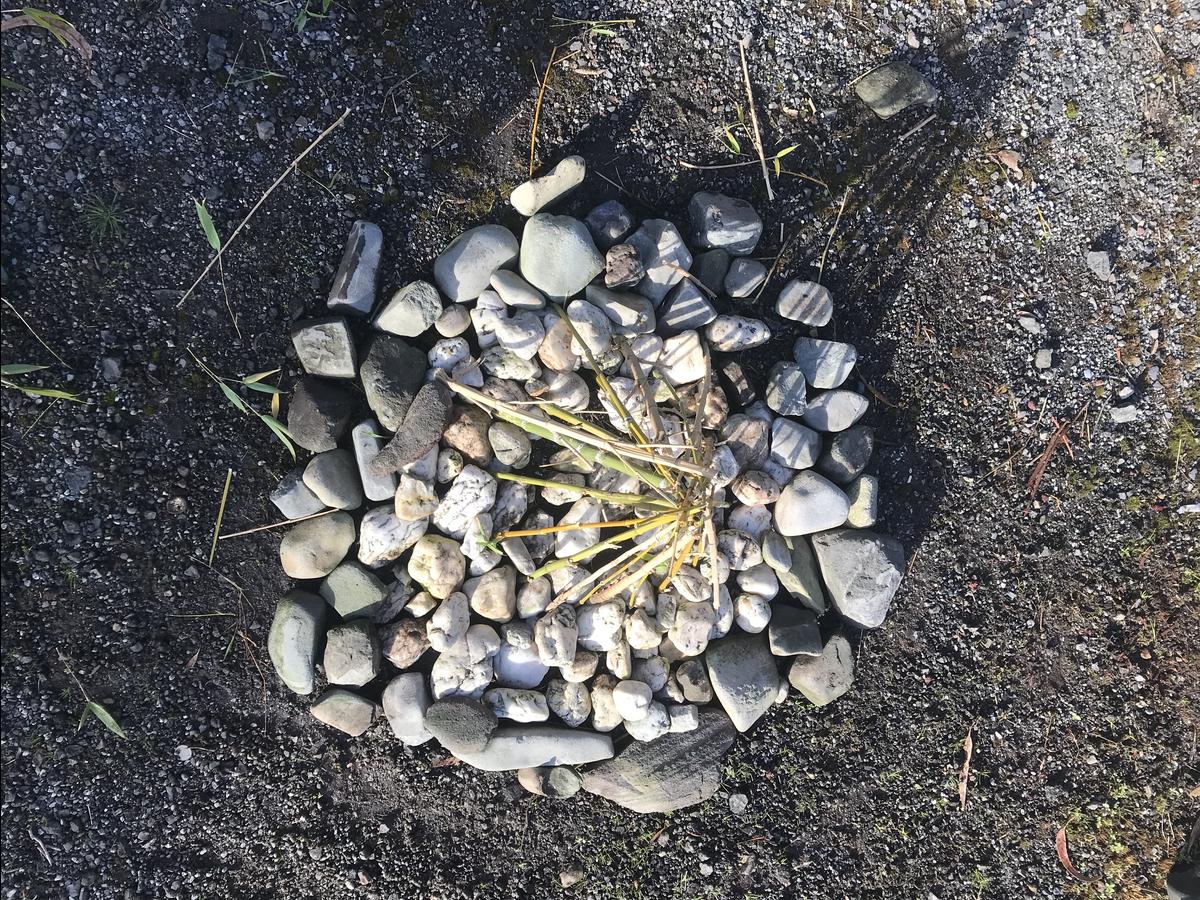
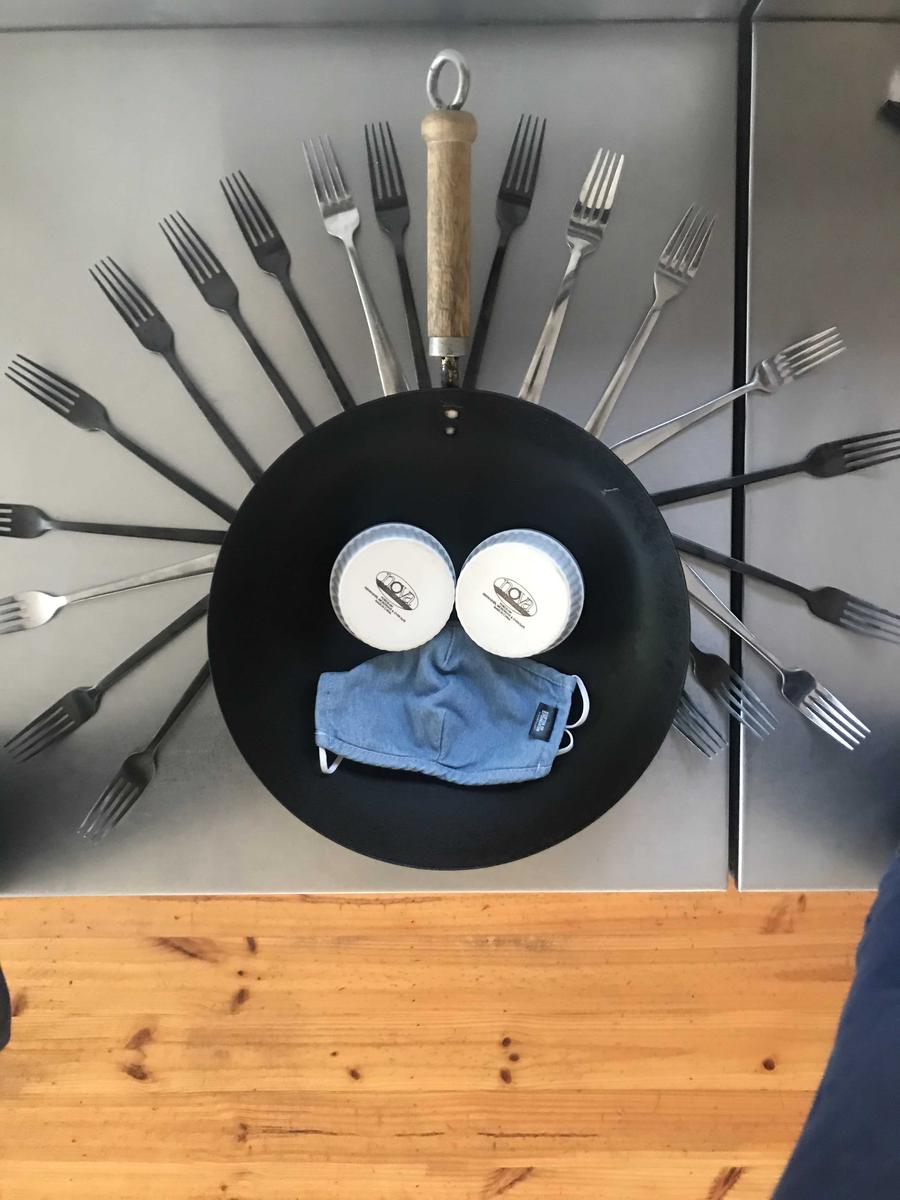
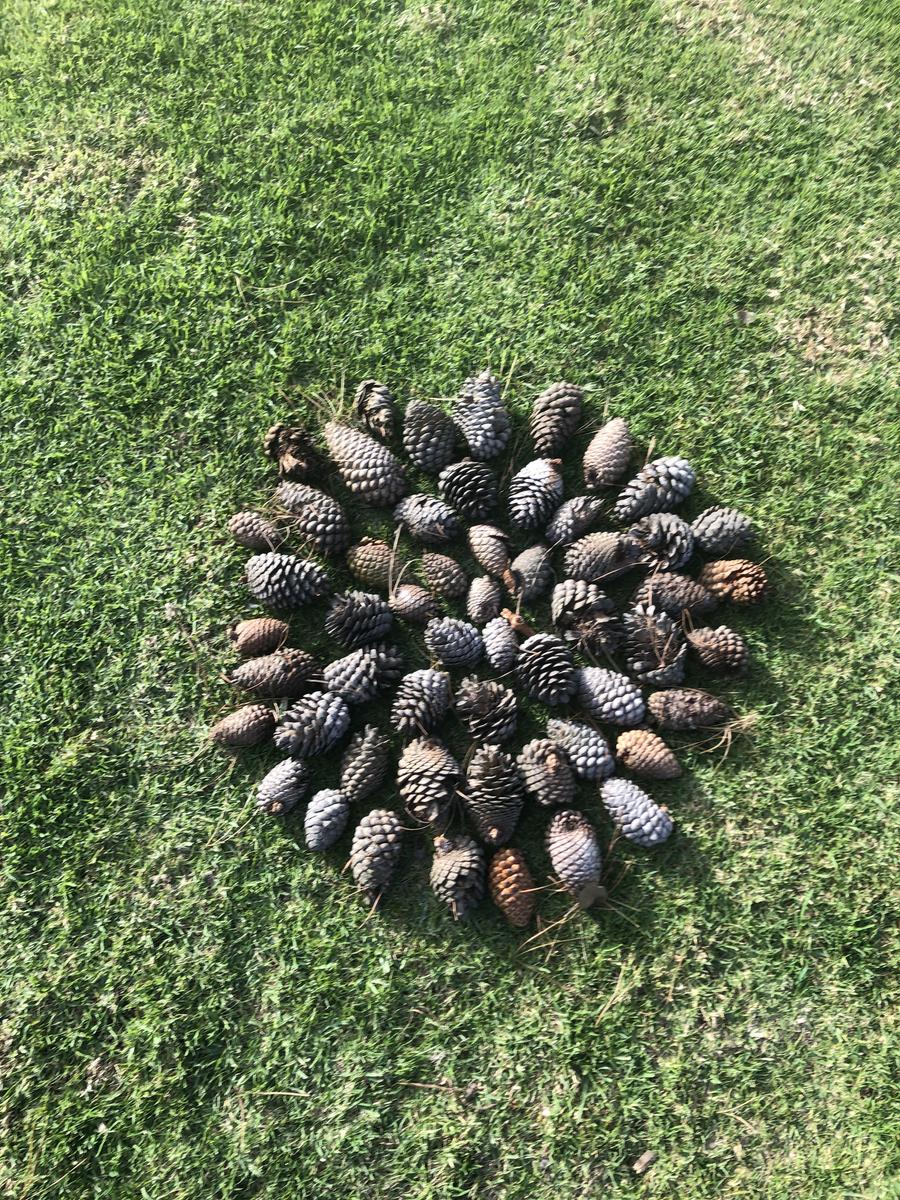
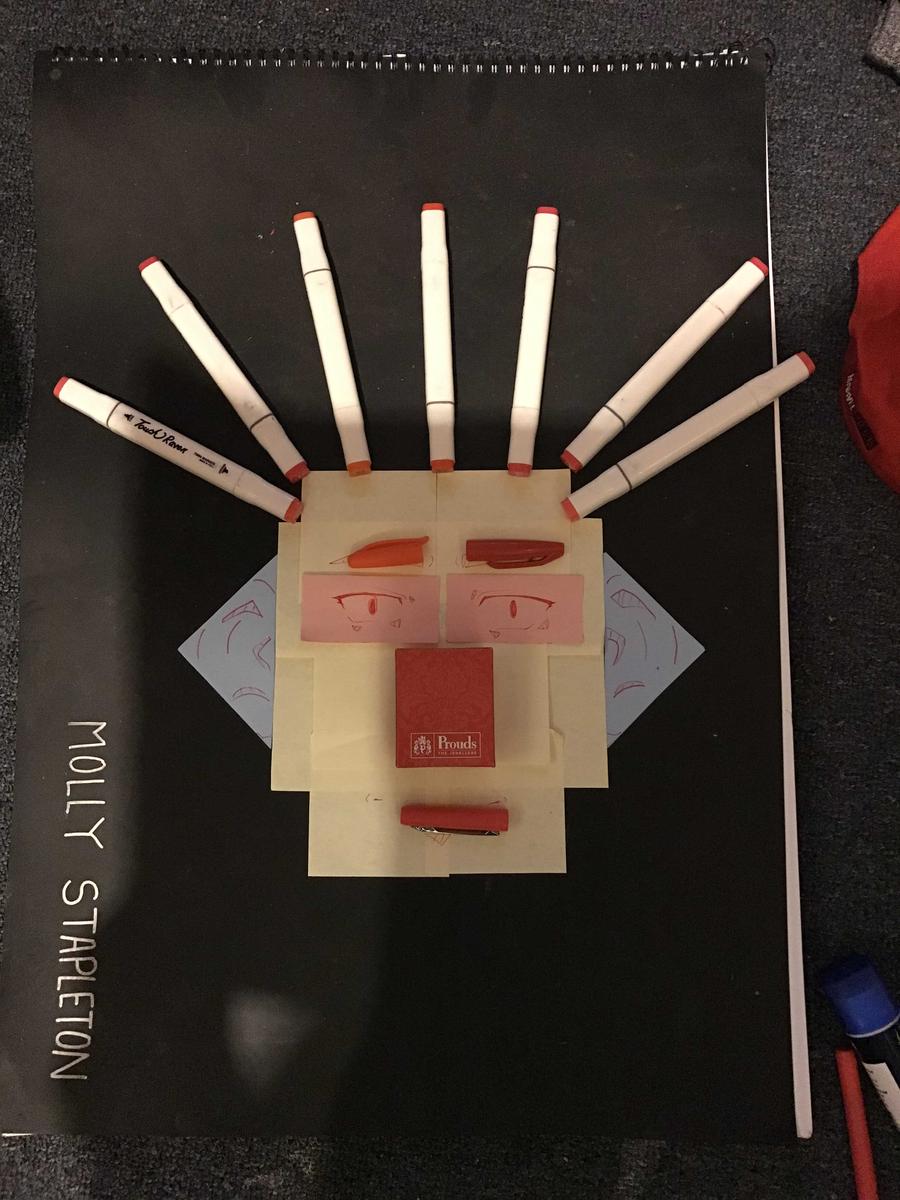
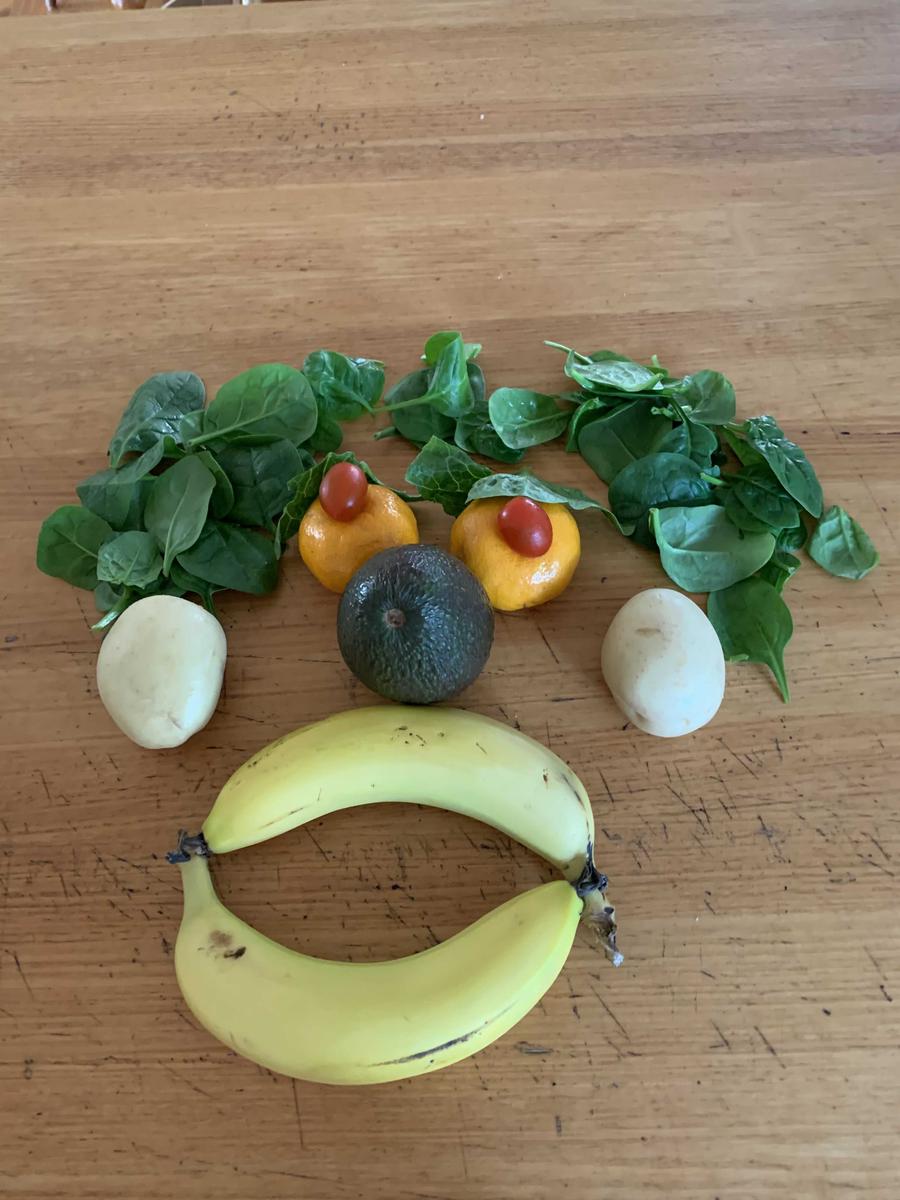
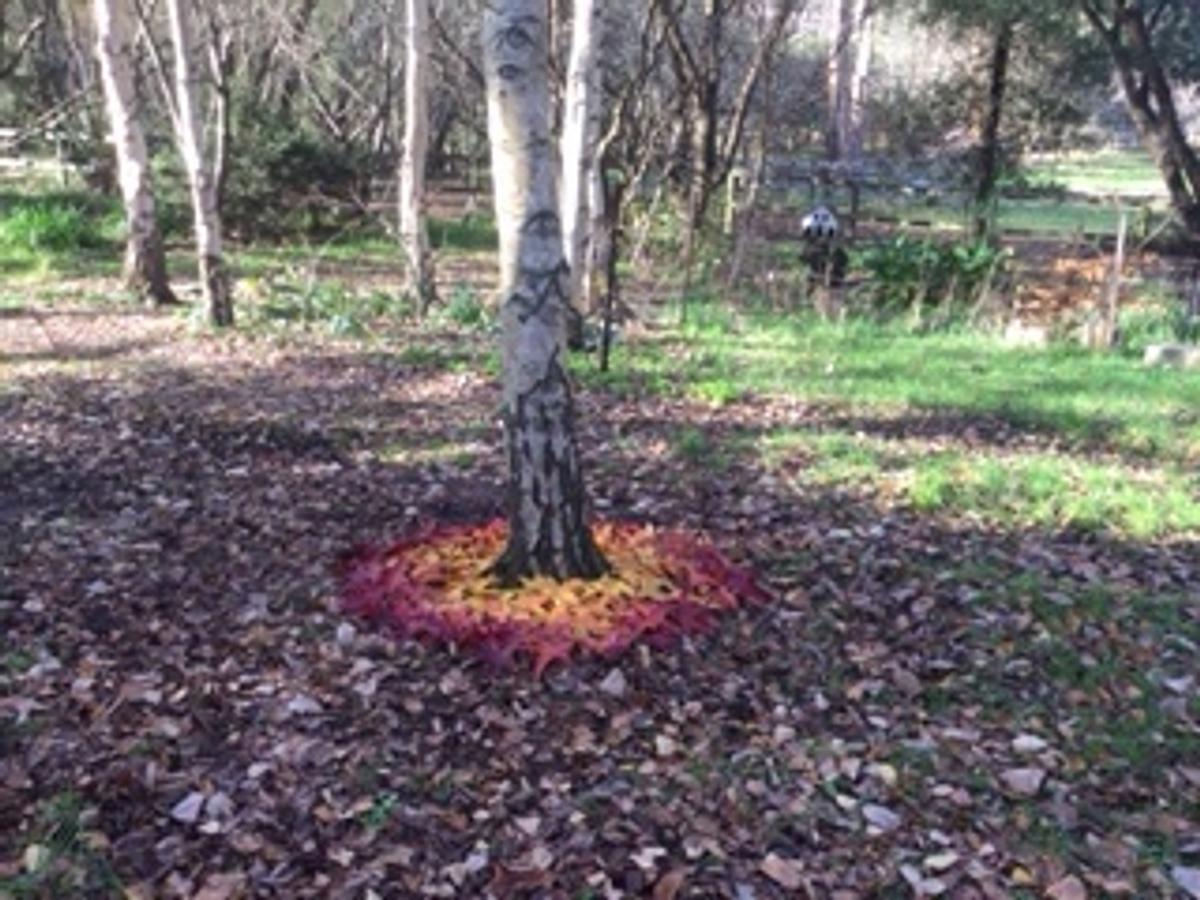
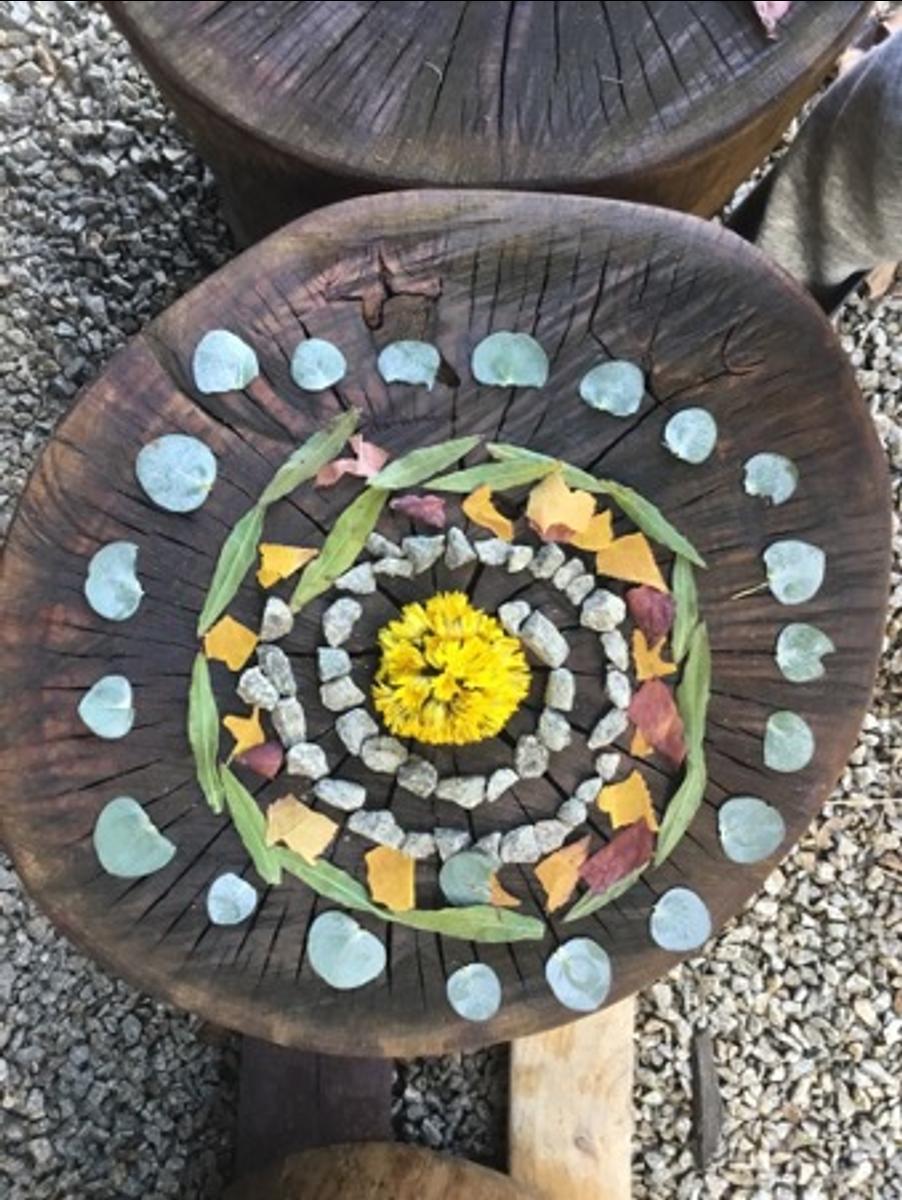
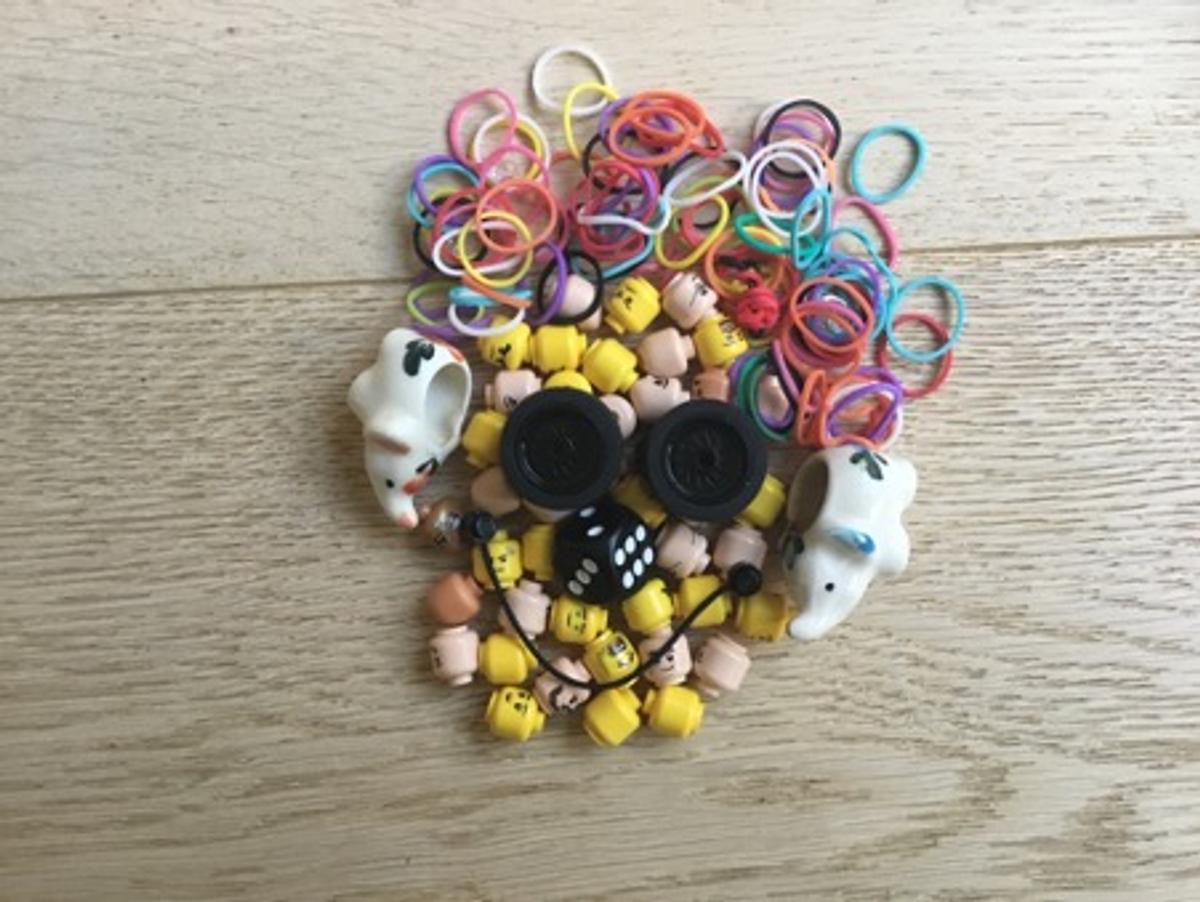
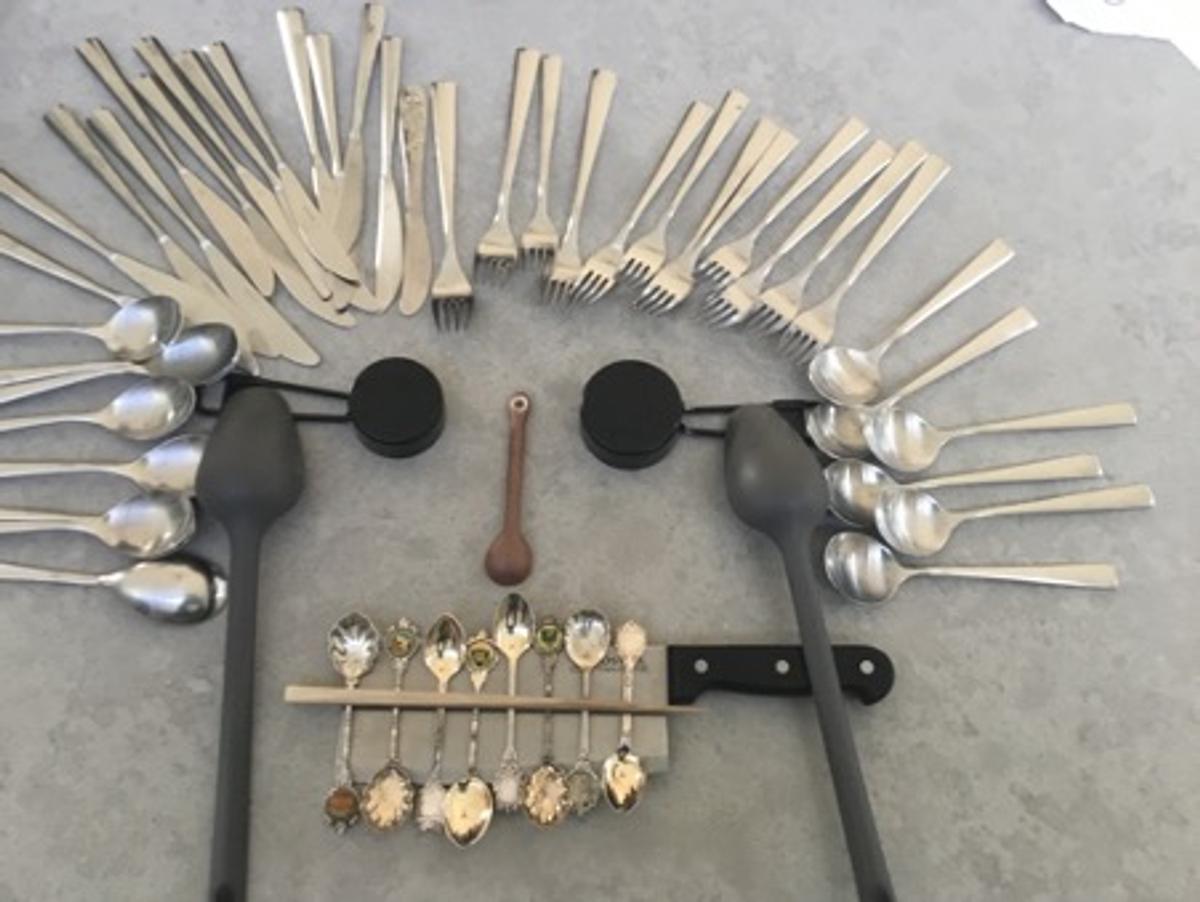
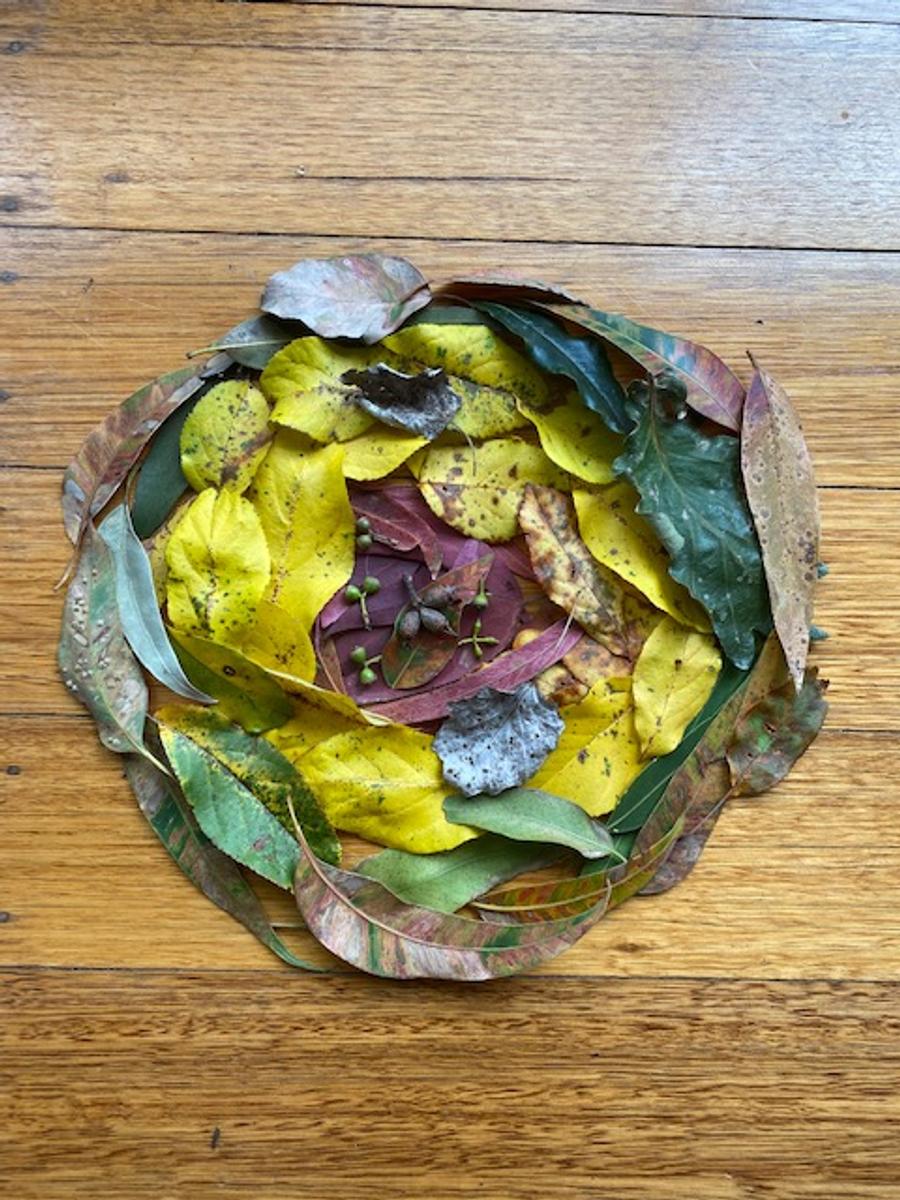
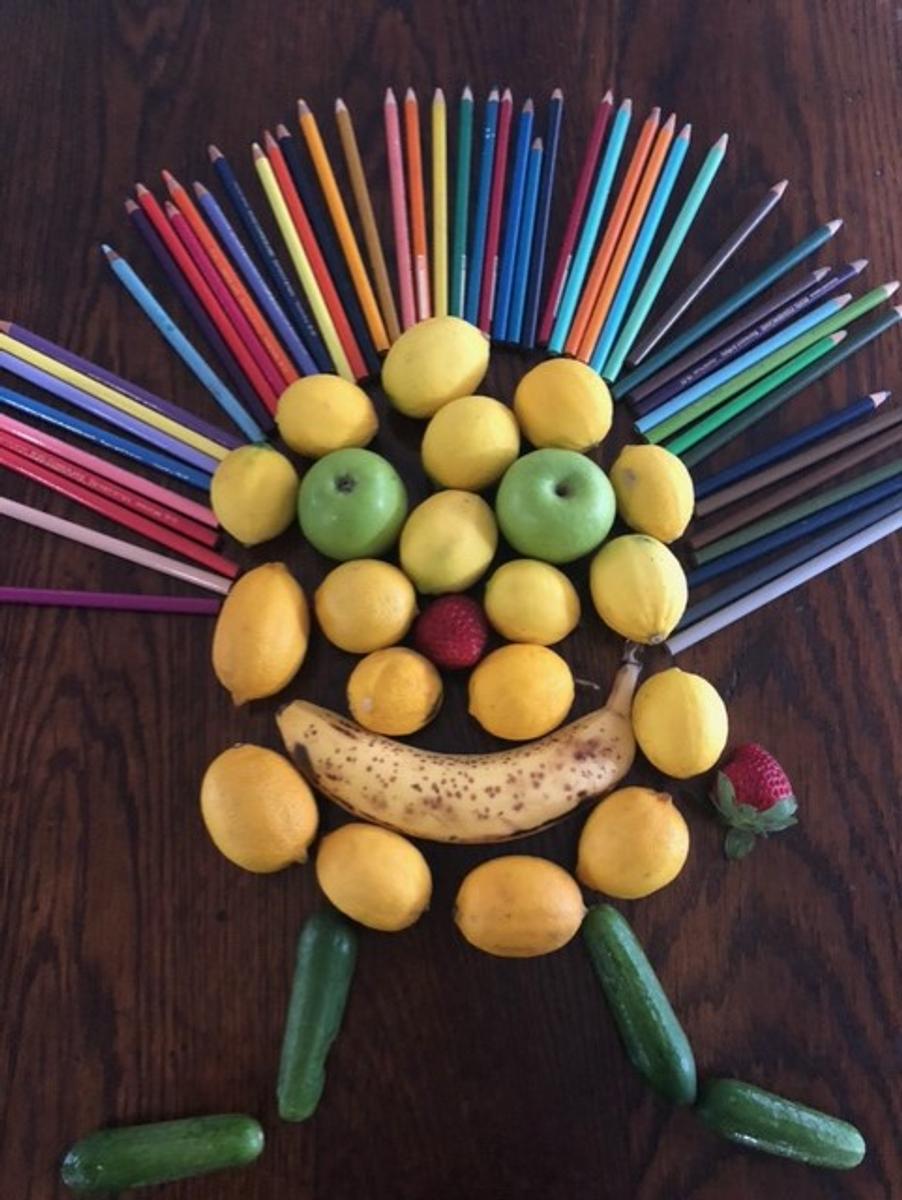
Junior Arts Students
With a brief return to remote learning this term, Junior Arts students explored artworks using found objects. Year 7 students explored the work of British sculptor, Andy Goldsworthy, who inspired the creation of their own ephemeral sculptures. Year 8 students took inspiration from Italian painter, Giuseppe Arcimboldo, in creating a portrait out of unexpected items.