Virtual Visual Arts
By Shannon
Teacher of Visual Arts and Textiles Design

Virtual Visual Arts
By Shannon
Teacher of Visual Arts and Textiles Design
Despite not having studio time in the classroom, students have created some wonderful projects while working from home. We have had a mixture of online and screen-free tasks, as well as some fun Art-related Science Week experiments. Read below to see what the artists and designers at The Lakes have produced term 3. So proud of the resilience and creativity these students have modelled during remote learning!
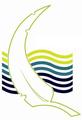
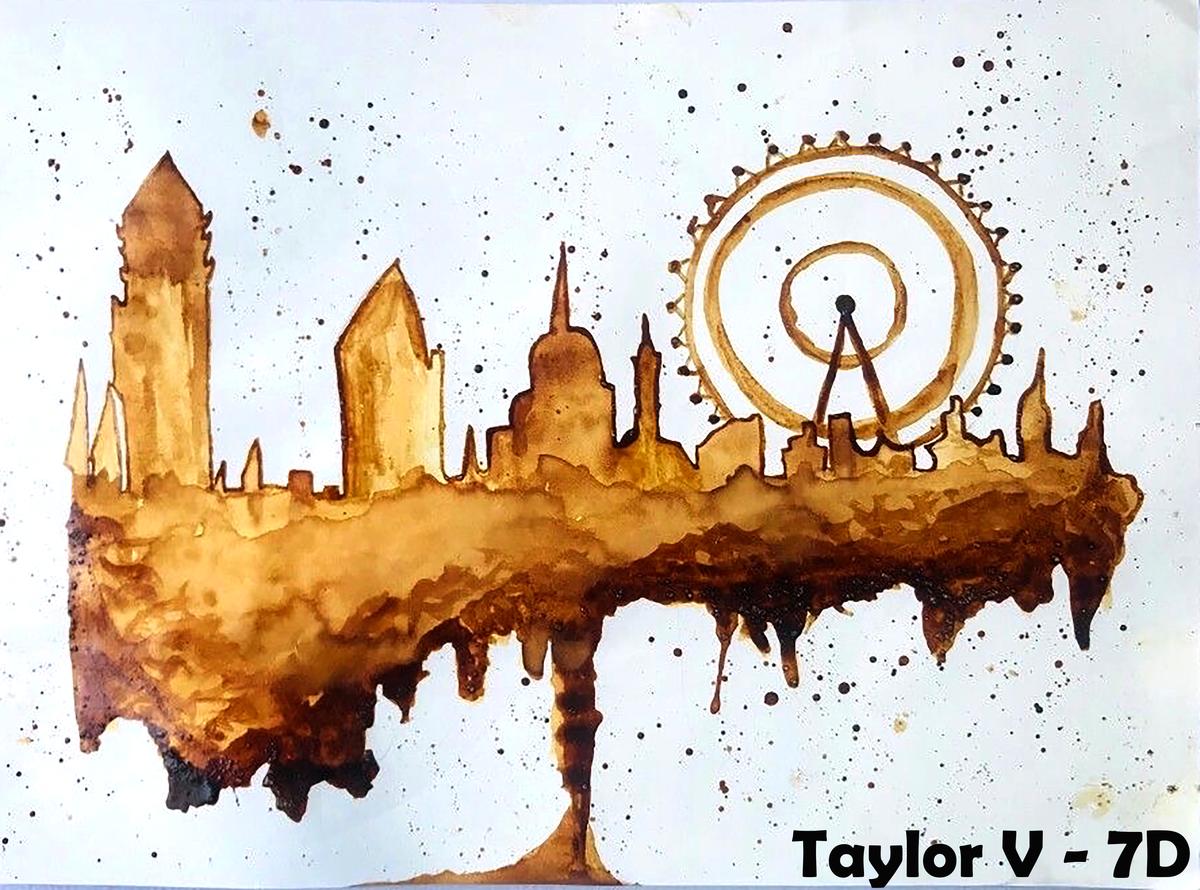
Students trialled painting with an alternative medium to acrylic paint and can be found in the kitchen, coffee! They practiced techniques using different tools for texture and diluting coffee with water to create three degrees of tone. Some students used other spices like turmeric or paprika, while others introduced other mediums such as pencil and fine-liner to add more definition or details to their artwork. Who needs paint when you can use coffee!
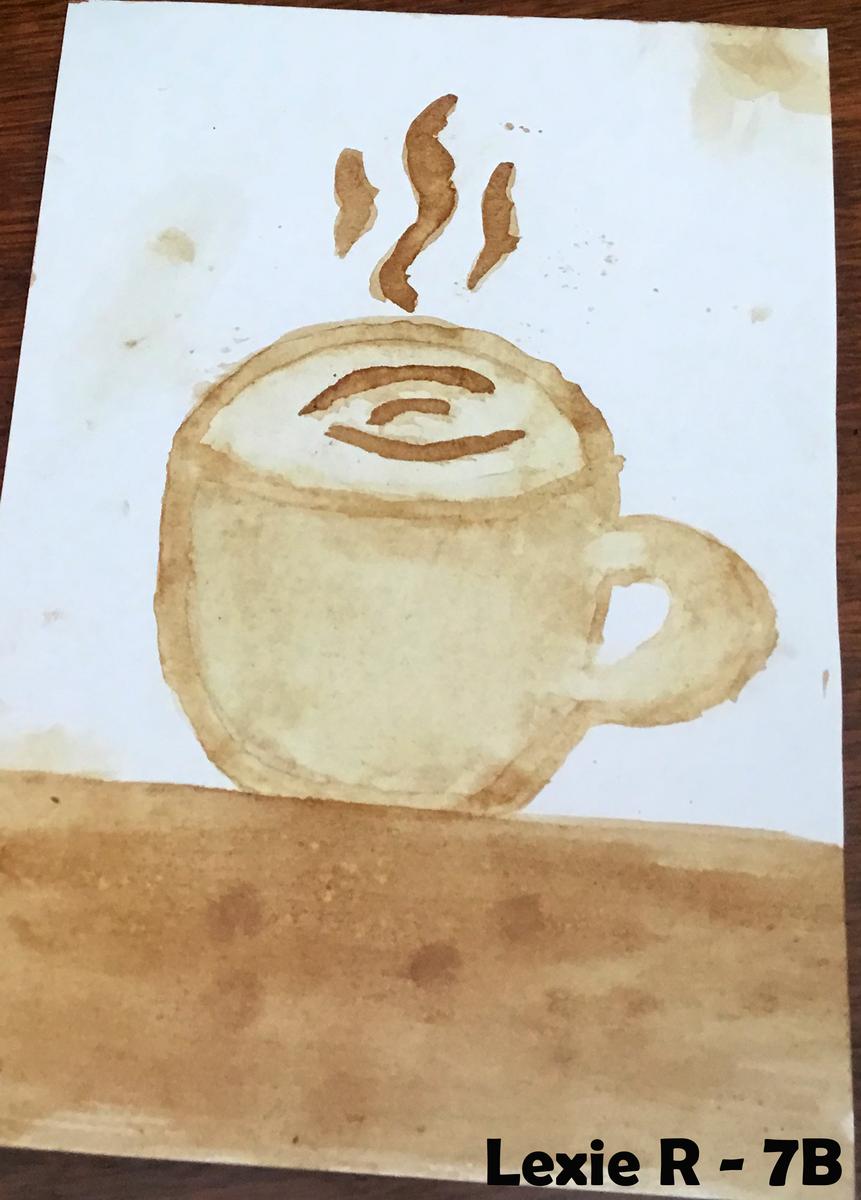
Getting the coffee the right tone was difficult, keeping the coffee smooth and keeping inside the lines was hard. I used a grainy look where I put bits of grains on top while wet. I pressed a sticker on the fresh painted coffee for a different texture. Salv T
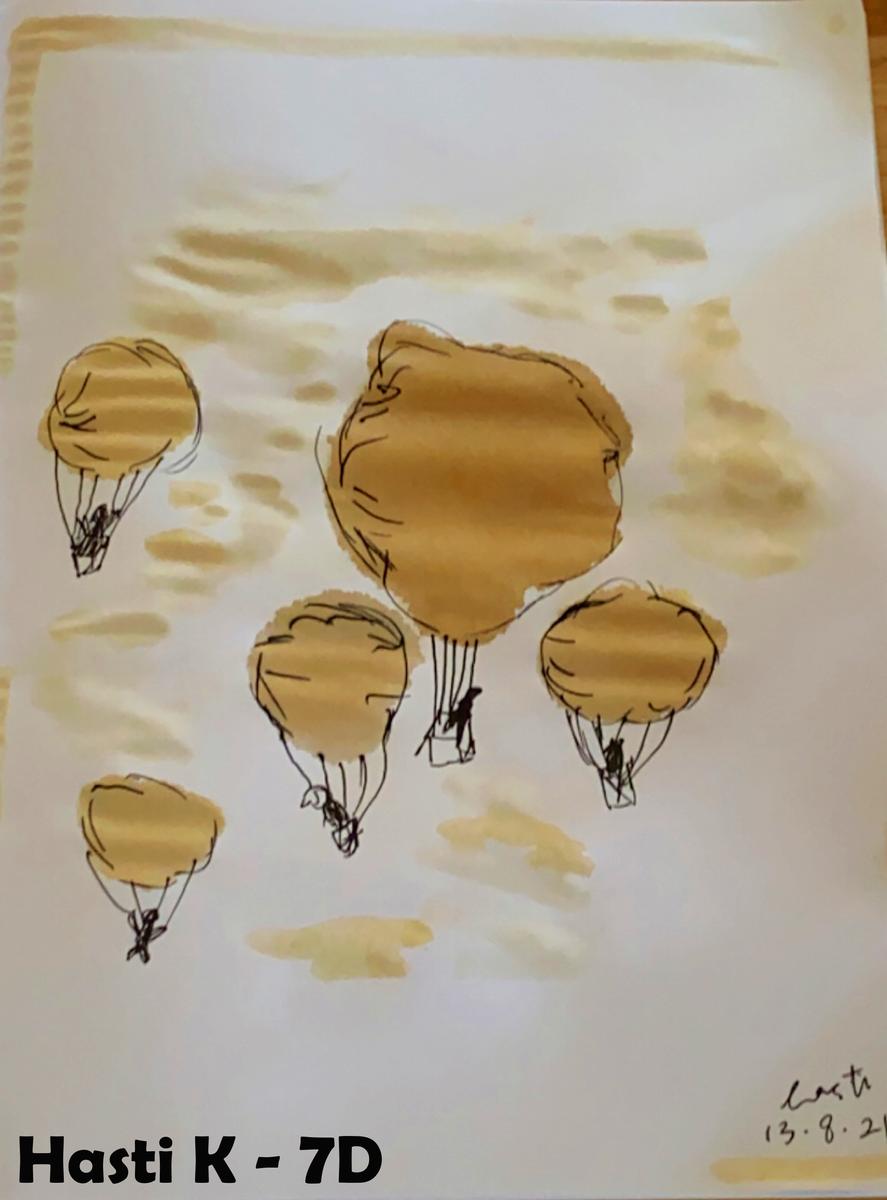
I used coffee mixed with water for different shades. One of my techniques was to keep dabbing the paper with my brush to make some parts different to others. Once I painted the balloons I used the lighter shade of coffee to create an effect of them being in the sky.
Hasti K

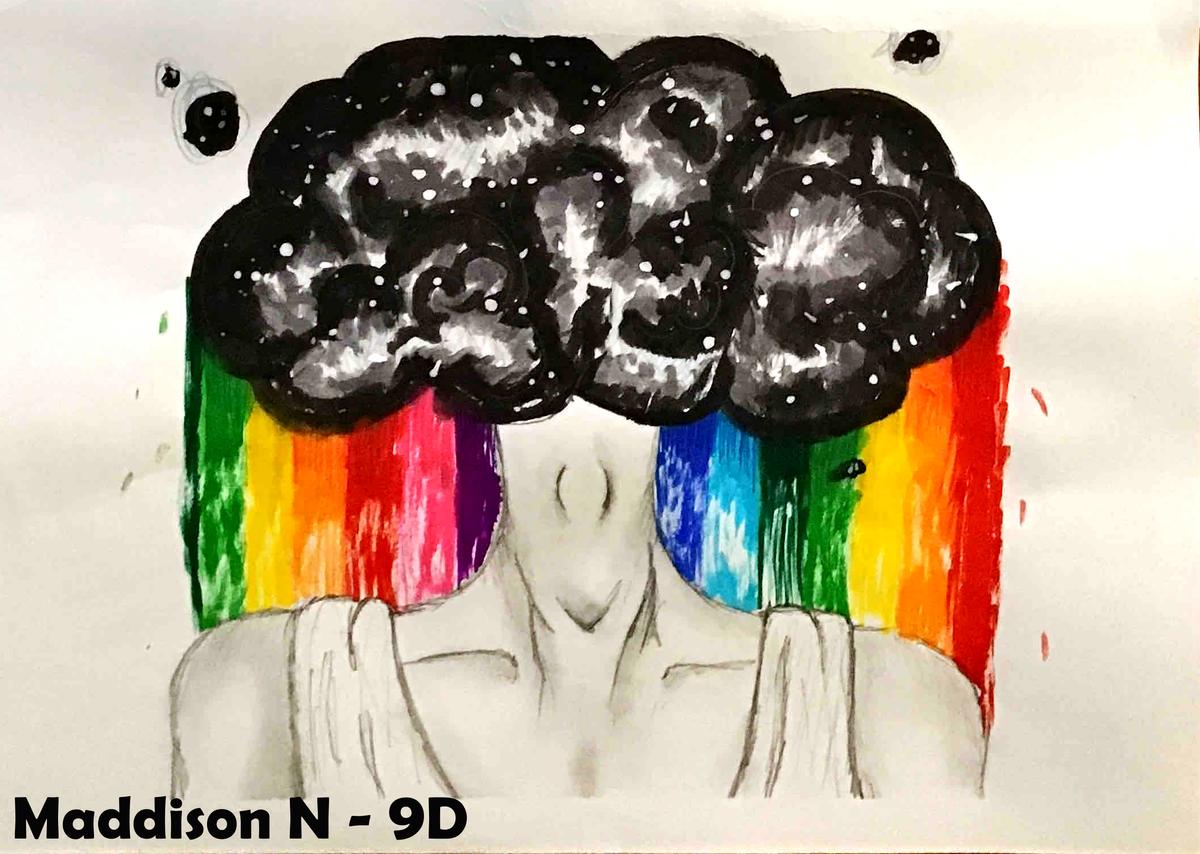
The most successful part of the painting was the hair. I used the coffee lifting technique and put clean water on top and wiped it off. In this way, I created highlights. I made gradients and with this I created differentiation in the skin and hair. The hardest part was making the colour red. For the character I had chosen red was an important element, so I used ketchup, now the piece smells horrible. Marta S

I created different degrees of tone with the coffee by changing the ratio of water to coffee, adding more coffee than water causes the colour to be darker. I had the idea to use bubble wrap on my painting because it reminded me of honeycomb, so I made a coffee spill and cut small pieces of bubble wrap to let it sit on top, after this dried the bubble wrap left circles. I then used a splatter technique and let some drip down the page. I think what was most challenging about this task was trying to get much darker tones, so I add a slight bit of brown watercolour paint to create darker tones. The most fun part of this task for me was the part where I got to draw over the coffee spill because that’s my Art style, I loved going over some of the shapes I could see with the spill. Olive T
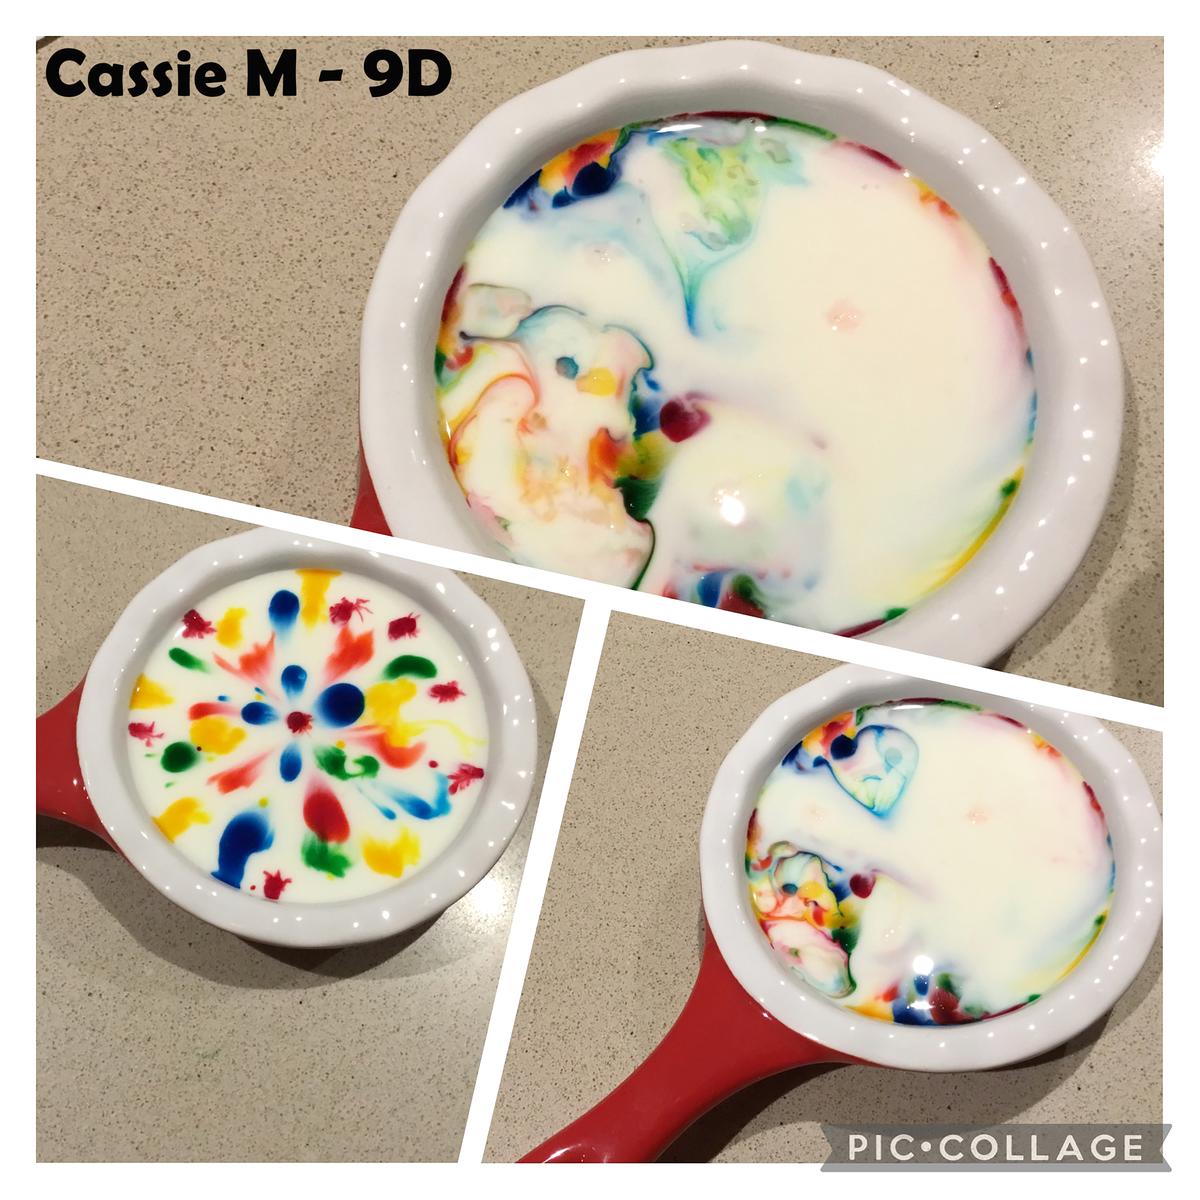
For Science week we blurred the line between Visual Art and Science and used chemistry to discuss colour theory! Students were able to explore secondary and tertiary colours by combining different matter together (such as water, food dye, shaving cream, milk, dish liquid) to witness how they react and create new colours. It was a great task to get off the screen and bring a bit of colour into the everyday.
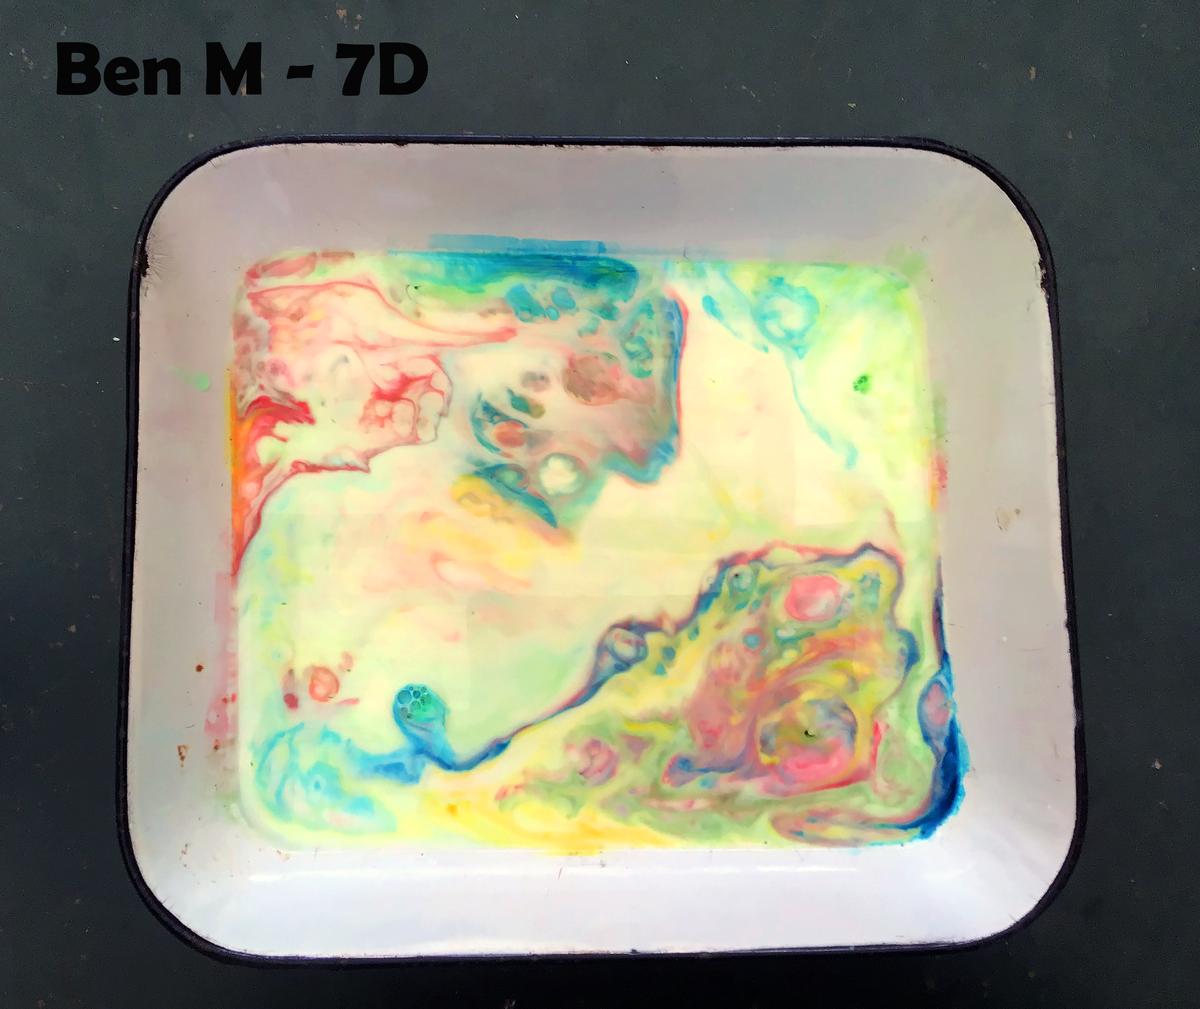
This task combines Art and Science, because the dishwashing liquid repels against the milk but also shows how different colours mix. Secondary colours are made when two primary colours are mixed. Tertiary colours are made when a primary colour and secondary colour mix. I enjoyed the result it had a marble effect and it looked pretty. Ben M
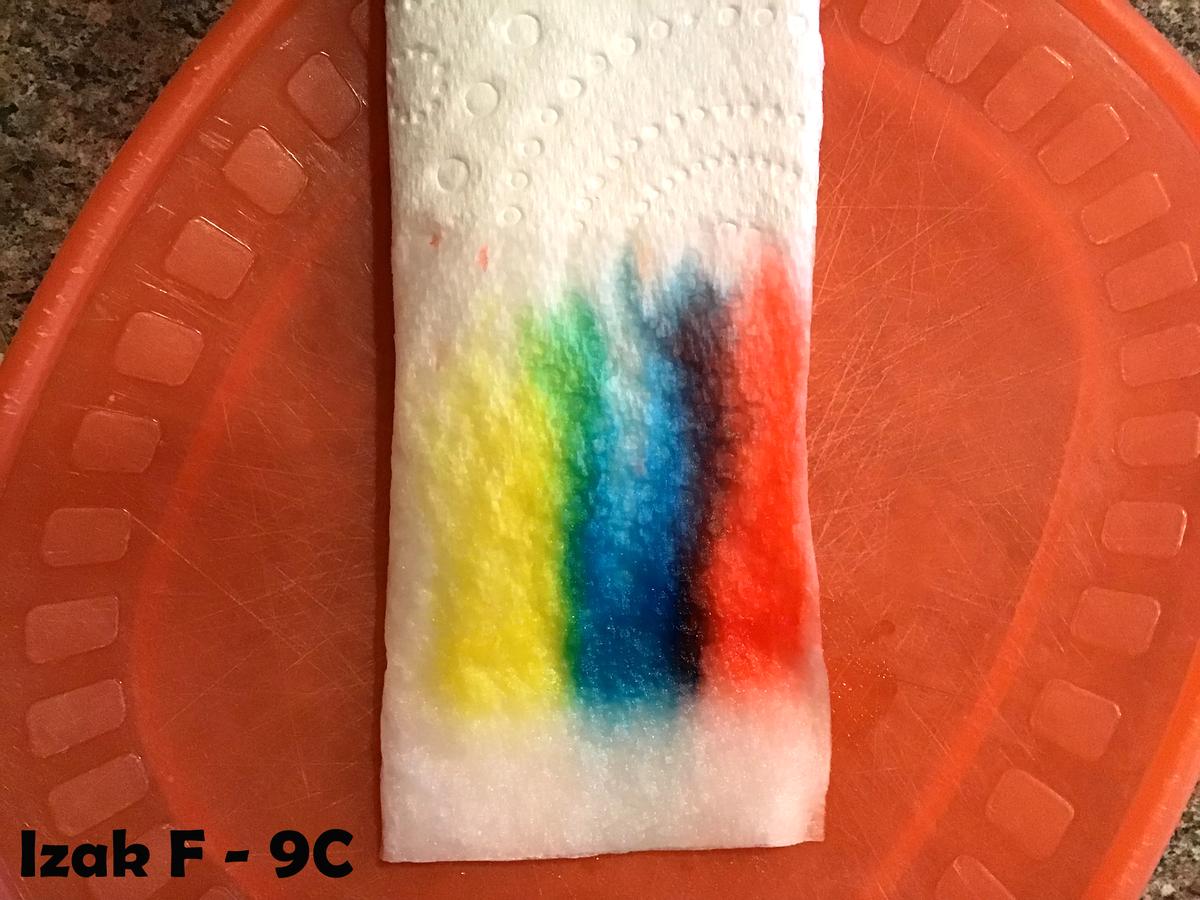
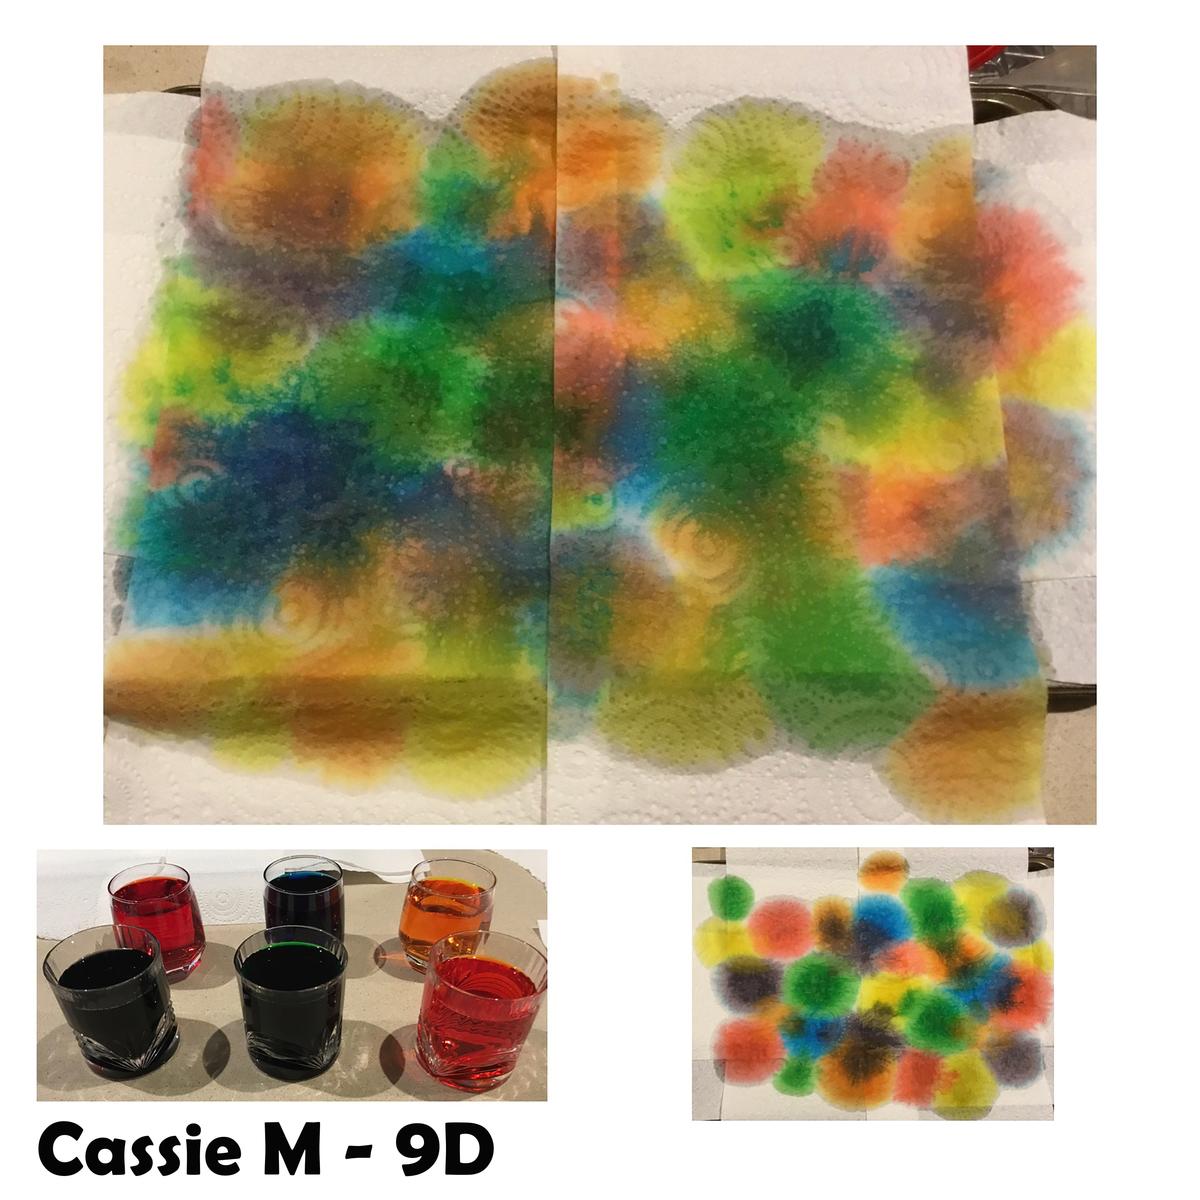
This task was about creating Art by using primary colours and mixing them by making them react to create an Art piece of secondary and tertiary colours. I used textas, a paper towel, water and a clear glass. I had to fold the paper towel to a size that fits inside the glass. I drew red, blue and yellow rectangles 1 cm from the bottom. I filled the glass with water 1.5 cm of water and placed the paper towel in the water. The water touched the colours and they blast up and mixed together. Izak F

This task shows Art and Science through seeing how colours mix together and new or more colours, by doing simple experiments. I poured milk into a container and started watered down some paint so it wasn’t too thick. I put them in the milk then started to add a little bit of dish soap until I saw some changes happen in the mixture. Paige J
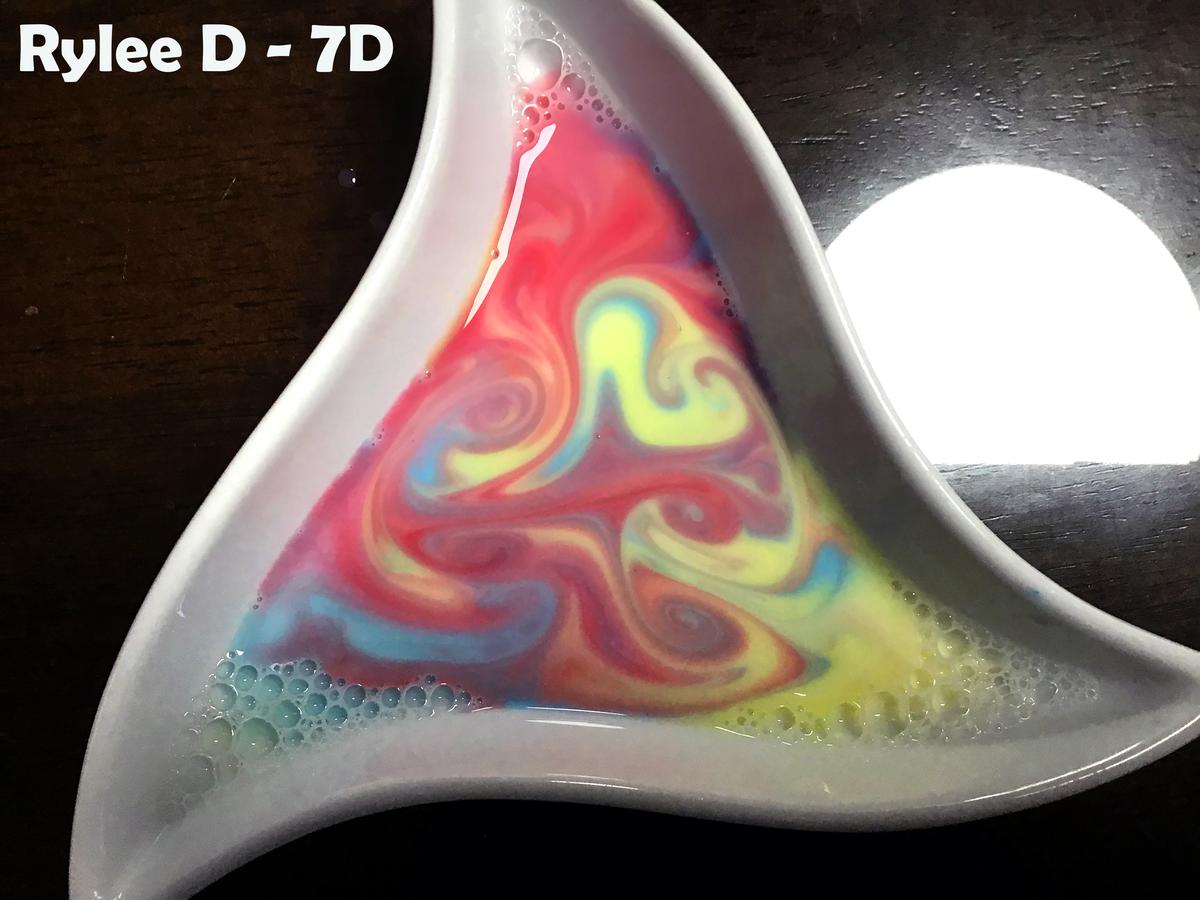
This task involved Art and Science. I believe Art is creating something unique and fun, plus this activity showed Science by the reaction the colours made due to the ingredients added. What I enjoyed most was how this task was different and new to the things I do during lockdown. Rylee D
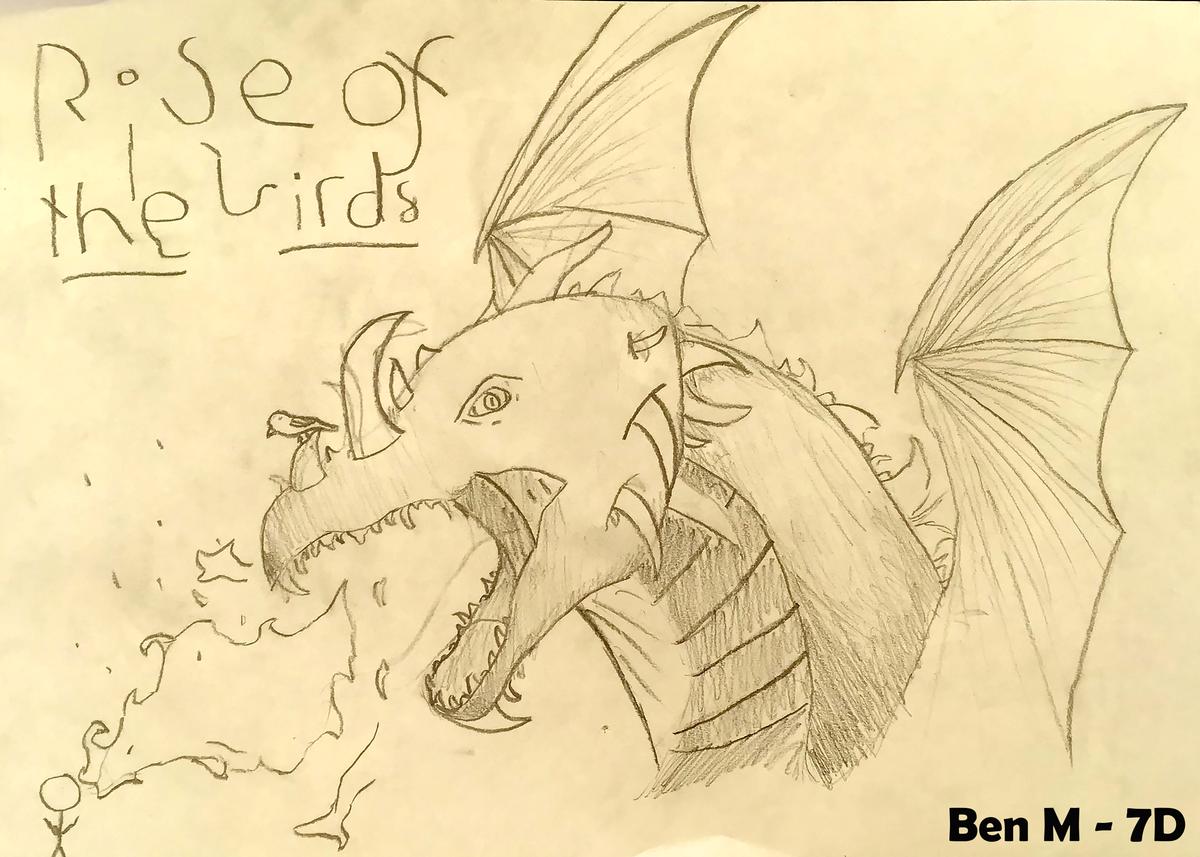
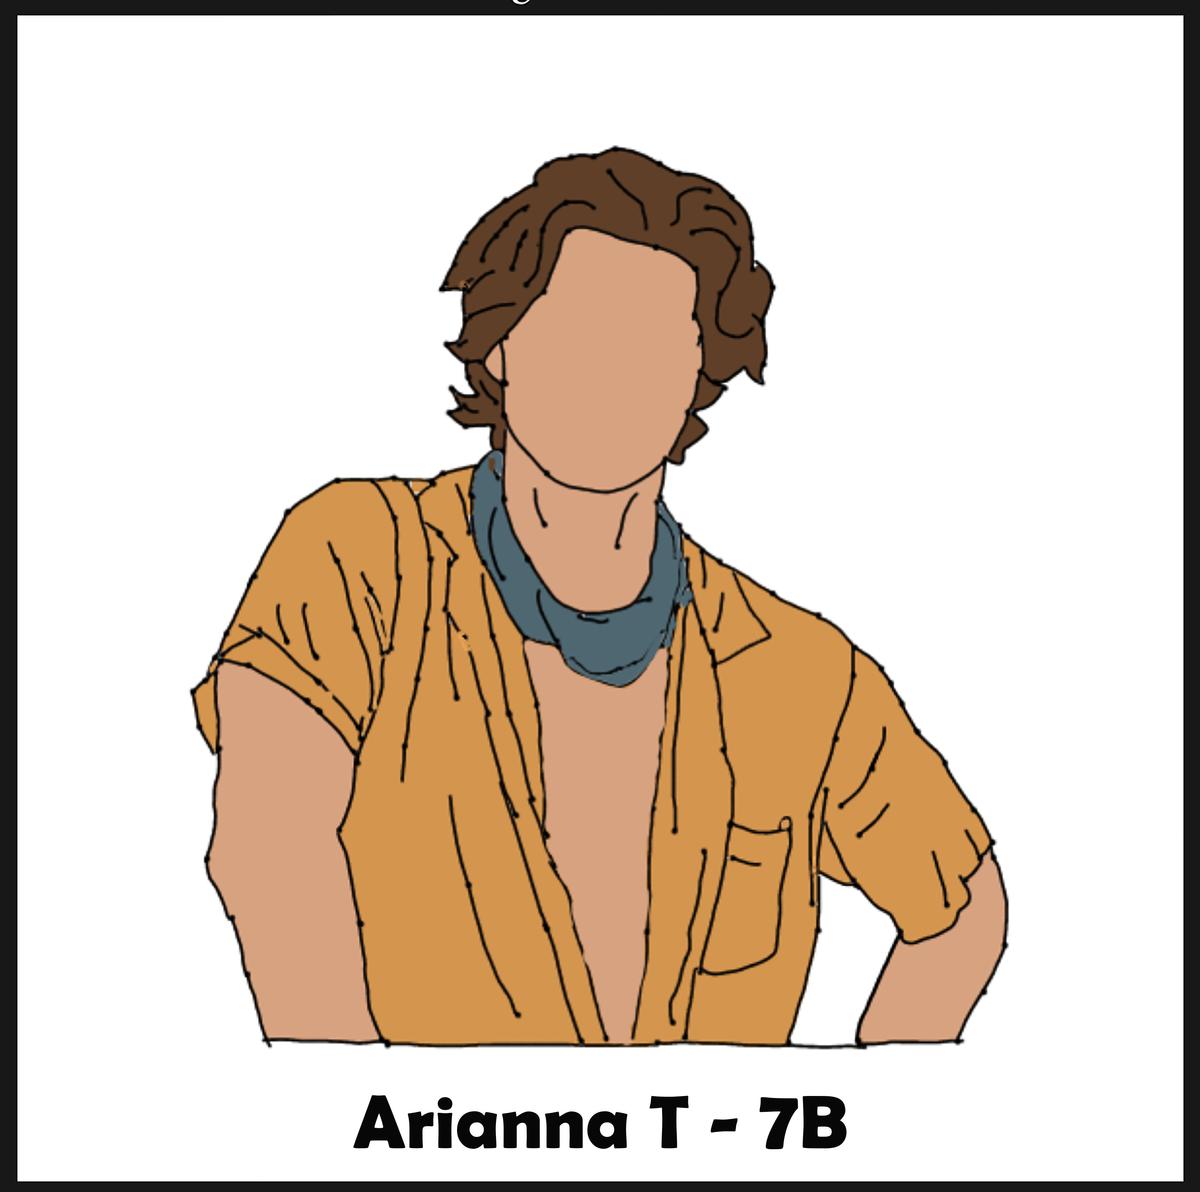
Character Design is a style of drawing many students at the school enjoy. Some are inspired from movies or anime series, others invent their own characters. Students were asked to include tone and texture in their drawings to add detail and depth to their illustrations. They had the freedom to choose what medium they could use, such as lead pencil, colour pencils, a digital application, or any other materials they may have at home.

The character I illustrated was Rocky Balboa, a heavy weight boxing champion from the movies Rocky 1-6. I used grey lead to draw the outline of his head, a black marker to trace the outline, and the colours were from pencils. Cassie M
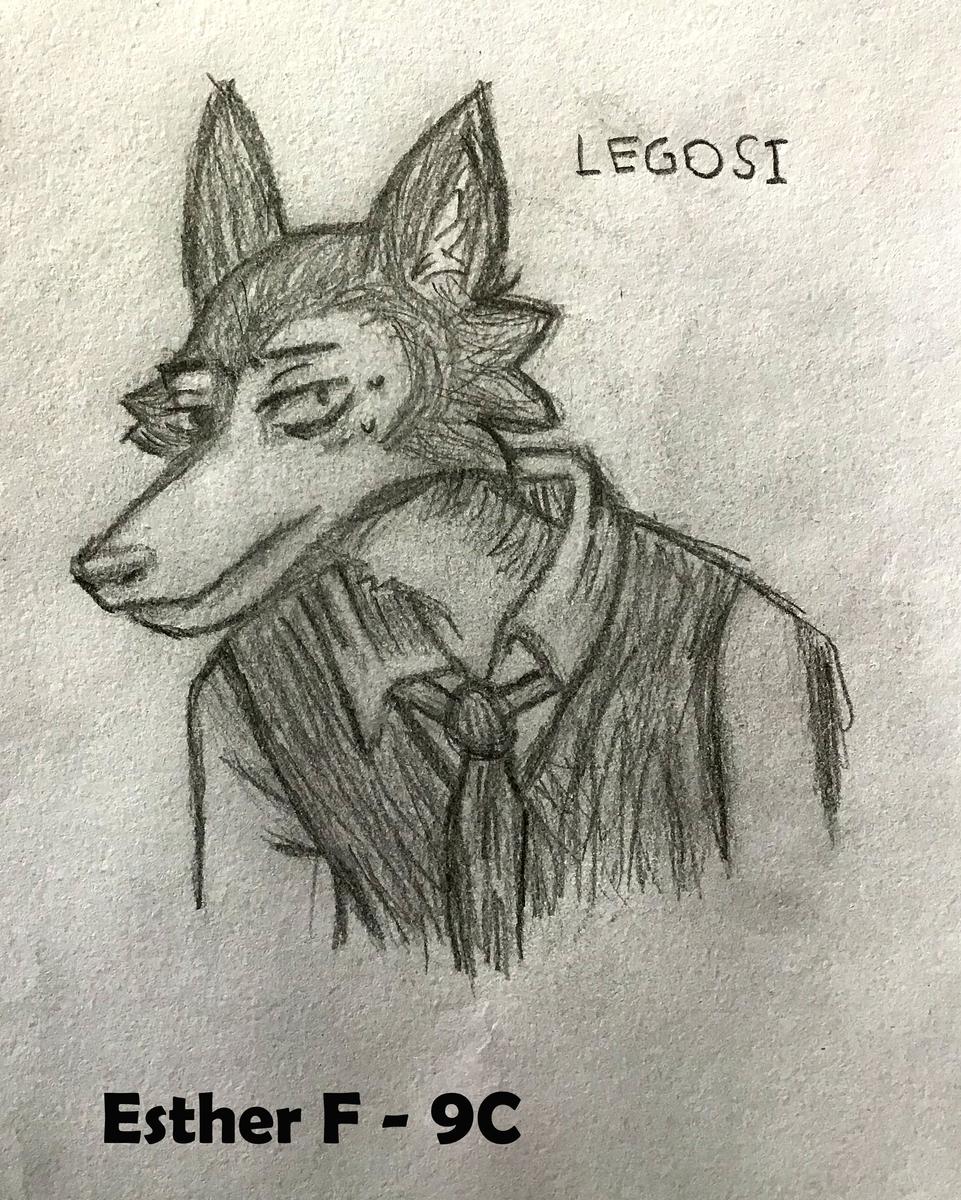
The wolf’s name is Legosi from an anime. I used paper and pencil. To create my drawing, I drew the shape of the head to the shoulder. I then started rendering where the dark areas were. Esther F
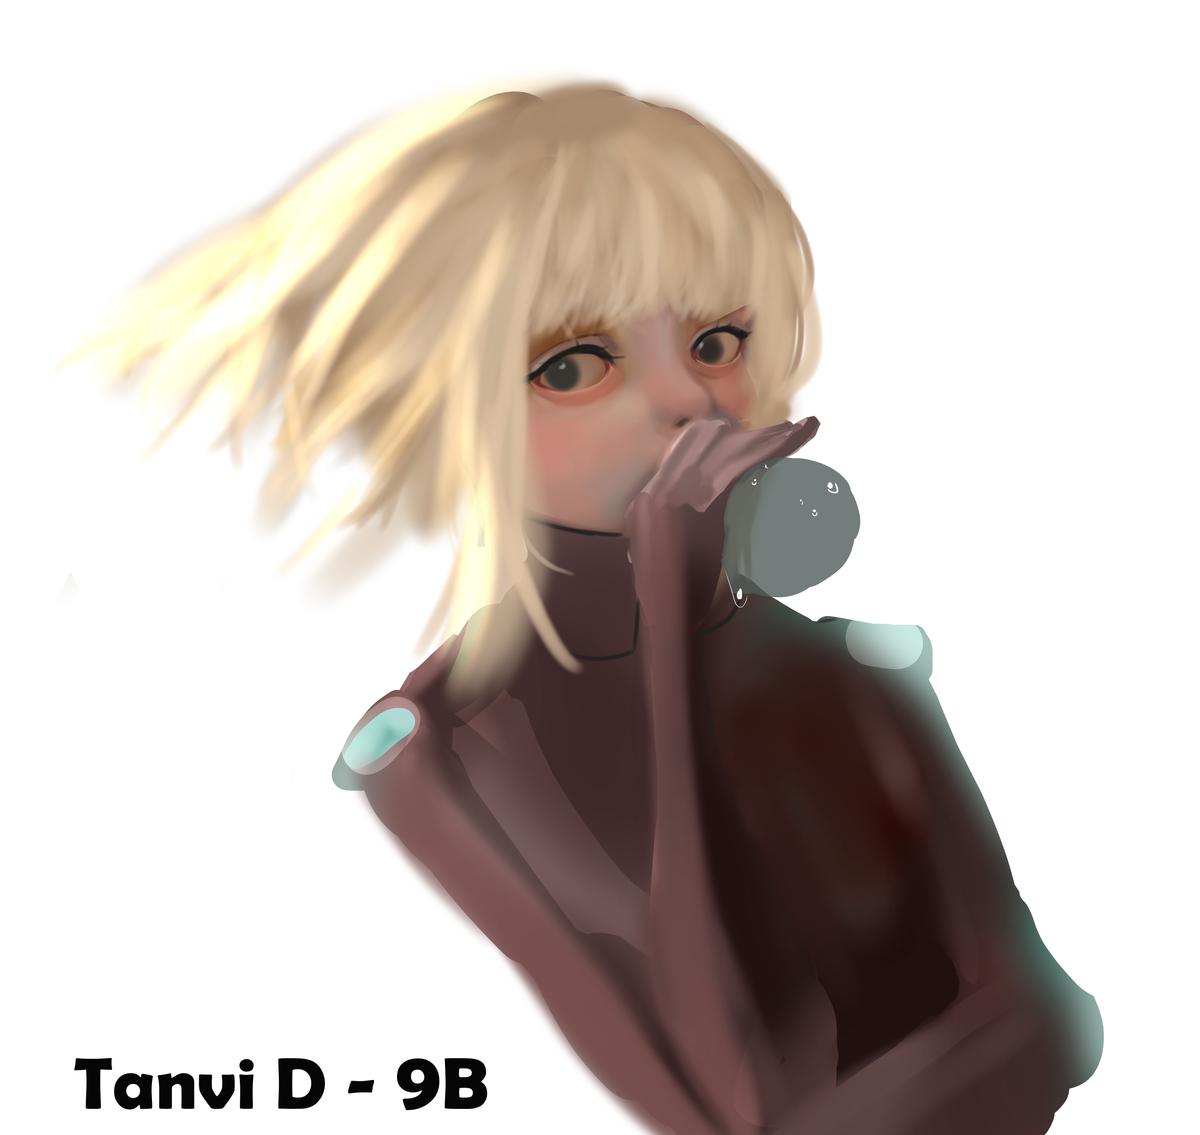
This is my original character, I haven’t named her yet but I’m thinking along the lines of “Sieta”. She is blowing up a water balloon because she uses them as weapons. I made this with my computer, my surface pen and Art program called Medibang. Tanvi D
Nick Cooke is a candidate teacher from Melbourne University who worked with me for his placement at The Lakes College towards the end of term 3. Nick developed and delivered some engaging online lessons, one of which explored Forced Perspective. Perspective is important in Visual Arts, we use a visual language to make statements, tell stories, communicate across cultures and reflect emotions. We often do these things from our own perspective, which is formed by our beliefs, culture and life experiences and whilst we all share lots of things in common, you have a unique perspective. Forced Perspective is an effect used in films and photography with clever positioning of the camera so objects appear much larger/smaller than reality. Students discussed artworks by Slinkachu and Tatsuya Tanaka and then staged their own photographs to illustrate Forced Perspective.

Perspective is how different creatures see a variety of things and what they believe of those things. Forced Perspective is the use of techniques used in photography to make an object in the photo appear smaller or larger than it really is. I used this by placing my sister at the start of the hallway with her foot up and my brother at the end acting terrified. The difficulty was getting the right positioning of the camera and the subjects (my sister and brother). Salv T
Perspective is representing three-dimensional objects on a two-dimensional surface (like paper) so it gives the impression of depth. Forced perspective is a technique which shows an optical illusion to make an object appear further away. I achieved this by using a cloud to represent an ice cream on the ice cream cone. I created my shot by finding a cloud small enough to represent ice cream and so it looks like it fits perfectly inside the cone. I like how this task is really creative and how you can technically create anything. Paige J