Learning in Stage 3

Stage 3 S'mores Report
By Kash McPhillips
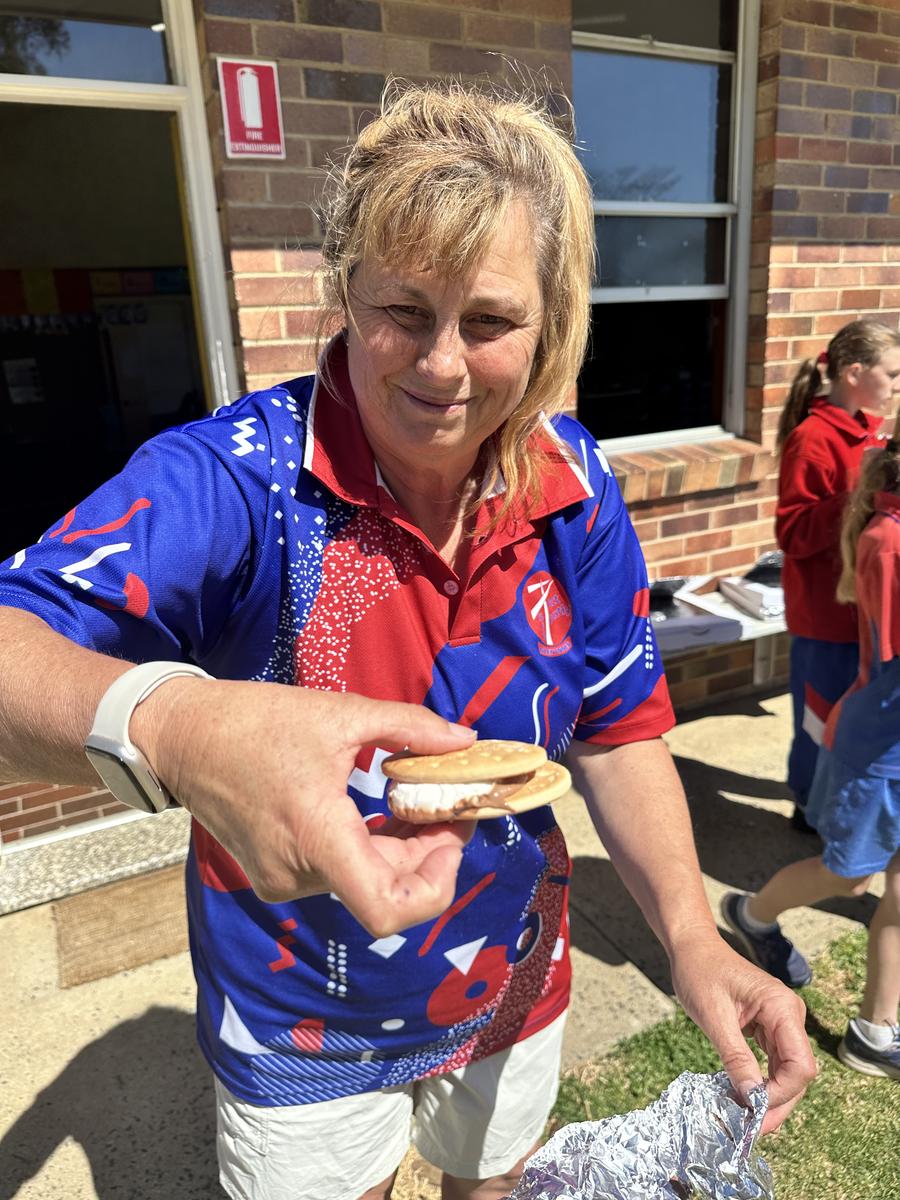
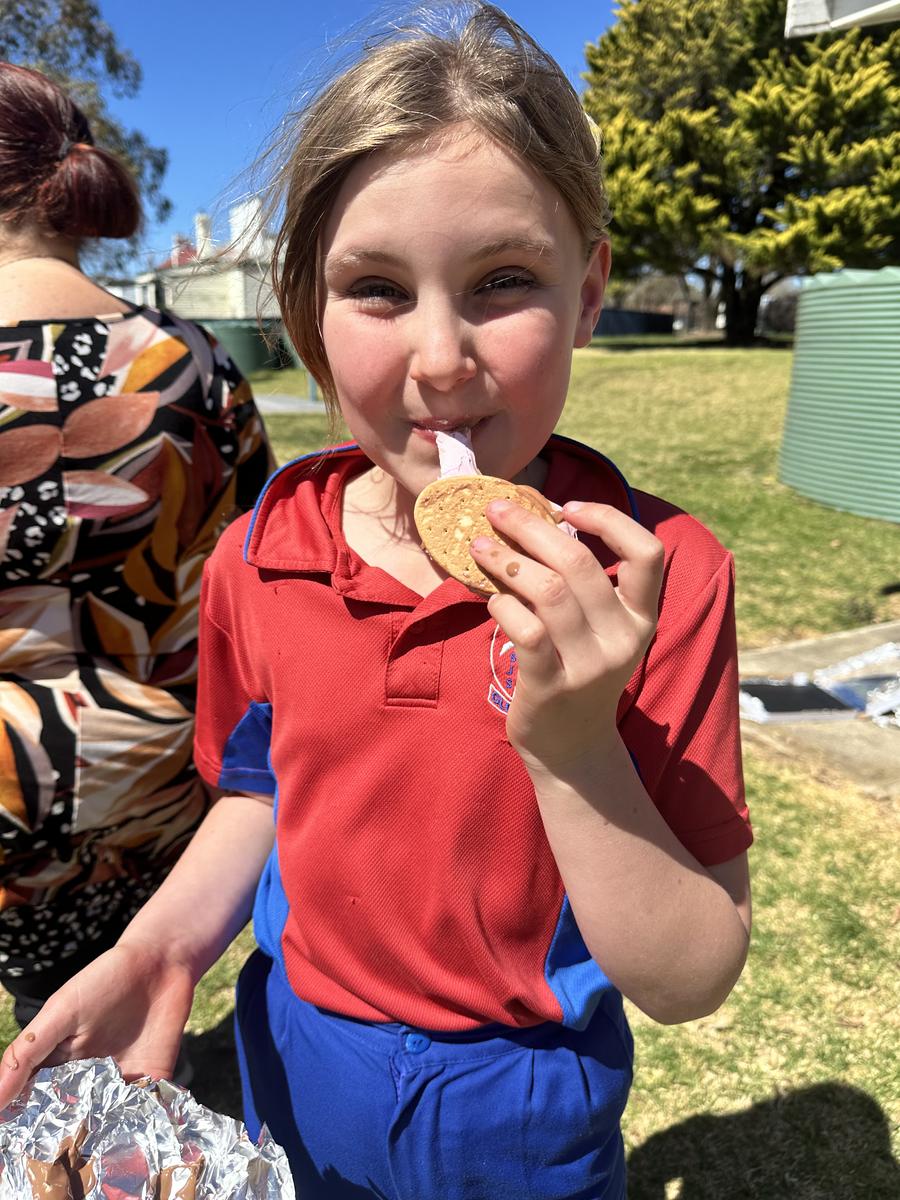
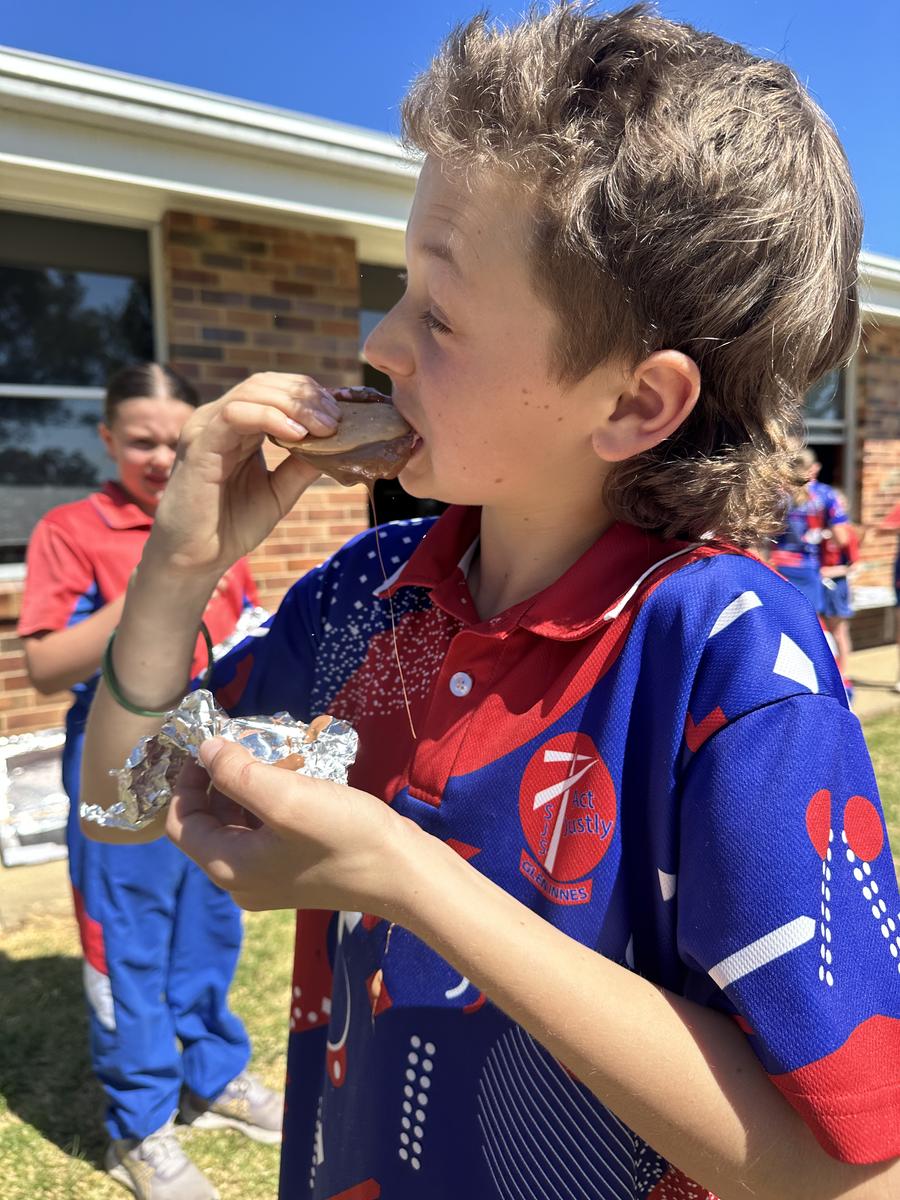
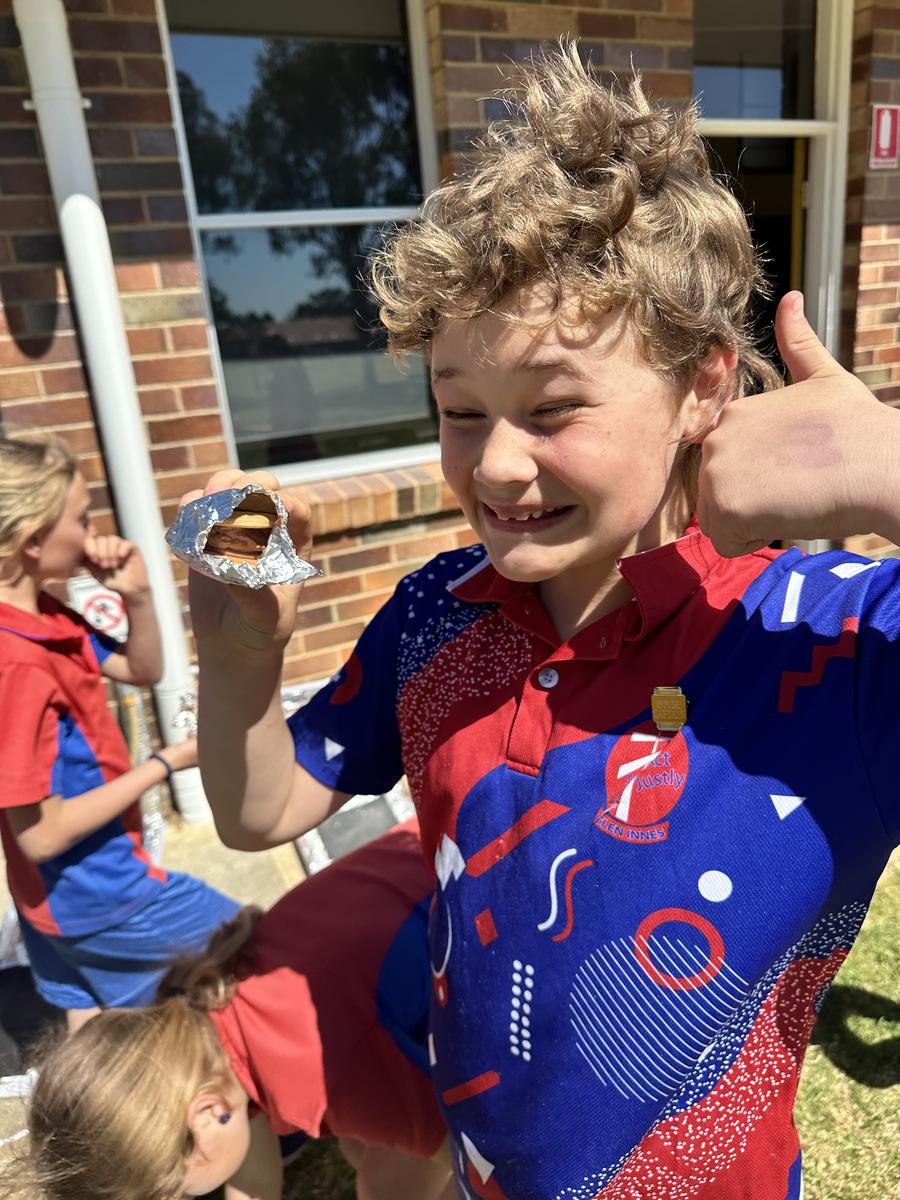
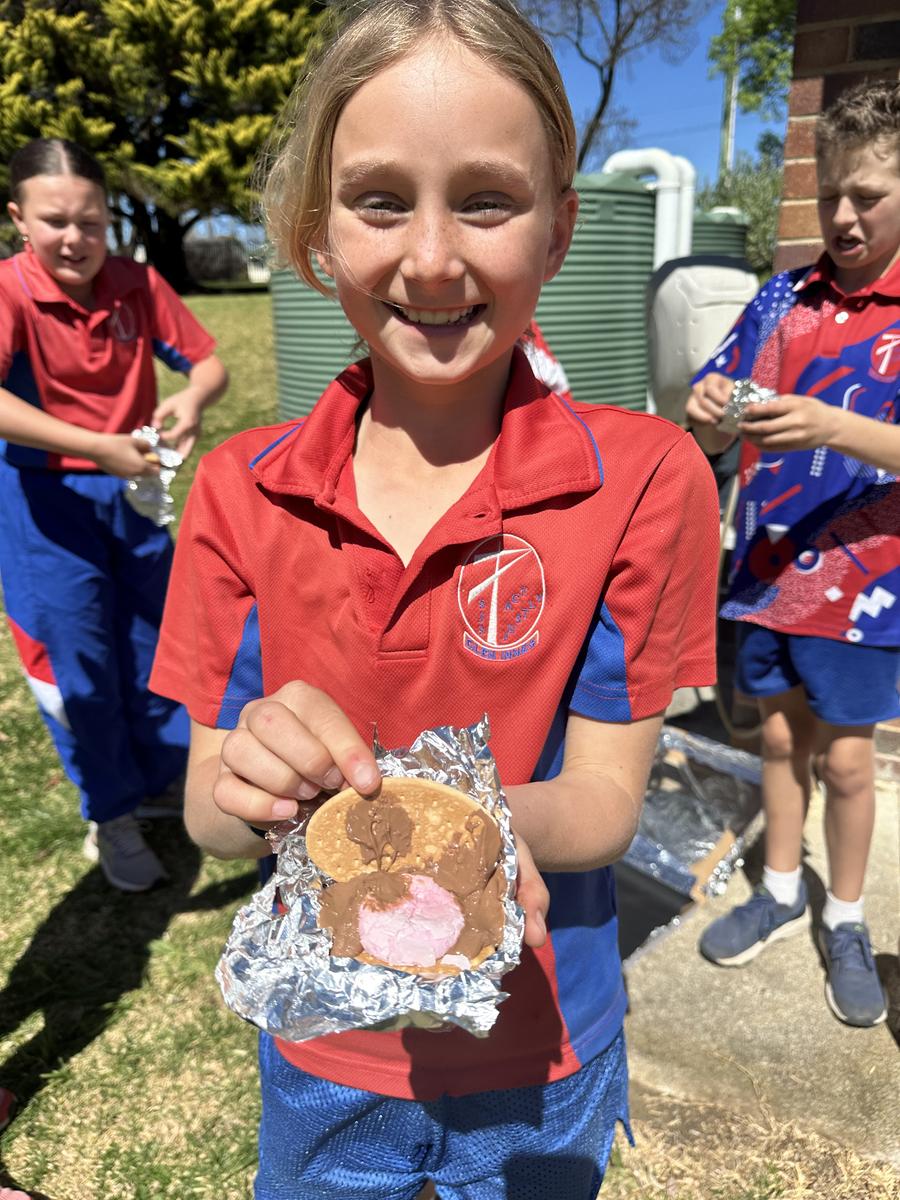
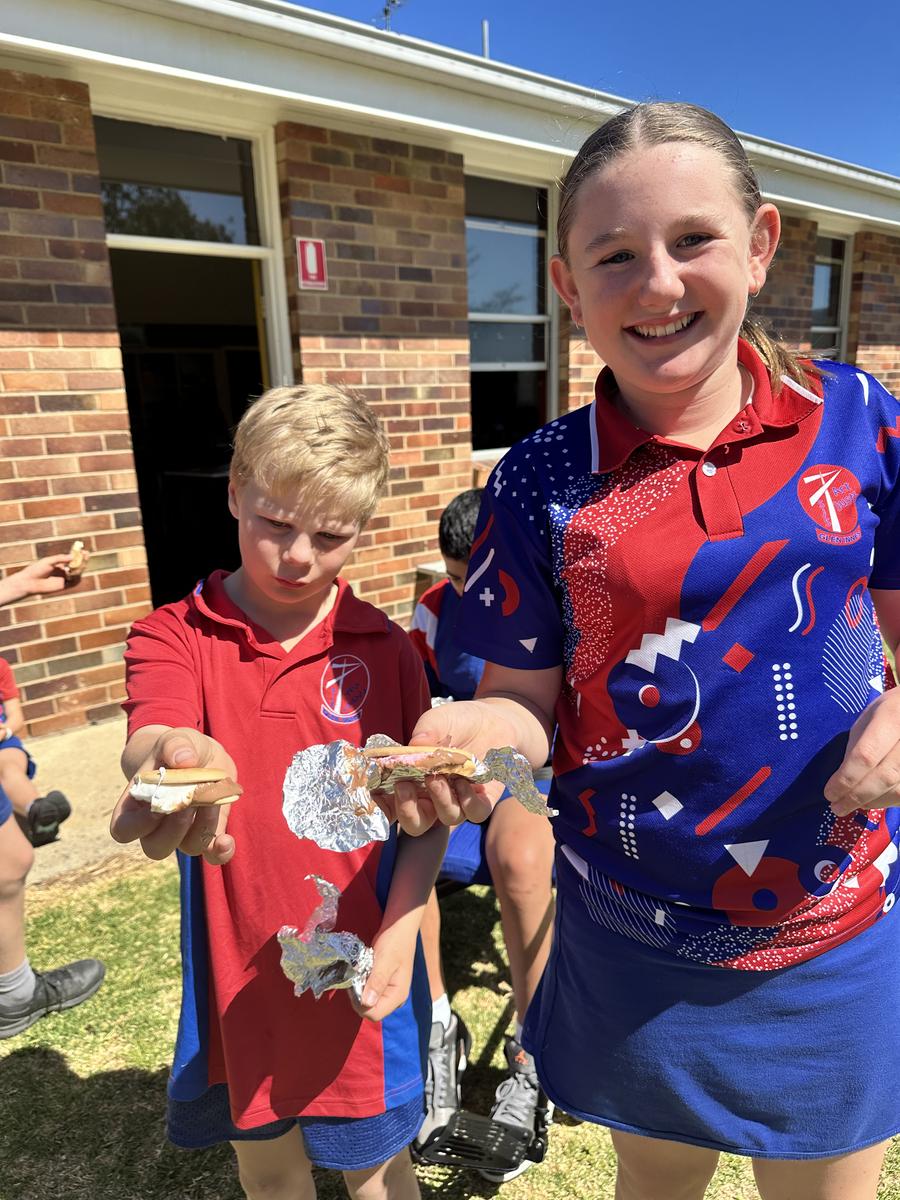
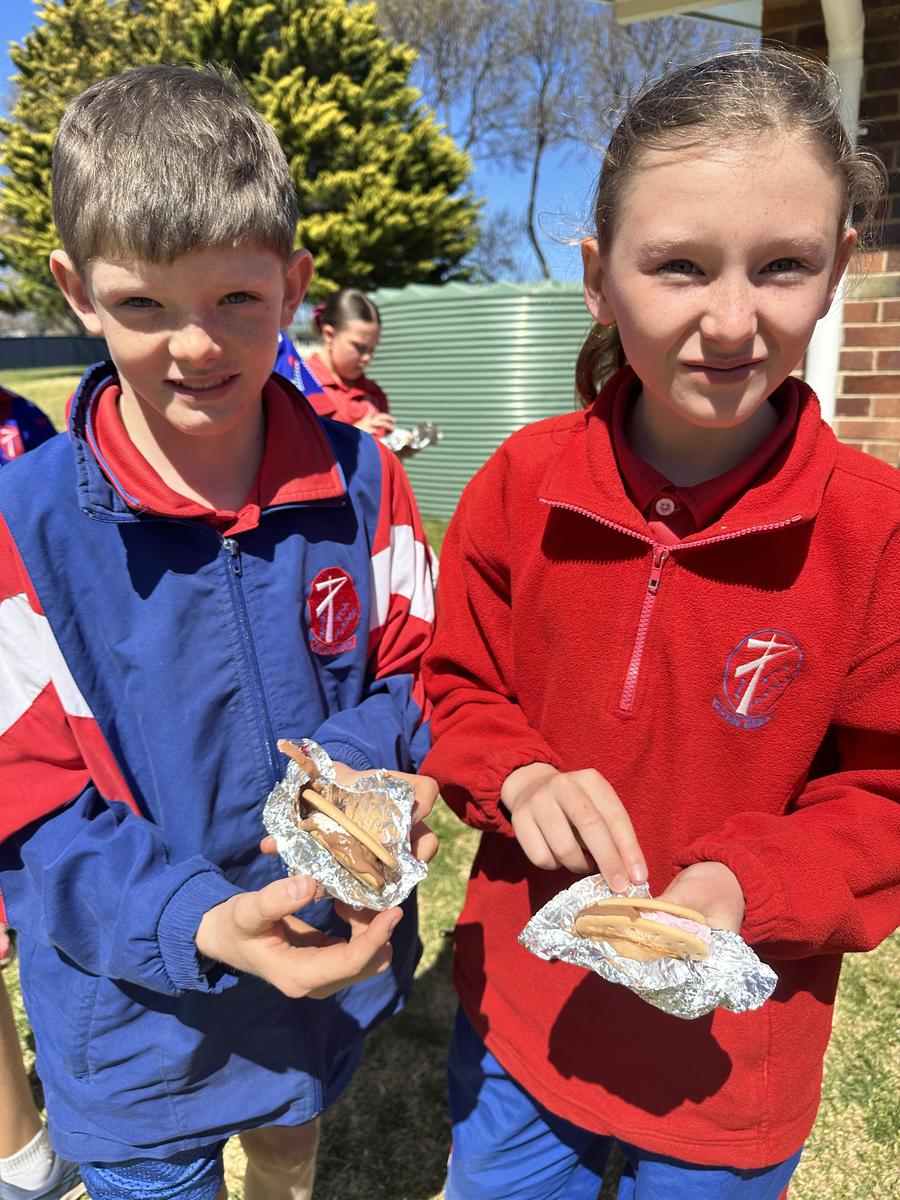
Today we made Solar powered ovens. We cooked s'mores in them. We had a biscuit on the bottom, then chocolate and marshmallows in the middle and then we added the top biscuit. We had to face the box towards the sun and wait for the chocolate and marshmallows to melt. Trust me! Trust the process… because they are a 5 star for me.
Process by Alice Meyer
Materials:
-1 pizza box - Aluminium foil- Black card- Tape - Glue - Stanley knife - Scissors - ruler/stick - Gladwrap - Sun - Biscuits (2 per s'more ) - marshmallows - chocolate
Method:
- Cut a square hole in the roof of the pizza box with the Stanley knife, but make sure to leave one side uncut so it opens up like a door.
- Pop the square hole out.
- Line the whole inside of the box with foil.
- Glue the black on so it only covers the base.
- Glue glad wrap across the hole where you cut out the door so it makes a little window for the sunlight to come through.
- Assemble your s'mores to how you would like and cover them in foil.
- Place them on the black card and close the box.
- To prevent any holes tape up the sides. If there are any holes your experiment won’t work.
- Prop the cut out door up with a stick or a ruler and take outside and face it to the sun.
- Leave it for approximately two hours to cook.
- Once two hours have passed, take your s'mores out of the box.
- Enjoy!
Making S’mores
By Macie Watson
Doesn’t everybody love a hand made sweet treat? Well our class made s’mores at about ten minutes past ten, on Friday morning, the sixth of September.
First we had to make the boxes, which were a pizza box, cling wrap, aluminium foil and black card.
Miss McMeniman first had to use a Stanley Knife to cut the square on the top. But it was only three sides of a square cut, all about six centimetres in. The foil went on the entire inside of the box. After the foil, was the card, it went on the bottom of the box. Then it was time for the cling wrap. It went on the top of the inside of the box.
We then went to find the PERFECT stick. The stick was needed to keep the flap up just enough that the sun would reflect on it then into the box to cook the s’mores.
After our box was prepared, we got two Arnott's milk biscuit, two pieces of chocolate and a marshmallow or two jelly lollies if we didn’t like marshmallows. After we put our s’mores together, we put clean aluminium foil around them then carefully placed them into our ovens (the box). We were in groups of four so the box held four s’mores.
We then put them into the sun and after about two hours (after first lunch) of waiting, we FINALLY got to eat our DELICIOUS, very warm, solar - powered s’mores! Since I don’t like marshmallows, I got jelly lollies. When I opened mine, the chocolate was EVERYWHERE! I had melted chocolate and squishy lollies wrapped in warm foil and two biscuits just, well, just there! It was a HUGE mess. But eventually I got all of the yummy, gooeyness into my belly. All of the hard work paid off because they were awesome.
Stage 3 Space Games
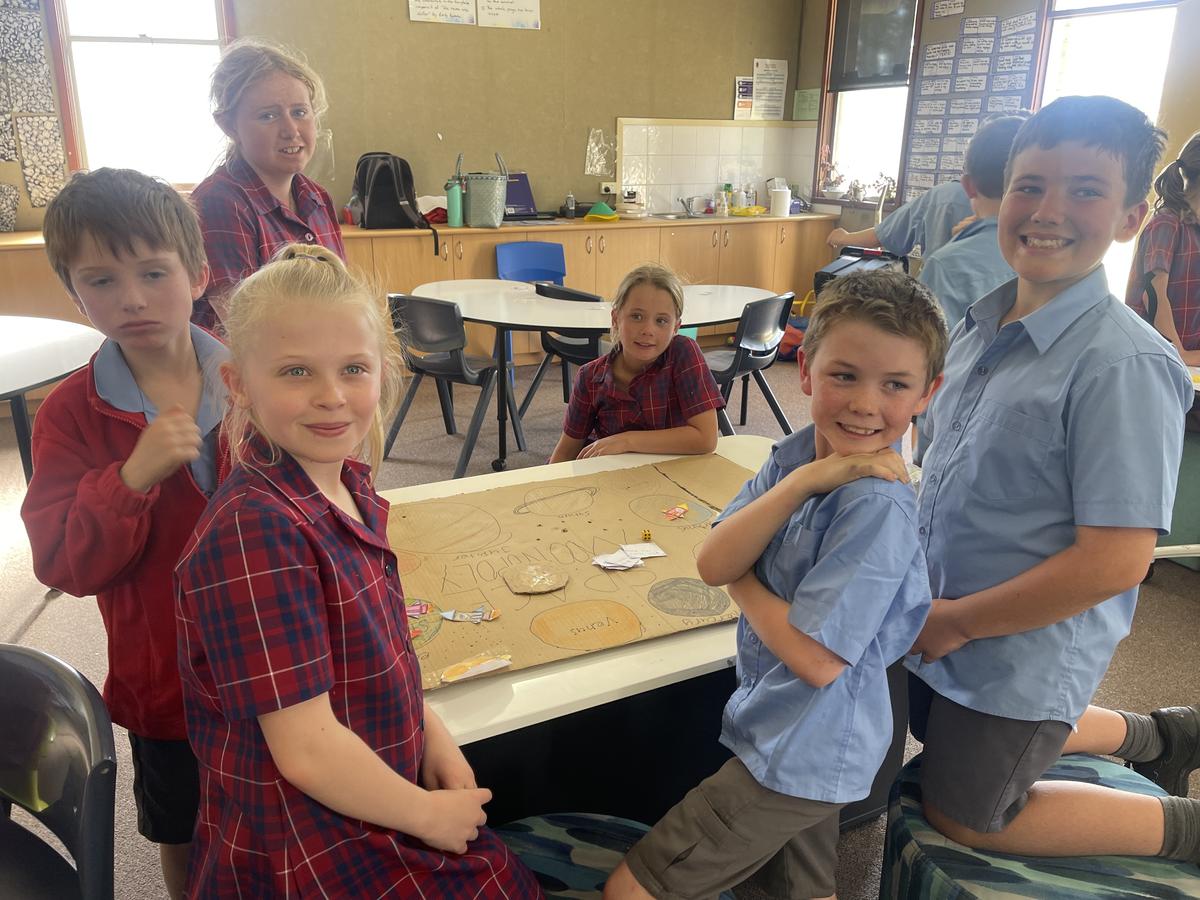
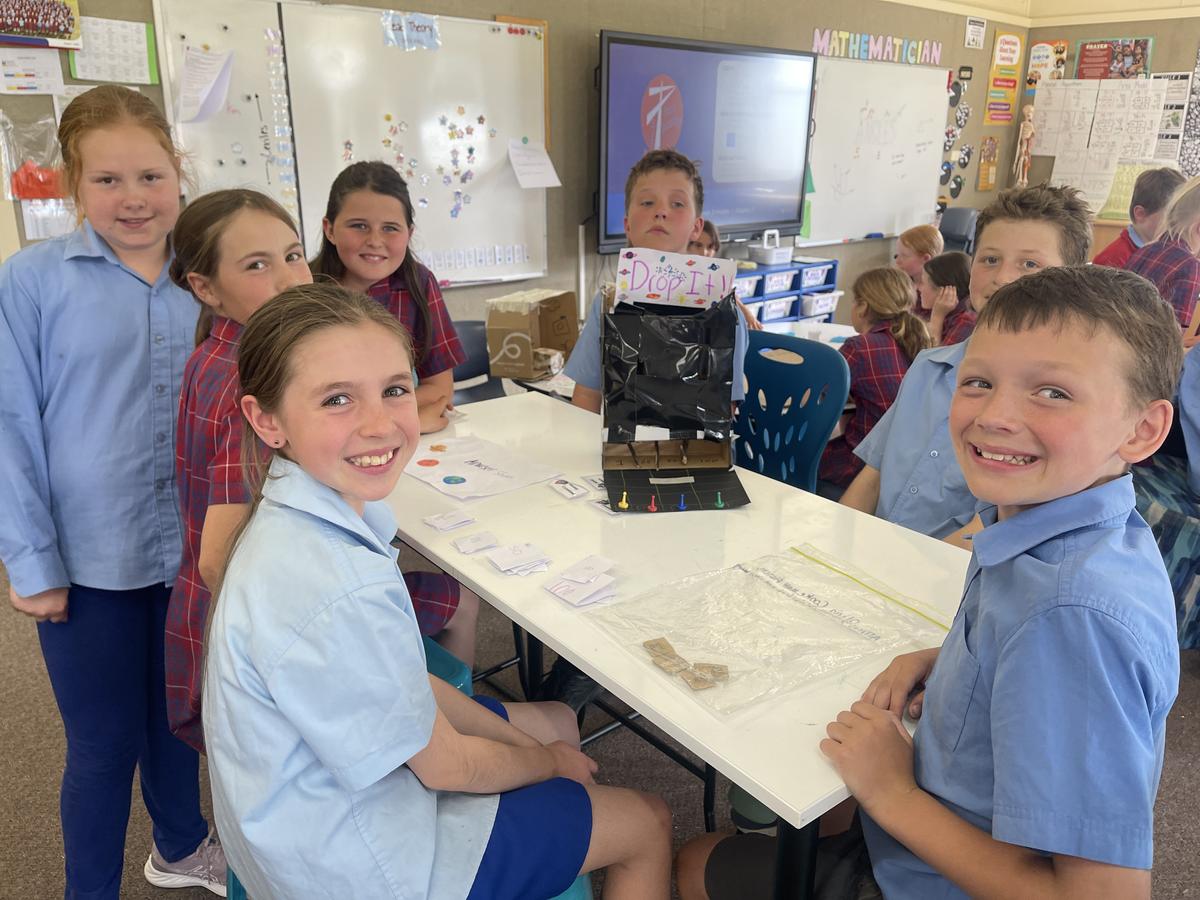
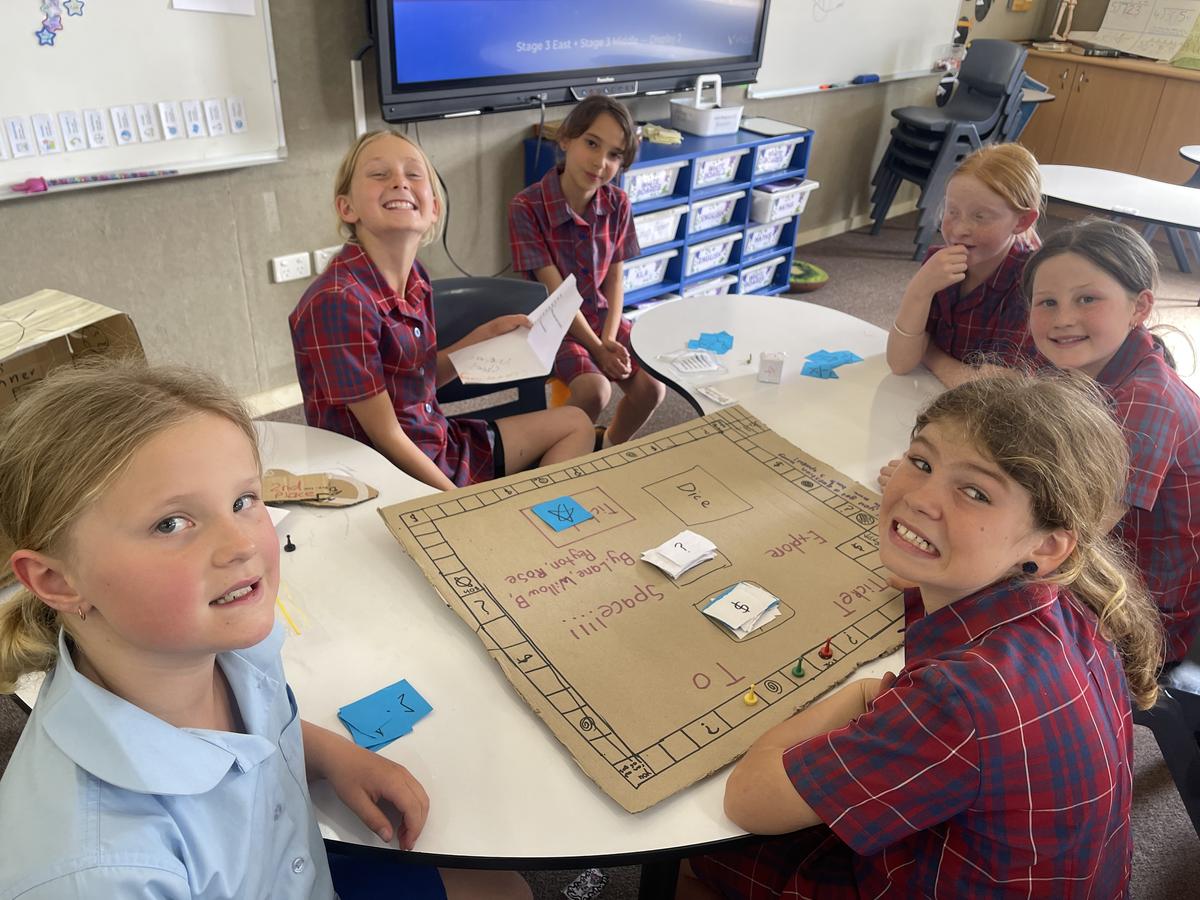
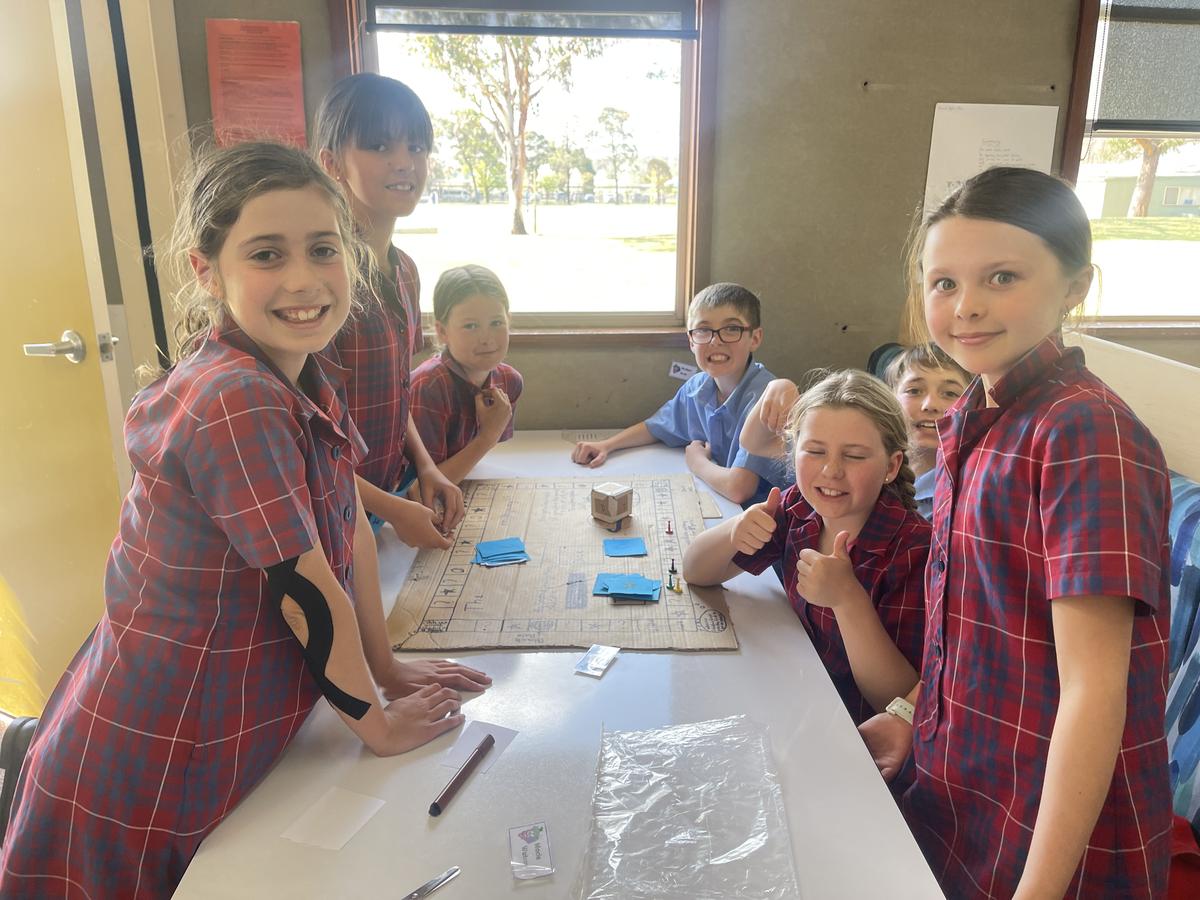
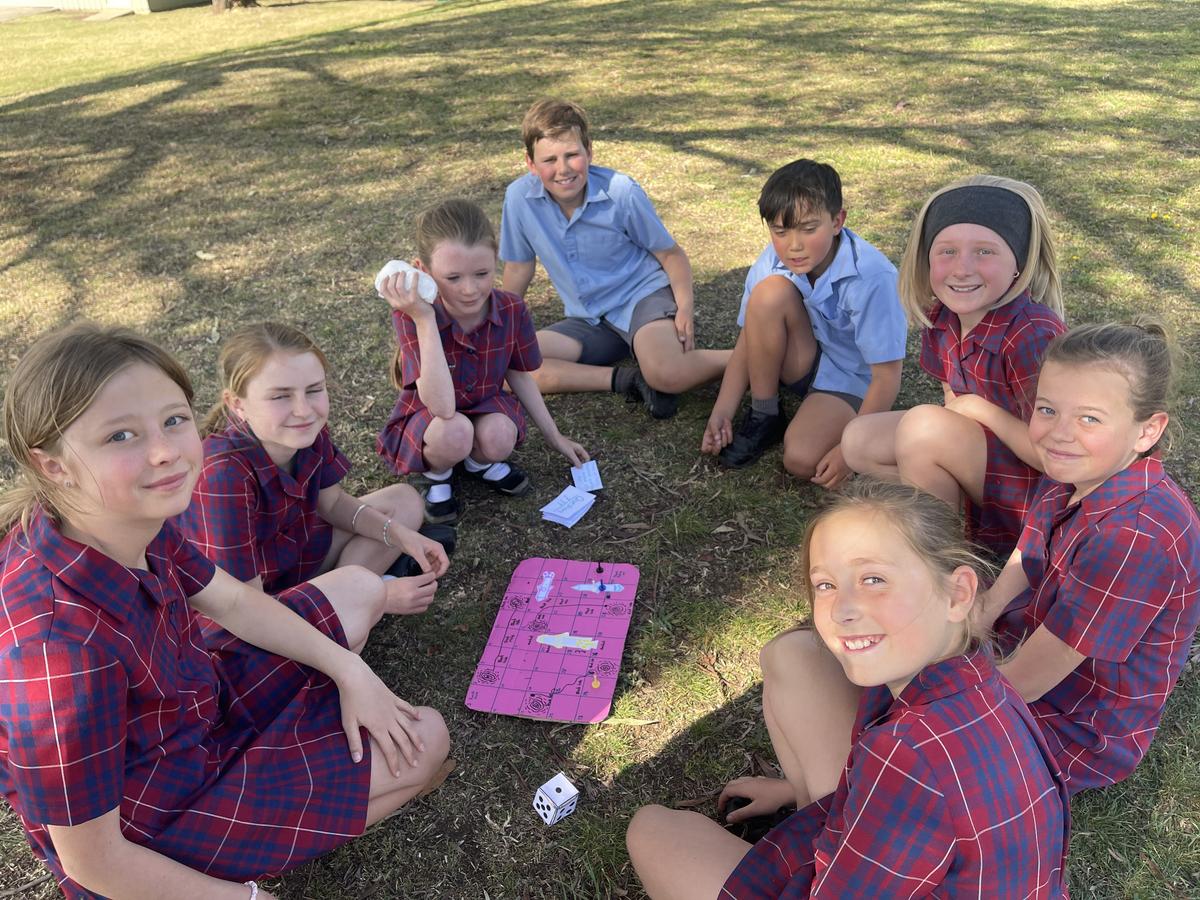
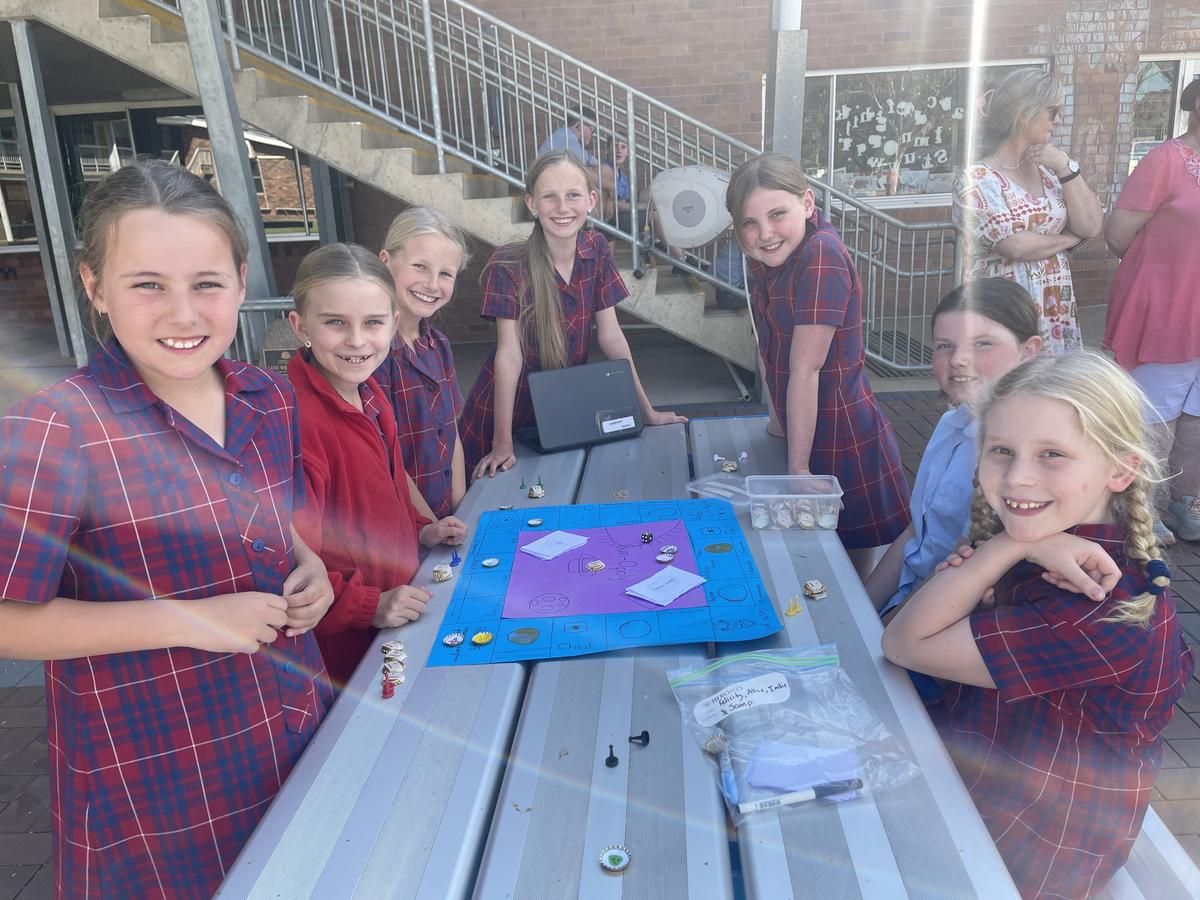
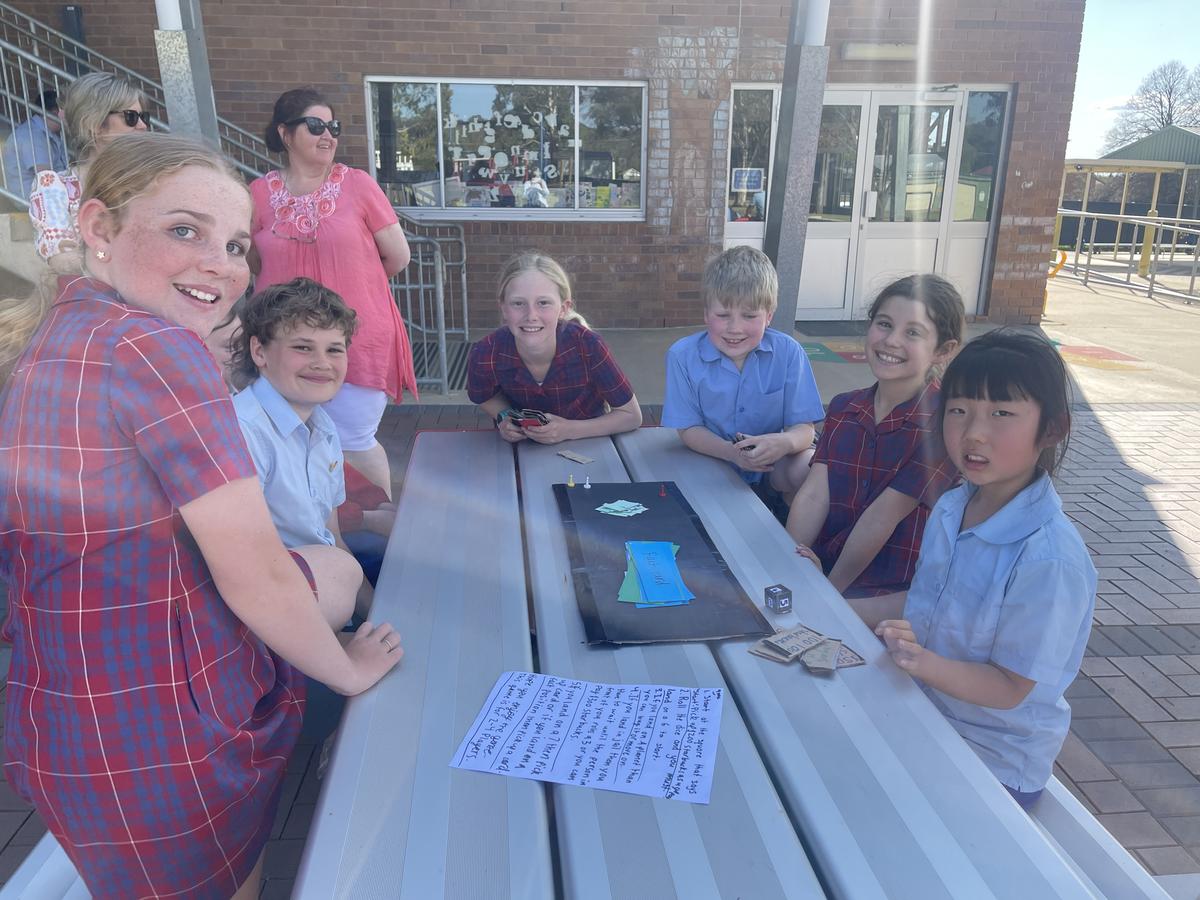
In Stage 3 we have been learning about Space. To consolidate our learning we made board games. Once they were finished we had the privilege of sharing them with Stage 2. Thank you Stage 2 for joining us for a fun afternoon!

