Spotlight on the Classroom
SPOTLIGHT ON 3-6
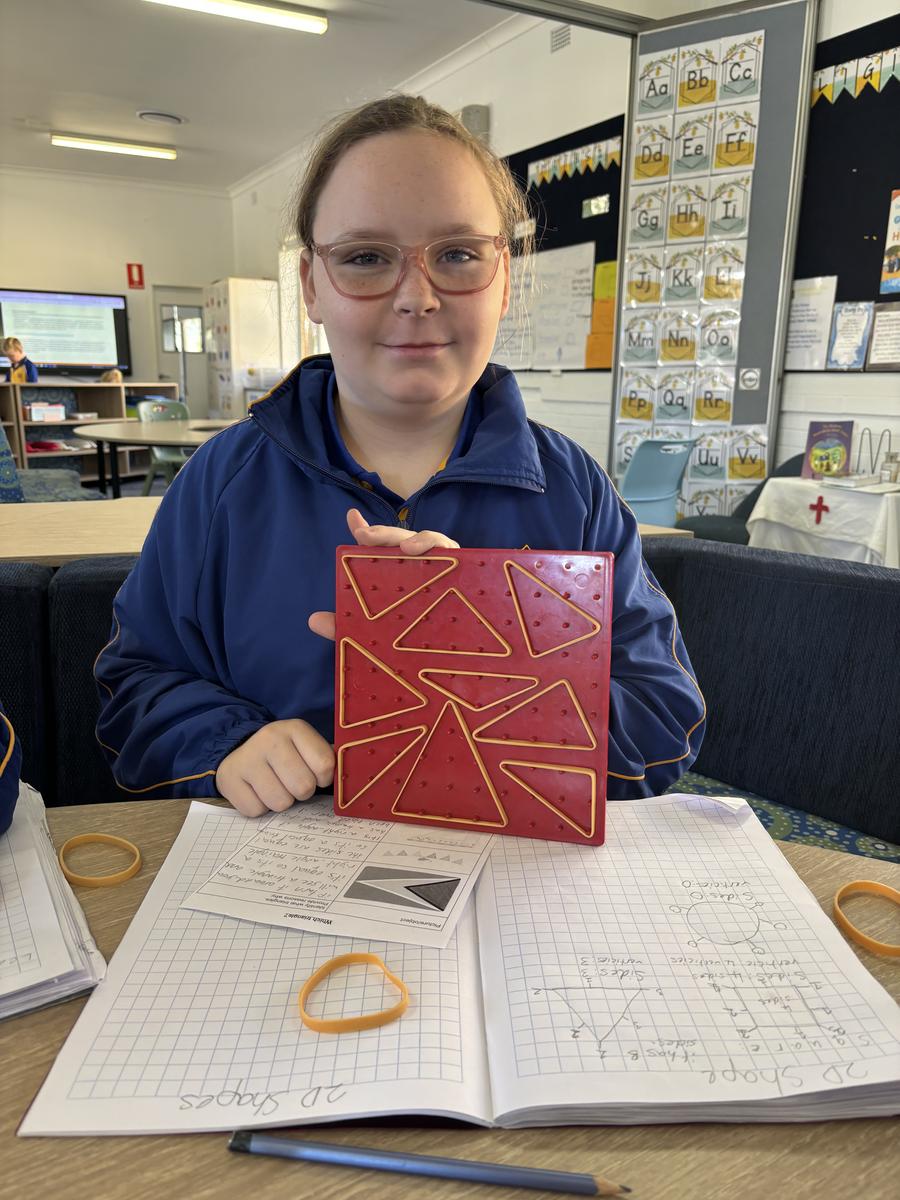
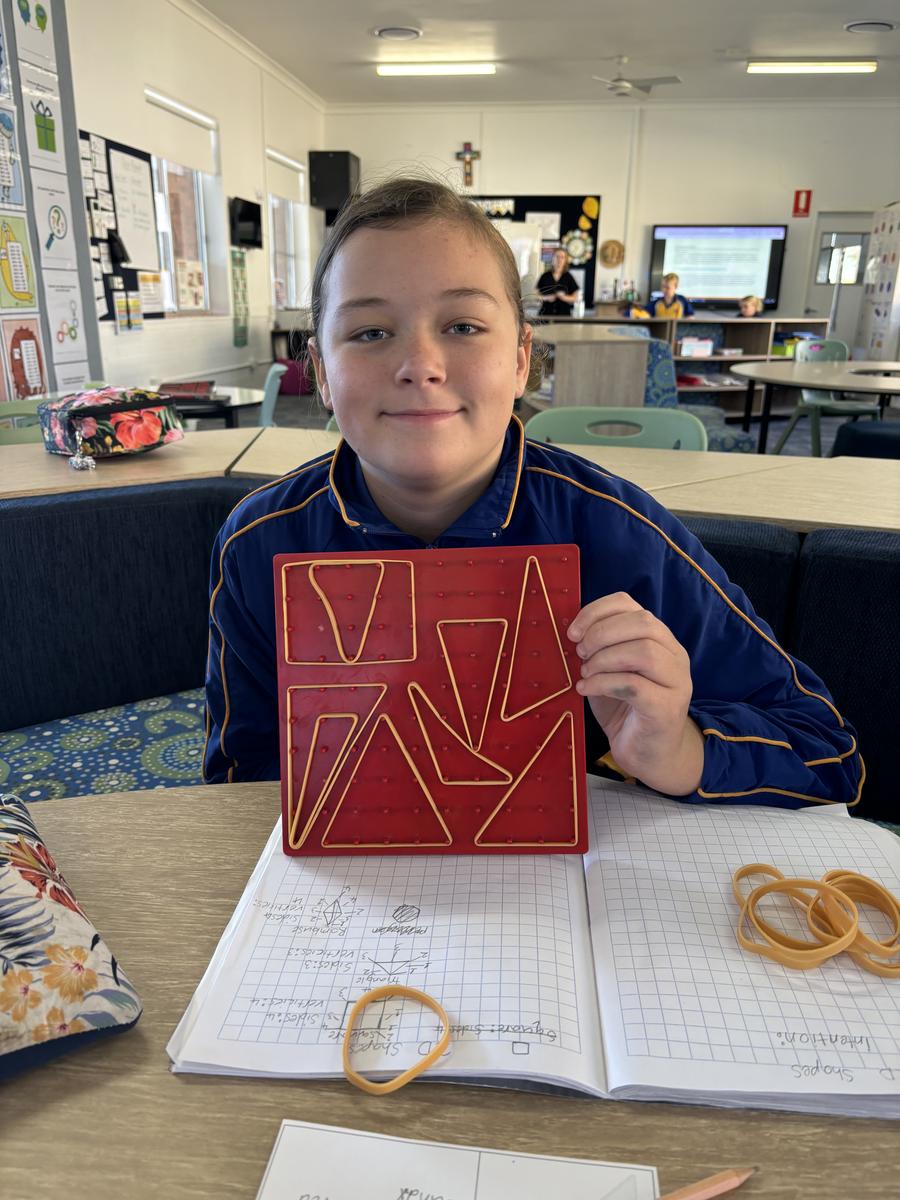
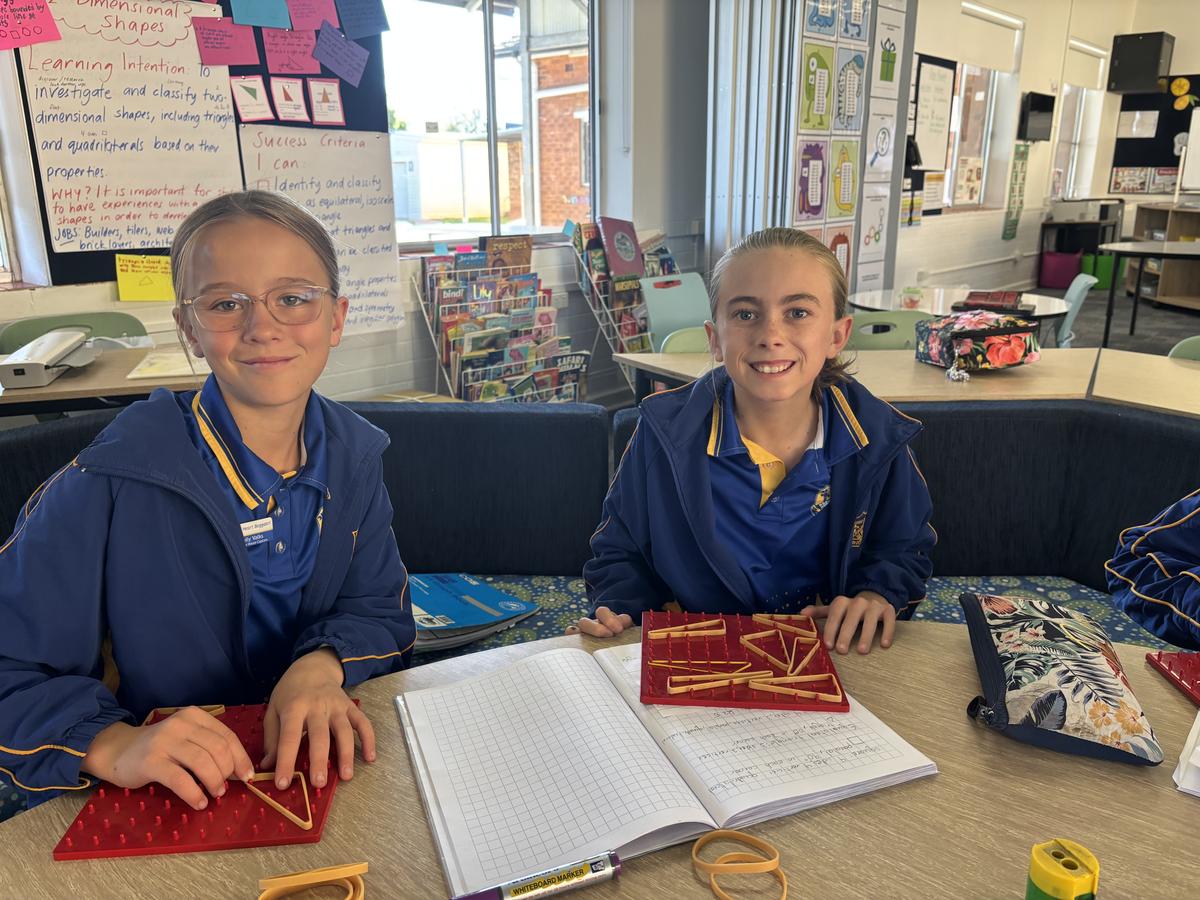
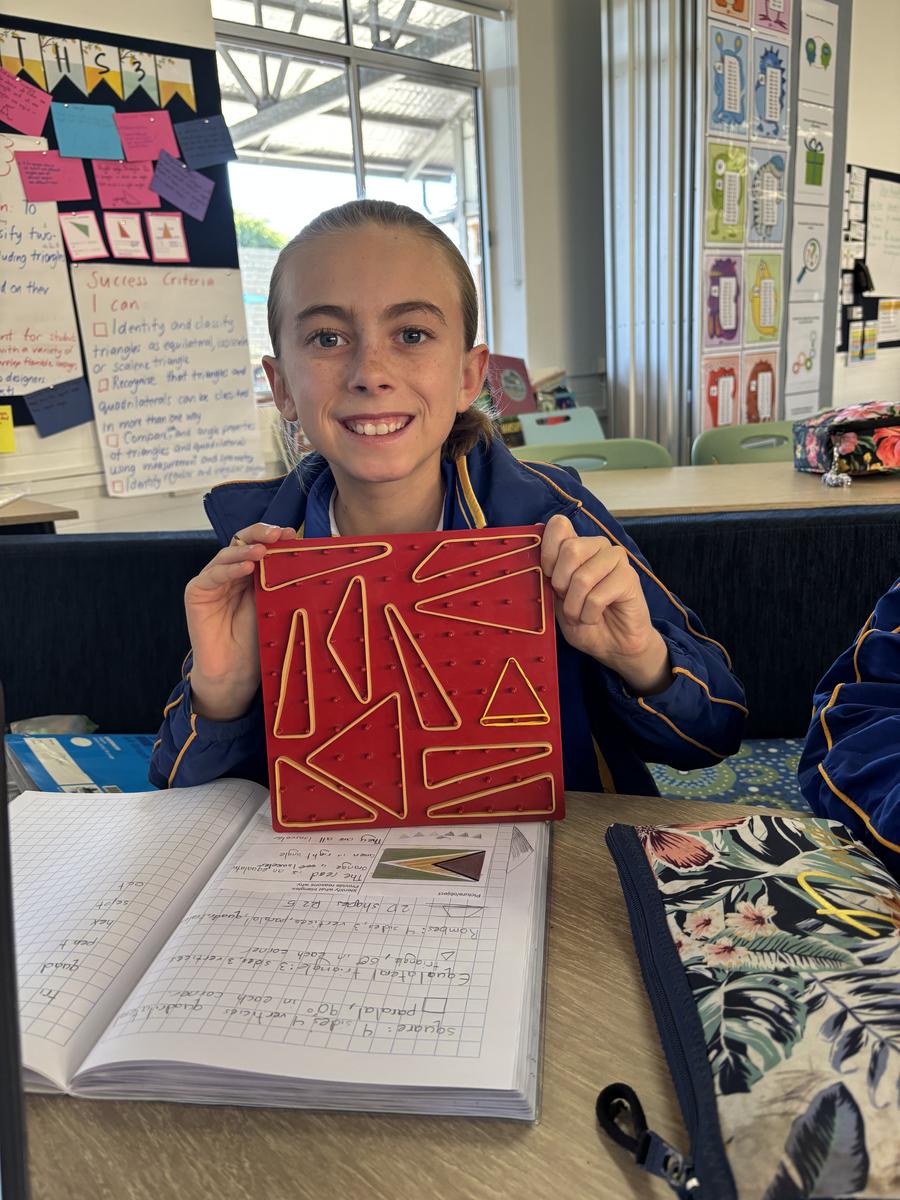
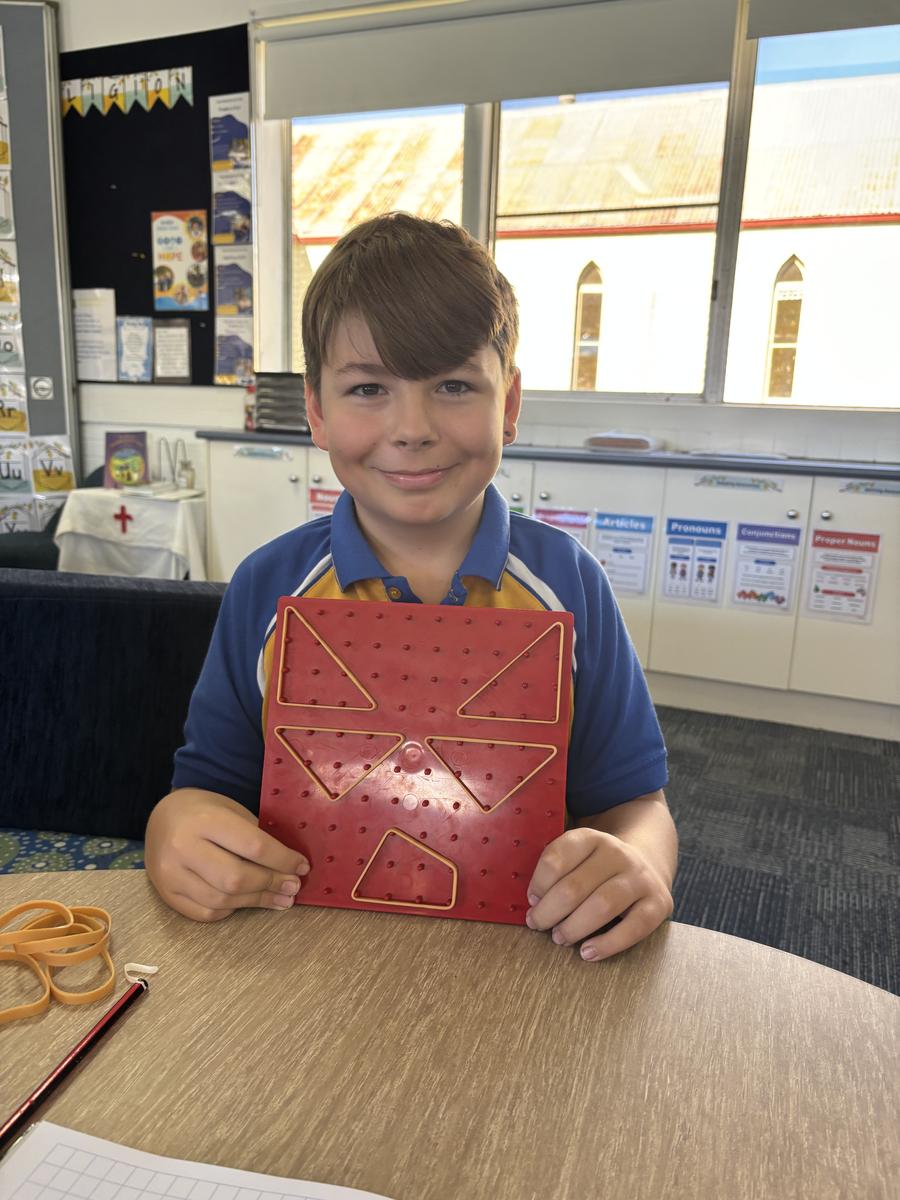
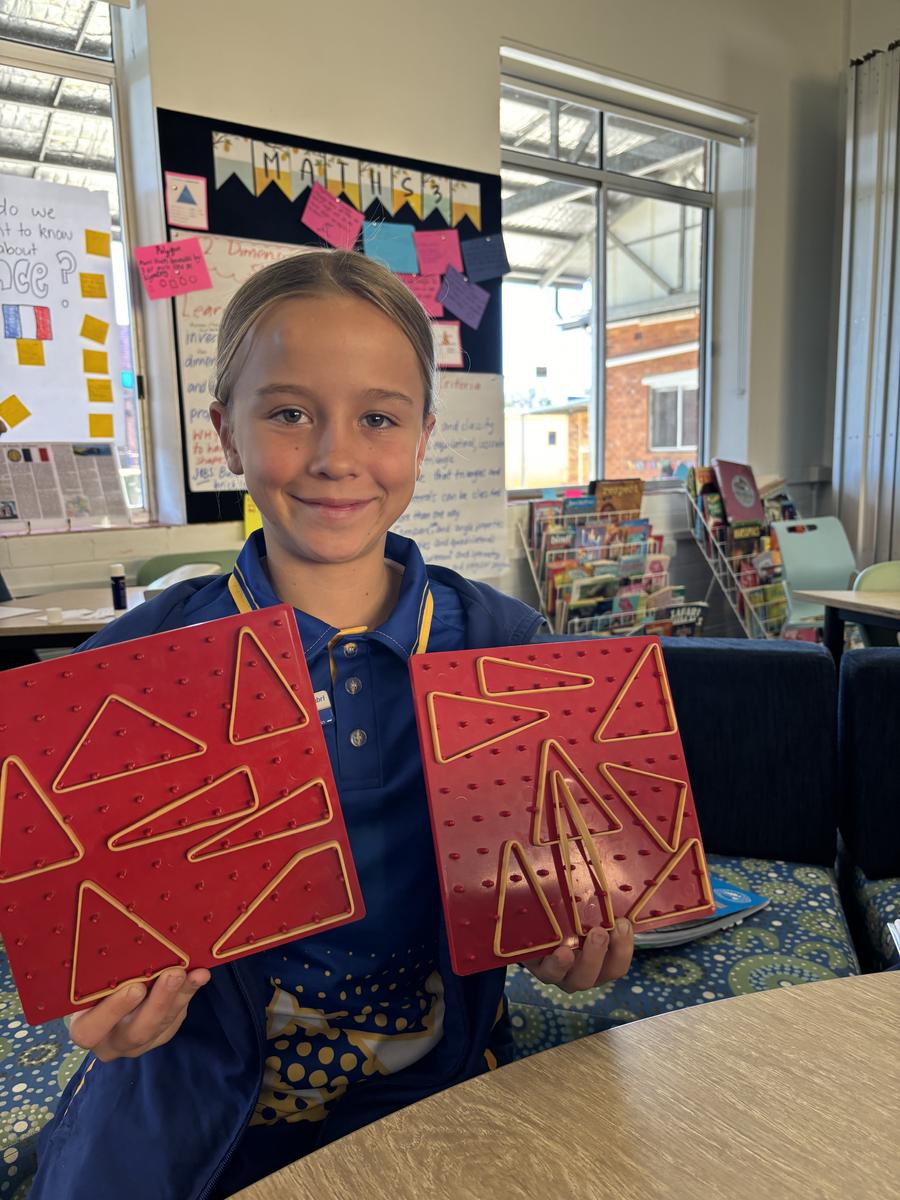
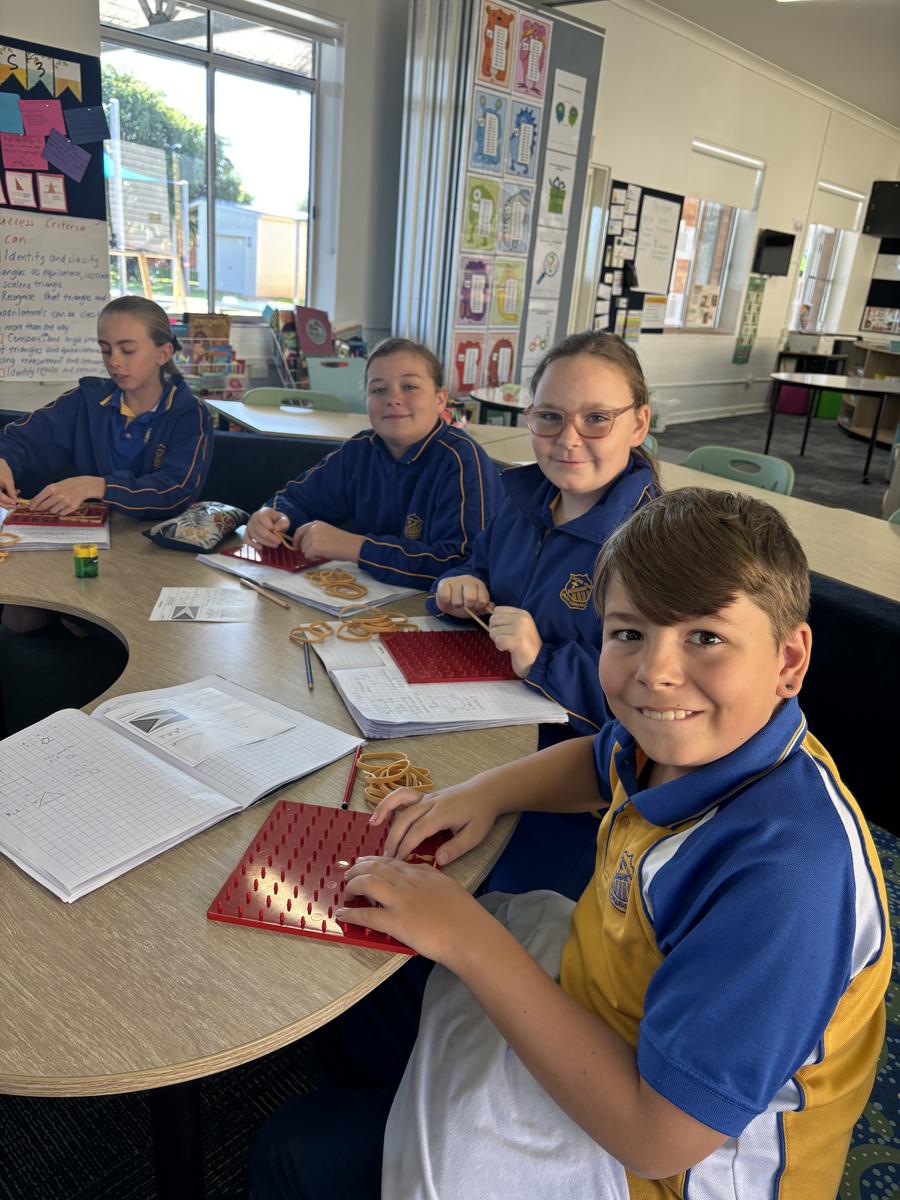
We are now in our second week of 2 Dimensional Shapes in Primary Years 3-6. One of the interesting concepts we have been discussing is the name of a shape being referred to as a diamond. The term 'diamond' is often used in everyday contexts when describing quadrilaterals with four equal sides. However, 'diamond' is not the correct geometrical term to name such quadrilaterals; the correct term is 'rhombus'. We have been letting children know they need to “ditch the diamond” and start to name this quadrilateral a rhombus.
Why do we need to learn about 2 Dimensional Shapes? It is important for students to have experiences with a variety of shapes in order to develop flexible mental images. Students need to be able to recognise shapes presented in different orientations.
Geometry can make other areas of mathematics more accessible. For example: algebra
Who uses 2 Dimensional Shapes in the real world? Builders, tilers, architects, graphic designers and web designers routinely use geometric ideas in their work. Classifying such geometric objects and studying their properties are very important. Geometry also has many applications in art.
Stage 3
Tips for parents:
Point to various objects in and around the home and ask your child to tell you what shapes make up that object and, more importantly, how they know that it is that shape.
For example, if you have stairs in your house, you can ask your child, "what shapes make up the stairs?" Hopefully they will be able to identify rectangles. Ask them how they know that the shape is a rectangle and support them to identify that it has four sides with two sets of equal length. If you want to extend their understanding at this point, you can ask them what other shapes have four sides and then get them to recognise what makes these shapes different to a rectangle. For example, they may recognise that a square also has four sides or a parallelogram.
Picture books are another great source of shapes for children to identify. During your regular reading sessions, build in conversation around the shapes used in the pictures encouraging the use of the more technical language of sides and angles and number.
Hands-On Exploration: Provide materials for your child to physically manipulate shapes, encouraging them to cut, translate, reflect, and rotate to create new configurations.
Real-Life Examples: Relate transformations to daily life, like moving objects on a table (translation), seeing reflections in a mirror (reflection), or observing clock hands (rotating).
Stage 2
Tips for parents:
- The main way a parent can add to the experience of tessellating shapes is asking gentle questions along the way. Prompts such as "I notice that you're making a pattern. What can you tell me about your pattern?" are helpful in getting children to describe their thinking. Tessellating tiles come with a deep mathematical structure. Kids notice that structure through their play. There's not really much more needed in order for children to have a productive experience playing with them.
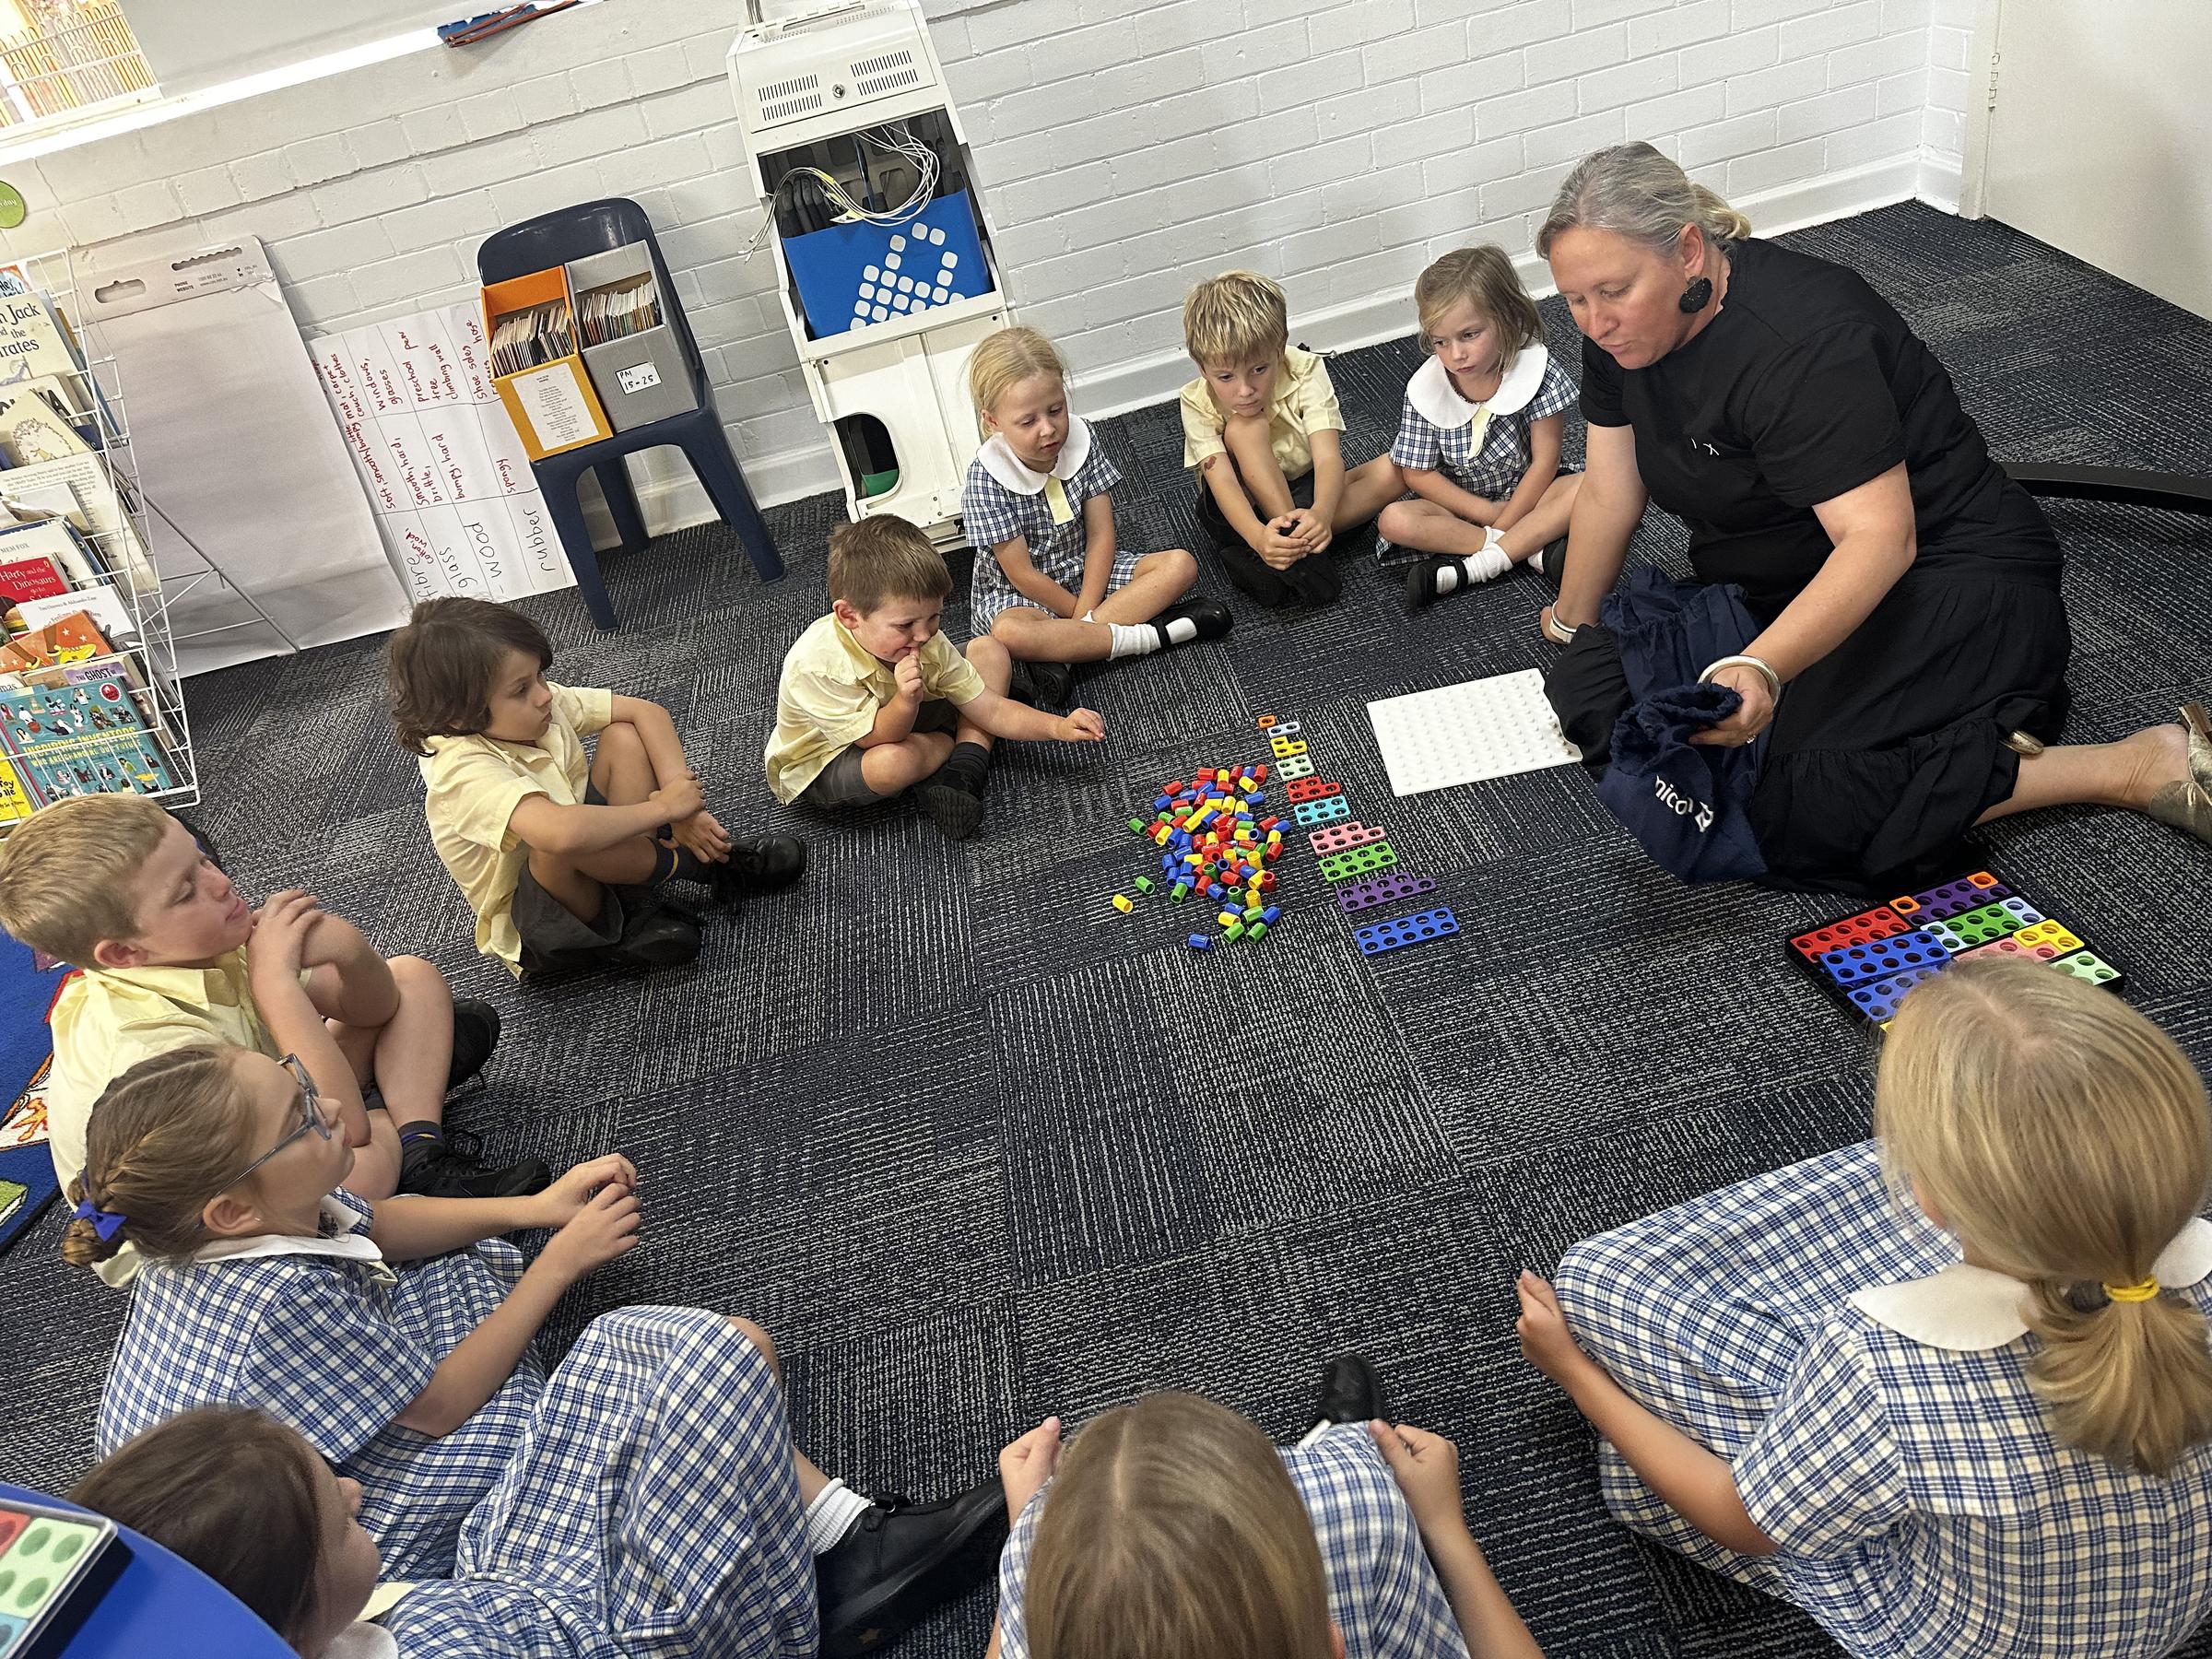
- Encourage your child to explore geometric concepts through hands-on activities. Provide various two-dimensional shapes (cutouts or physical objects) and let them combine, split, and arrange the shapes to form new designs. This tactile experience enhances understanding.
- Relate geometric concepts to real-world scenarios. Point out instances where combining shapes is used in art, architecture, or everyday objects. For example, discuss how tessellation is seen in floor tiles or how rotation is applied in design elements.
- Engage in math talk with your child. Use descriptive language when discussing shapes and their arrangements. Encourage them to visualize the transformations, such as rotation or reflection, by asking questions like "What happens when you rotate a square?" This enhances both language skills and conceptual understanding.
