Art
Art
Learning for Art will be timetabled every Tuesday for 25 minutes across all year levels.
Prep
Task: This week we are going to continue developing our fine motor skills with another collage. This time we are going to use folding skills to create snowflakes! How fun. You will need a couple of pieces of square coloured paper and another piece of paper to glue your snowflakes on to. You will need scissors and glue.
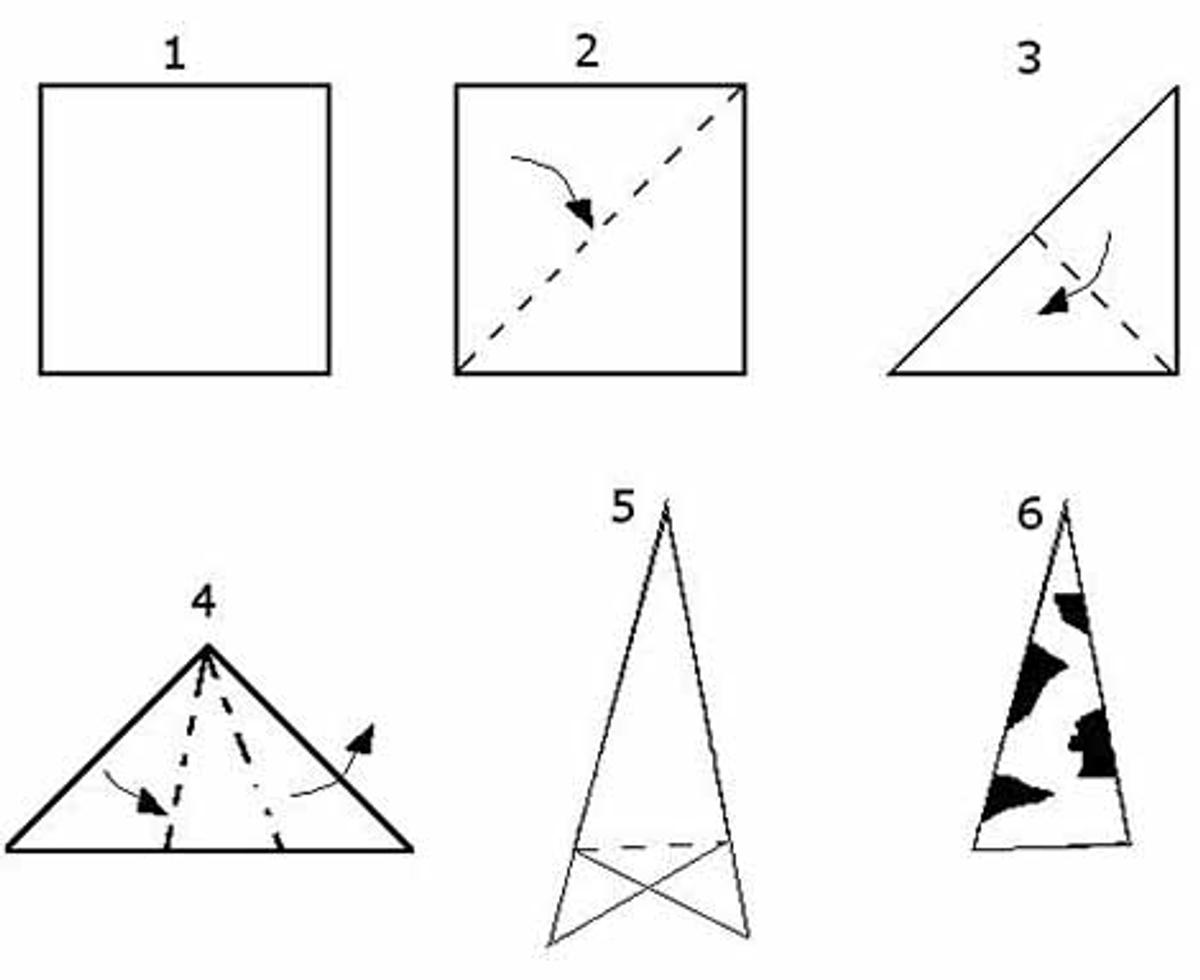
Follow the photo instructions below to make your snowflake.
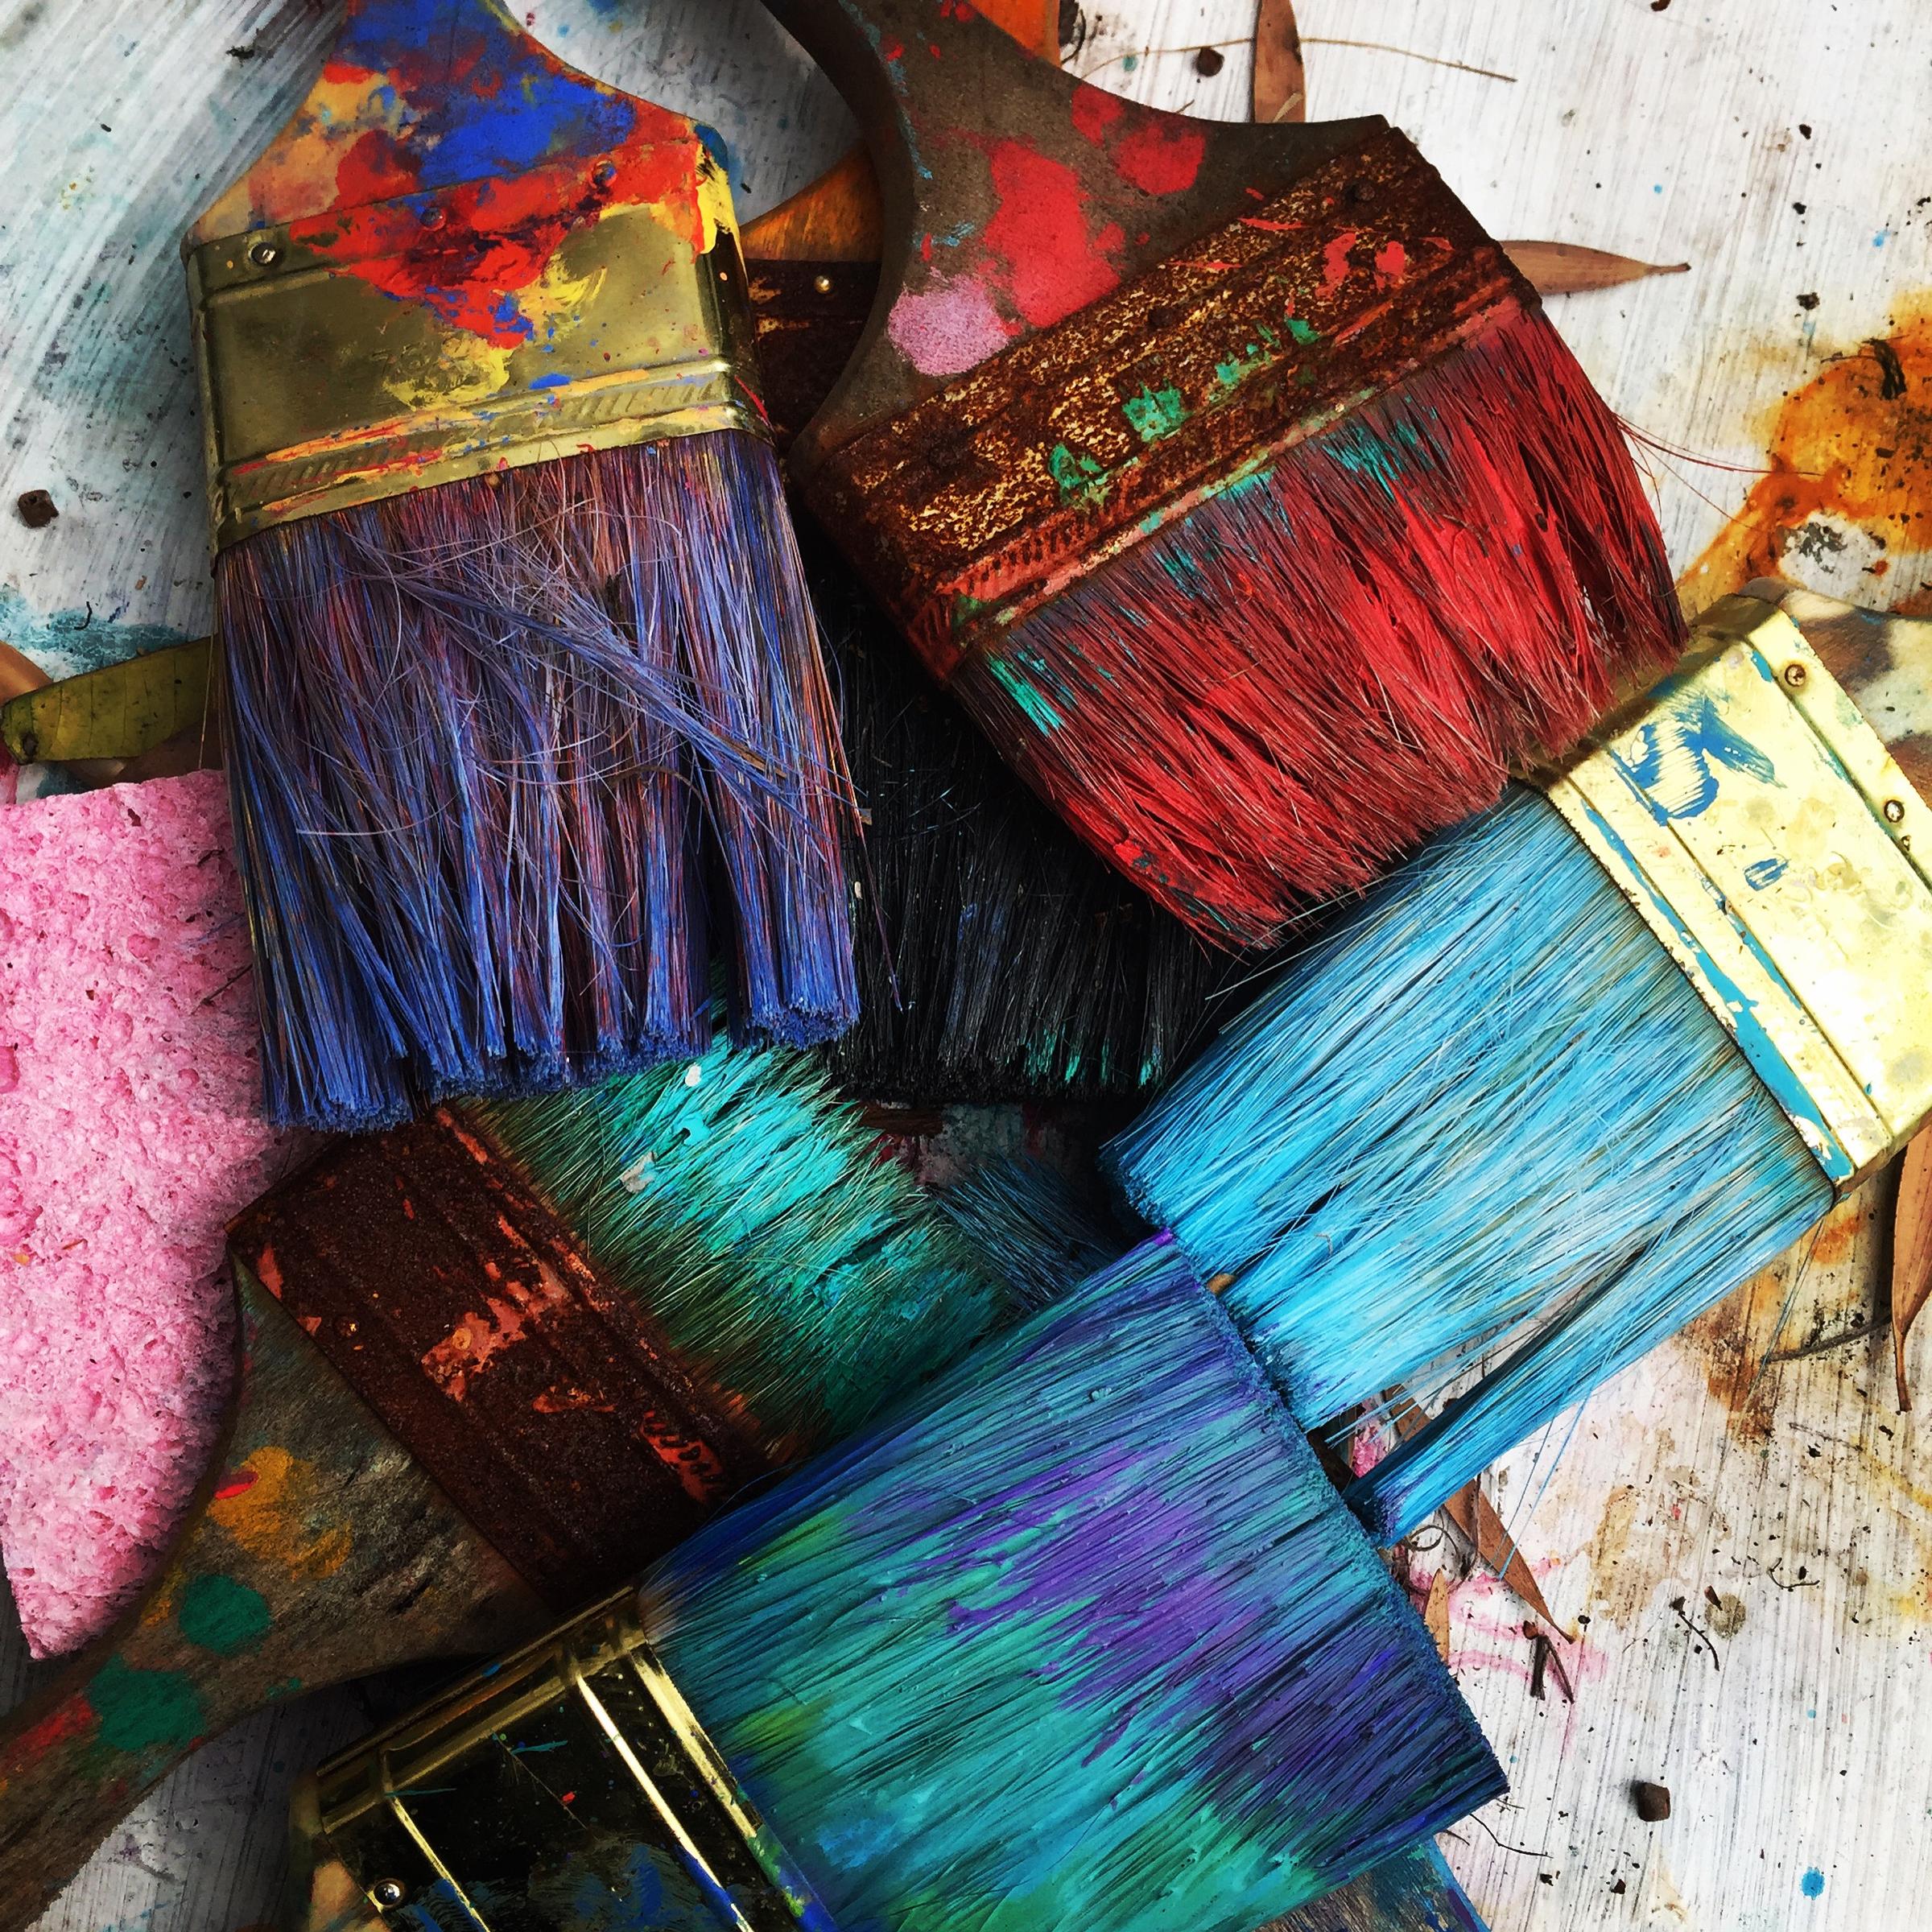
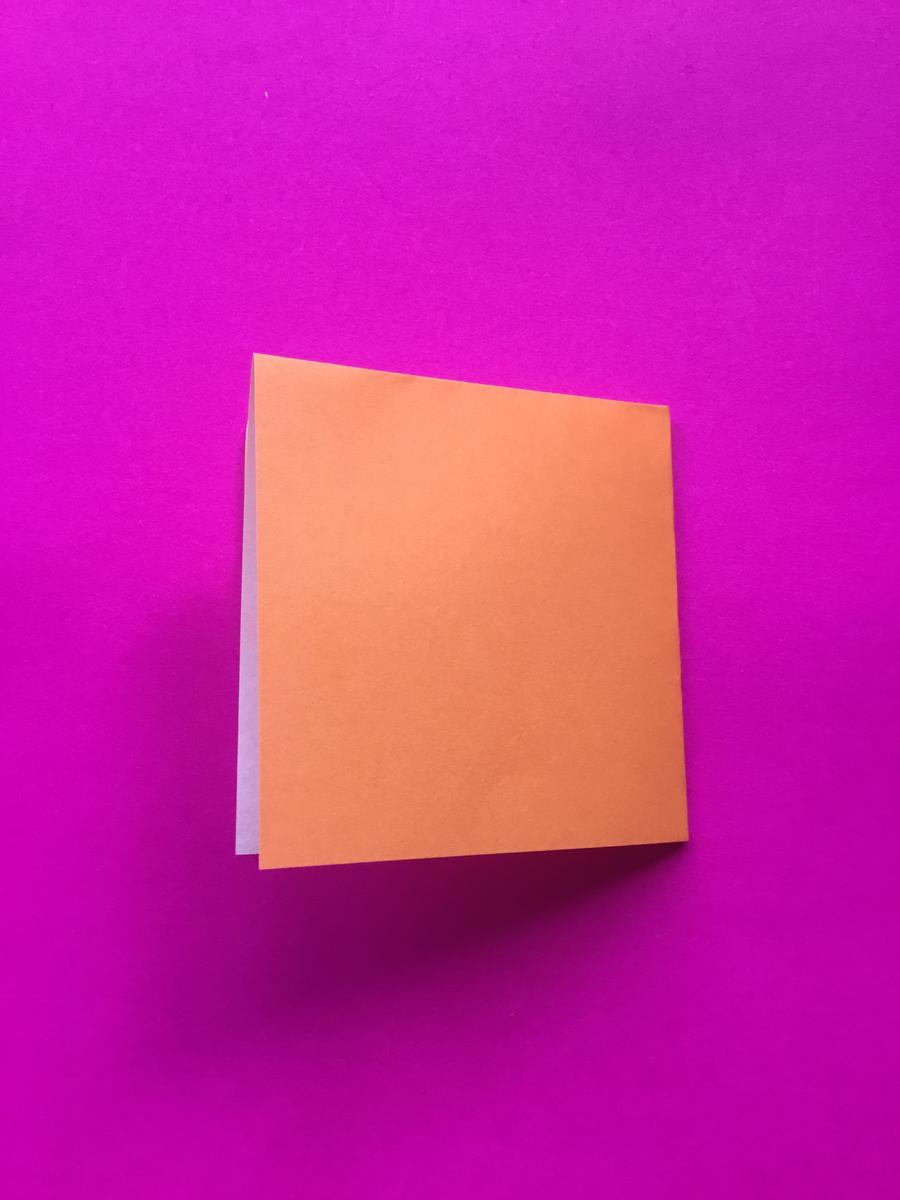
Step 1 - square paper
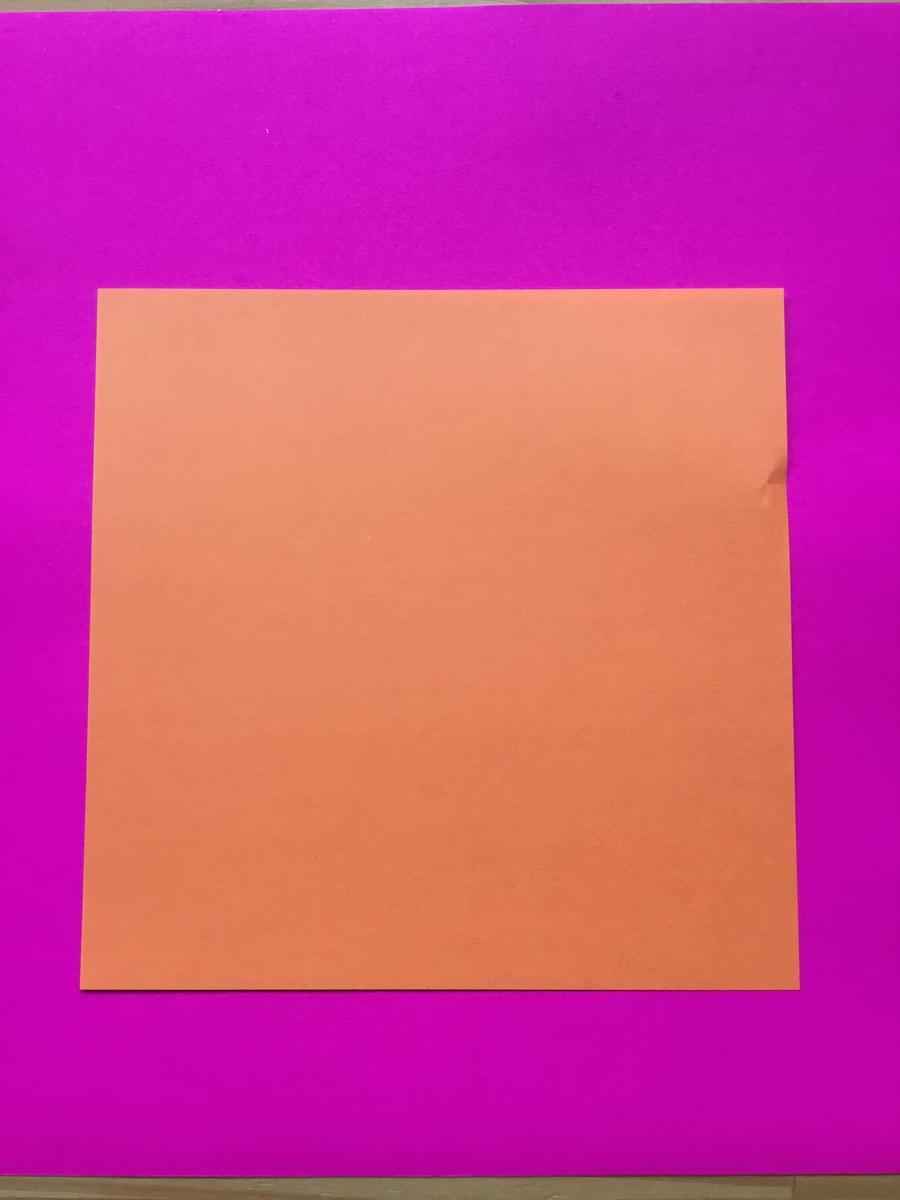
Step 2 - Fold in half
Step 3 - Fold in half again
Step 1 - square paper
Step 2 - Fold in half
Step 3 - Fold in half again

Step 4 - Fold diagonally in h alf
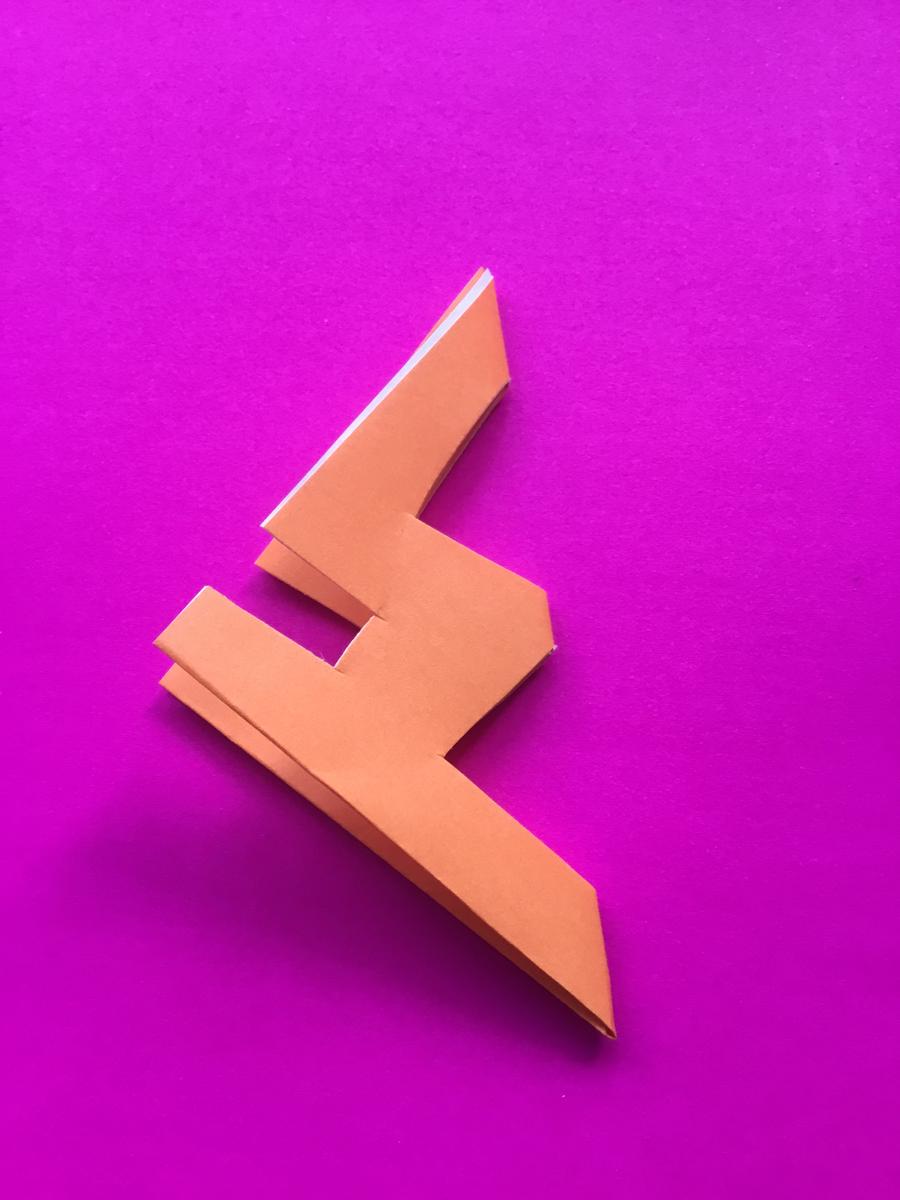
Step 5 - Cut holes in shape
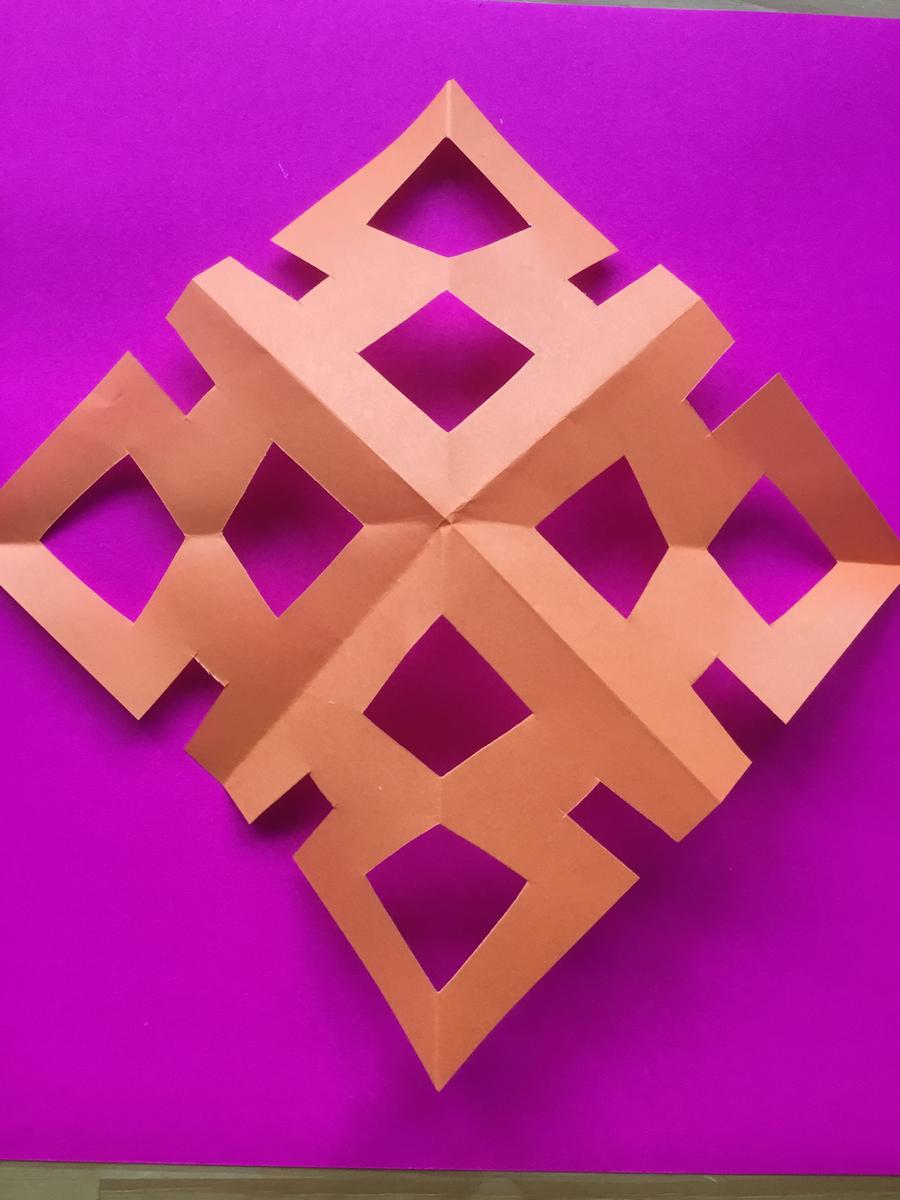
Step 6 - Open snowflake
Step 4 - Fold diagonally in h alf
Step 5 - Cut holes in shape
Step 6 - Open snowflake
For parents: Encourage your child to match the corners when they fold and press down the edge. They may need some assistance with the task, but remember this is about developing their fine motor skills, so give them as much independence as you can. It doesn’t matter if they accidentally chop their snowflake up by mistake, give them another go!
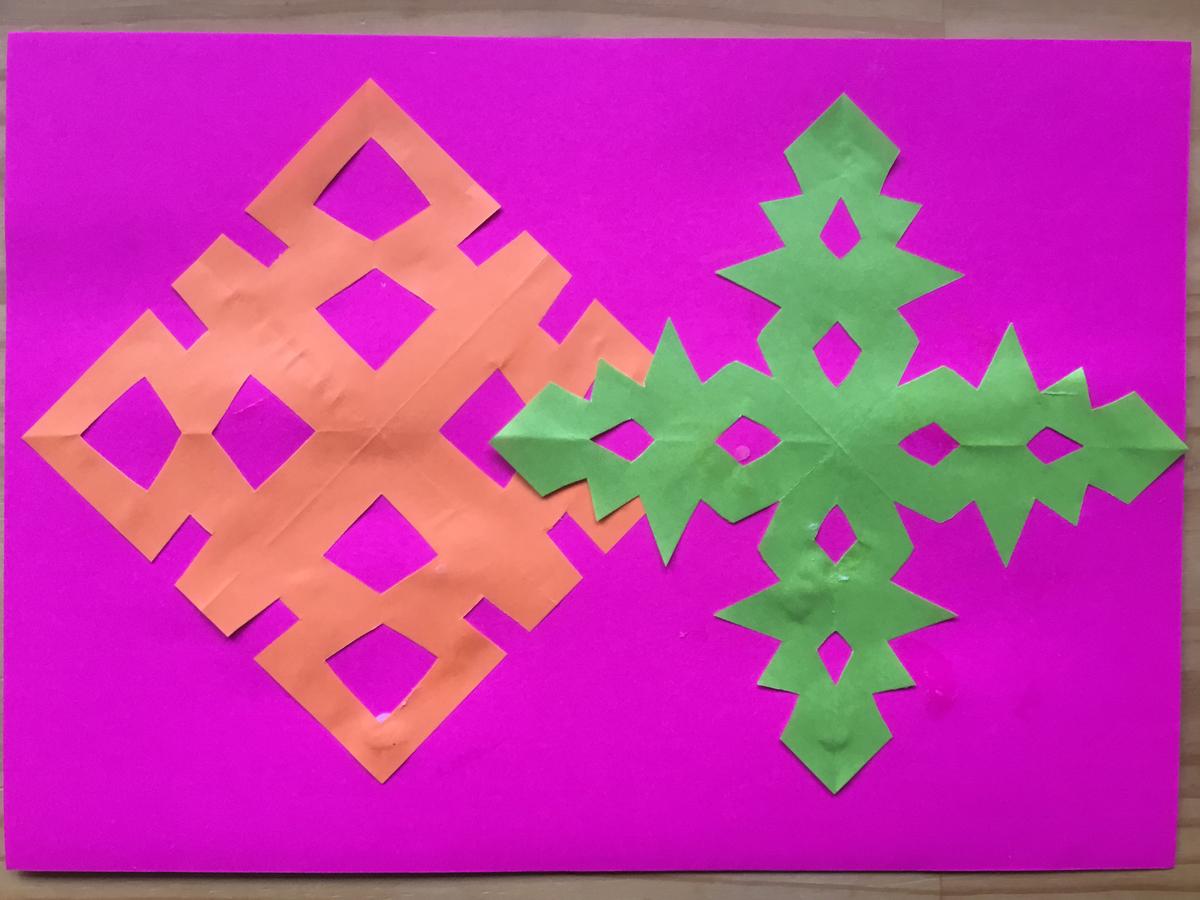
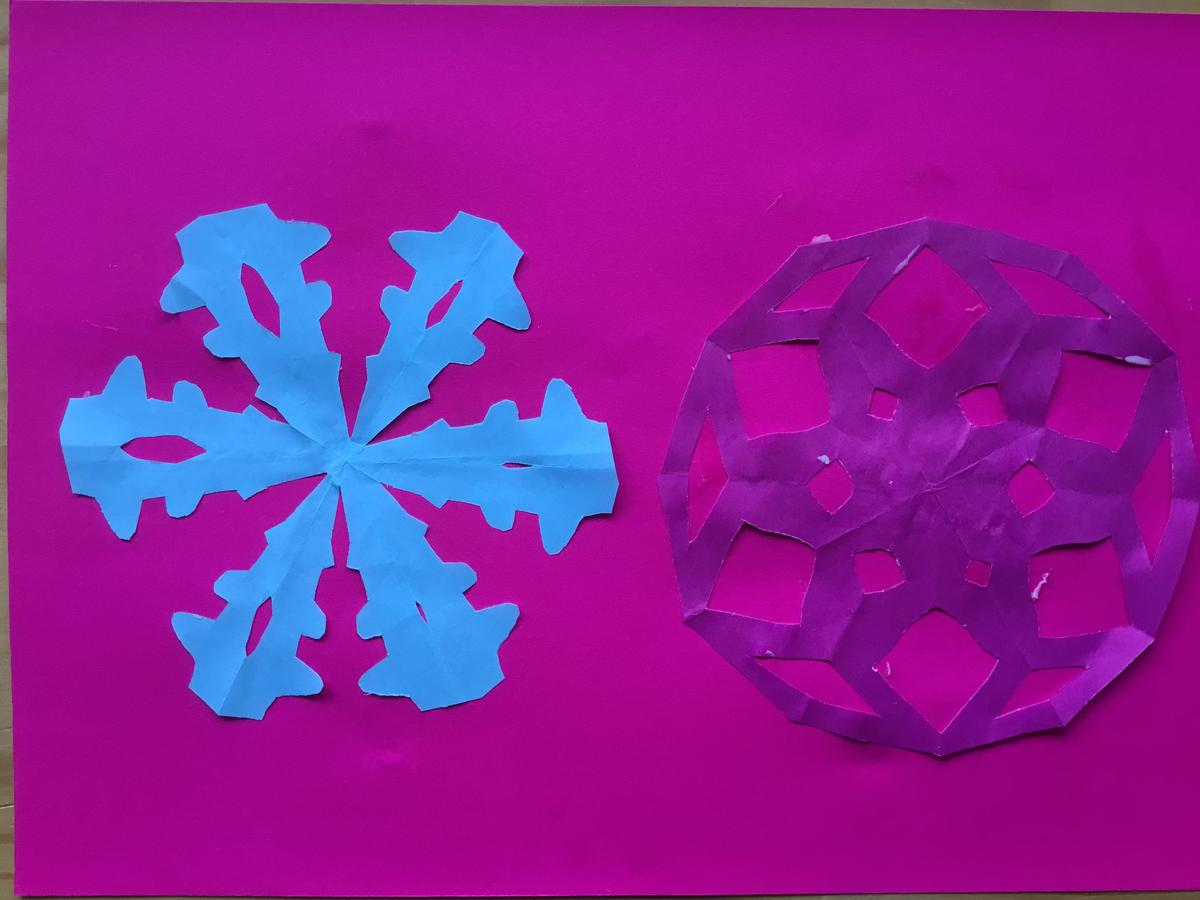
Visual Example:
Extension:
If you would like a challenge. Try folding your square paper to make a 6 - pointed star. Follow the instructions below and see my example.
Grade 1
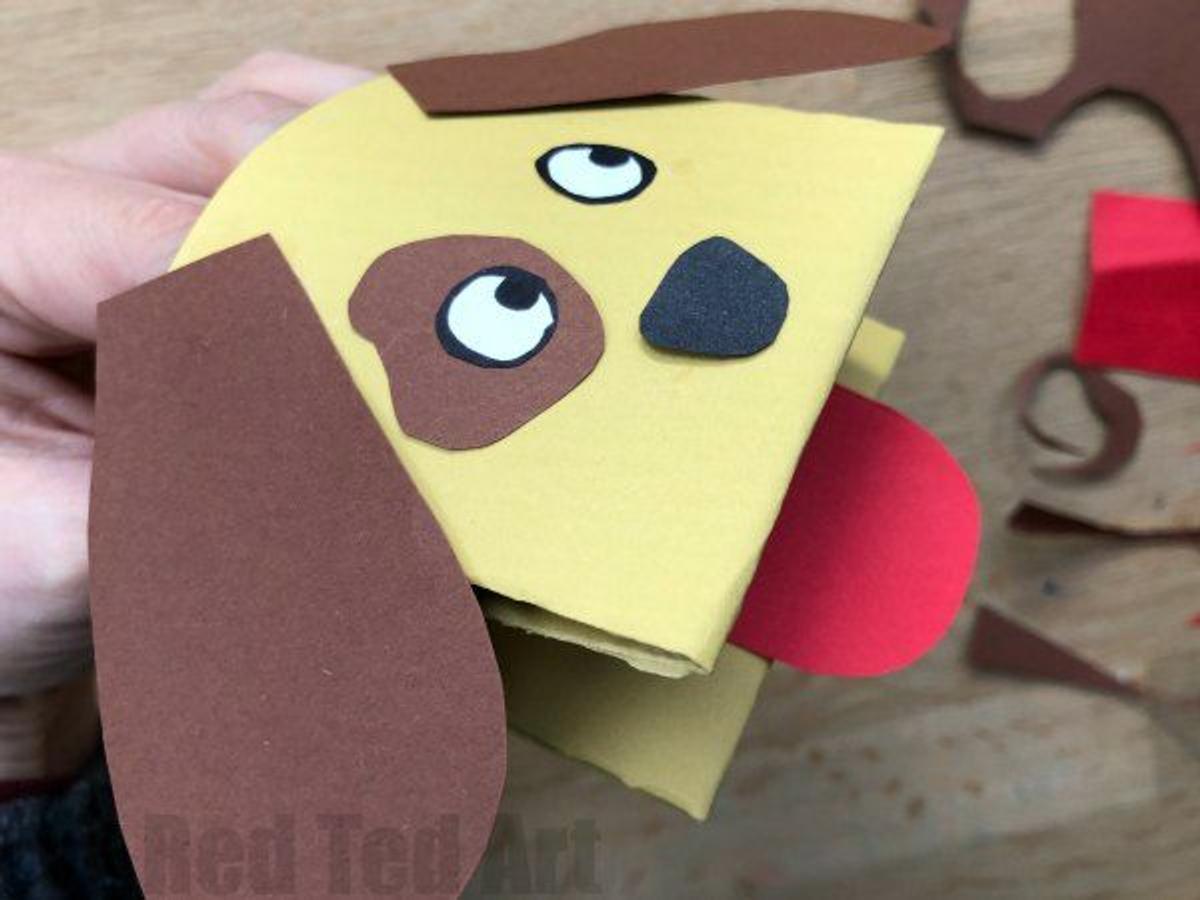
Task: We are going to start a unit on storytelling.
This week you are going to make a paper hand puppet. You will need a piece of white A4 paper, some textas (markers) and coloured paper for details, you will also need scissors and glue.
This video will show you how to make your puppet:
For parents: Ask your child, what types of stories do you like hearing about? (the genre). What stories could you tell with this puppet? What kind of character would your puppet be? Would he be silly, loud, or something else?

Grade 2
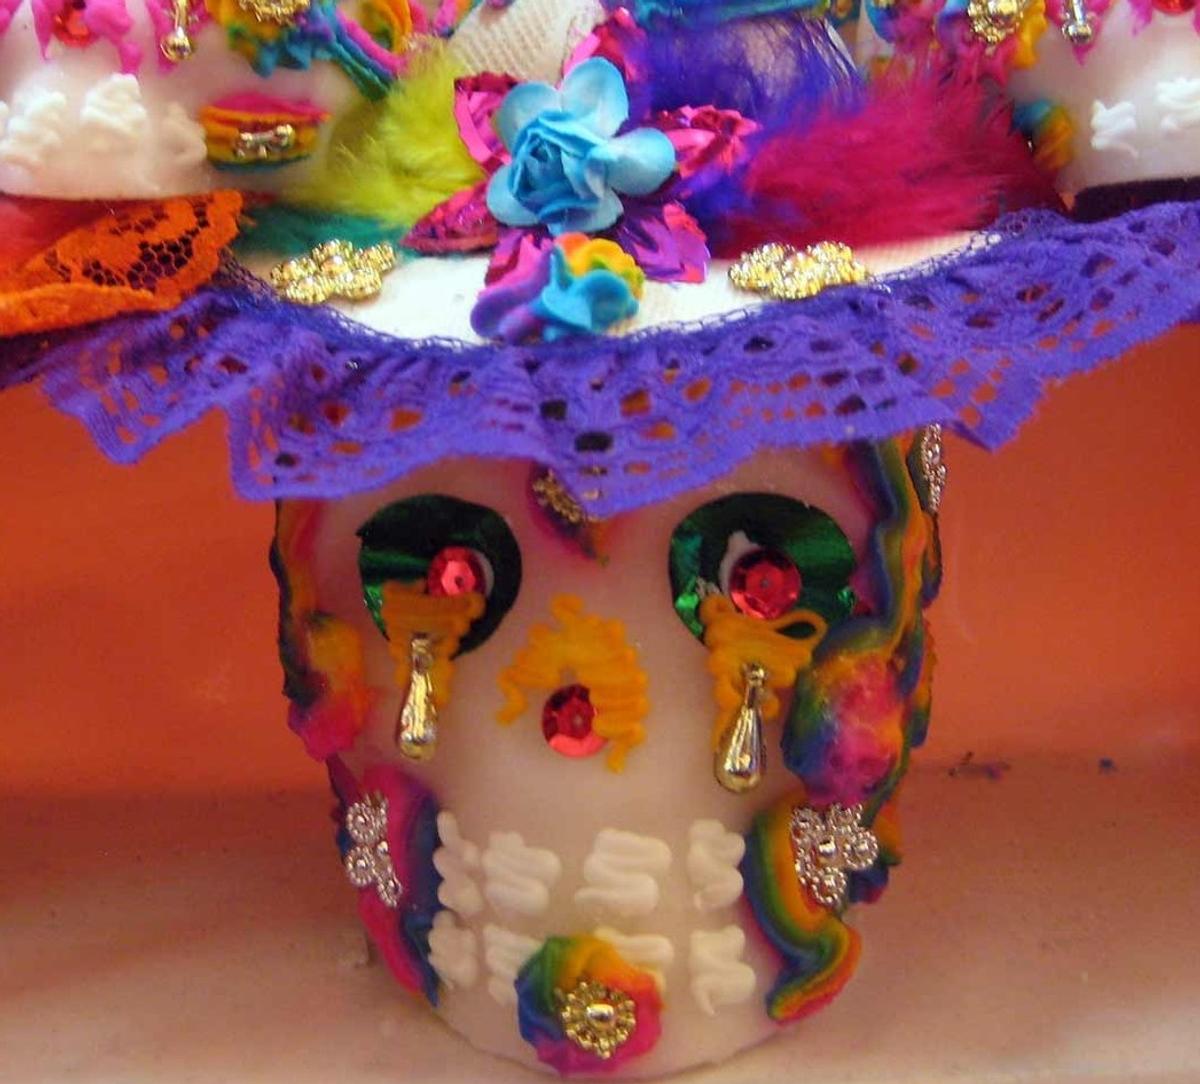
Task: We will be looking at Cultural Celebrations this week, in particular the ‘Day of the Dead’. You will make your own drawing of a sugar skull.
“The Day of the Dead is celebrated in Mexico and other parts of Latin America. It is known there as Día de los Muertos. People who are from Mexico celebrate the festival in other countries as well. The festival is celebrated to remember loved ones who have died.”
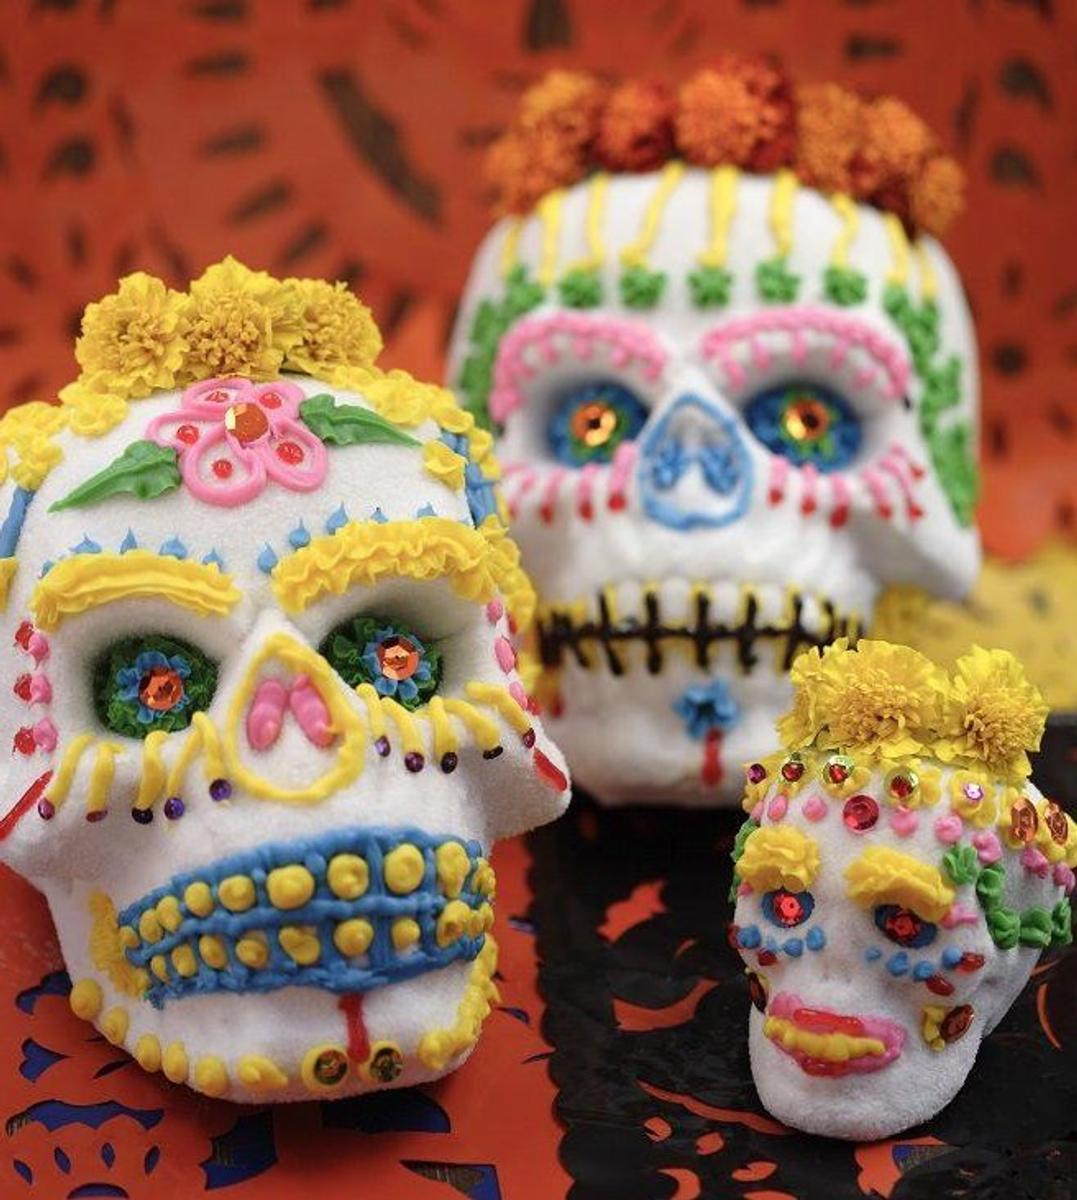
“These skulls can come in all sorts of sizes. They’re made of sugar and decorated with icing to be fun and colourful. And they taste like candy! Some even have things like feathers, glitter and hats attached to personalize them.”
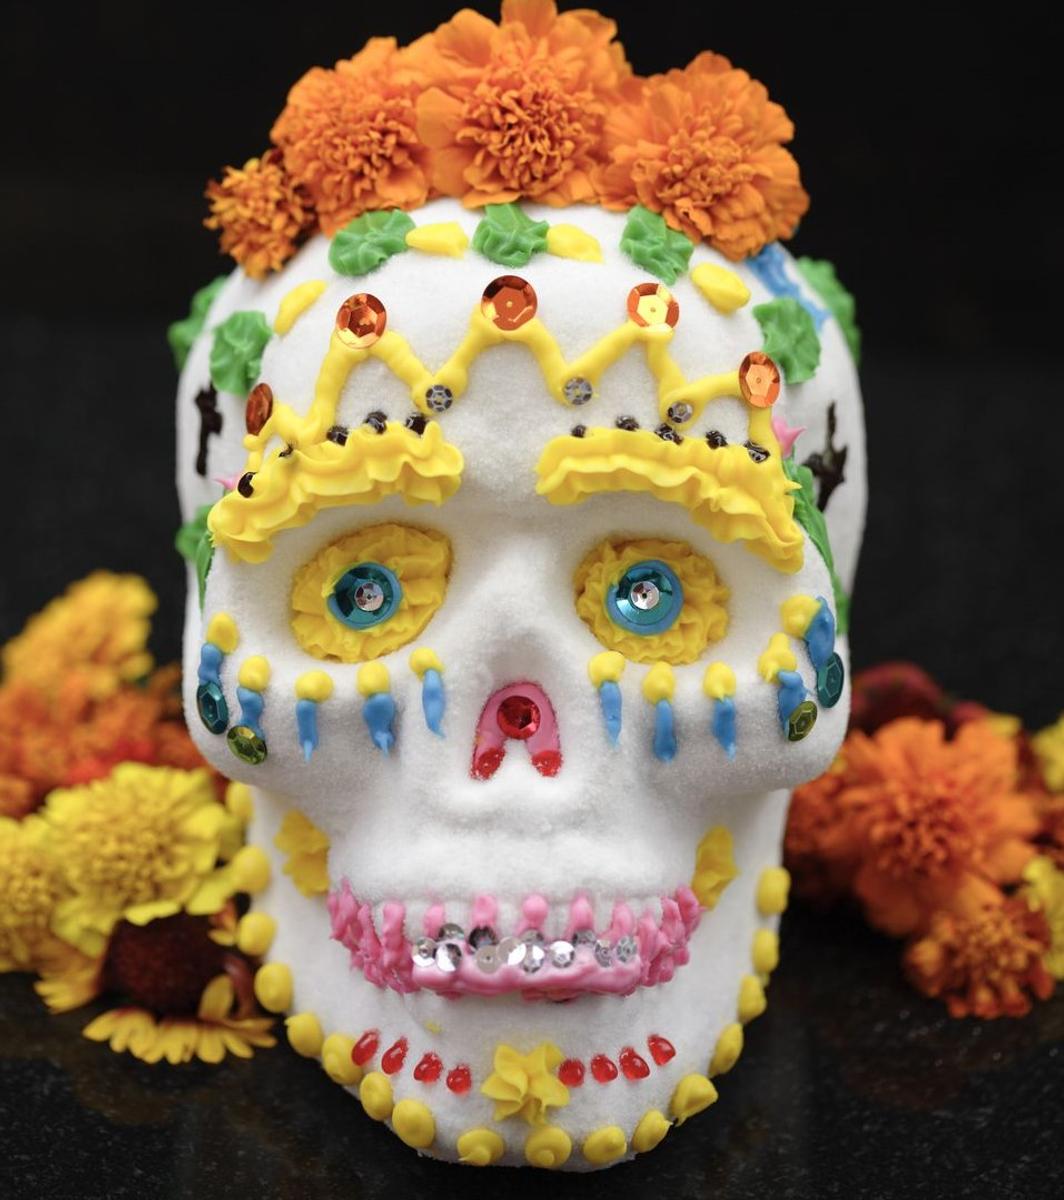
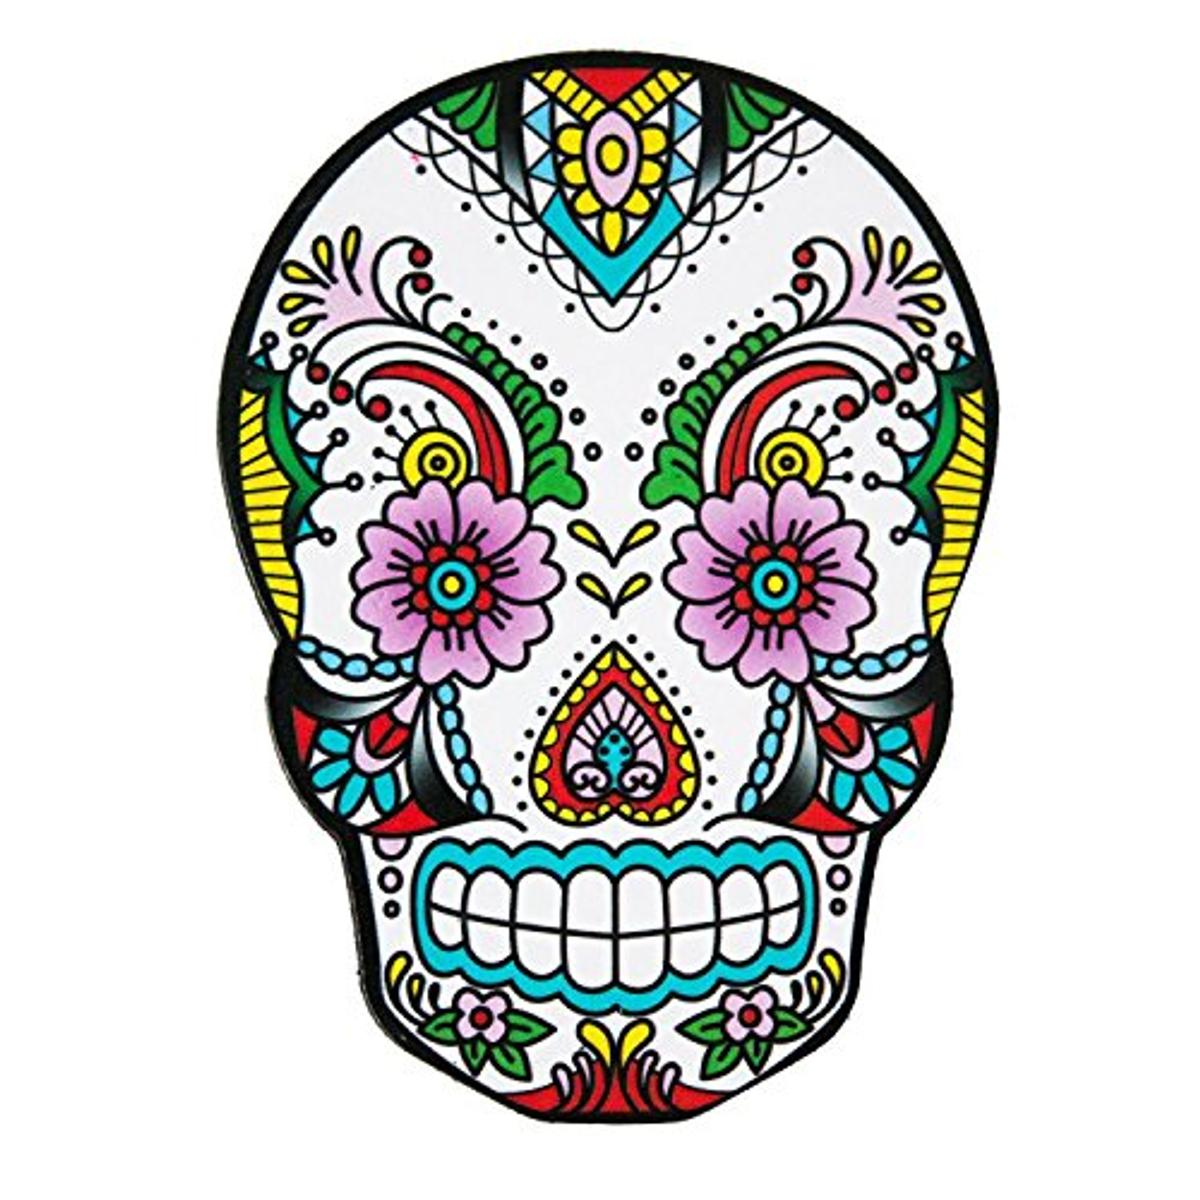
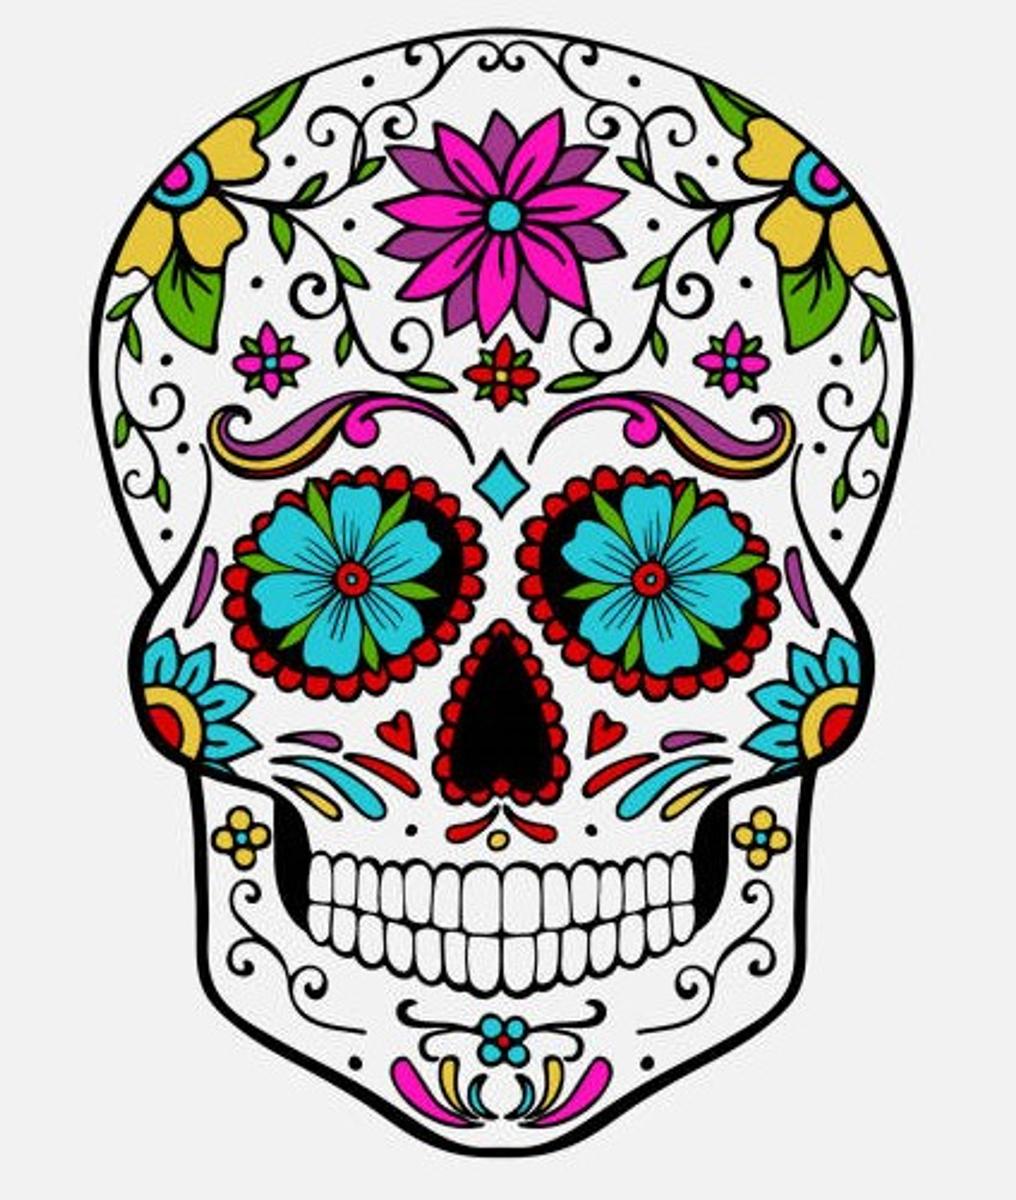
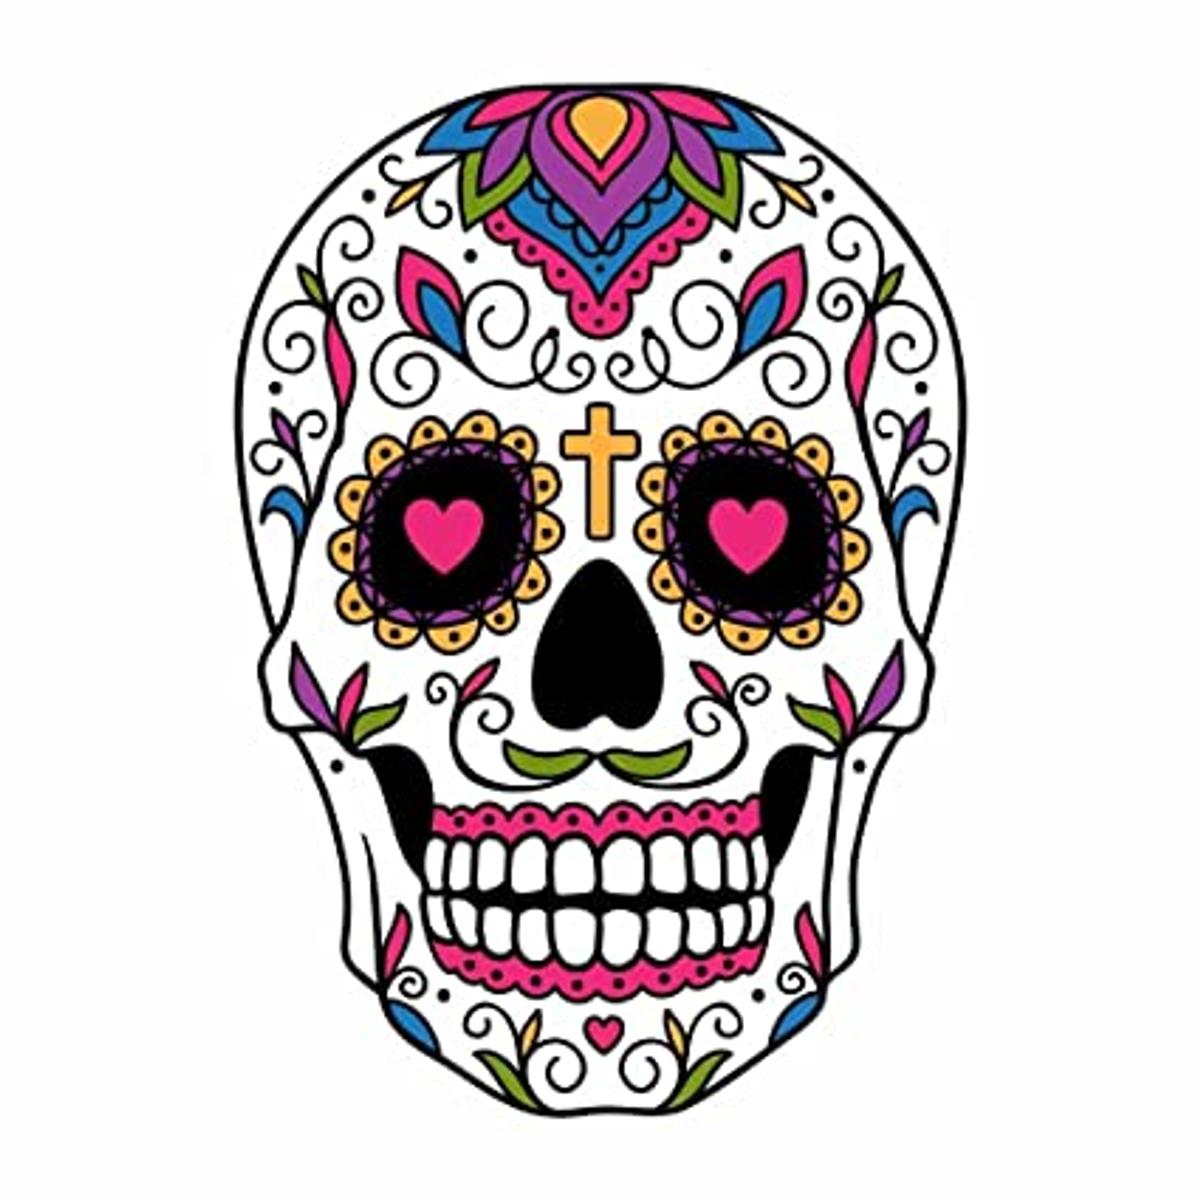
Using the template provided, create your very own colourful Sugar Skull…( if you want to challenge yourself, you could draw your own skull instead of using the template).
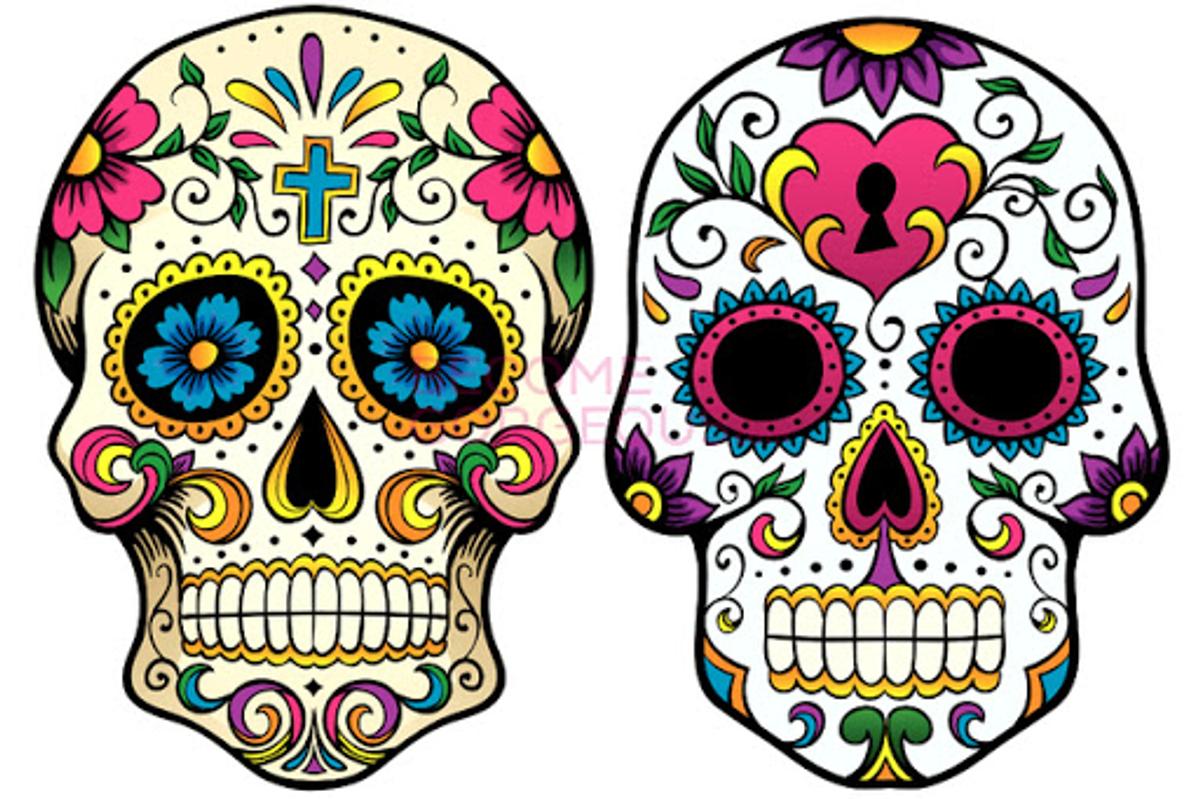
Look at the examples provided and create your own patterns to express yourself. You can use textas or coloured pencils to create your very own decorative sugar skull! (If you have glitter or stick on gems you could use them too!!!)
TASK OUTLINE:
Step 1- print or draw sugar skull template
Step 2- look at patterns and or research sugar skulls for inspirations
Step 3- get creative and make you sugar skull...Have fun and use lots of bright colours
REFLECTION:
Once you have completed your artwork, I’d like you to reflect on what you learnt…Some questions to ask yourself.
What’s something new I learnt?
What did you find challenging about today's lesson?
What is culturally significant about “The day of the dead”?
Grade 3
Task: We are going to continue with our Elements of Art tasks this week. Today we are going to look at the element of art ‘space’.
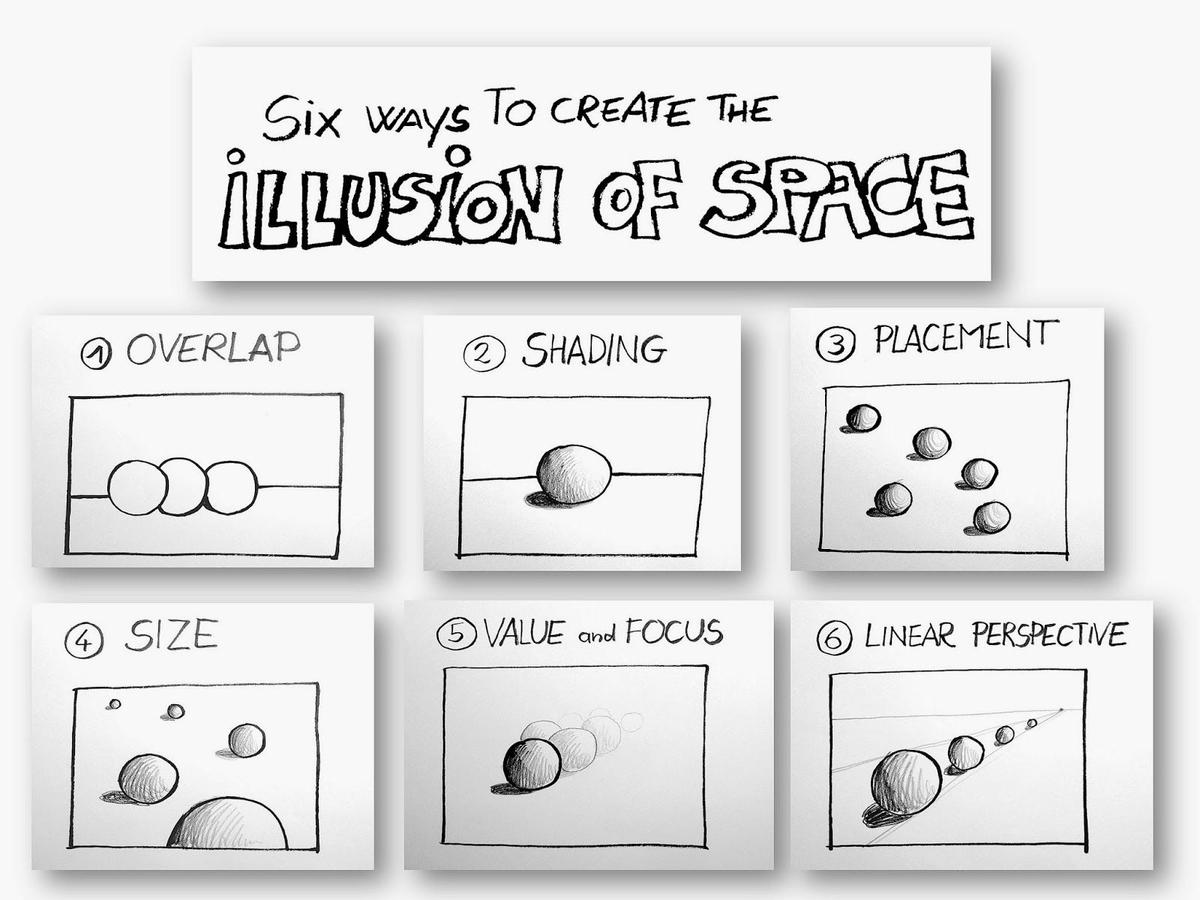
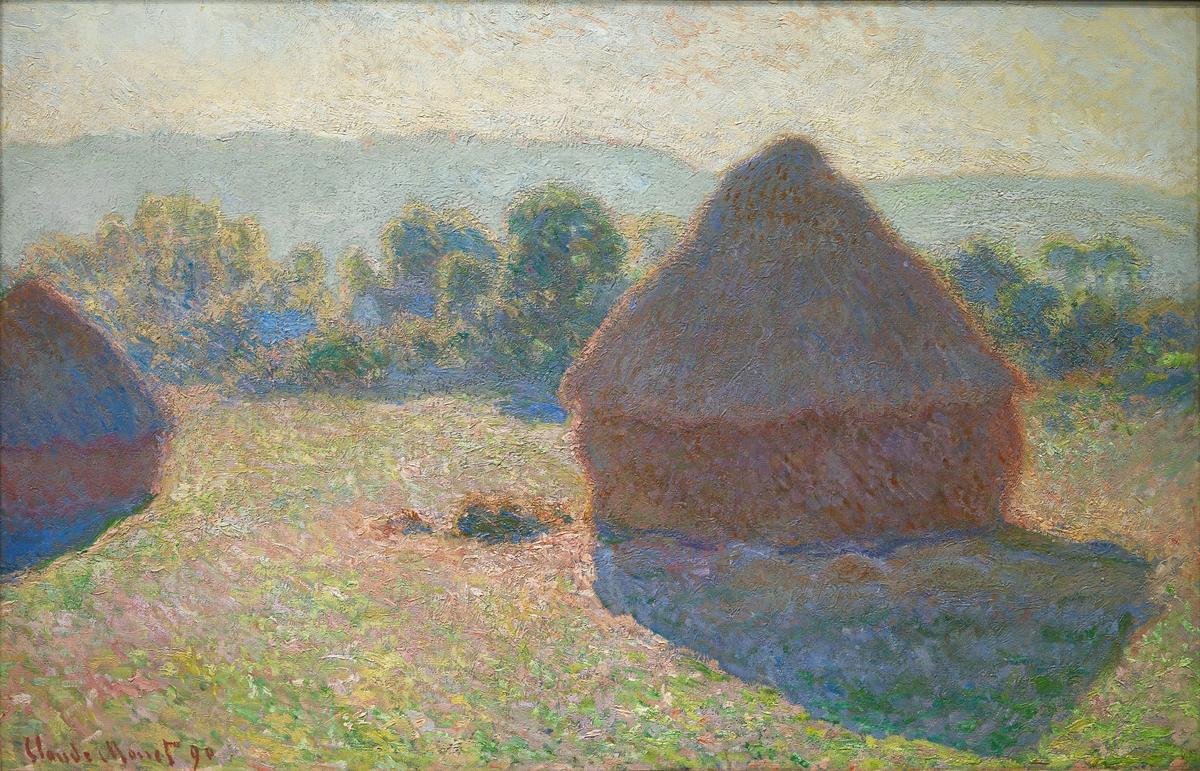
There are a couple of different types of space. We are going to look at the illusion of space, where you look at an artwork and consider the foreground, middle ground and background. If you look at this image by Claude Monet of ‘Haystacks’, you will notice the Haystack in the foreground (the front of the image) appears to be larger than the one in the middle ground (the middle left of the picture). The trees in the background appear to be smaller than both of the haystacks in the artwork. This gives the illusion of space.
Your task this week is to create a field of jumping kangaroos.
Look at the PDF document attached to see how to make it.
For Parents: Your child has been learning about the elements of art of which space is one of them. See if you can get your child to reflect on the task as to why it was important to glue the background kangaroos first. Can they identify the different space parts of their picture. How does it help create an illusion of space?
Grade 4
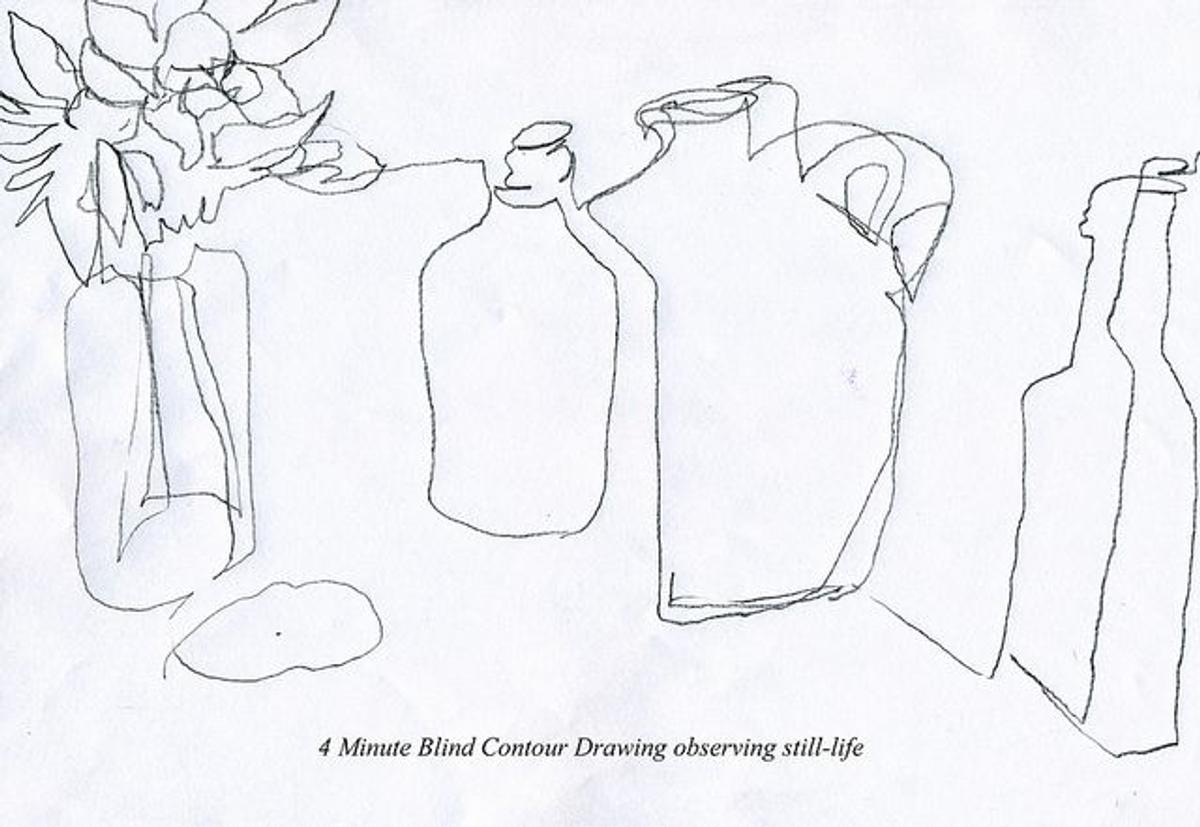
Task: This week we will be doing a “Still life Contour line drawing ”
Watch this video link for a demonstration how to contour line draw:
'Still life' is as a collection of objects arranged together in any way you like
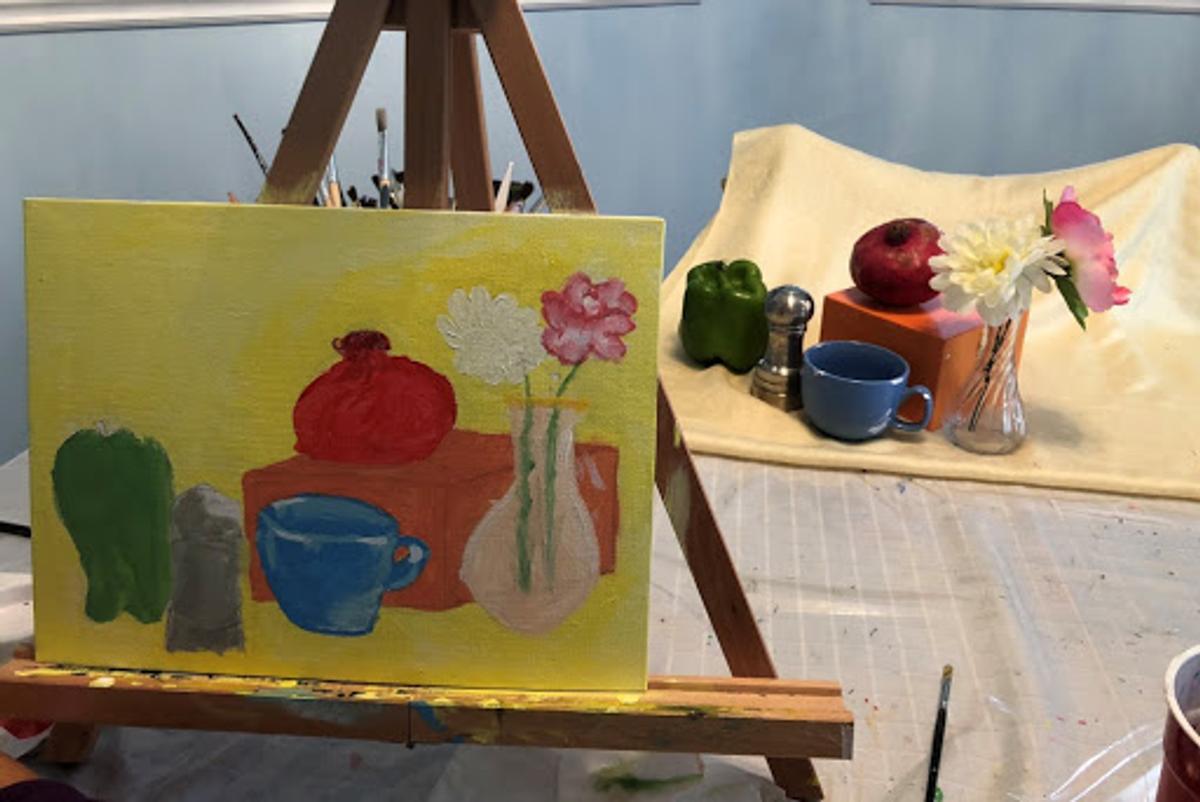
Here is an example of how to setup your still life composition...you can see in the background to the right, the arrangement of objects.
You are going to create your own still life contour line drawing. Find 1-3 favourite objects you love...this could be a toy, ornament, football, sporting equipment, etc! Draw either one object or draw them together, if you are up for a challenge!!
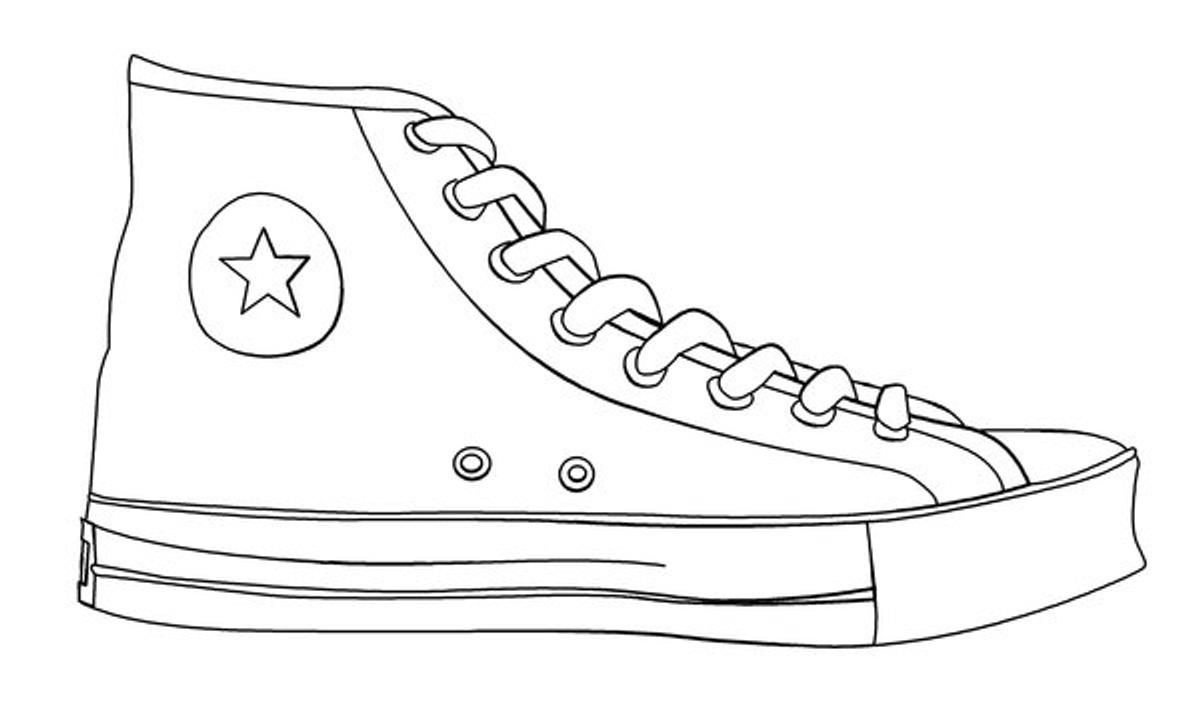
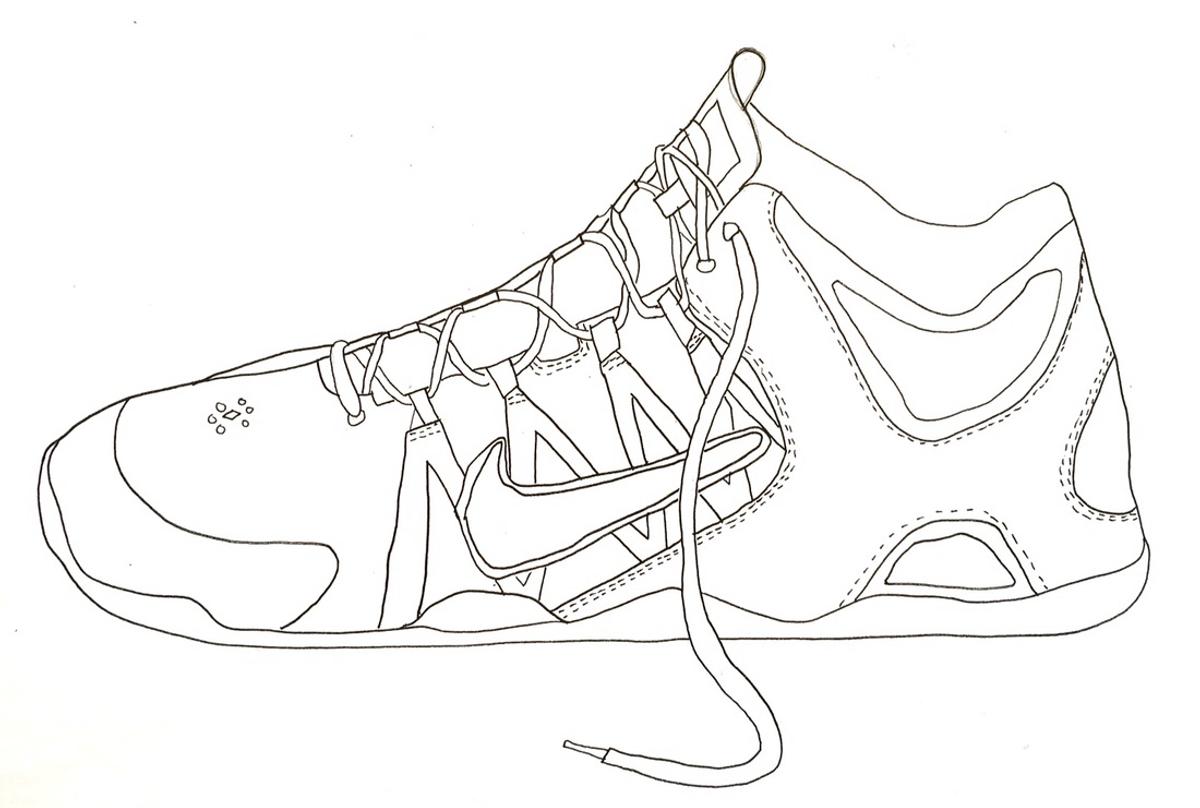
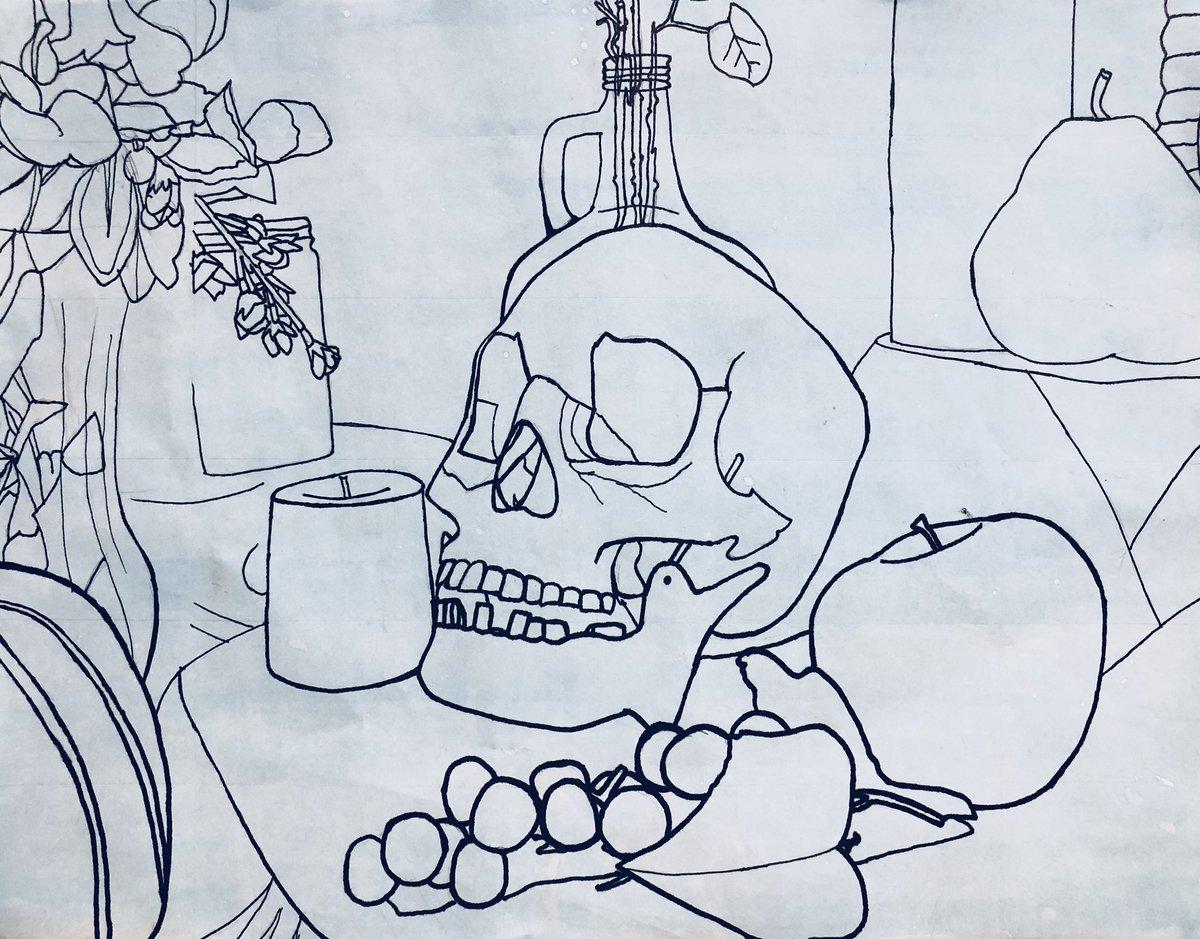
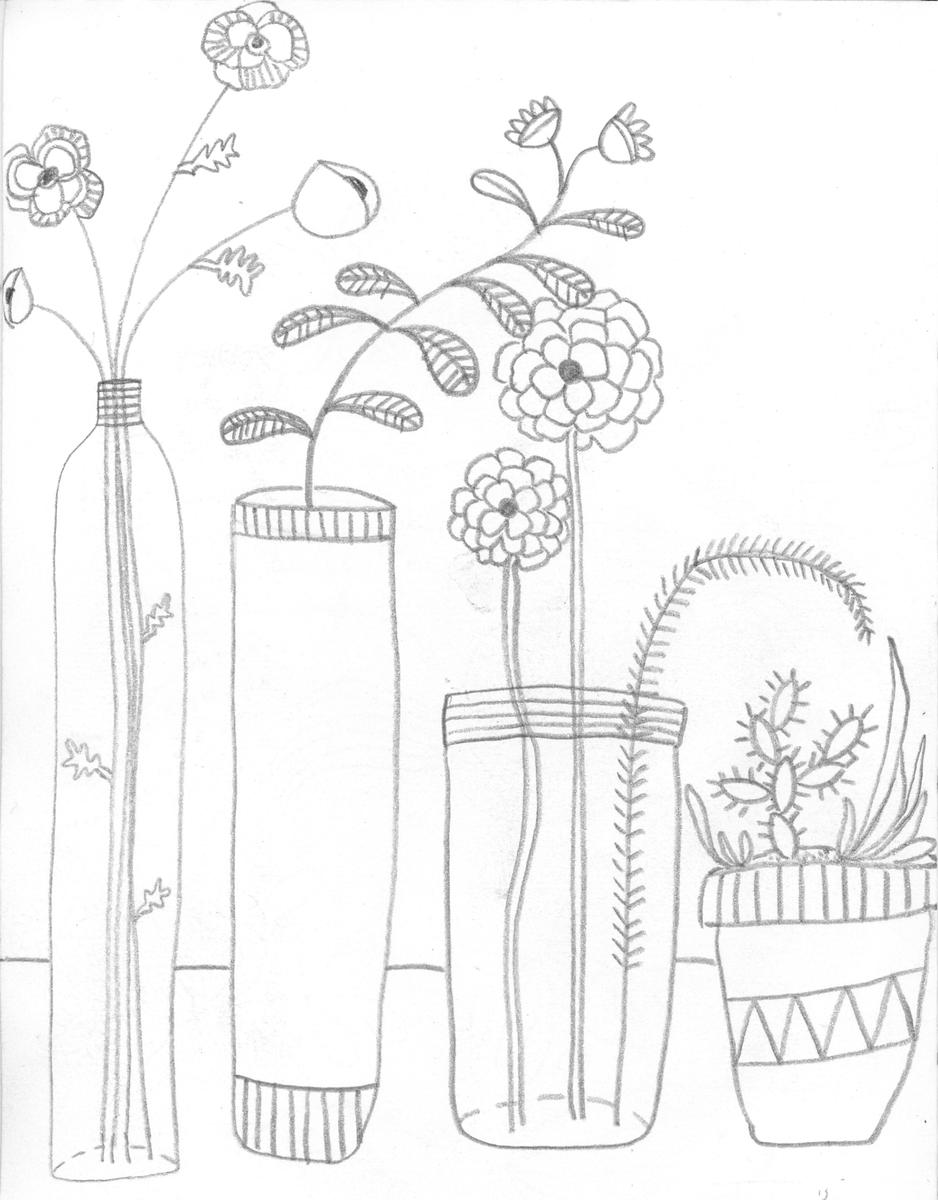
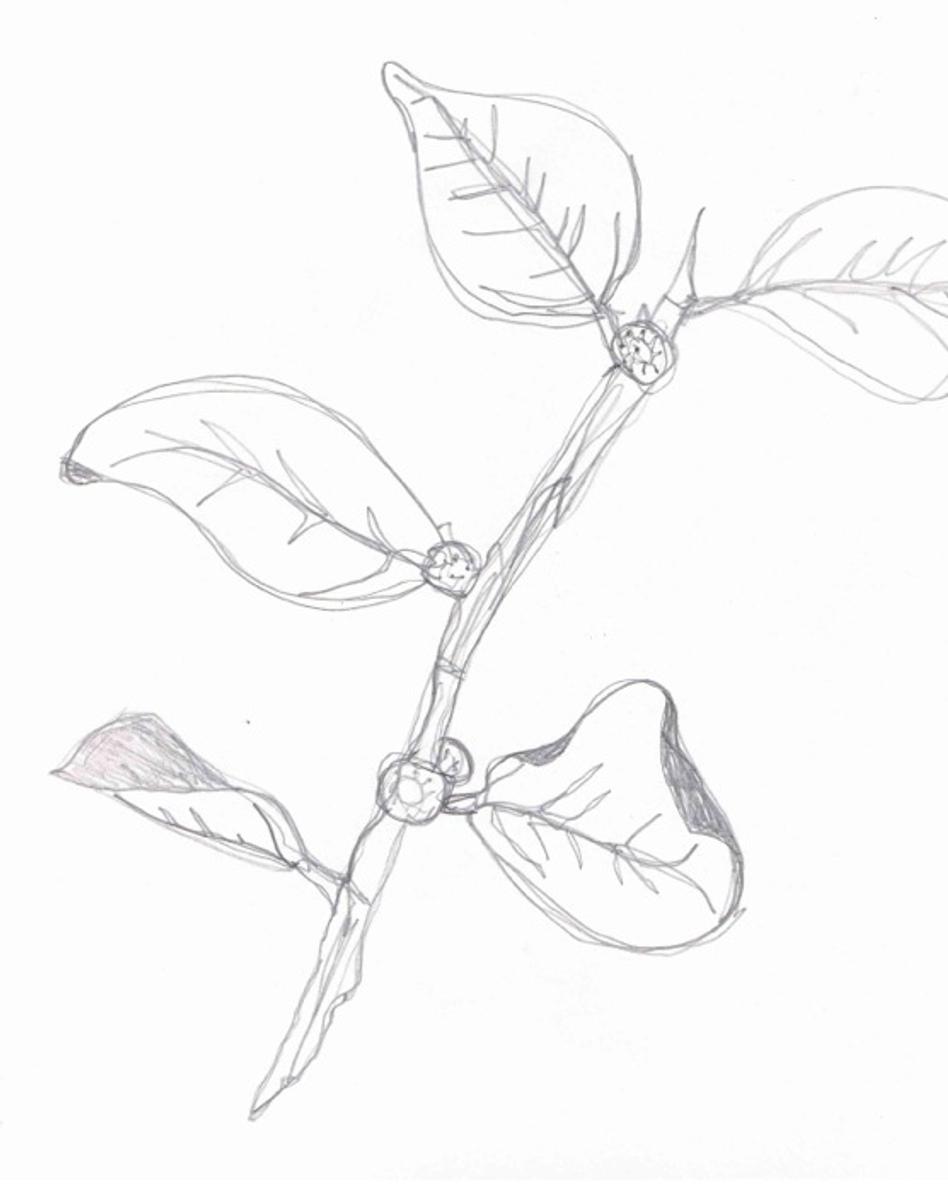
Look at the examples provided if you need some inspiration. Use grey lead pencil. No rubbing out what you have drawn!
Step 1- After watching the video on contour line drawing, select and arrange your objects into a composition you like. If you have A3 paper please use that, but A4 paper is fine.
Step 2- Start your contour line drawing, take your time and be sure to make sure you are looking at what you are drawing in front of you! Have fun !!! You only need a grey lead pencils.
REFLECTION:
Once you have completed your artwork, I’d like you to reflect on what you learnt…Some questions to ask yourself.
What’s something new I learnt?
What did you find challenging about today's lesson?
Grade 5
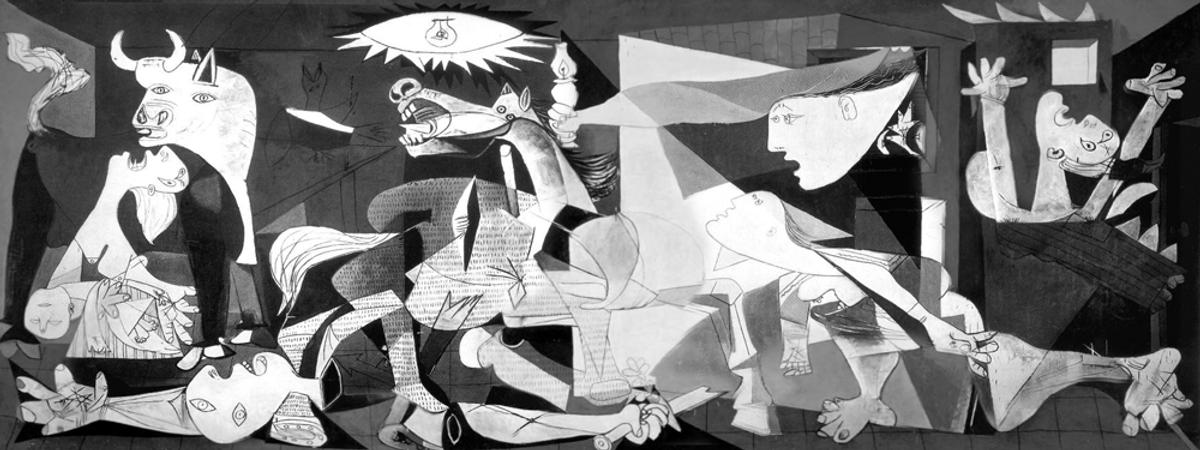
Task: Your task is to this week is to research the artwork ‘Guernica’, by Pablo Picasso.
Step 1- Watch this video on ‘Guernica’ it discusses symbolism and interpretation of the artwork.
Step 2- Answer these 3 questions in your own words and full sentences. (Next week we will be doing a creative response to the artwork)
What do you think Picasso’s painting of Guernica represents?
Brainstorm 4 reasons why you think Guernica was painted in black and white.
Picasso said “A work of art must make a man react… it must agitate him and shake him up”. What is your reaction to Guernica?
Grade 6
Task:
This week we are going to start a new project looking at memory and in particular your time at Brighton Primary School. This project will last for a few weeks, I will give you instructions for different parts to the project as the weeks progress.
Part 1: This week you are going to start this project. You will need to use a large A3 piece of paper if you have one. If you don’t have A3, then A4 is fine too. We are going to create an artist book using the same technique we used to make the zine last lesson. Today you are going to design a front cover for this book.
Here is a reminder of how to make the book, remember to use a large piece of paper:
Some suggestions for the front cover:
Your name in a fun font
A drawing of you in your school uniform
Your favourite subject this year
Your friends and you doing something you love
The book is about your time at Brighton primary and will be about some of the memories you have created. I will be giving you topics to add to the different pages so don’t skip ahead!
For Parents: Please make sure your child keeps the work they have done today as they will be adding to it throughout the next few weeks.
Please talk to your child about the concept of memory. What is memory? What can have a memory? Maybe you have memories of your time at Primary school and you could discuss how your time was different to theirs and what the similarities were too.