
Sustainability Corner


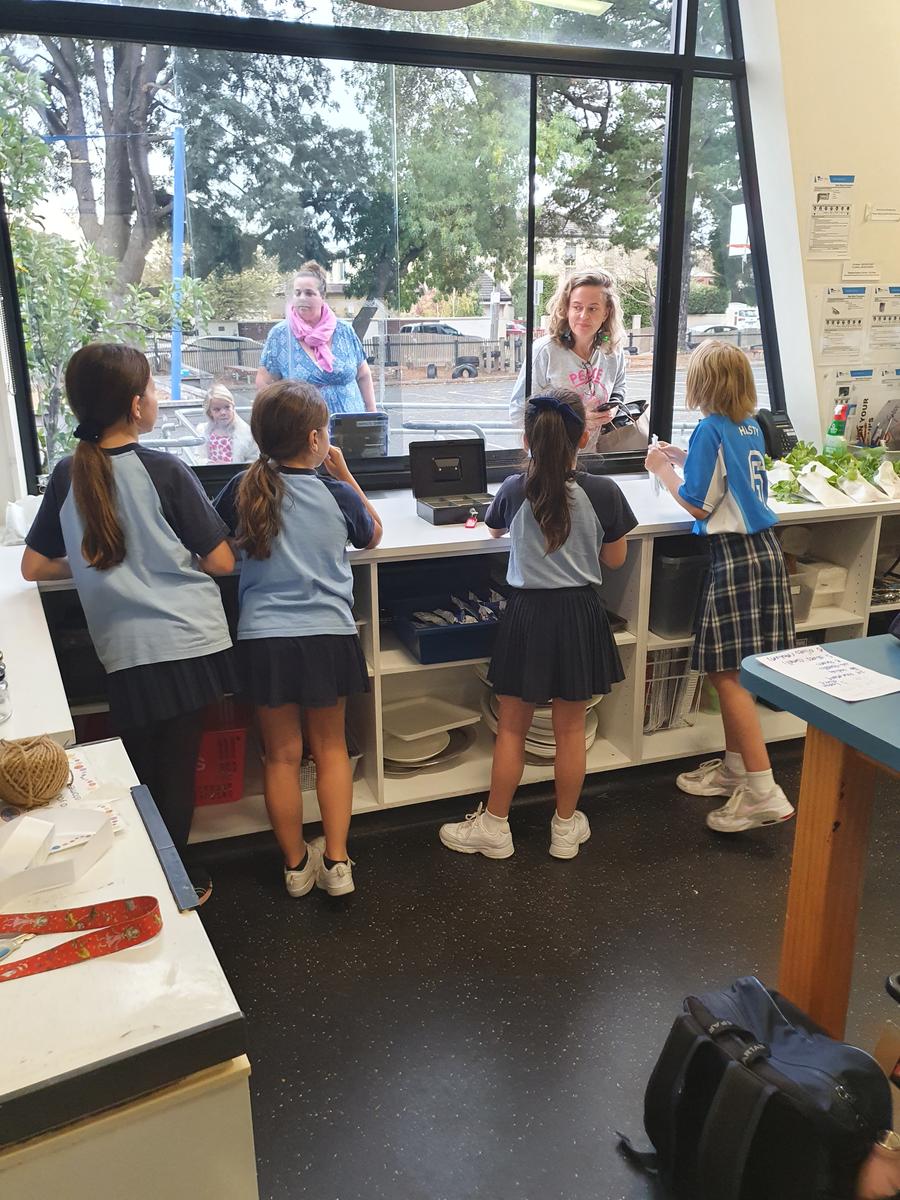
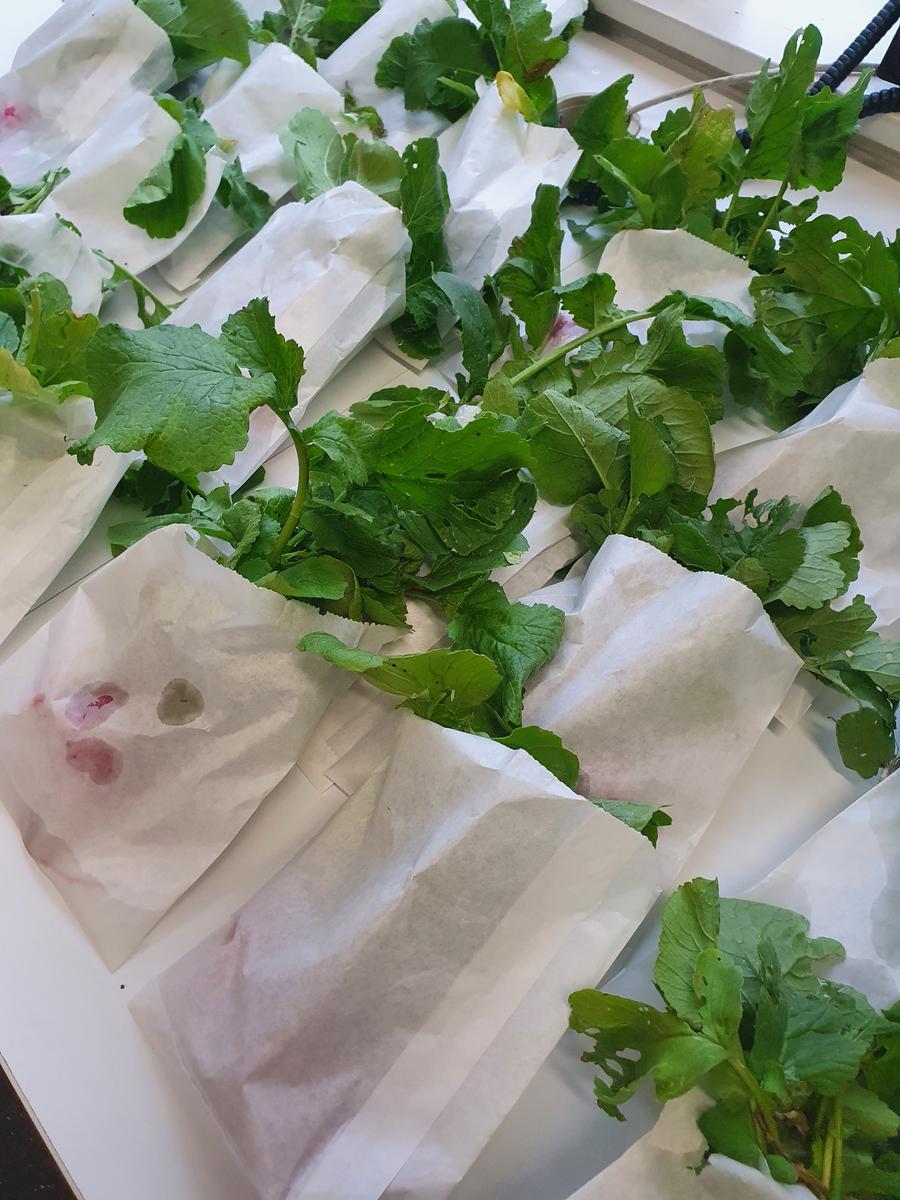
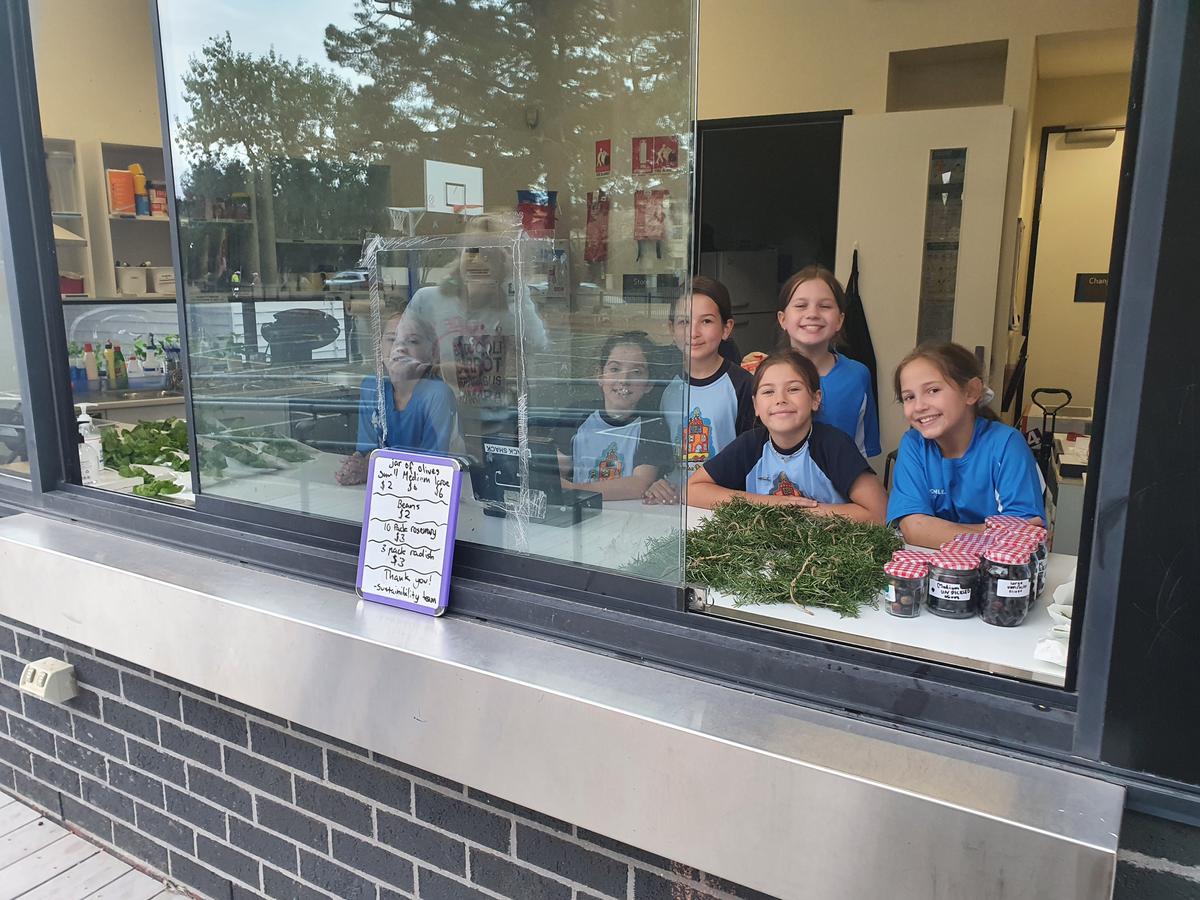
Our first productive garden sale for Term 2 was a roaring success. We sold lettuce, radishes and beans, and, for the first time, olives. Thanks to all that came and supported the sale, with the stall raising $215!
What’s even better than olives but a recipe for brining from our very own Miss Antonia?
Now it’s over to you to get your Greek on….
Mrs A's Family Olive Recipe
A fine slit on the top of each side must be made. This allows the olives bitter juice to be released (remember olives should be a bit bitter).
Olives are then left to soak in water, with the water being changed daily at roughly the same time for 14 days. After 14 days then the olives can be placed in brine.

Brine recipe:
- Pour off and measure the last lot of water to ascertain amount of brine required
- Measure that quantity of fresh, warm water into a pan and dissolve enough course table salt in it so that when an egg is immersed, an area about 3cm in diameter breaks the surface. (approximate salt to water ratio of 100g salt to 1 litre of water).
- Bring brine to boil then cool thoroughly before pouring over oils. When filling the jar with the brine make sure to fill it up to about 3/4 full, to allow to oil in the next steps.
- For every 250mL, add 1 tablespoon of red wine vinegar (this helps to keep flavour and preserve the olive).
- Before replacing lid, float extra virgin olive oil to fill the jar.
- Olives should be ready in 2 weeks. You can eat them on their own or-
- Drain well and add 2 cloves of garlic, orange or mandarin peel thinly slices, dry oregano, 2 dry bay leaves, 1/2 cup of olive oil, dry chilli and red wine vinegar.