
The Robots are Coming
Kevin by Zara B
The Robots are Coming
Kevin by Zara B
Our Year 10 Robotics class have been hard at work making some very special creations.
These are DIY and open source robots made from very low cost materials such as cardboard, zip ties and the cheap micro-controllers such as the arduino nano.
Students said it was heaps of fun sourcing the materials, cutting the cardboard to make the wheels and other features. They also learned a new programming language Javascript or C# to control their robot.
I'm really proud of their work and would like to acknowledge their effort, perseverance and achievements. Read on to meet their creations:
Sophie Sun
Design Faculty


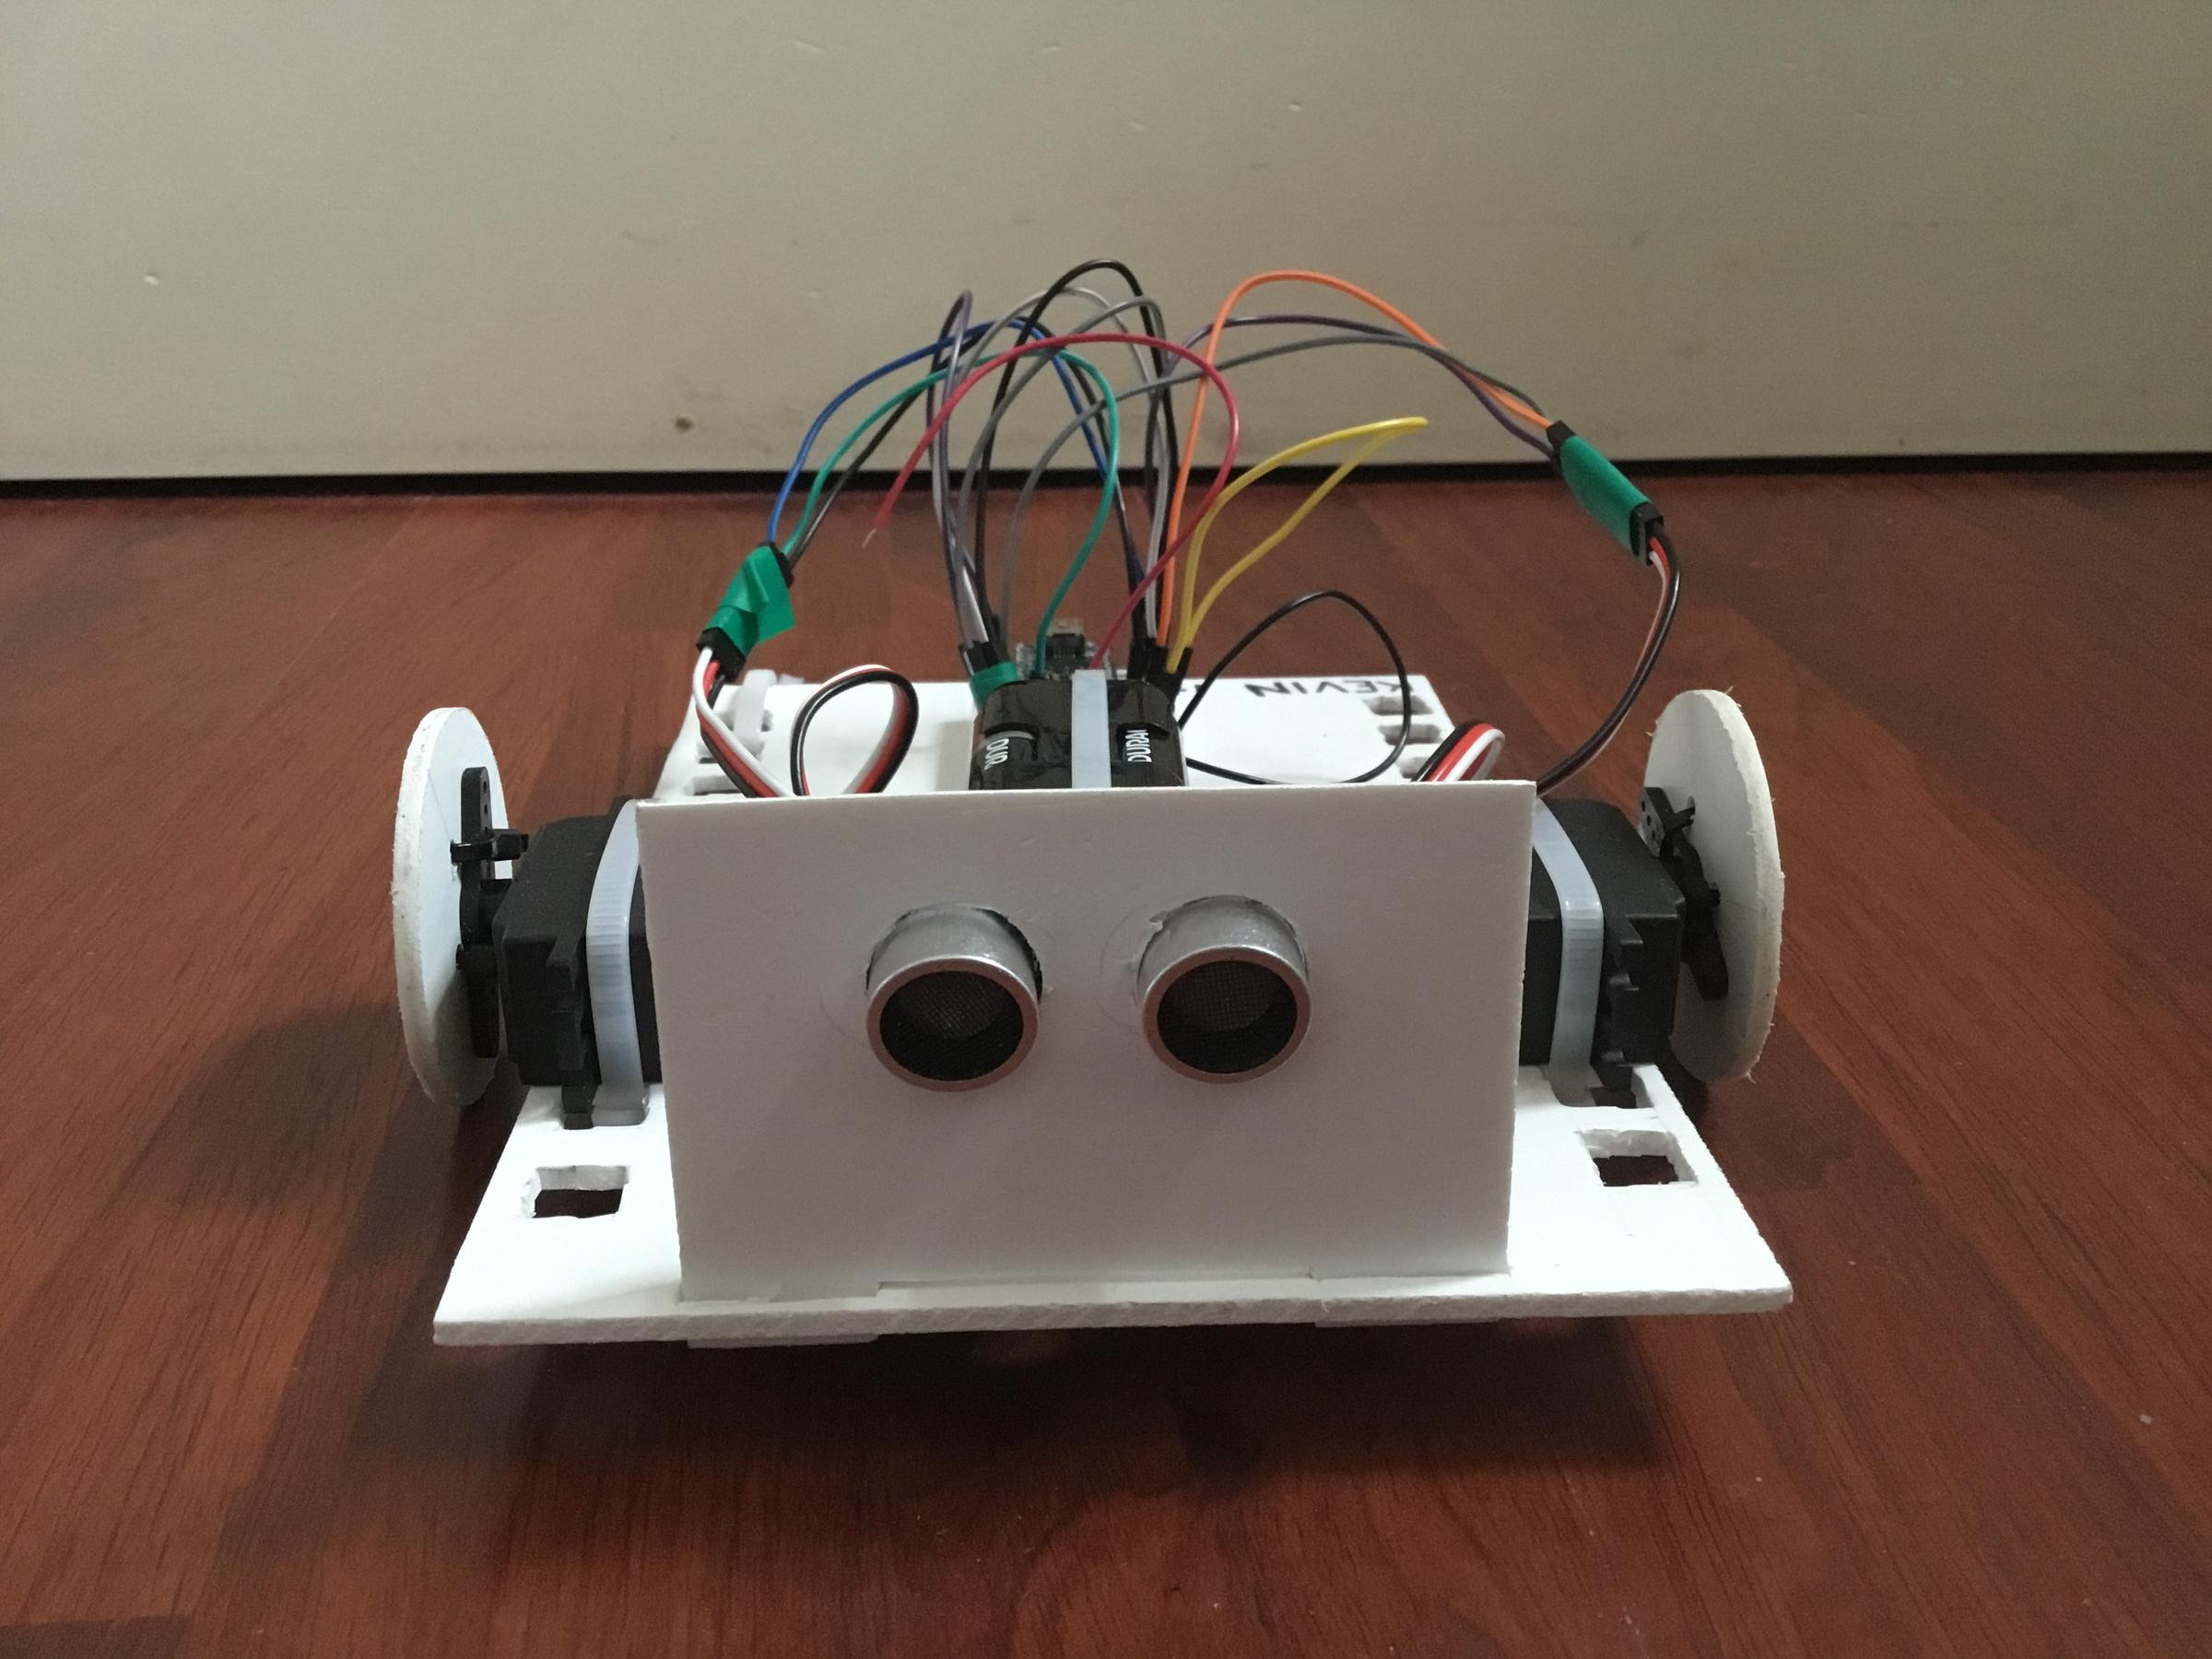
This here is Kevin. He’s a little car robot that can drive around using 2 cut out wheels each attached to a servo that can either be controlled by hooking it up to a computer and using the arrow keys or using the ultrasonic sensor which allows it to drive autonomously.
The process of building and assembling this robot was heaps of fun and mainly involved a weekend of cutting up cardboard, while getting the code to work was a bit more tedious. On the whole making this robot was great because of its simplicity and how cheap it is to build compared to other robots and seeing it in action was incredibly satisfying.
Zara B
For the chassis I glued two identical pieces of cardboard together. I then cut out wheels with a rough 6cm diameter. The bumper area holding the ultrasonic sensor is also cardboard. In order to secure the wheels to the servo I used tape and string as well as a screw. I used tape around the rim of the wheel for aesthetics as well as to prevent the cardboard crumpling. Using zip ties to secure the servo motor would've been much more effective however I simply just had to put a ton of tape on the servos. The back underside dragging area is simply the plastic from an AA battery packet taped on. The battery pack was pretty easy to tape on and I centred it at the front.The breadboard had its own adhesive on it so I used that to glue it on. After mounting the ultrasonic sensor after putting in the cables by taping it on I wired everything. It doesn't look particularly pretty and I could use some better made wheels however it is functional and pretty cool!
Luca M


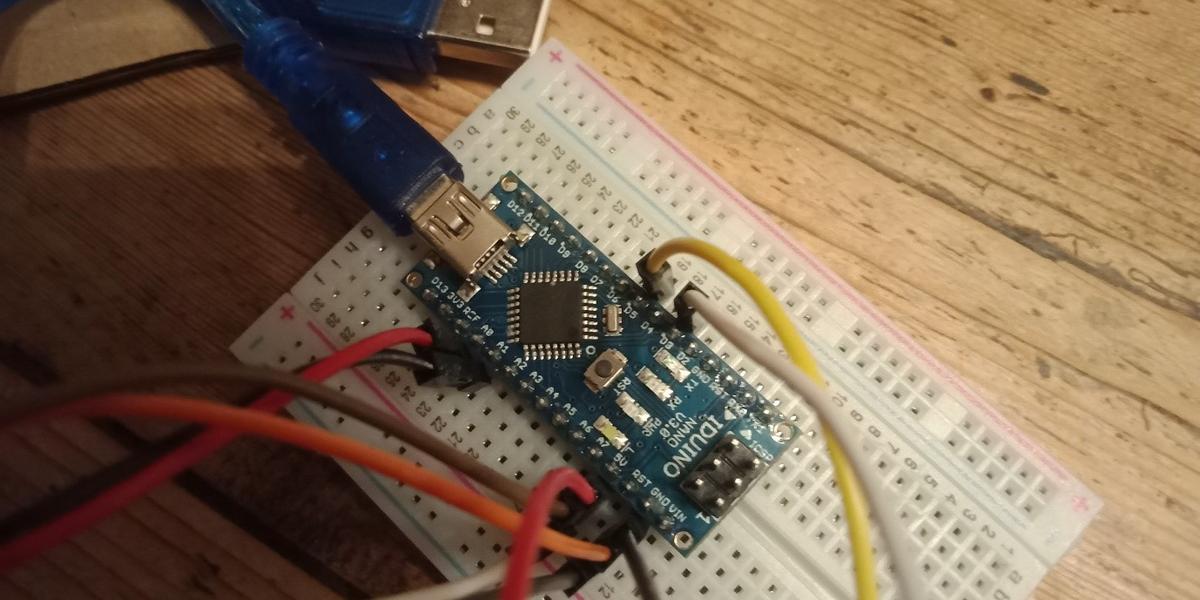
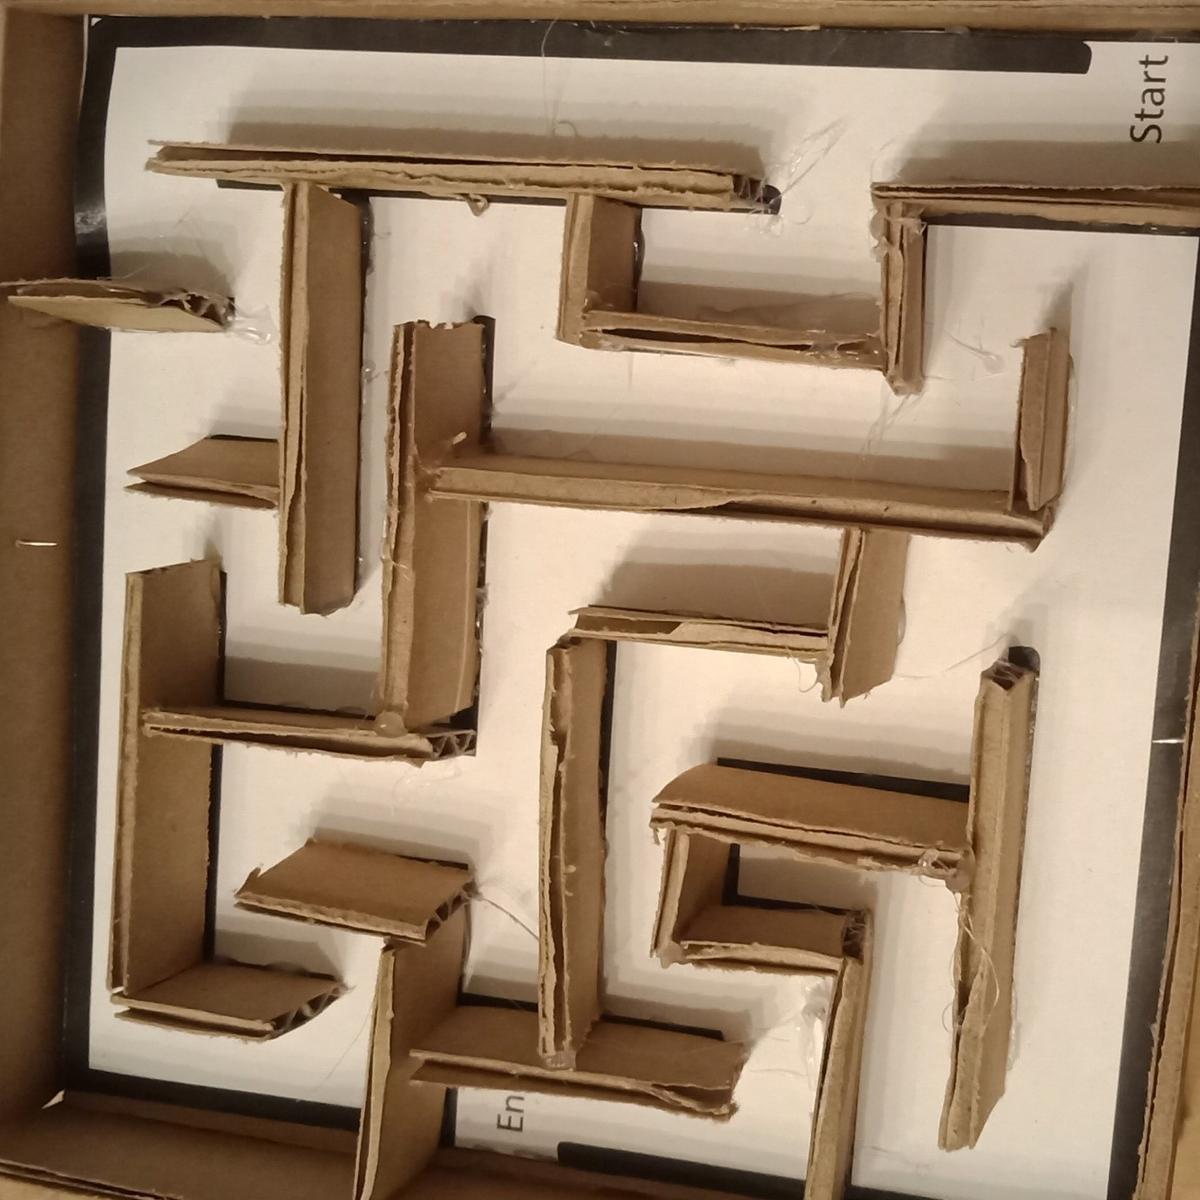
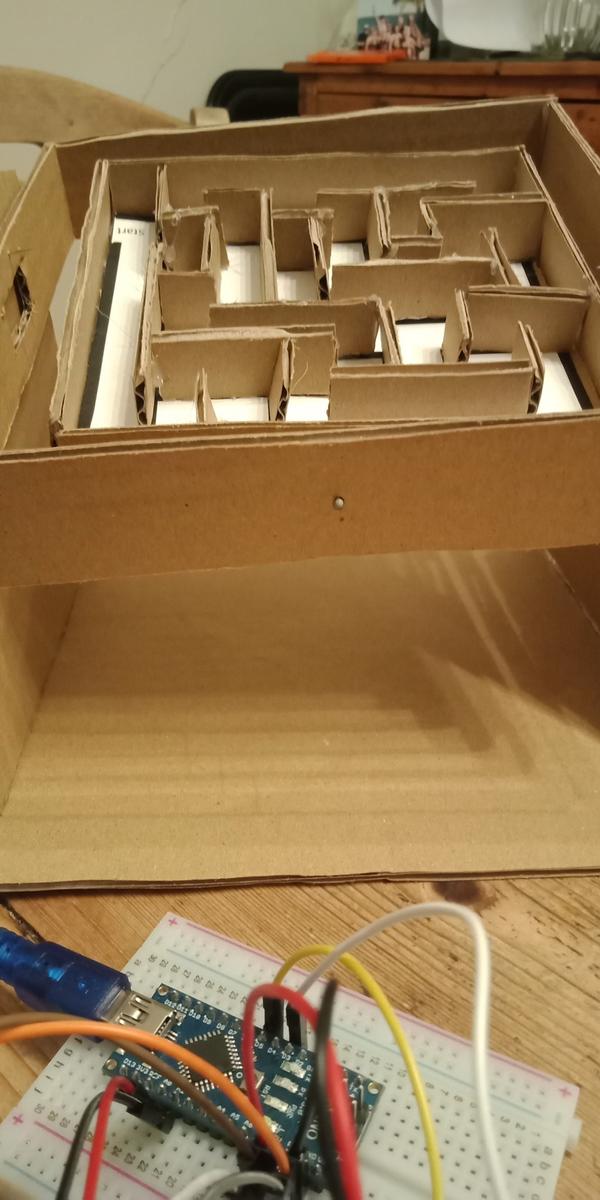

During this period of isolation and home schooling, as part of this semesters Year 9/10s Robotics Class I was assigned the Common Assessment Task (CAT) to design and create a robotic device or program. I chose to create a remotely controlled maze where the player moves a small ball through the maze by tilting two elevated horizontal platforms on an x and y axis using a module joystick. The joystick operates 2 separate motors which are connected to the “brains” of the device (Arduino Nano) controlling the movement of the platforms. The Arduino works by running a code that was created in computer language called ‘C#’. Originally the plan was to borrow the parts required for this project from the school but the restrictions of COVID 19 prevented this, so I went online and ordered the parts myself. To anyone who is interested the parts that I’m using are: a module joystick, 2 micro servos (9g), Arduino Nano, solderless bread board and generic jumper wires. While programming and building skills are important in the subject of robotics the main quality you need is persistence as it is very unlikely that your design will work on the first try… or the second or the third.
Walt W